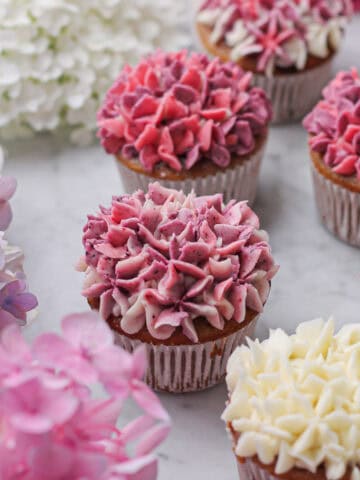
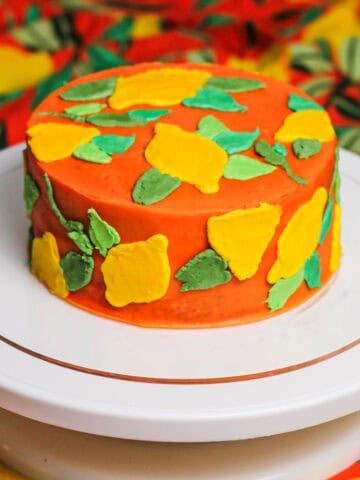
I started thinking about a macaron tutorial after posting my textured buttercream cake tutorial. I love decorating desserts, so macarons felt like a natural next post. Macarons have become one of my favorite treats to decorate because each one feels like a small canvas. And bringing hand-painted macarons to a party definitely creates a "wow" moment. So if you're looking for a simple way to decorate these cookies, read on. Unlike some tutorials, this one does not require dying your batter. Below are all the tips so you know what to use to paint macarons. And while I baked this batch at home, you don't have to. You could buy a set of macarons from a store or bakery and dress them up following this guide.
Jump to:
Macaron Painting FAQs and Tips
Drawing on macarons, hand-painting macarons, and splatter-painting macarons are just a few of the many ways to decorate them. But they're all possible with food gel coloring, a set of food-safe paintbrushes or pens, and a bit of clear extract with powdered sugar.
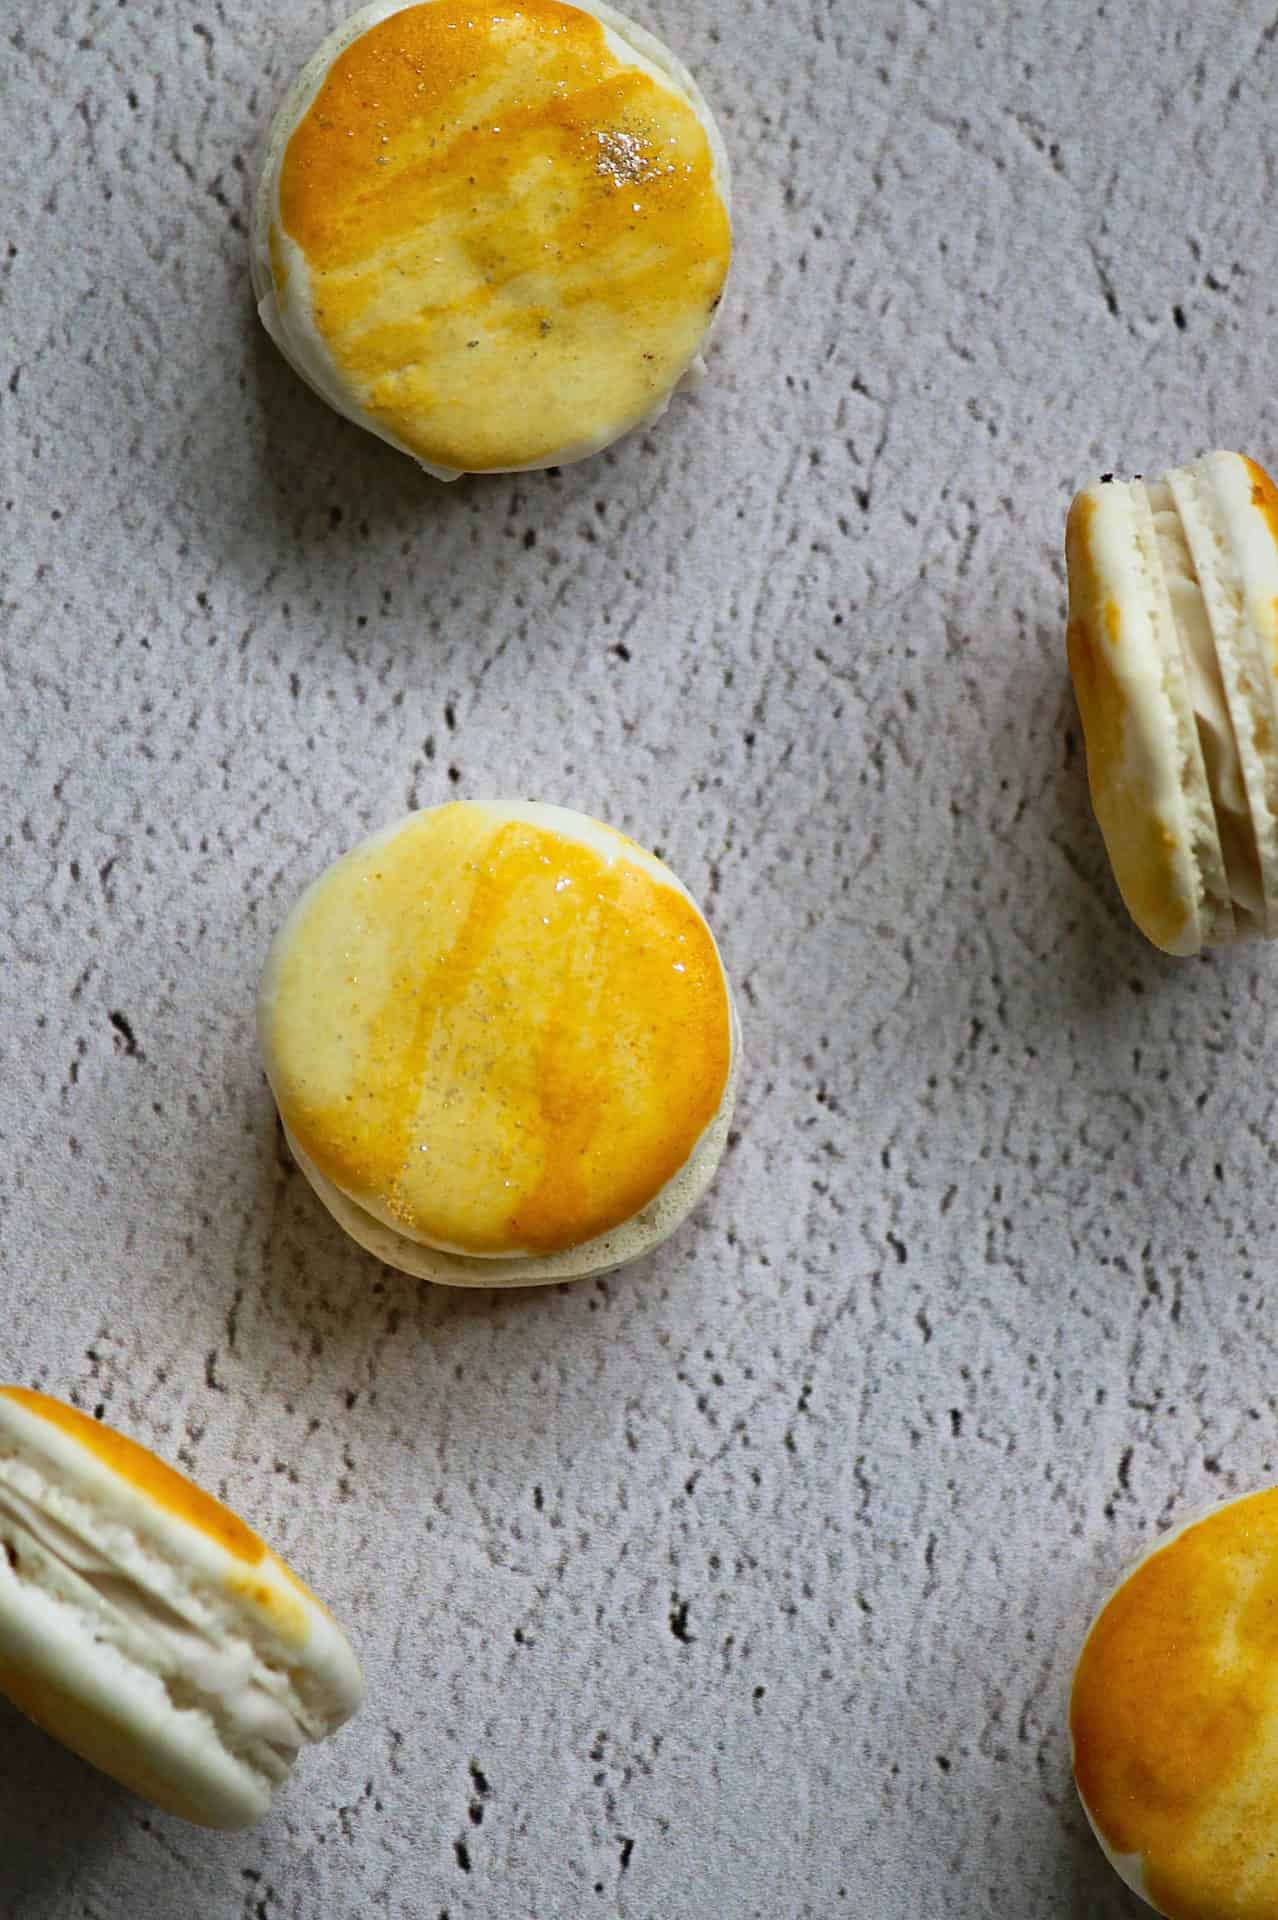
As you'll see below, to paint my macarons, I mixed a drop of gold food gel coloring with a bit of powdered sugar and clear extract. I used a ramekin, but any small container will work fine. Dip your paintbrush into your "paint" and decorate your macaron however you'd like. You can add more extract to thin the paint or powdered sugar to thicken it.
Macarons oftentimes get their color from adding a colored powder (like cocoa powder or powdered gel food coloring, for instance) or food gel to the macaron batter. This literally bakes a color into your macarons. However, if you'd rather not dye your macaron batter, painting your macarons with food gel is super easy.
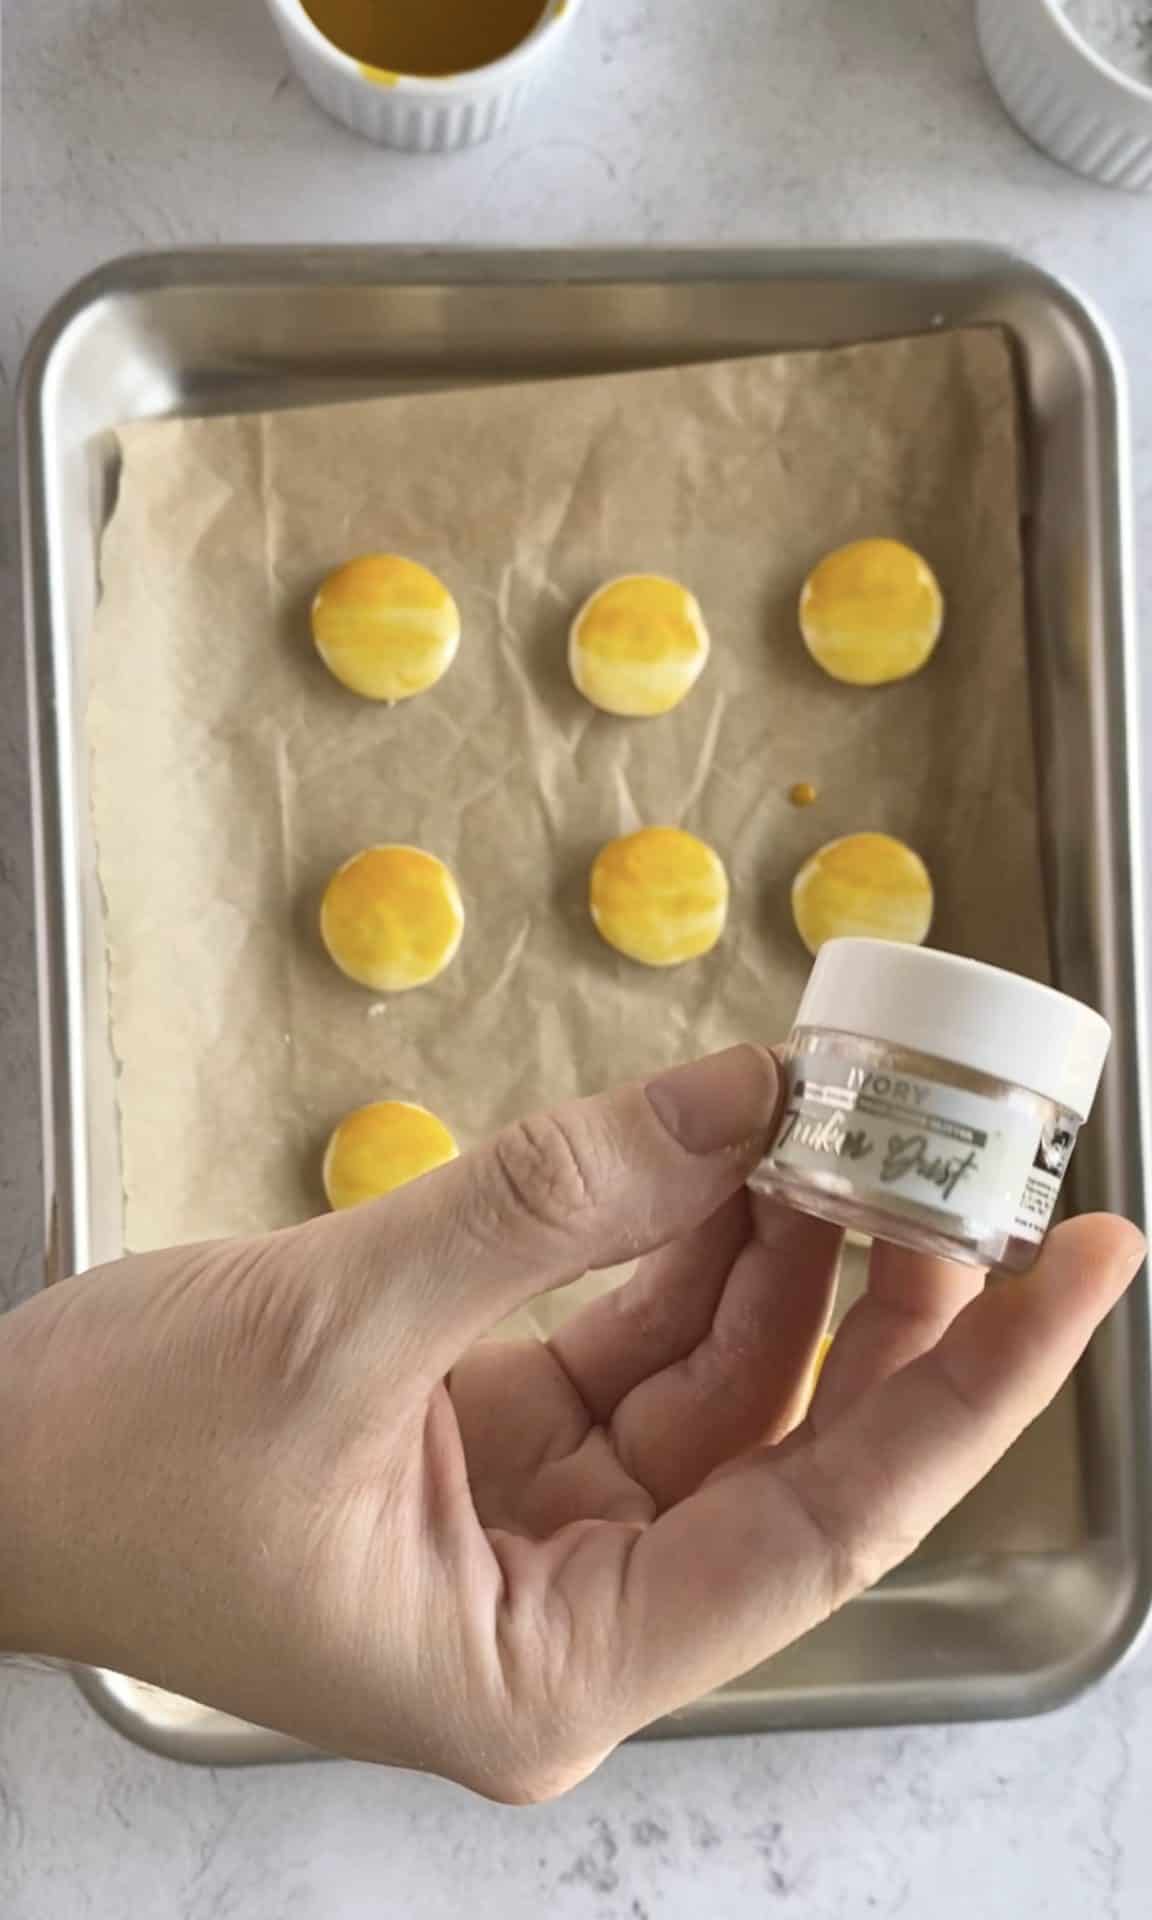
I love sprinkling my macarons with some gold or luster dust! You can mix this dust with a clear, flavorless extract and again use a food-safe paintbrush to paint your macaron by hand. You can also take a dry brush, coat it in luster dust, and swipe it across your macaron.
Tools and Ingredients for Painting Ombré Macarons
Macaron painting is fun, and you probably already have many of the tools you need in your home.
You'll need:
- A set of food-safe brushes like this one by Wilton
- Three small mixing bowls, ramekins, shot glasses, or similarly small containers
- Parchment or wax paper
- Minimum of 12 white or lightly-colored macaron shells
- 1–2 drops of food gel color(s) of your choice - I use ChefMaster.
- About 1 ½ teaspoon of clear extract (like almond extract, imitation vanilla, peppermint, lemon or another clear extract of your choosing), divided into thirds
- About 3 tablespoon of powdered sugar, divided into thirds
- Optional but fun: Edible glitter for dusting on top
Making, Painting, and Decorating Macarons
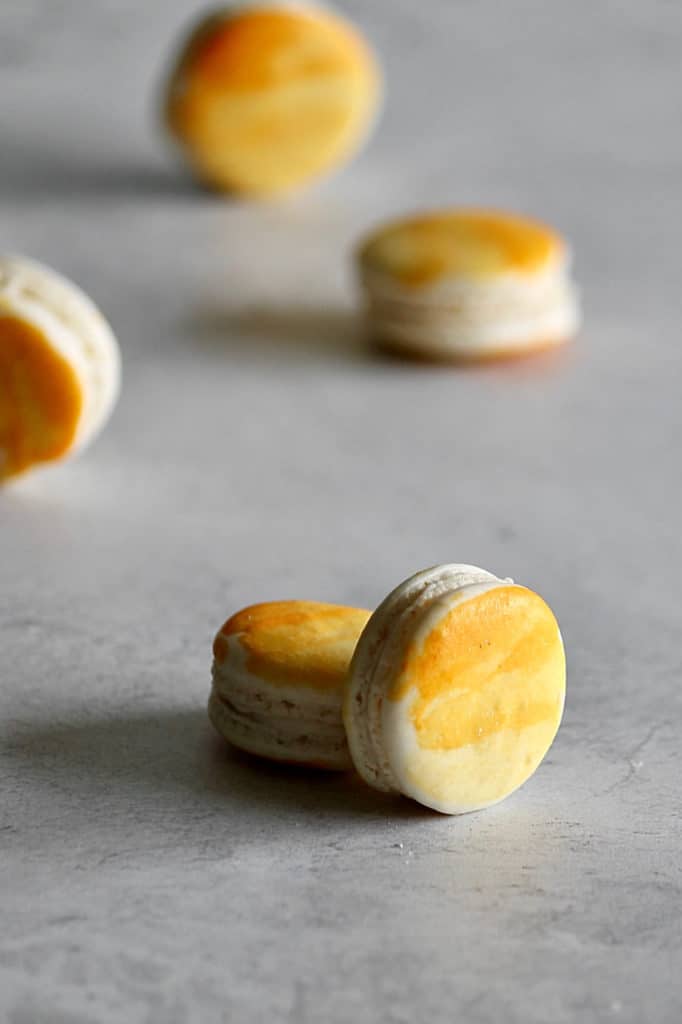
Below I'll walk you through the steps for decorating these hand-painted macarons. I'm including process photos and the full video from Youtube below so you can better see these ombré macarons come to life.
And in case you're wondering how to bake macarons of your own, I recommend this macaron recipe from Broma Bakery. I haven't tried many others, as this one has been so great. There are a lot of failed macaron horror stories out there when batches go wrong. But if you follow Broma's steps, you should soon have a nice batch of your own macarons to decorate!
Like I mentioned, though, you could always buy some plain colored macarons from the store and simply decorate those. Homemade ones are quite tasty, though!
Steps for these Hand Painted Macarons
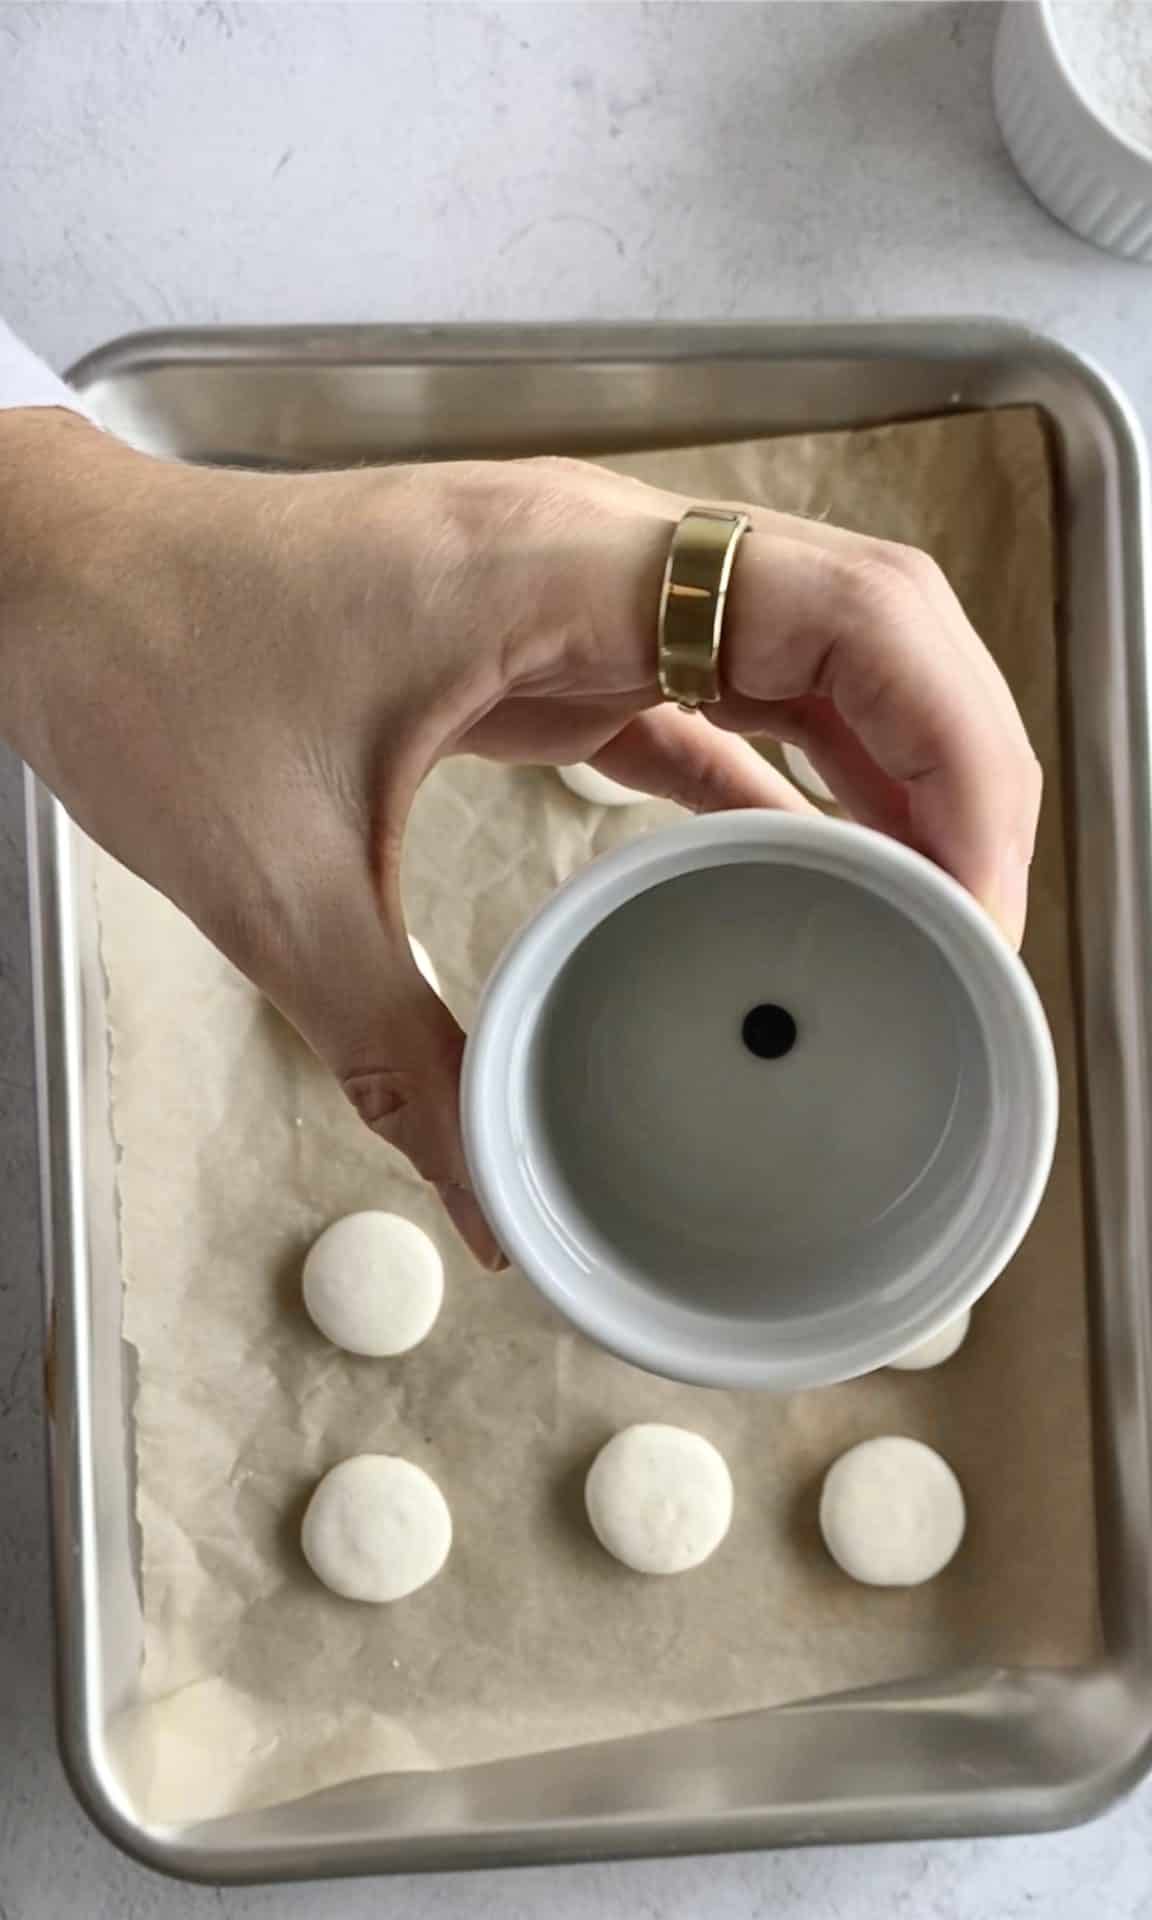
On a clear surface, spread out your wax or parchment paper. Place your macaron shells on top with the rounded side facing upward. Then, place a few spoonfuls of powdered sugar into one of your small containers.


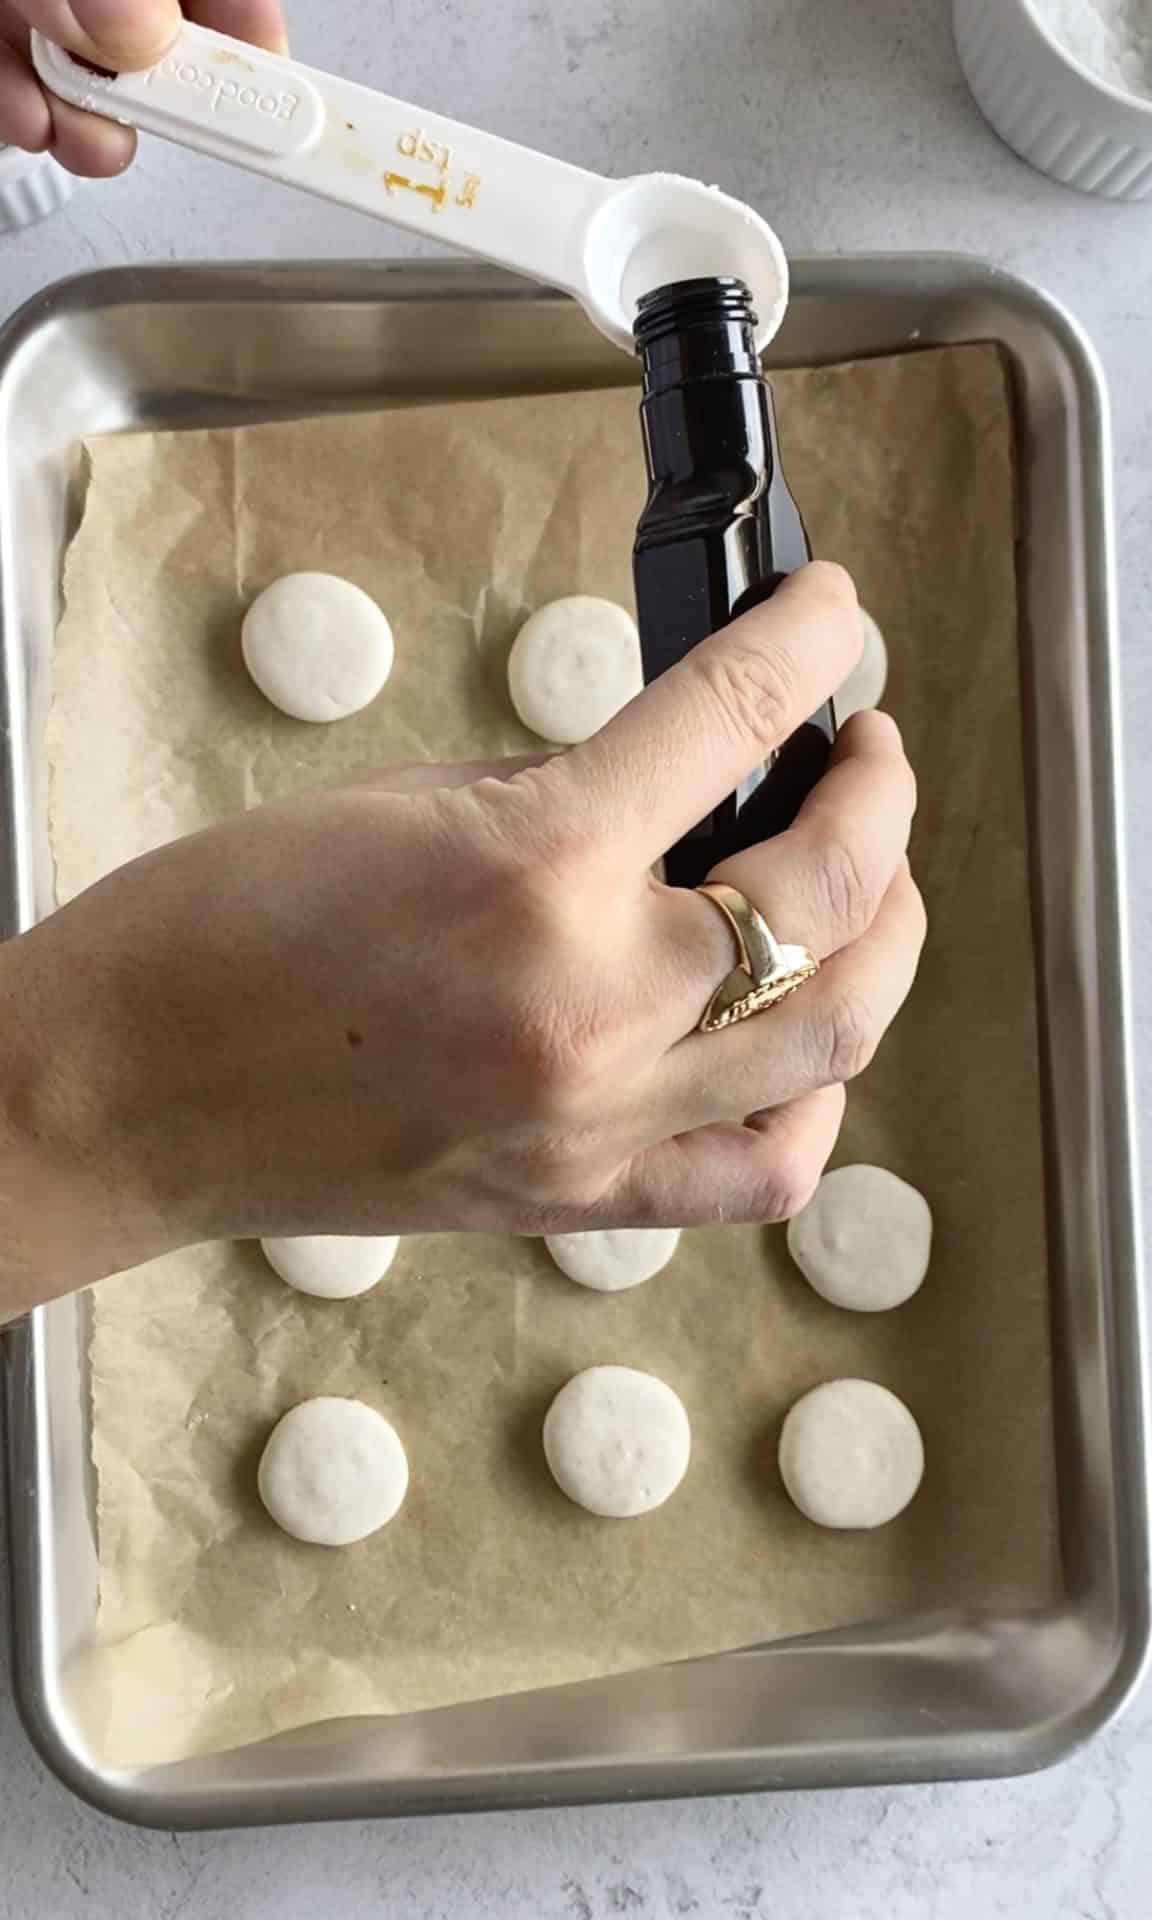
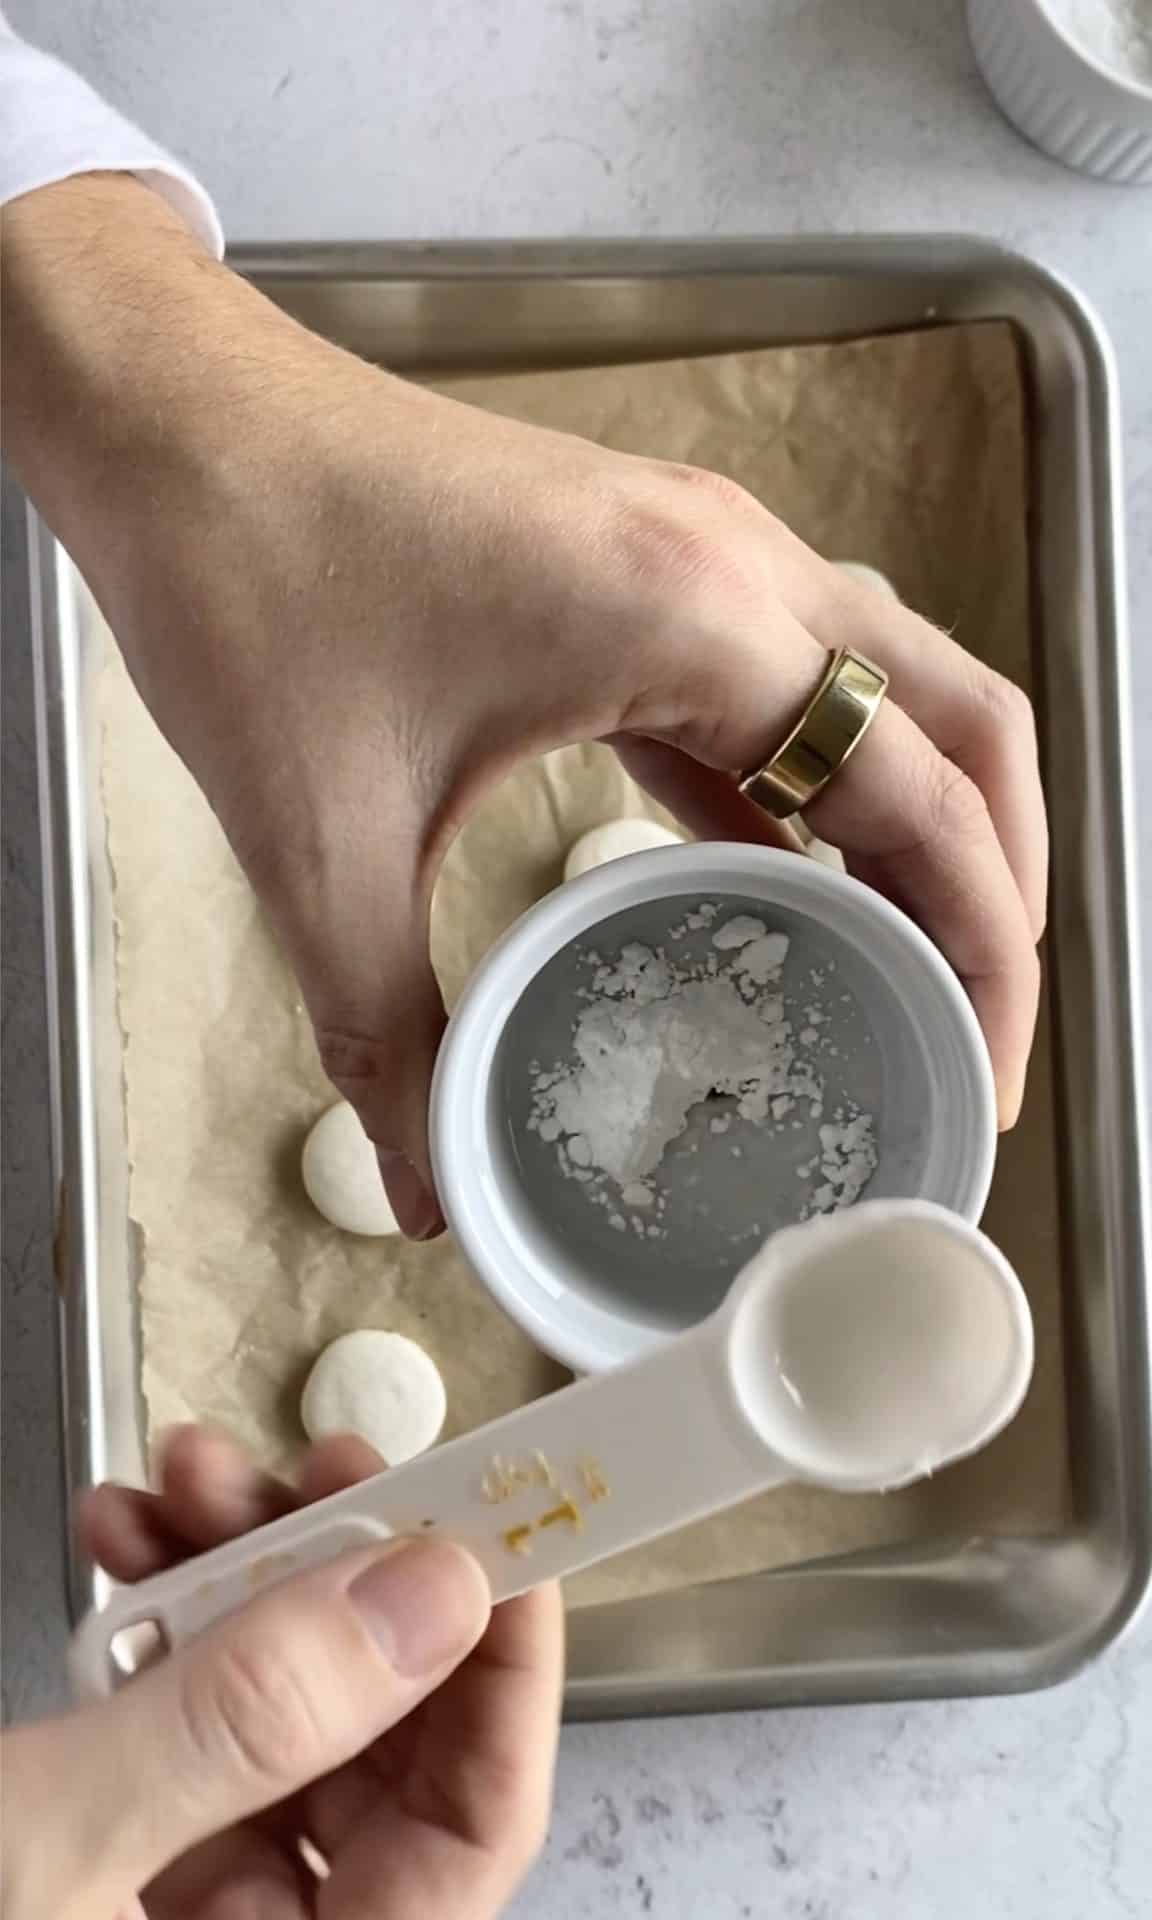
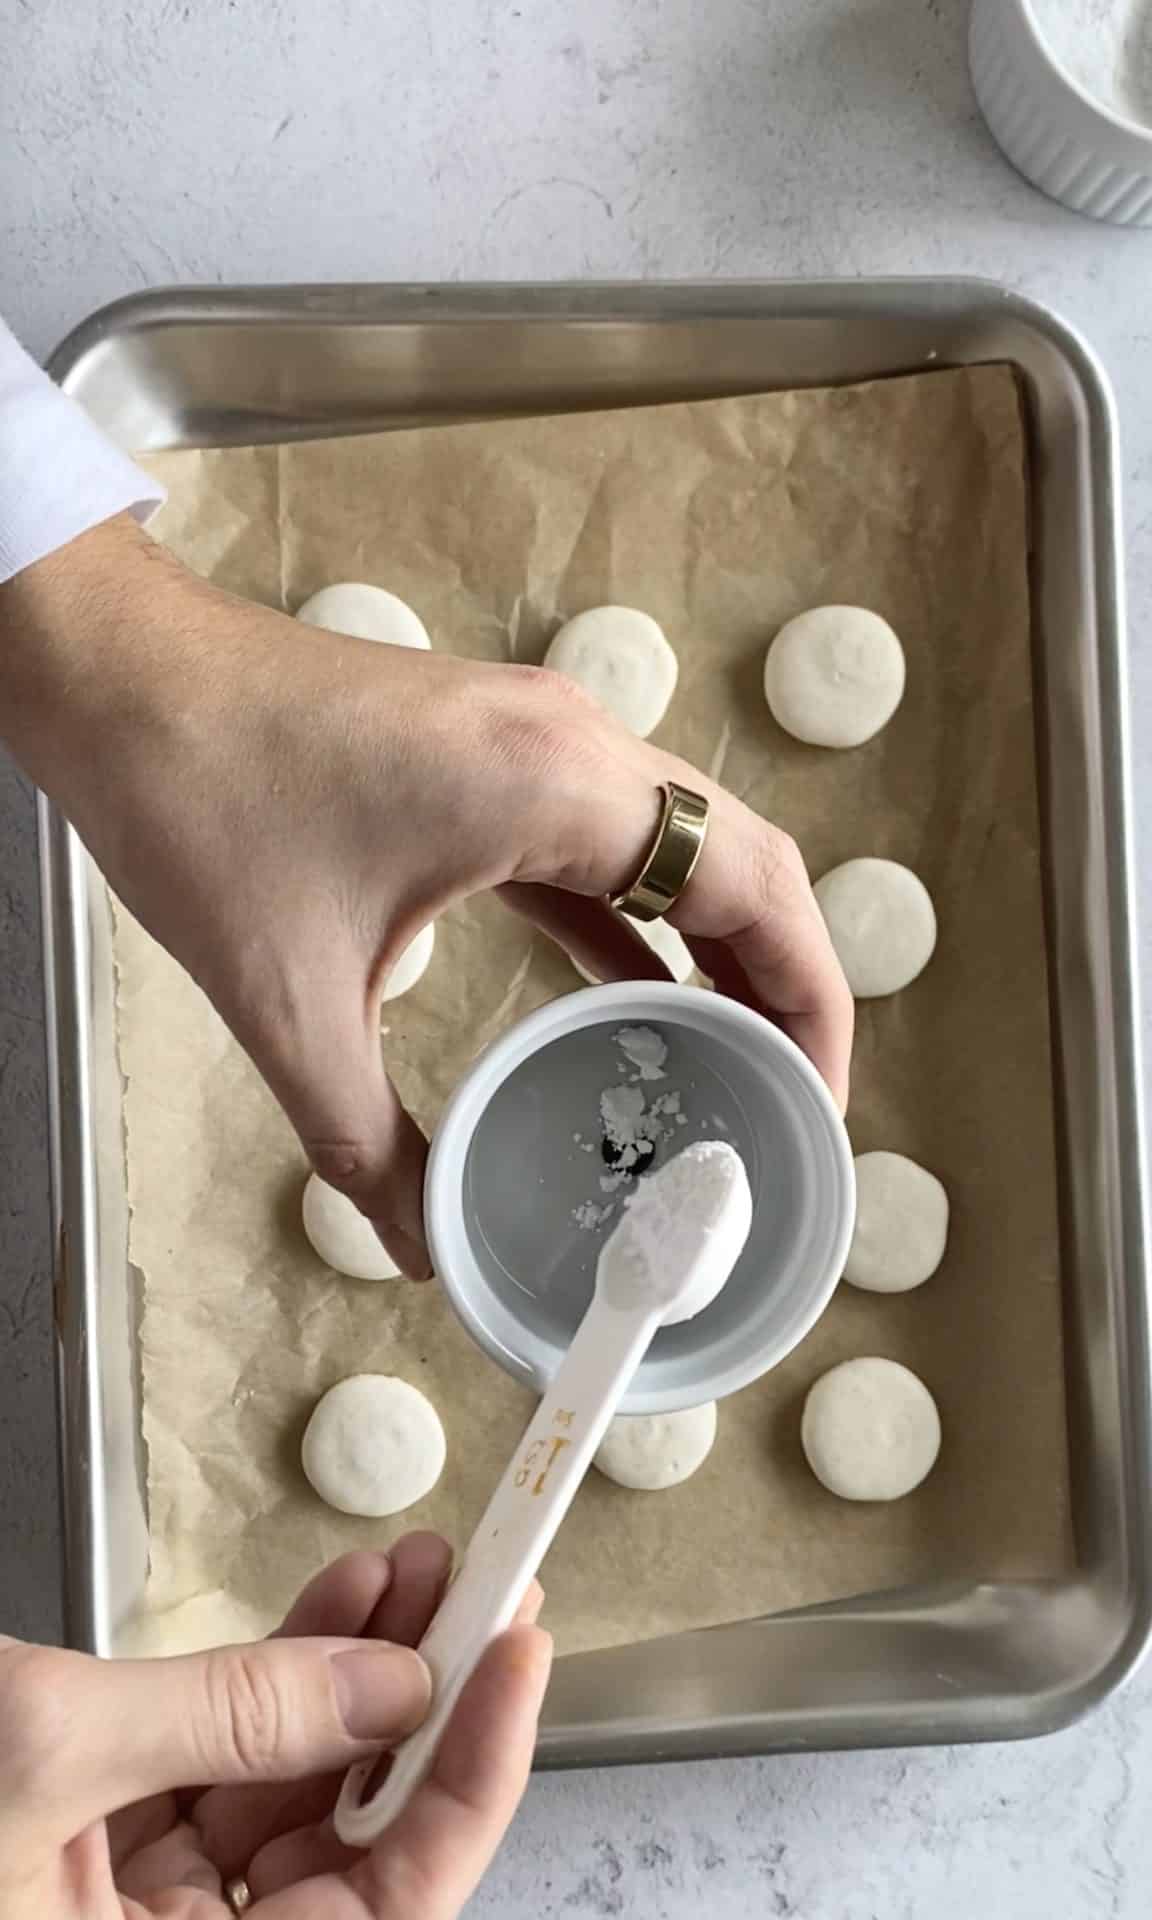
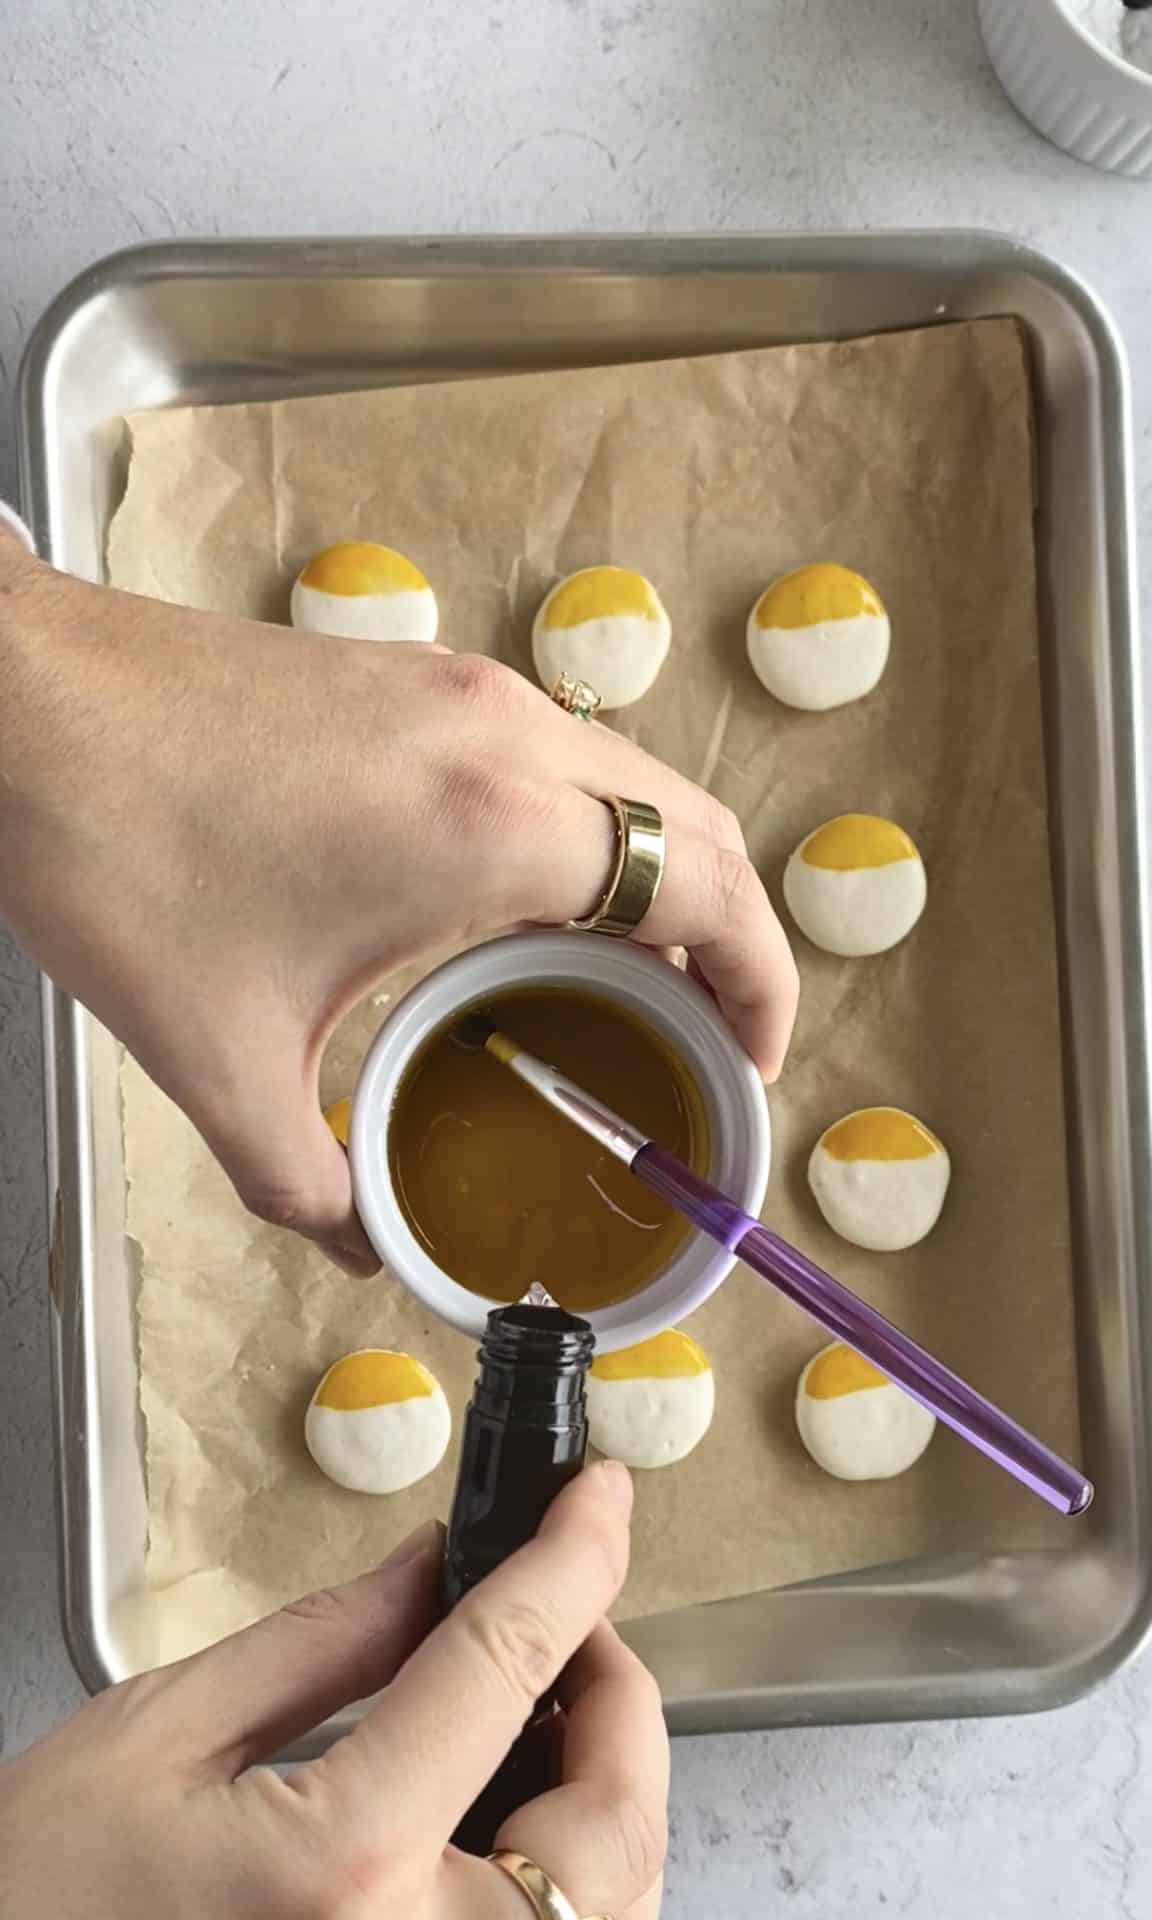
Next, put a drop of food gel into another one of your small containers. Add to that ½ teaspoon of powdered sugar, followed by ½ teaspoon of clear extract. Mix food gel, powdered sugar, and extract together with a paintbrush. This will be your darkest color, so if you want to deepen it, add more food gel until it's your desired shade.
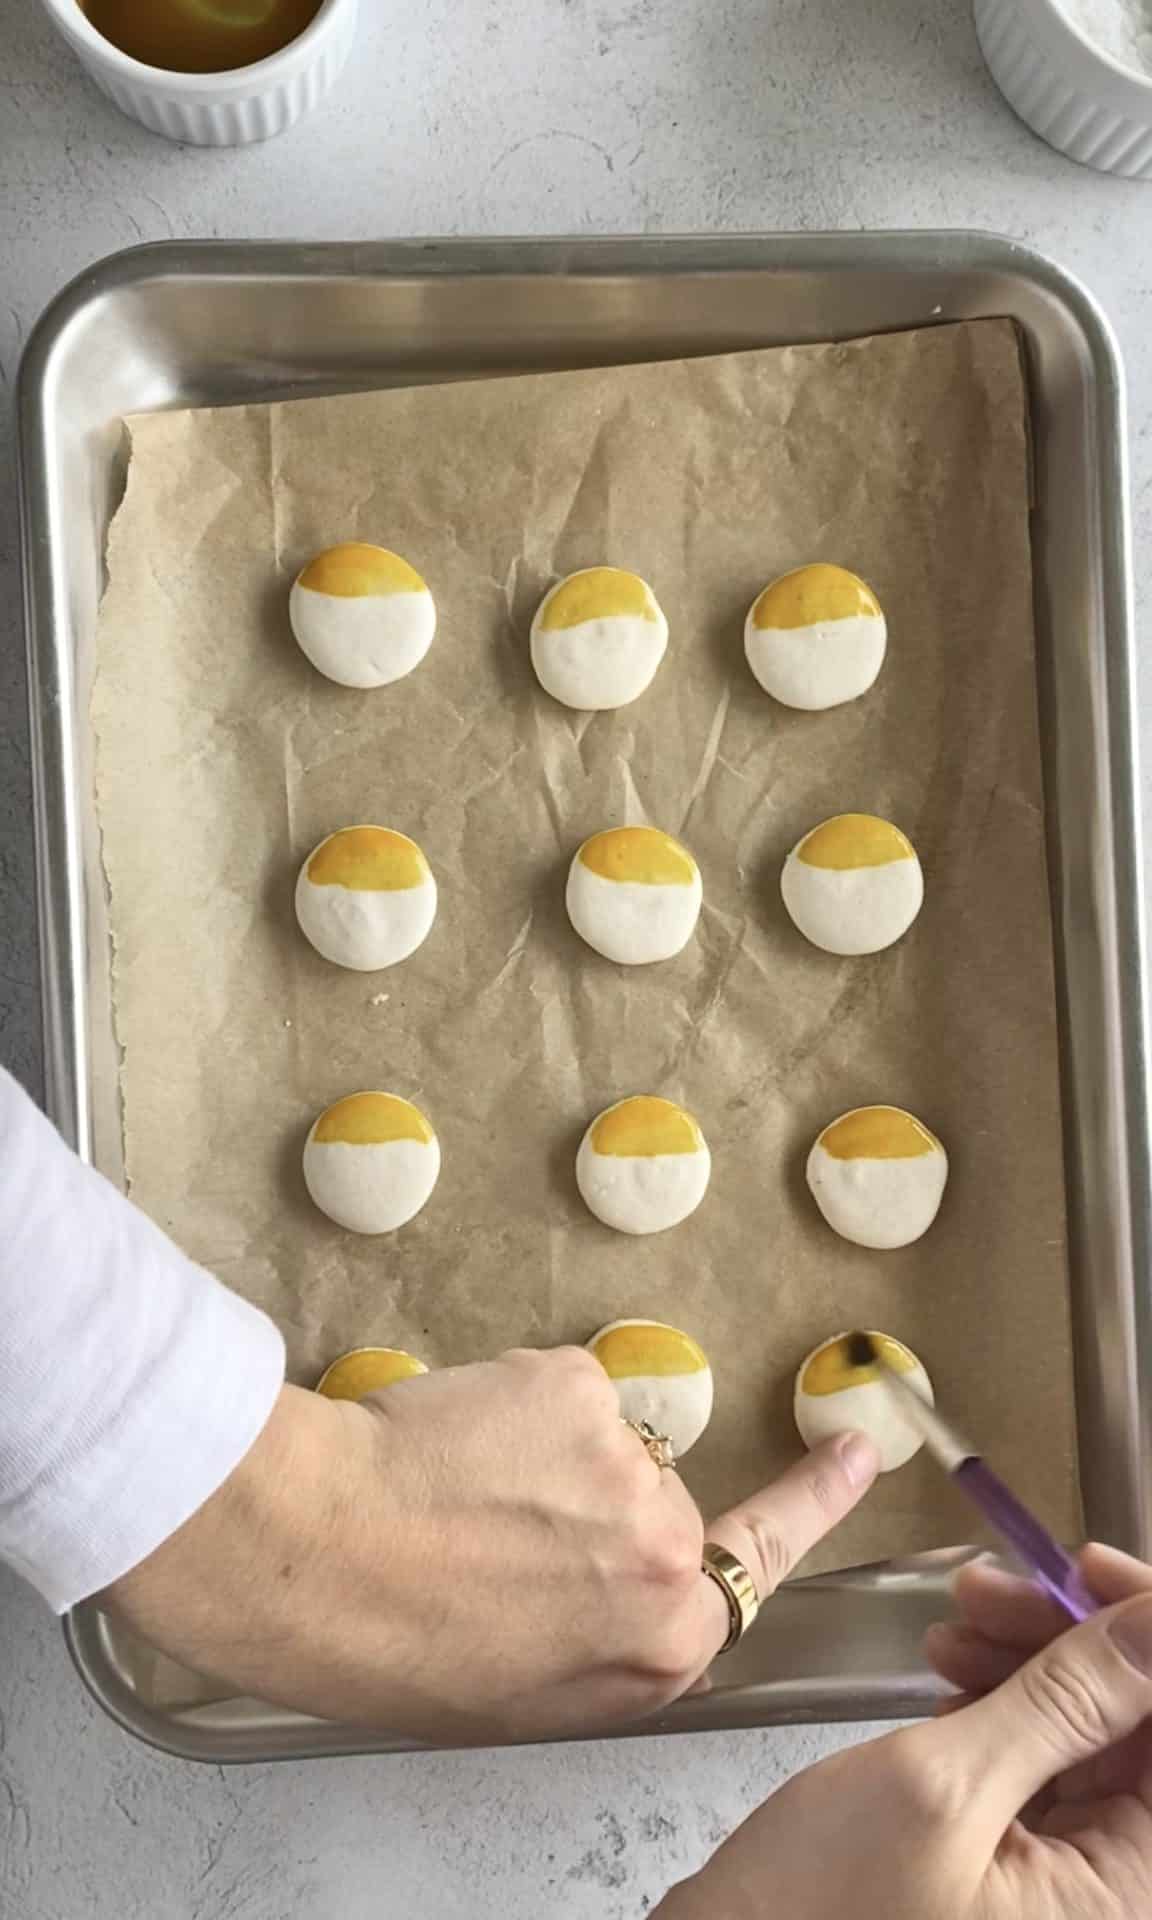
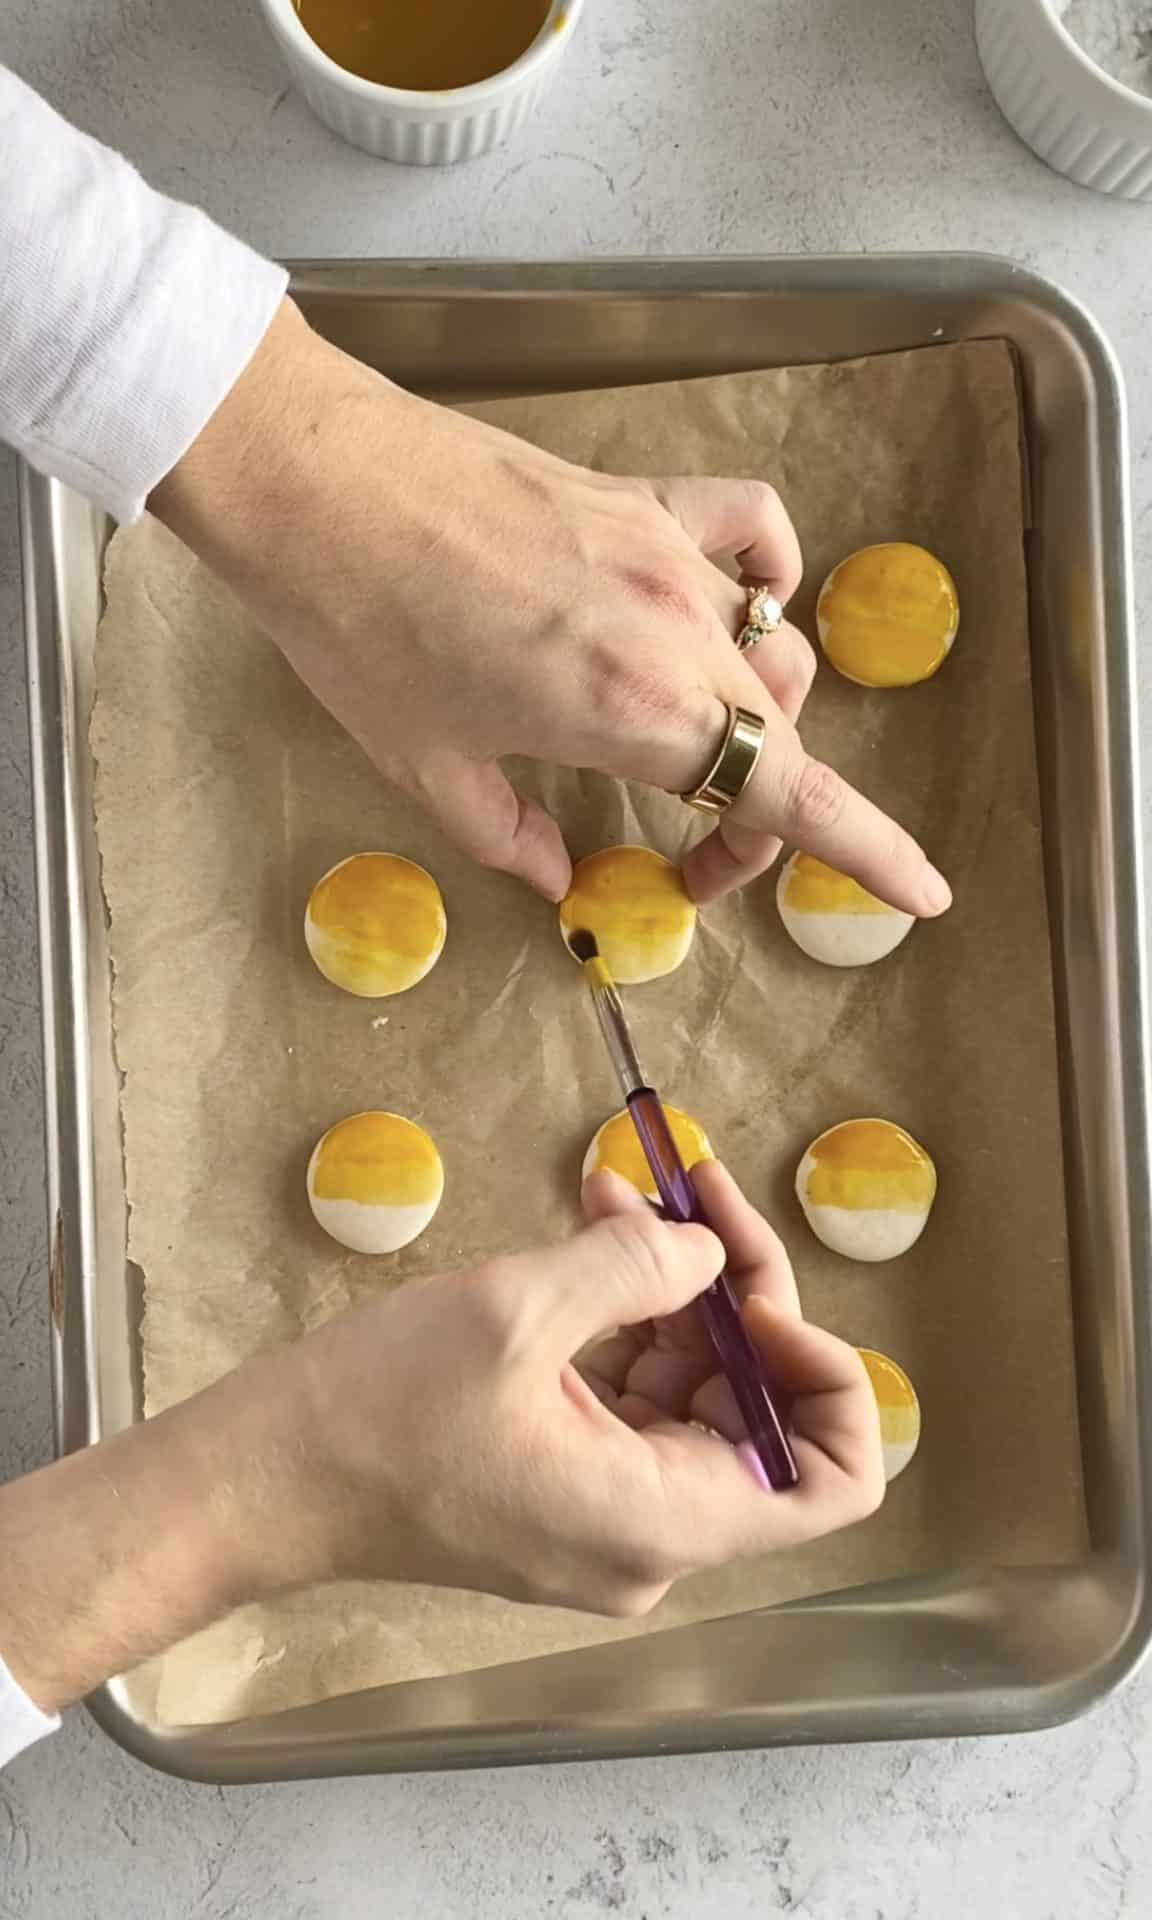
Paint one stripe of this color onto one third of all your macaron shells. You may need to gently hold it in place with your hand or a few fingers.
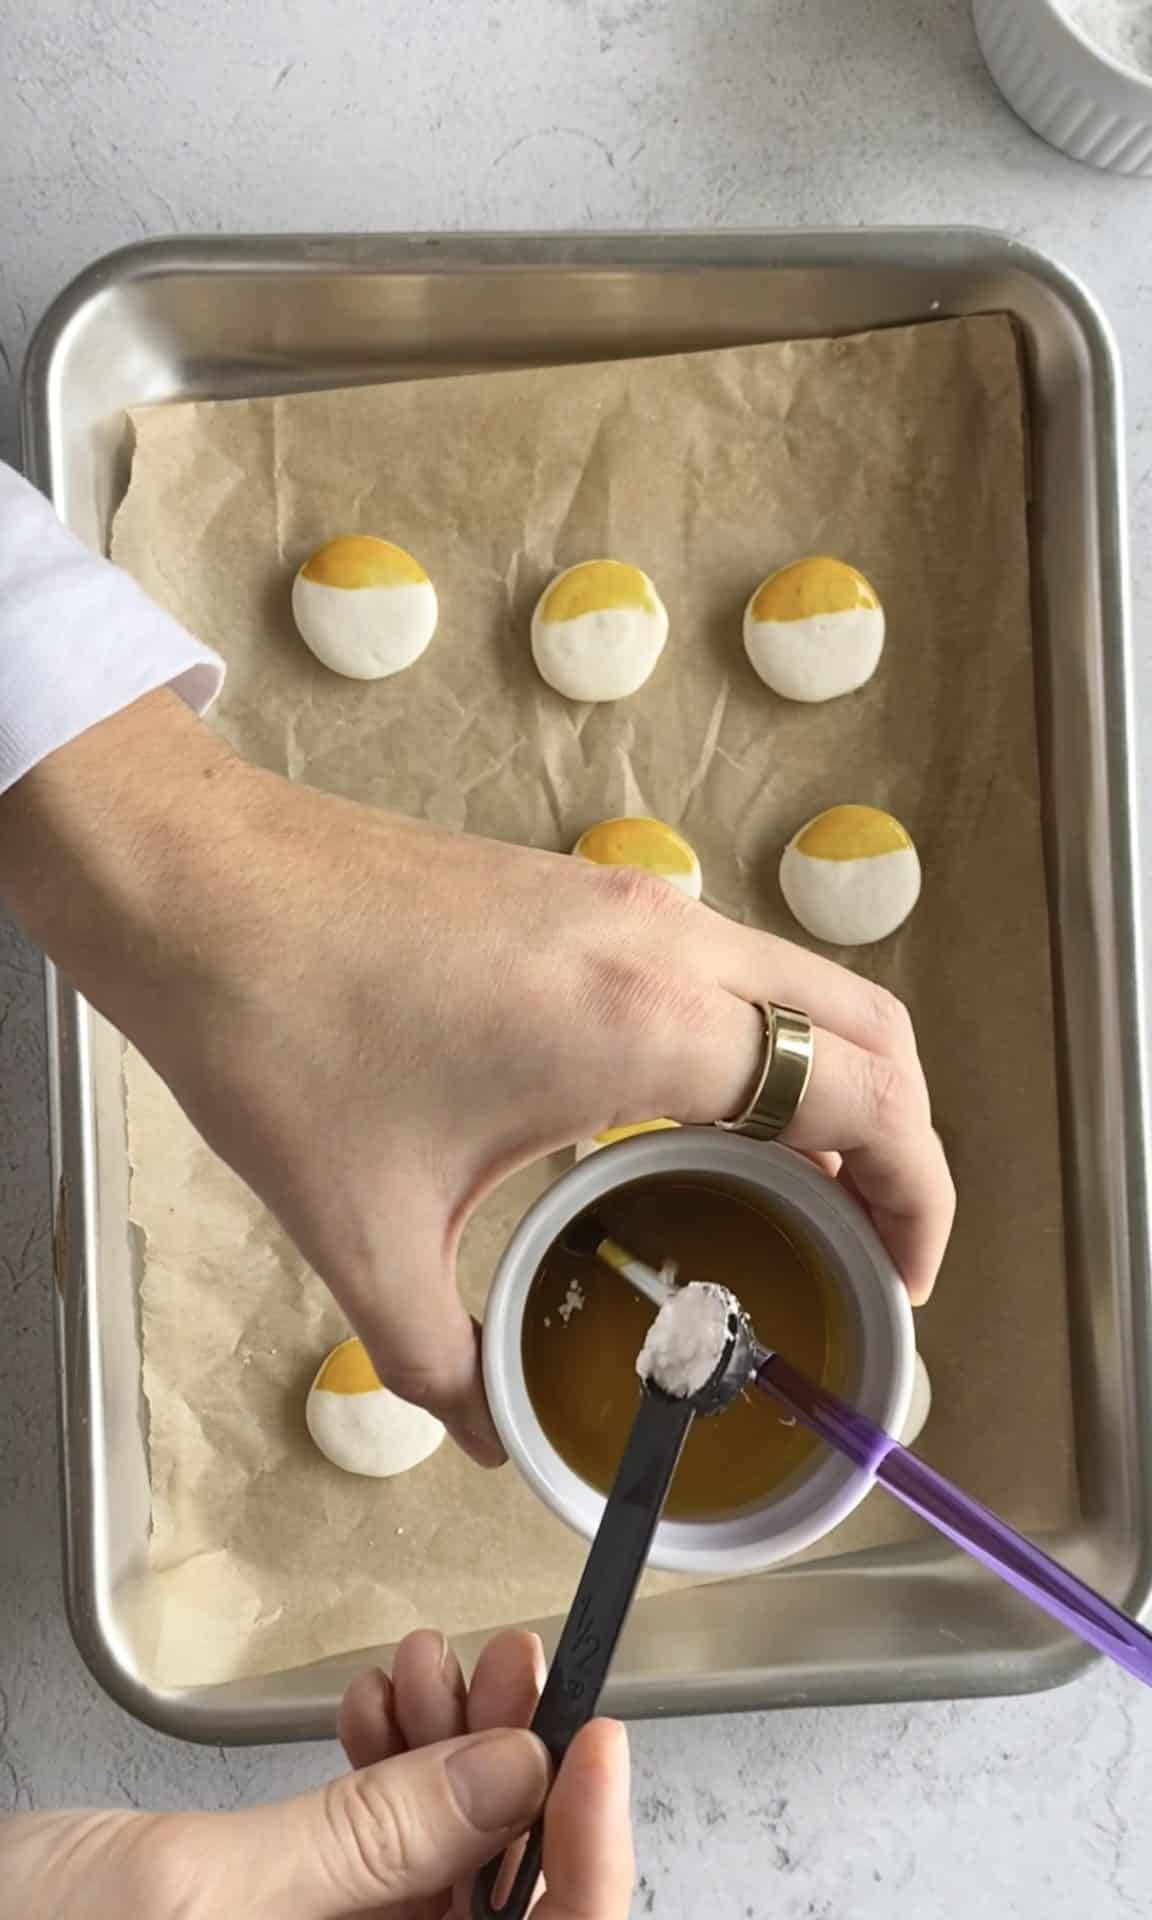
Then, lighten your paint slightly by adding another 1-2 teaspoons of powdered sugar and ½ teaspoon of clear extract.
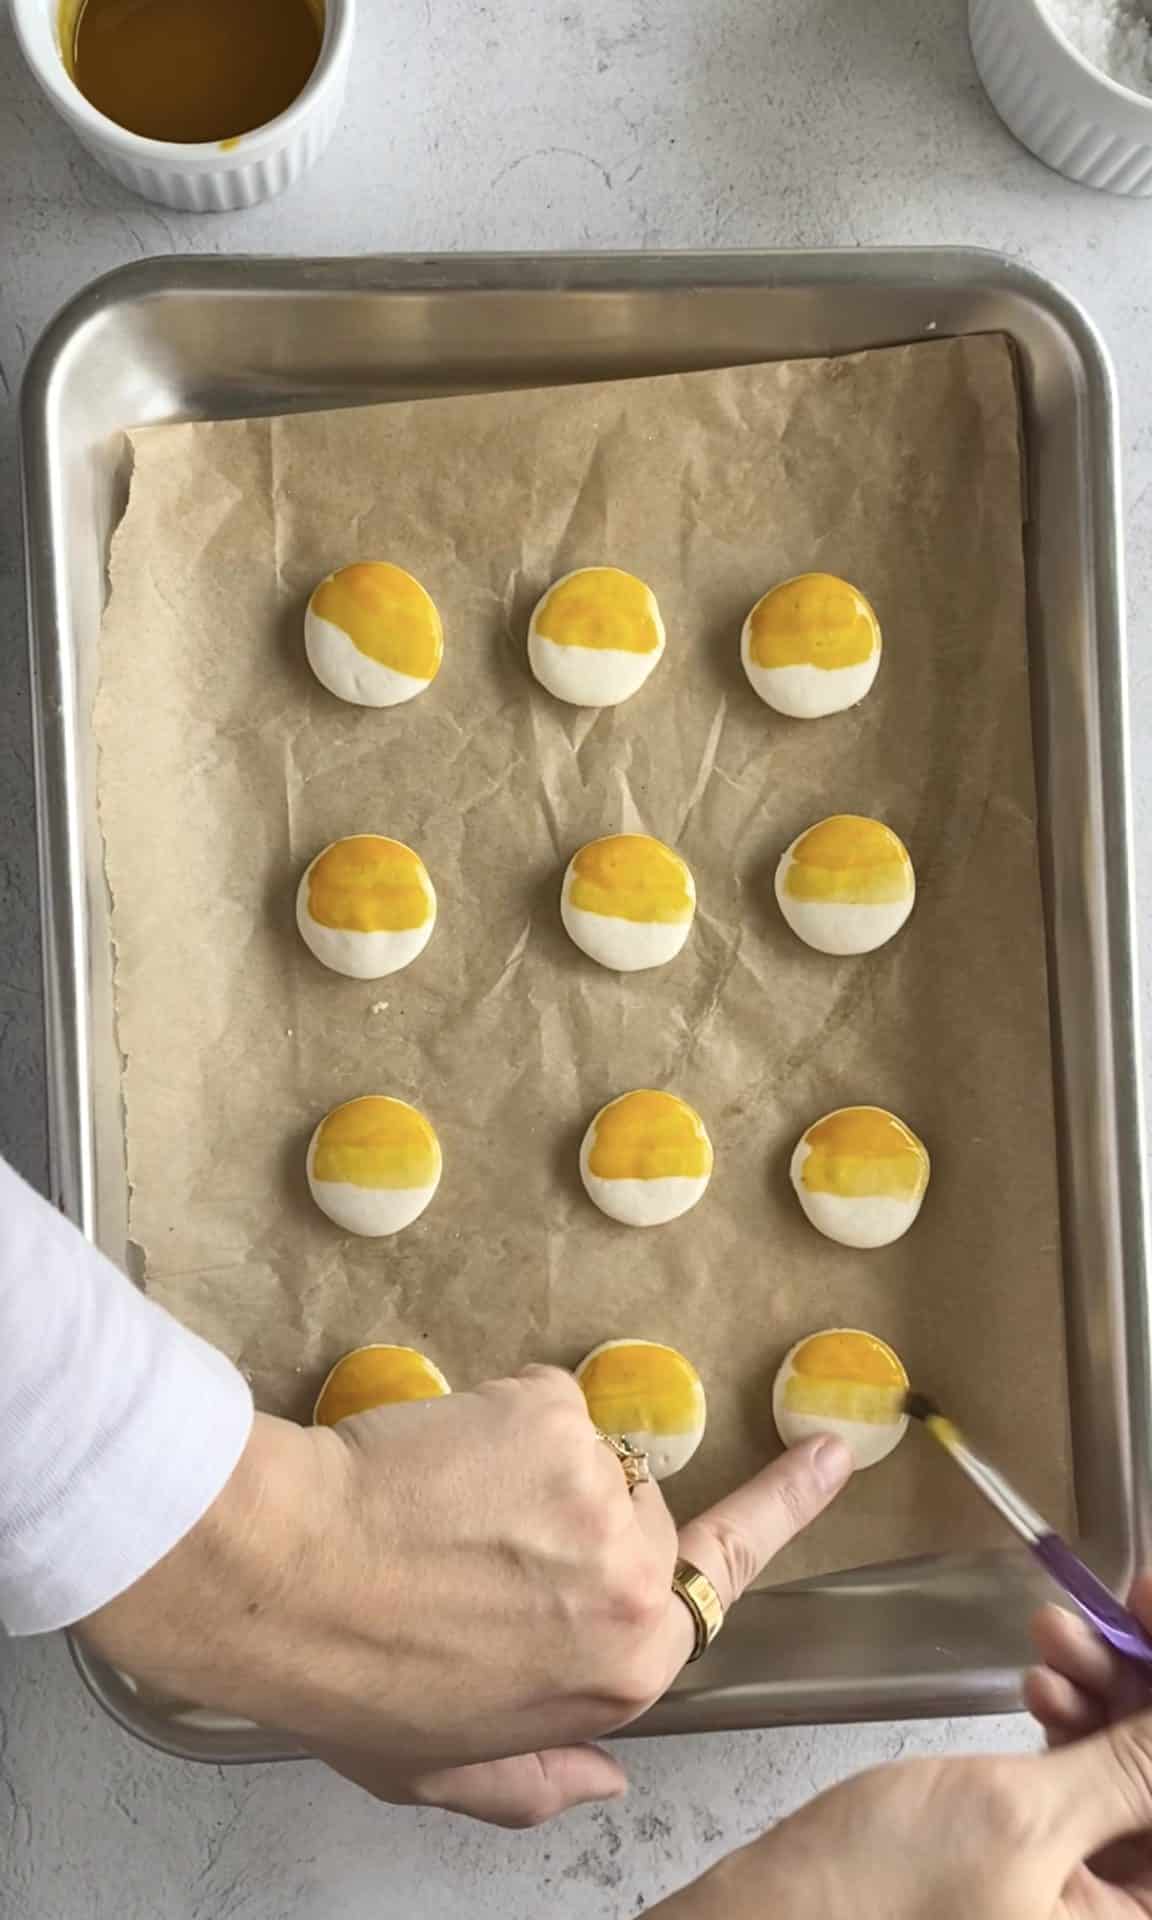
Test this color on one of your macaron shells. If it appears lighter, continue to paint this color on all the middle sections of your macaron shells. If it does not appear lighter, add a bit more powdered sugar and ¼ teaspoon of clear extract at a time to your paint.
Once all of your macarons have been covered in approximately ⅔ of your food gel mixture, repeat the process for lightening your paint. Add more powdered sugar and extract as needed.
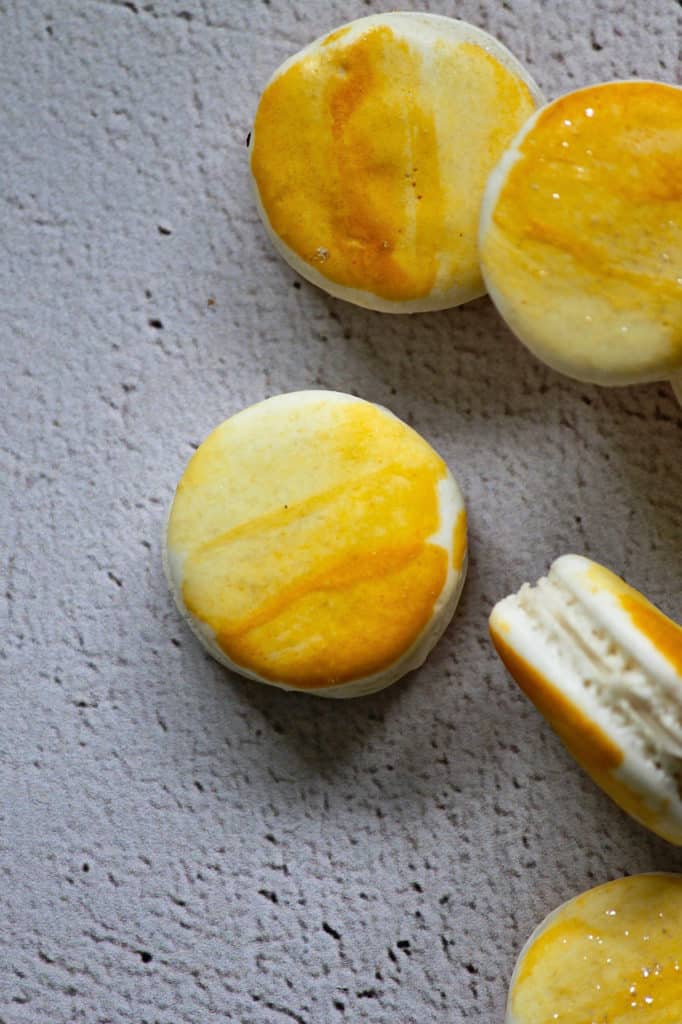
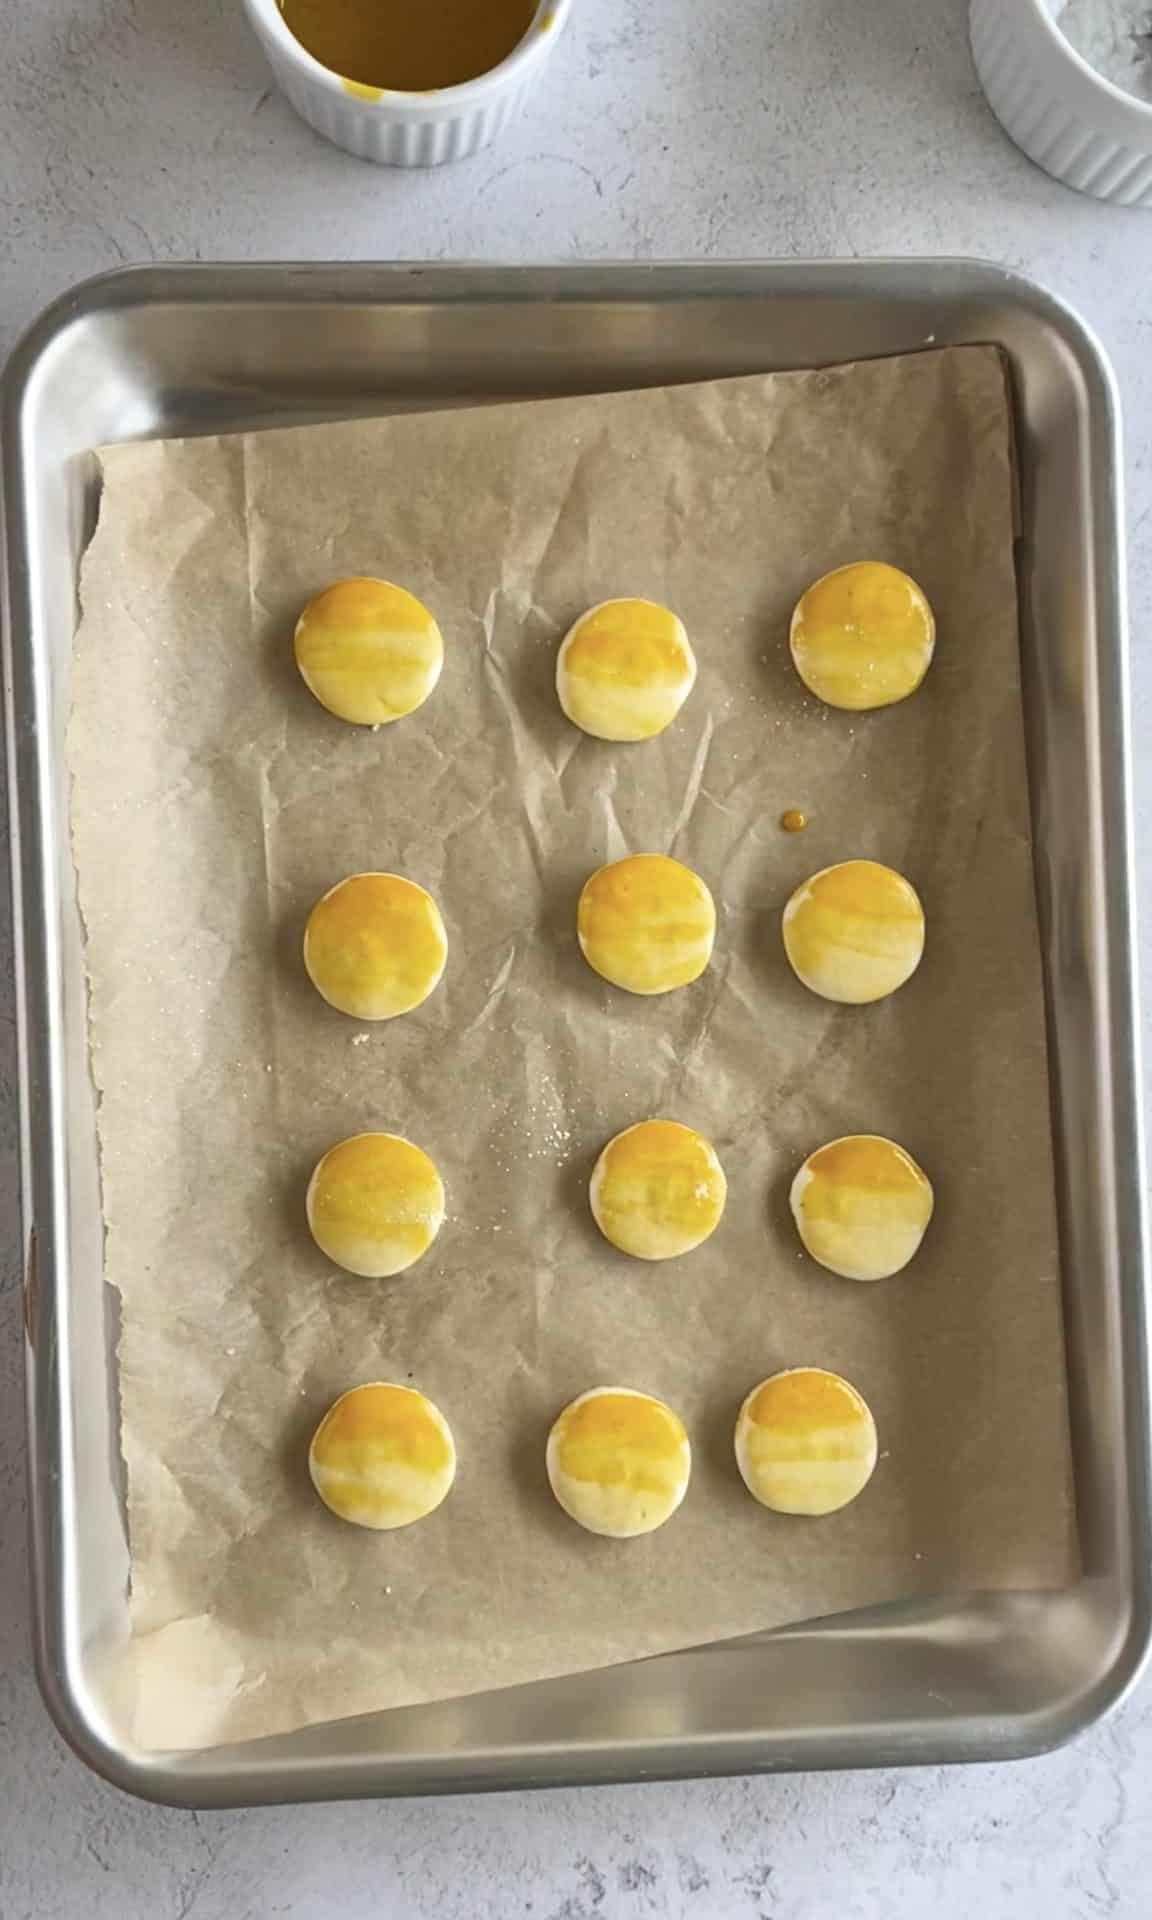
Paint the final third of your macaron shells. You should notice a gradual change in color from top to bottom.
To lighten or blend any of the sections, pour ½ teaspoon of clear extract into your third small container. Dip your paintbrush into that, and wipe it across any areas that are too dark. Or blend it along lines between colors to create a more gradually faded effect.
Final Decorating Tips
Here, I only used 12 macaron shells from a larger batch I'd made. However, I had leftover gold food gel coloring and "paint" mix. I could've decorated at least 12 more shells with the remaining amount. Feel free to stretch this recipe as much as needed. You would likely be able to cover 24 or more shells with the amount here. A little bit of these ingredients goes a long way, as macarons are relatively small and require only a little food gel, powdered sugar, and extract.
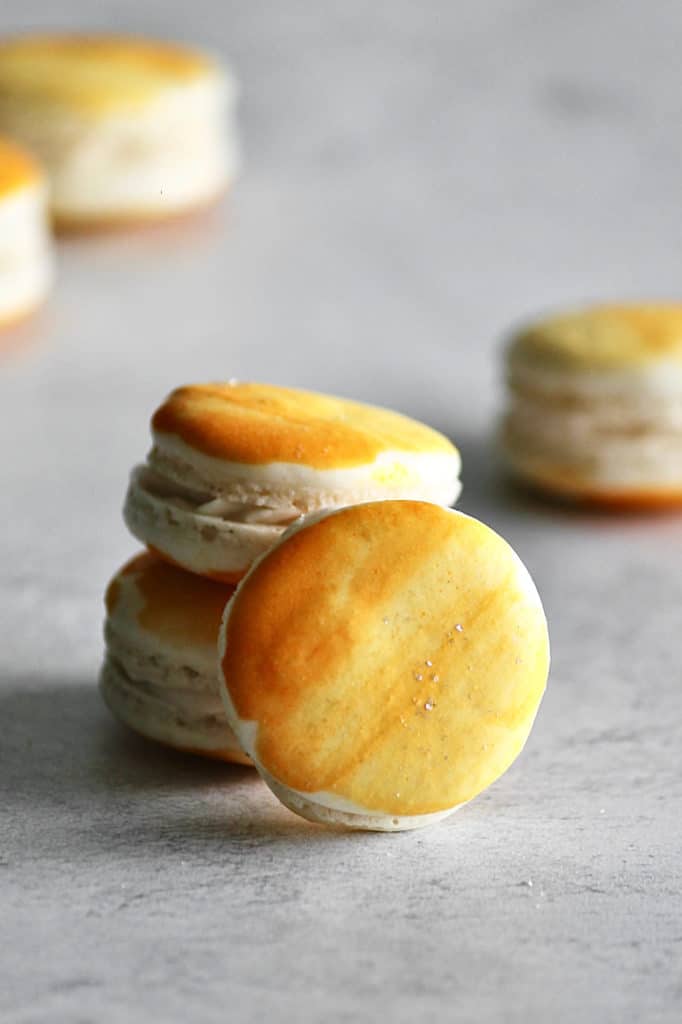
For this tutorial for painting macarons, once you've finished all the steps, leave them out until dry to the touch (about 15 or so minutes). You'll want to make sure they're completely dry before assembling and adding buttercream, ganache, or filling of your choice between the layers. Otherwise, your colors may smear, and you'll have a mess on your hands!
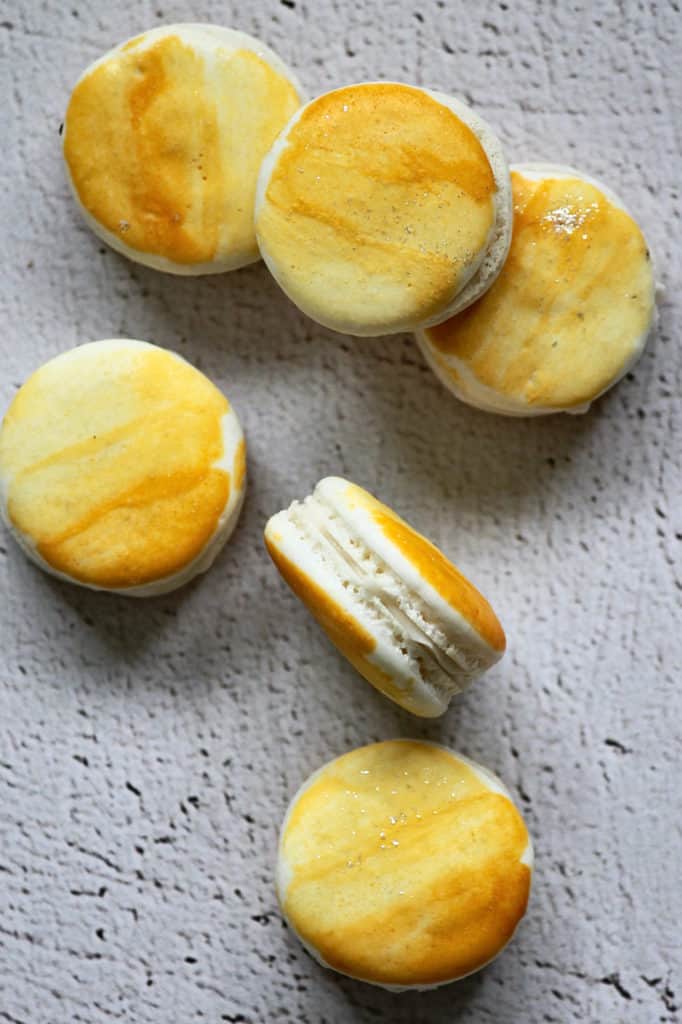
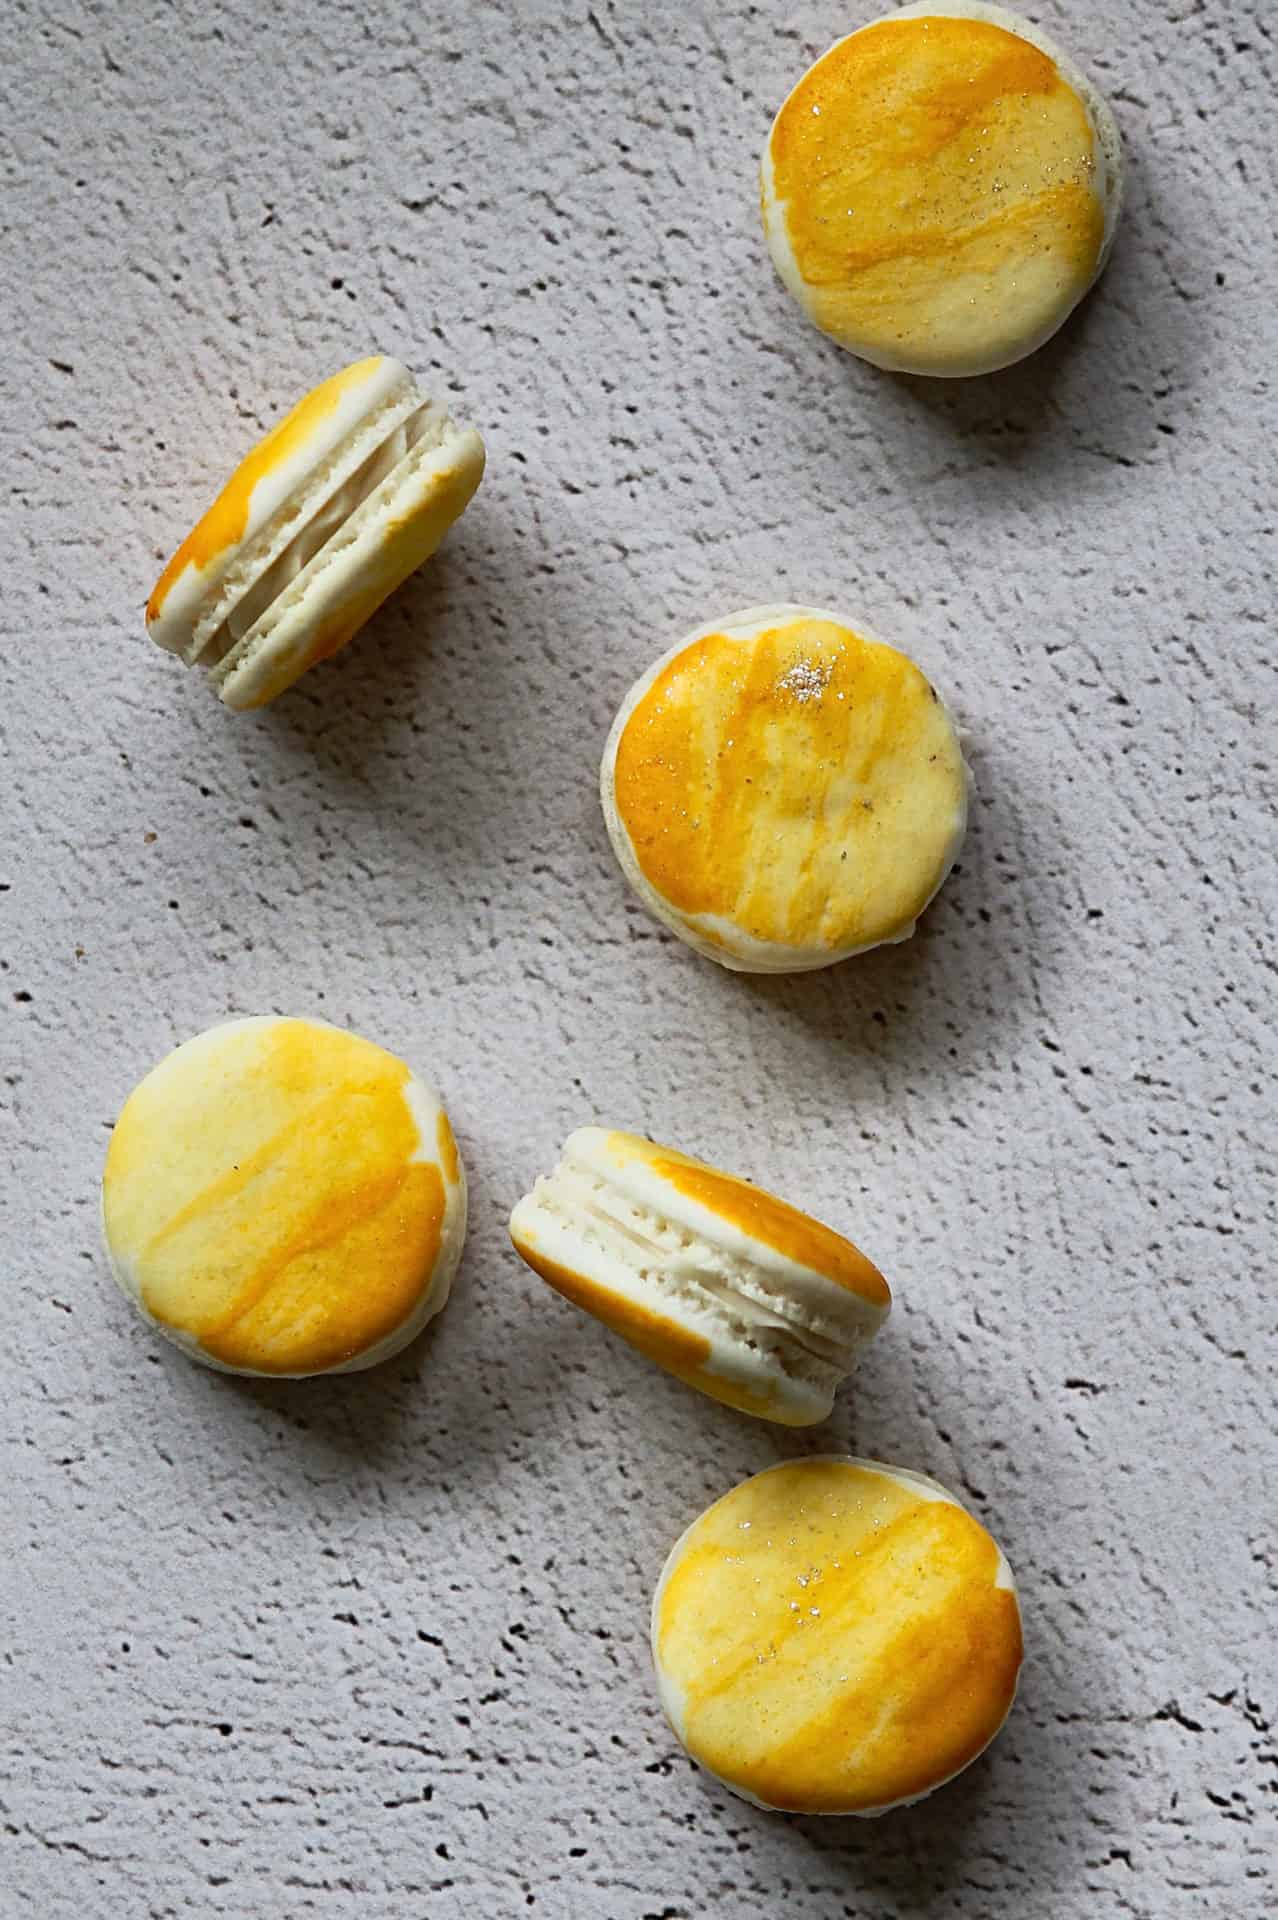
Lastly, I love tossing a bit of sparkle on my macarons, so I finished them off with some edible glitter from Bakell! This is definitely not necessary, but it is a fun addition for painting macarons. 🙂
Freezing and Storing Macarons and Making Macarons in Advance
If you're wondering if you can freeze your macarons, you can! And if you're worried how they'll hold up in the freezer, you don't need to be. With proper care, these cookies do well in the freezer. You can make macarons in advance.
Personally, when I've decorated macarons I've tried both approaches. I've filled them with frosting then frozen them. I've also popped the empty, decorated shells in the freezer to fill with frosting later. In either case, you'll need to have an airtight container.
Line your airtight container with wax paper, then place the dried macarons next to each other in rows. I continue to add layers on top of each other, with waxed paper between them. This keeps the cookies from sticking together.
In terms of storing them filled or unfilled, both work. For freshness, I prefer to freeze macaron shells by themselves and decorate them about a day before serving. But I've frozen filled macarons too. That said, softer fillings and frostings (like curds, jellies, and jams) don't hold up well in the freezer. I would not recommend those advance fillings.
I would generally recommend consuming them within a month after frozen. When you're ready to eat them, bring the macarons out of the freezer and let thaw in the refrigerator a day ahead of time. Bring to room temperature an hour before serving for the chewiest macarons!
Other Recipes and Tutorials
If you're looking to decorate a cake instead of painting macarons, be sure to check out my other tutorials, like this one for decorating cake with a spoon.
And if macarons aren't quite your style, maybe my big batch of chocolate chip cookies is what you need in your life instead.
Print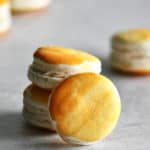
Painting Macarons: Ombré Tutorial
- Total Time: 15 minutes
- Yield: 6 painted macarons 1x
Description
Wondering how to paint macarons? This tutorial makes painting macarons simple; these ombré macarons come together in under half an hour!
Ingredients
Equipment:
- Food-safe brushes for cake and cookie decorating
- Three small mixing bowls, ramekins, shot glasses, or similarly small containers
- Parchment or wax paper
- Set of measuring spoons
Ingredients for painted design:
- Minimum of 12 white or lightly-colored macaron shells
- 1–2 drops of food gel color(s) of your choice
- 1 ½ tsp of clear extract (like almond, peppermint, lemon or another clear extract), divided into thirds
- 3 tbsp of powdered sugar, divided into thirds
- Optional but fun: Edible glitter for dusting on top
Instructions
- Begin by setting up your station for painting your macaron shells. On a large, clear surface, such as a countertop, put down your wax or parchment paper with your macaron shells on top. Then, pour your powdered sugar into one of your small containers.
- Put one drop of food gel into another one of your small containers. Add ½ teaspoon of powdered sugar, followed by ½ teaspoon of your clear extract. Mix food gel, powdered sugar, and extract together with a paintbrush.
- Paint one stripe of this color onto one third of all your macaron shells.
- Lighten your paint slightly by adding another 1-2 teaspoons of powdered sugar and ½ teaspoon of clear extract.
- Test this color on one of your macaron shells. If it appears lighter, continue to paint this color on all the middle sections of your macaron shells. If it does not appear lighter, add a bit more powdered sugar and ¼ teaspoon of clear extract at a time to your paint.
- Once all of your macarons have been covered in approximately ⅔ of your food gel mixture, repeat the process for lightening your paint. Add more powdered sugar and extract as needed.
- Paint the final third of your macaron shells. You should notice a gradual change in color from top to bottom.
- To lighten or blend any of the sections, pour ½ teaspoon of clear extract into your third small container. Lightly dip your paintbrush into that, and wipe it across any areas that are too dark. Or wipe it along the lines between colors to create a better, more gradually faded effect.
- Leave macarons out until dry to the touch (about 15 or so minutes) before assembling and adding buttercream, ganache, or filling of your choice between the layers.
Notes
If you've just baked macarons, you likely have more than 12 shells available, as many recipes will yield a few dozen. I only decorated 12 shells here, but I had food gel color leftover. I could've decorated at least 24 shells with the remaining amount. Feel free to stretch this recipe as much as needed, as you will likely be able to cover 24 or more shells with the food gel here. A little bit of these ingredients goes a long way, as macarons are relatively small and easy to quickly paint.
- Prep Time: 5 minutes
- Painting time: 10 minutes
- Category: Dessert
- Cuisine: American

Marie Rouylle
Thanks, you help me a lot, I’m preparing a macarrón tower with 230 macarrones, and your tips for freezing and storing I’m going to follow. Thanks again. Marie
Susan Gravatt
Thanks very much, Marie! Glad the tips here could be helpful, and good luck with your macaron tower. It sounds like it's going to be epic!