This straightforward guide to crumb coat a layer cake with buttercream will elevate you from the average home baker to a semi-pro cake decorator. Show up to your next gathering with a smooth, evenly coated cake, and people will ask where you bought it. With some basic cake decorating tools, crumb coating is totally possible and also a pretty fun and satisfying process to do in your own kitchen

I developed this guide because when I first got into cake decorating in the early pandemic days, I was stumped by how people made professional-looking cakes at home.
Successfully crumb coating a cake was one way I really upped my baking game. This is the guide I wish I had had then; it's got simple steps, a clear outline of the must-have short list of tools and background on why crumb coating matters.
And if you have never crumb coated a cake, it's a bit of a life-changing experience. Not because it's hard or unusual, but when done correctly, it is guaranteed to impress and give professional results.
If you're nervous to jump into crumb coating quite yet, below are some other cake options that don't require this step:
- Dirty chai cake - Because the cake has a marbled chai buttercream that has more of a rustic look, there's no need to crumb coat here.
- Avoid crumb coating entirely by glazing a cake! That's what I do in my cranberry sour cream Bundt cake and chocolate raspberry Bundt cake.
- Skip frosting and glaze by going for a simple yet moist loaf like this oatmeal chocolate chip banana bread.
Jump to:
- The Essentials to Crumb Coating
- What is a Crumb Coat?
- Why do you need to crumb coat cakes?
- 💭 Top Tip for Crumb Coating: Cold Cake
- Tips for Smooth Frosting
- Tip for Flat Cake Tops: Cake Strips
- 📋 Ingredients to Crumb Coat a Cake with American Buttercream
- Equipment
- Layer Cake Crumb Coating and Assembly
- Adding Finishing Touches
- Cake Storage and Serving
- Crumb Coating FAQ
- Related Recipes You'll Love
The Essentials to Crumb Coating
I'll break down this guide into a few main topics, followed by some common questions I get about crumb coating and creating a smooth cake:
- Understanding the importance of crumb coating as well as each essential step and tips (like wrapping your cake layers and refrigerating them) to follow before and after
- Ingredients and cake tools you need to successfully crumb coat a cake
- A step-by-step tutorial with photos for how to add this thin coat of buttercream to your layer cake, using standard decorating tools
What is a Crumb Coat?
If you're new to the idea of a crumb coat, think of it like this: It's a thin layer of icing or frosting on your cake.
Cake bakers and decorators include this important step in their creations before adding the final (and likely thicker) layer of frosting to the cake's exterior.
Why do you need to crumb coat cakes?
The goal of a crumb coat is to seal in any loose crumbs from the cake's surface. The thin layer of buttercream prevents those tiny bits of cake from mixing into the final layer of frosting.
If you skip this step, your cake can have a messy look as you drag crumbs and frosting together around your cake.

💭 Top Tip for Crumb Coating: Cold Cake
Cake is easier to decorate when it's cold. A room temperature or warm cake will be much more challenging to coat.
At room temperature, visible crumbs can get pulled from the cake into the frosting, creating a messier look.
For the best decorating experience, I recommend wrapping your cakes in plastic wrap. Freeze them like this for at least an hour before decorating. Do this once they've cooled for 20-30 minutes after baking.
The plastic wrap locks in the cake's moisture in the freezer, so you don't need to worry about this process drying out your cake!
Tips for Smooth Frosting
For a clean and thin crumb coat, you'll want to have a super smooth buttercream.
To achieve this result, start by letting your stand mixer fully combine your room temperature butter, extracts, powdered sugar, and milk or heavy cream.
Then grab a flexible rubber spatula and spend at least 3 minutes swiping the frosting around in your bowl. Push buttercream from the middle to the sides of the bowl, watching as the tears and bubbles. Repeat this motion until you have fewer and fewer rips in your frosting.
This key step is the base for a soft, spreadable frosting to apply to your cake.
And if you're still having trouble spreading your frosting, you can microwave it for a second or two or add milk to thin it!
Tip for Flat Cake Tops: Cake Strips

After crumb coating, bake even strips are perhaps my second favorite secret and tool for creating smooth cakes.
Place these strips in water before wrapping them around your cake pans prior to putting them in the oven.
The strips help cake rise evenly during baking. The pan's sides are first to heat, and the damp strips cool them down. This slows the rise of the batter and creating a more uniform look.
If you want to do the same, start soaking two strips in water before proceeding with following one of my cake recipes.
Without the cake strips, you can also level the top of your cake. Use a serrated knife to remove any domed or rounded layers.
📋 Ingredients to Crumb Coat a Cake with American Buttercream

This guide for crumb coating features a version of my almond buttercream frosting, which is a classic American buttercream.
Below are the ingredients you'll need to make a similar batch of frosting at home, though you can tweak the extract to your liking.
- Unsalted butter, room temperature - Room temperature butter mixes more easily in your bowl, ensuring a smooth consistency.
- Powdered sugar - In addition to bringing in a sweet taste, this ingredient also contributes to buttercream's light, soft texture.
- Pure almond extract -This is an optional extract, though you can play around with lemon, coconut, raspberry - whatever flavor you most enjoy.
- Pure vanilla extract - The aroma of vanilla extract contributes to the overall warmth in taste and appeal of the frosting.
- Regular milk, heavy cream, almond milk, or heavy whipping cream - Any one of these ingredients add moisture, contributing to a smooth, spreadable texture of the frosting. Milk is helpful for thinning frosting, while heavy cream or whipping cream can firm up the consistency.
- Kosher salt (use half as much for table salt) - Salt enhances the overall flavor profile. This ingredient balances the sweetness.
Equipment
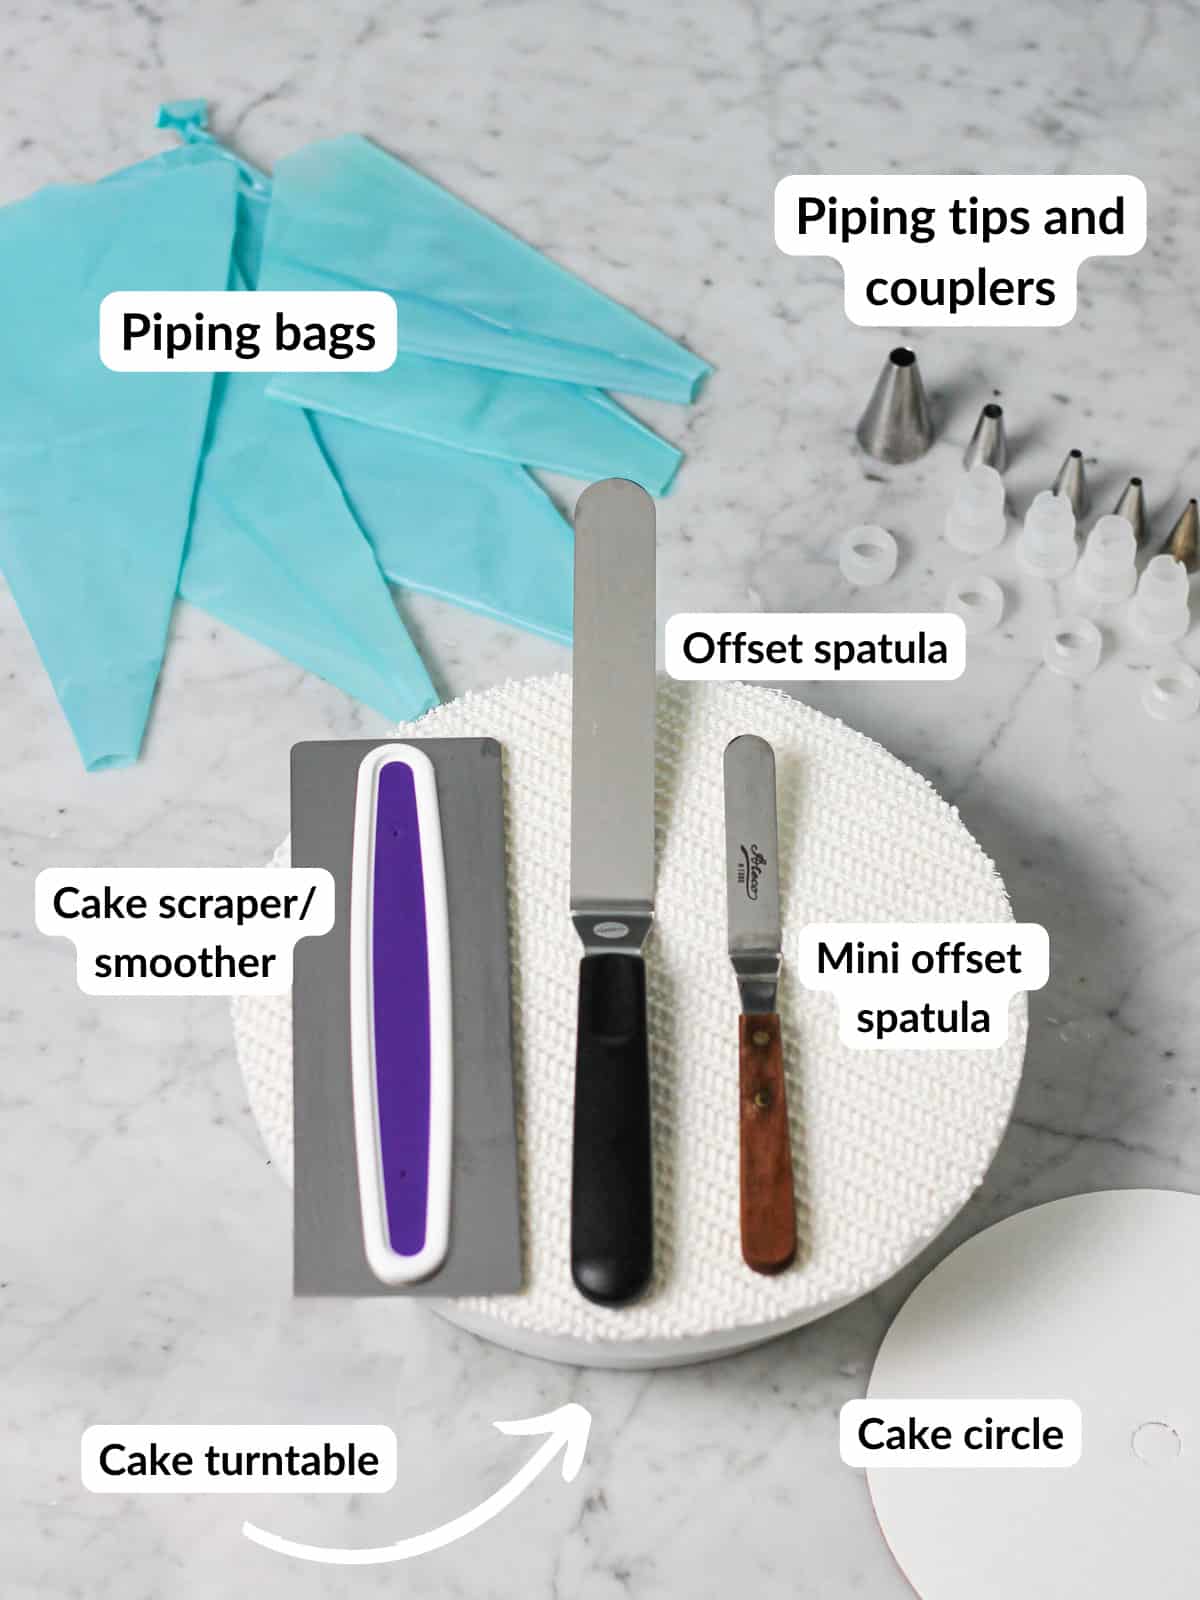
If you're a frequent cake or dessert maker, you probably already have most or all of the equipment you need for baking this cake.
For ease of the cake decorating you will want:
- Aluminum cake pans (love the ones I have from Wilton, Nordicware, and Fat Daddio's!)
- A cake turntable
- Cake board or cake circle
- Cake scraper or smoother
- Offset spatula (I like to alternate between my small and large offset spatula, depending on the cake's size.)
- Piping bag and tip(s) of your choice
- Stand mixer or hand mixer for the vanilla buttercream
I also use shelf liner on top of my turntable. It helps keep the cake circle from sliding around as you coat the surface of a cake.
Layer Cake Crumb Coating and Assembly

Step 1: After whipping together all your ingredients for American buttercream, pipe (with a pastry bag and round piping tip) or spread a dollop of frosting onto a cake circle. This acts as glue to hold the layer in place. Set first cake layer on top of that. It should be cold for ease of coating.

Step 2: Pipe your frosting on top of the layer and spread evenly with a cake spatula, spoon or knife.

Step 3: If using more layers, continue to stack them, adding more frosting between the layers as needed to fill in any gaps. Repeat steps until you've placer your top layer.

Step 4: Starting from the base of the cake and moving to the top, pipe a thin layer of frosting all around the sides of the cake and top.

Step 5: Place a cake scraper (or back of a bench scraper) against the outside of the cake. Gently pull the cake around to smooth out bubbles in the frosting.

Step 6: Run the scraper around the entire cake another time or two to smooth it (but it doesn't have to be perfect or pretty. Remember, more frosting will coat this cake).

Step 7: Use a standard-sized or small offset spatula to push the excess frosting around the cake's top (looks a bit like a little crown 👑) toward the center of the cake before placing it in refrigerator for at least 30 minutes.

Step 8: Bring cake out of the refrigerator to add final coat of frosting and any additional decorating ideas.
Adding Finishing Touches
Leave the cake as is for a naked cake or semi-naked look.
Or for a totally smooth finish, when the cake comes out of the refrigerator, repeat the same steps above to add your final layer of buttercream to your cake.
If you have a chocolate cake or dark colored cake, you may need to use more frosting to cover the dark layers and keep the pesky crumbs at bay.
Cake Storage and Serving
Once you've made and decorated your cake, you have a few options for storage.
Freezing - If properly sealed, you can freeze decorated cakes for up to three months.
Carefully place them in an airtight container in your freezer, and bring them out an hour or two before you'd like to serve them.
Refrigerating - A decorated cake will stay fresh for about 3 days in the refrigerator.
Make sure to store it also in an airtight container. This helps it retain its moisture longer, minimizing dryness and loss of flavor.
Bring it from the refrigerator about an hour before serving for a more tender cake.
For more info, check out my tutorial for freezing cupcakes if you're curious about freezing and refrigerating cake-based desserts.
Crumb Coating FAQ
A crumb coat of buttercream locks in loose cake crumbs from the cake's surface. The thin layer of frosting makes the finished product (your cake) look cleaner and more professional.
If you're limited with the tools that you have for cake decorating, you can ditch the crumb coat concept altogether and still create a stunning cake.
I decorated my banana cake with chocolate frosting using only spoon! You'll use it to make swooping designs all around your cake.
If you have a spoon and piping bags, another option is to follow my guide for cake decorating with a spoon.
If you plan to decorate more cakes in the future, I recommend the minimal ones I shared in the equipment image. Having these basic items will take your cake decorating to the next level.
A crumb coat is basically your first layer of buttercream. It can (and should) be somewhat to very thin. Once it's chilled and set on your cake, you'll add your next layer of frosting. Normally two layers is enough.
Some people (myself included) like the look of a cake that's only crumb coated! So you can keep it this way until you serve it. I recommend eating it within 3 days.

Related Recipes You'll Love
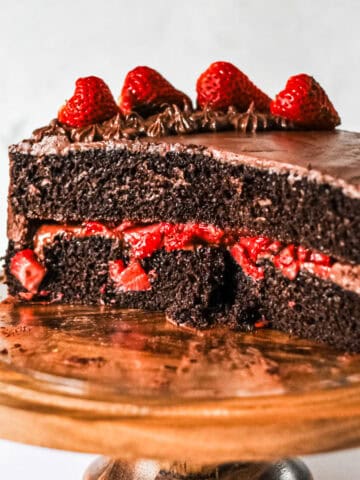
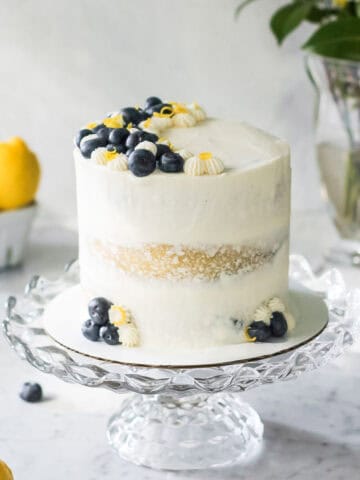
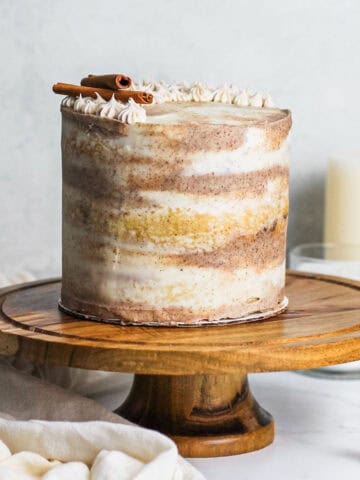
Ready to crumb coat a cake with buttercream? Put your new skills to use with some of the cake recipes below.


Leave a Reply