
From the first bite of this no-bake Biscoff cheesecake, it felt like an instant classic I should have been making for years. I shared it with family during my recipe testing, and they raved about the warm, spiced cookie butter alongside the tangy cream cheese filling. It all sits on a Biscoff cookie crust, and you never turn on the oven for the crust or the filling. Give it about six hours to set in the refrigerator, and you have an incredible dessert awaiting you!
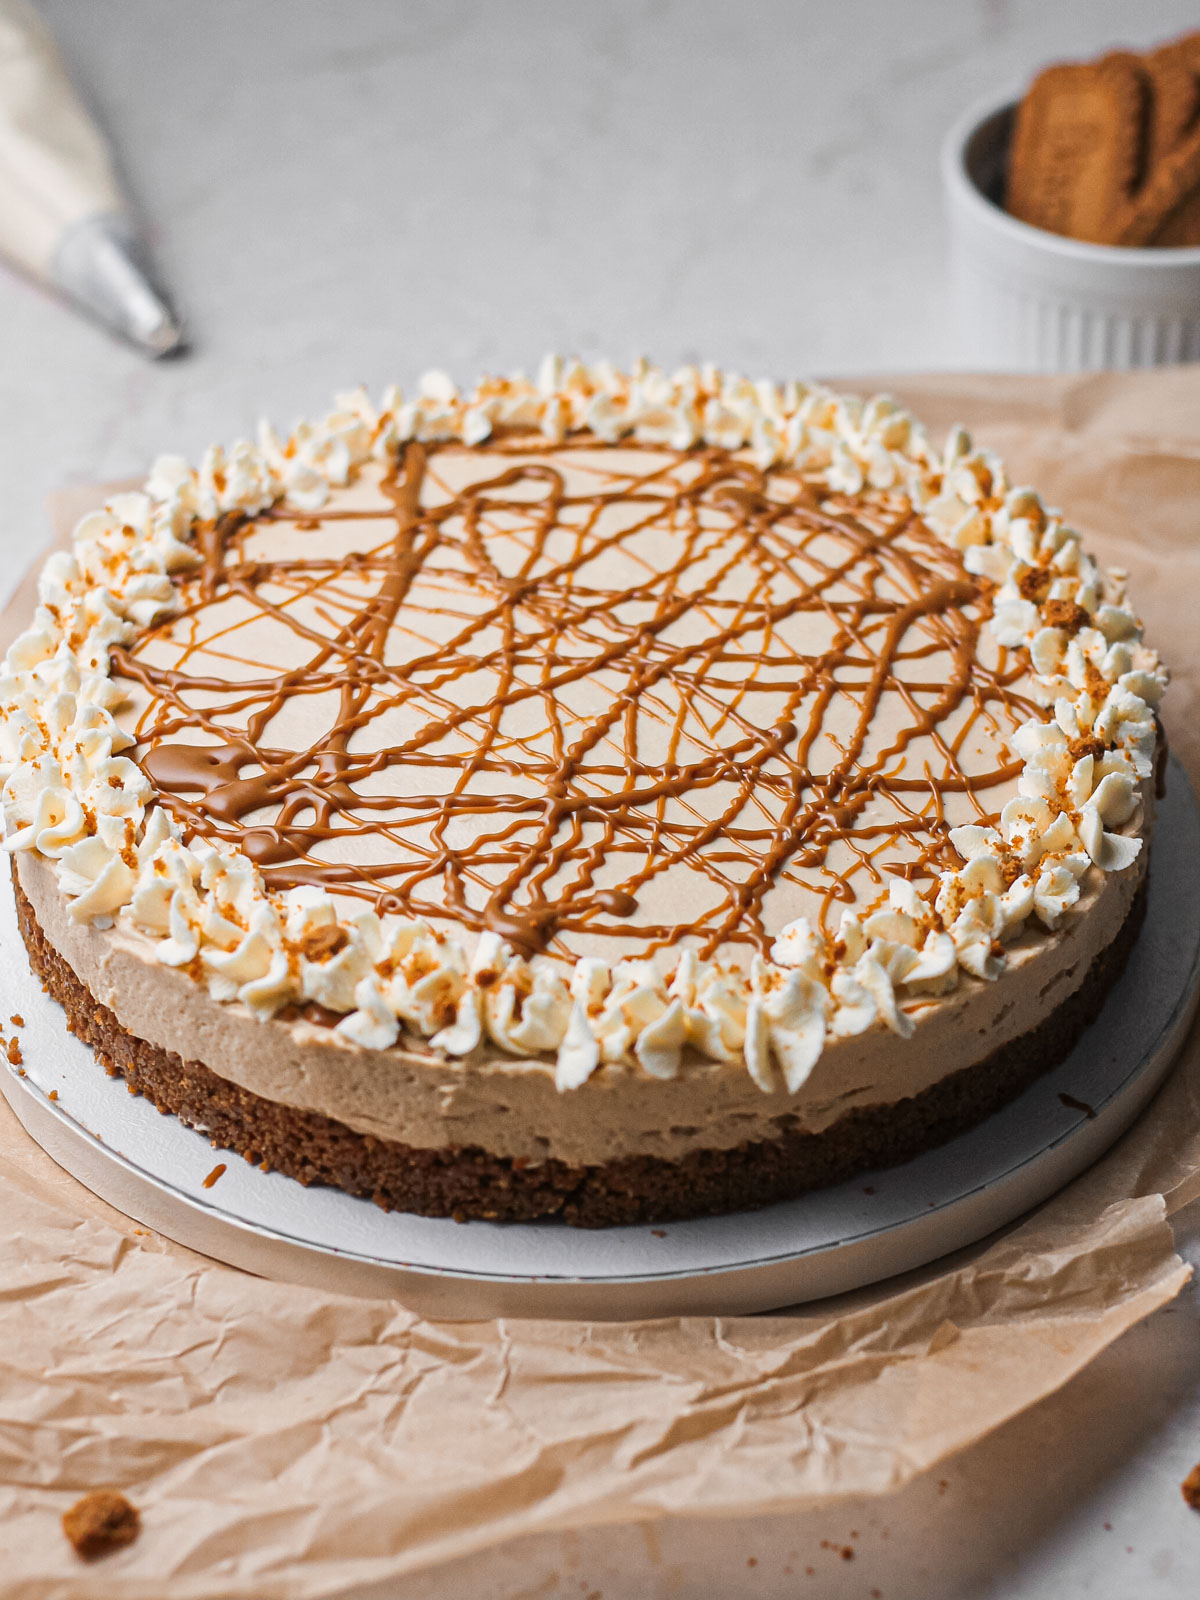
Speaking of my no-bake Biscoff pie crust, it's the same one my husband, Saman, and I used as contestants on Hallmark Channel's Baked with Love. It was a hit with the judges and held up great under the bright lights and time constraints of baking for TV (which are more real than I care to remember 😅).

On the show, we were given a cream cheese-based no-bake recipe that I loved and still think about often, in large part because my mom and I made that kind of cheesecake all the time when I was a kid. Between that memory and how simple this crust is to make, it was only a matter of time before a no-bake cookie butter filling showed up here to go with it.
Jump to:
- 🍪 Why You'll Like This Biscoff Cheesecake
- 📋 Ingredients You'll Need
- 💡 Tip for Smooth Cheesecake Filling
- 📖 Making the Biscoff Crust
- 📝 How to Make No-Bake Biscoff Cheesecake Filling
- 🎂 Assembling the Cheesecake
- ⭐️ Tips for Success
- 🔄 Variations and Substitutions
- 🗄️ How to Store Biscoff Cheesecake
- ❓ FAQ and Troubleshooting
- More Biscoff Desserts
- No-Bake Biscoff Cheesecake with Cookie Butter Filling
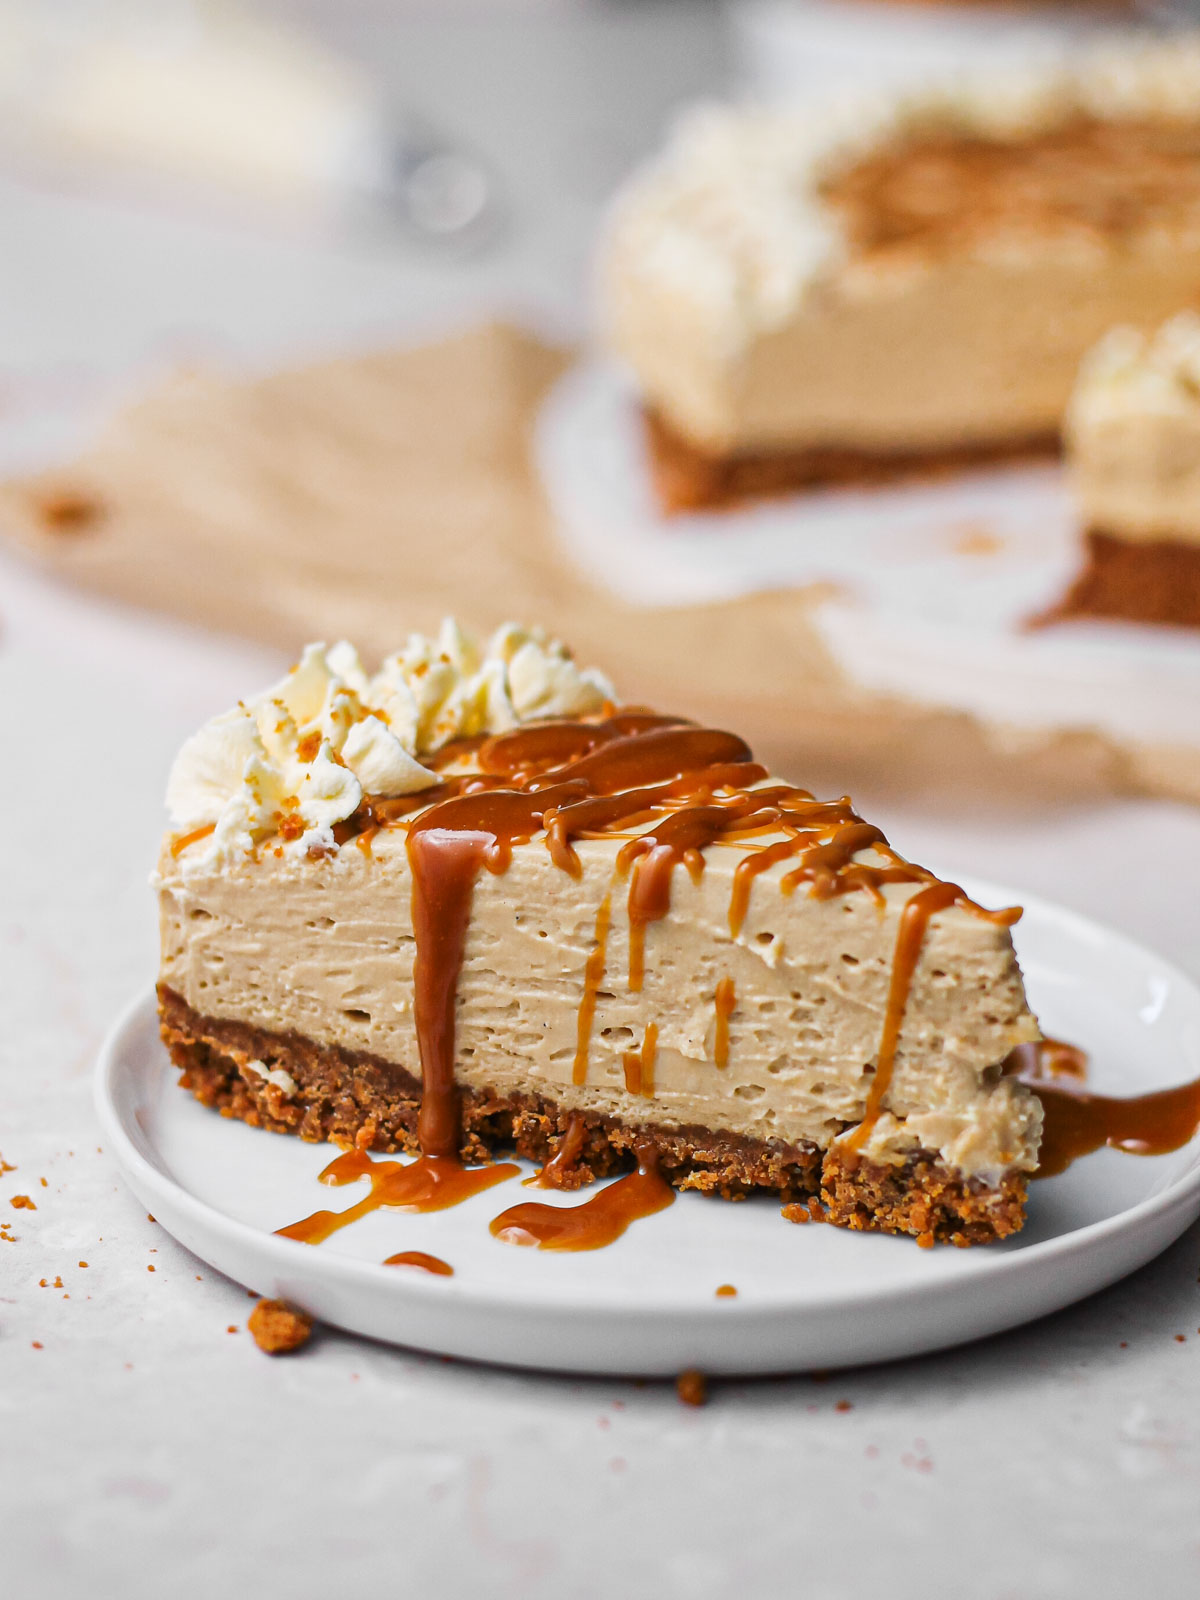
🍪 Why You'll Like This Biscoff Cheesecake
- Cookie butter fans, rejoice! Share this dessert with friends and family, and they'll crave it long after the occasion. I was still getting texts about it from guests days after they enjoyed it!
- A great make-ahead dessert – I served this at a family gathering, and it held its look and flavor from Wednesday until we ate it on Saturday.
- A short, simple ingredient list – I'm a big fan of no-bake recipes because they're often relatively easy, and as a planner, I love that you can sometimes make them days in advance. There’s no oven time, and this recipe skips gelatin and other ingredients that can be harder to find or use up. It's just straight, delicious goodness in the form of a creamy dessert.
📋 Ingredients You'll Need
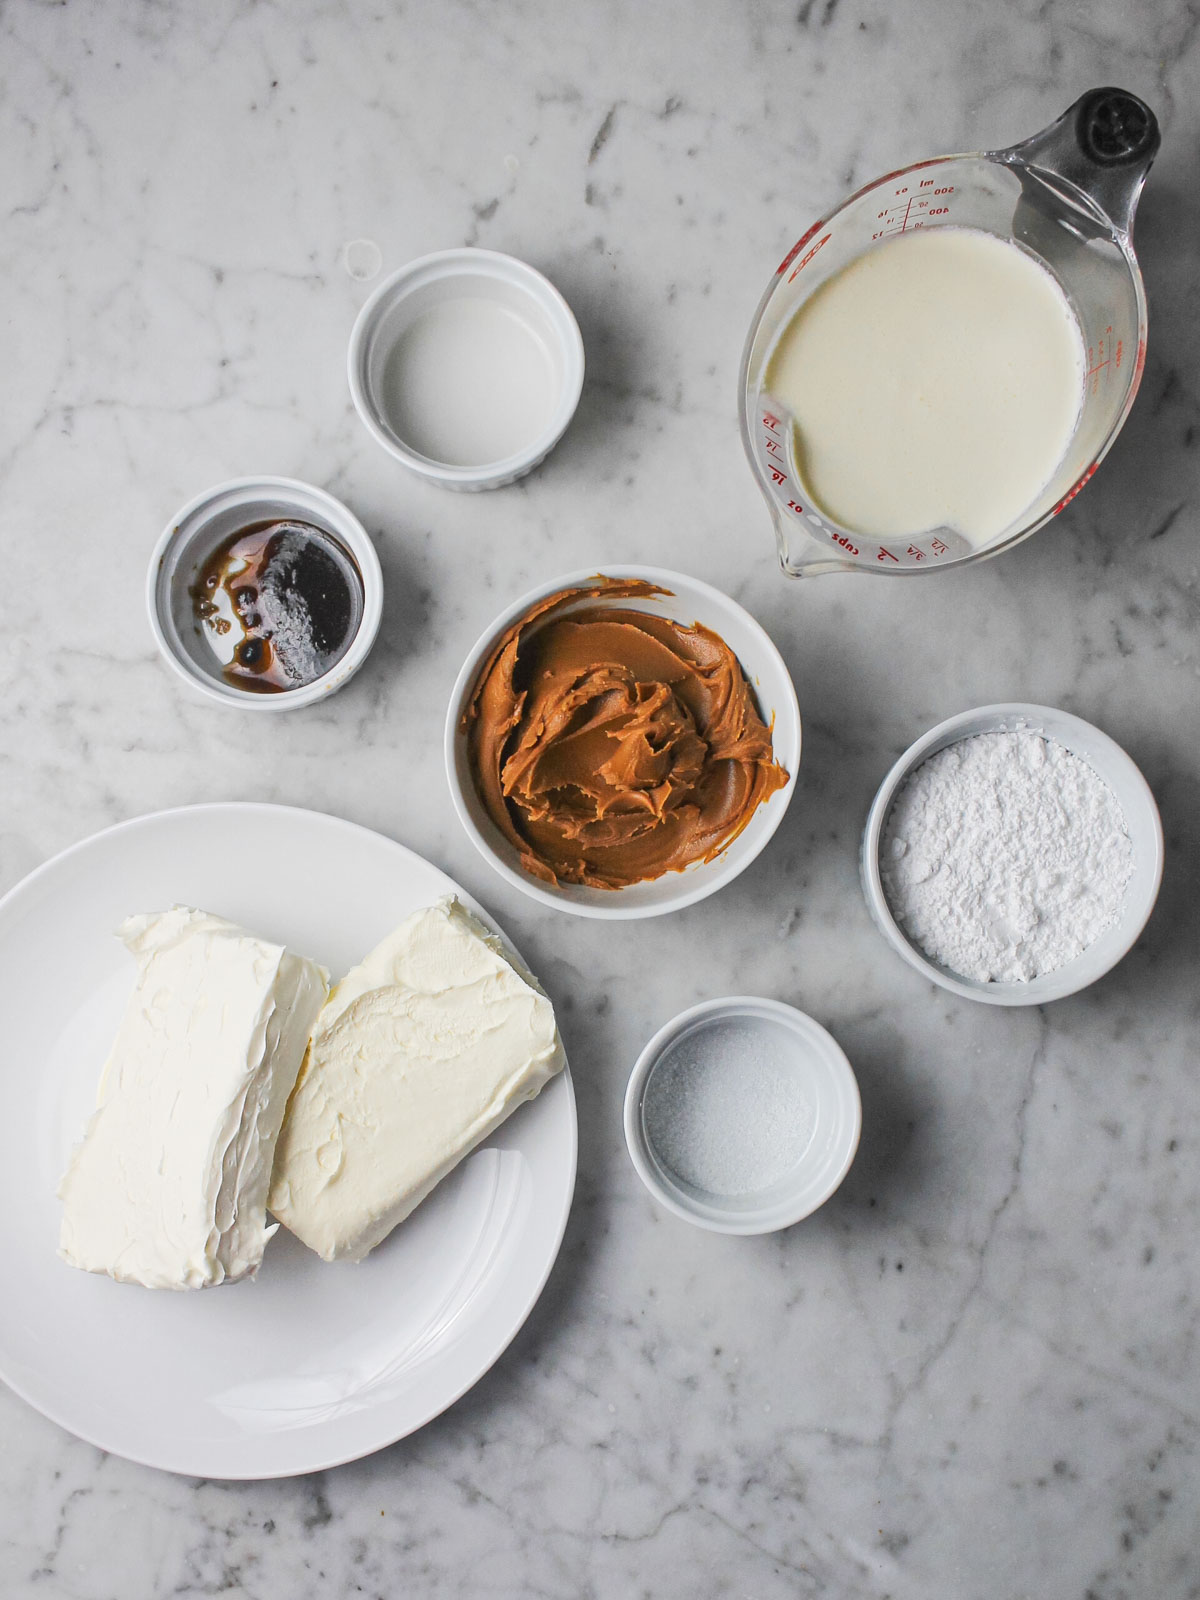
The recipe card has all the ingredients and amounts, but below are a few key items that bring the flavor.
- Biscoff cookies: Crushed and mixed with melted butter and a bit of brown sugar, these cookies give you a sturdy, flavorful crust. Crumble an extra cookie or two and set them aside from the start for topping the cheesecake later, too.
- Cream cheese: You'll need full-fat bricks of cream cheese at room temperature. I used Philadelphia, the brand I grew up with when Mom and I made this kind of cheesecake. I also have a no-bake mascarpone cheesecake and a no-bake lemon mascarpone cheesecake, but I chose cream cheese here because its tang cuts through the sweetness of the Biscoff. It's a really exceptional pairing, so I'd use cream cheese if possible.
- Biscoff cookie butter: Also sold as Lotus Biscoff spread, it's creamy, spiced, rich in flavor, and so unbelievably good in a cheesecake. (It's also what makes my Biscoff buttercream so good. Note to self: find even more reasons to use it!) At the end, feel free to do what I did and melt a little extra to pour over the cheesecake for a more luxe presentation and even more cookie butter flavor.
- Heavy whipping cream: Whipped to medium-stiff peaks, it lightens the filling so it's creamy and rich without being overpoweringly heavy. It also helps the filling set.
- Lemon juice: Fresh or bottled is fine here, but I don't recommend skipping it. Lemon balances the sweetness in a way the other ingredients simply can't. In a pinch, a bit of lime juice gives you the same tang.
- Powdered sugar: The cookie butter brings its fair share of sweetness, so this filling uses a bit less powdered sugar. Taste the filling before you spread it into the crust. If you know you like it sweeter, add more, but I think it's plenty sweet and rich as written!
💡 Tip for Smooth Cheesecake Filling
Be sure to use room-temperature cream cheese here.
If it's too firm, you'll struggle to beat out all the lumps, and your cheesecake will look bumpy and uneven instead of smooth and polished. Trust me on the room temperature part!
📖 Making the Biscoff Crust
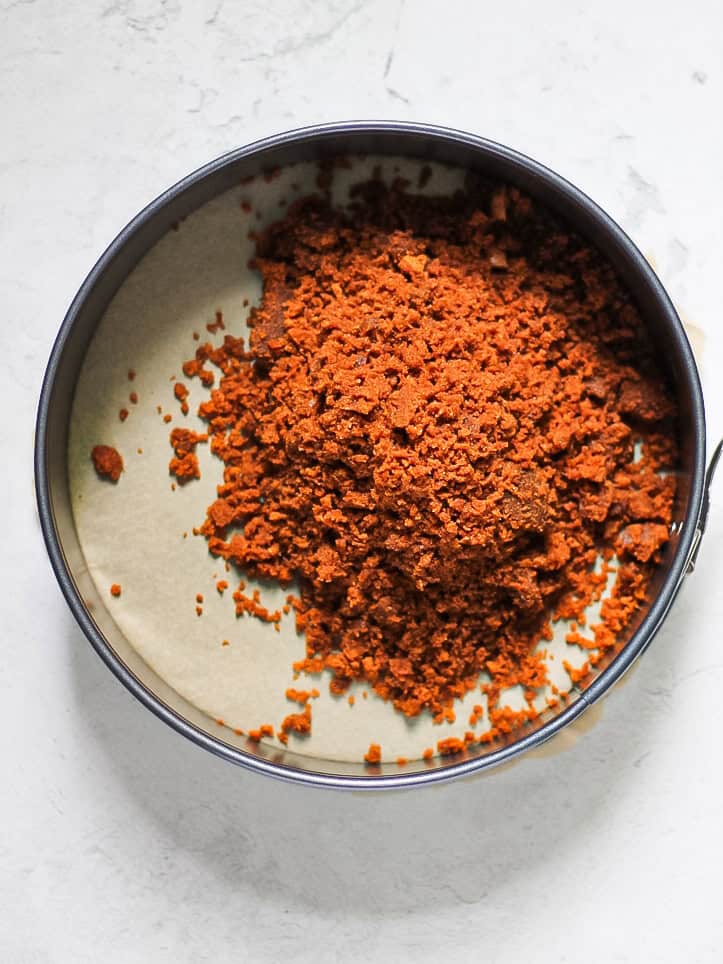
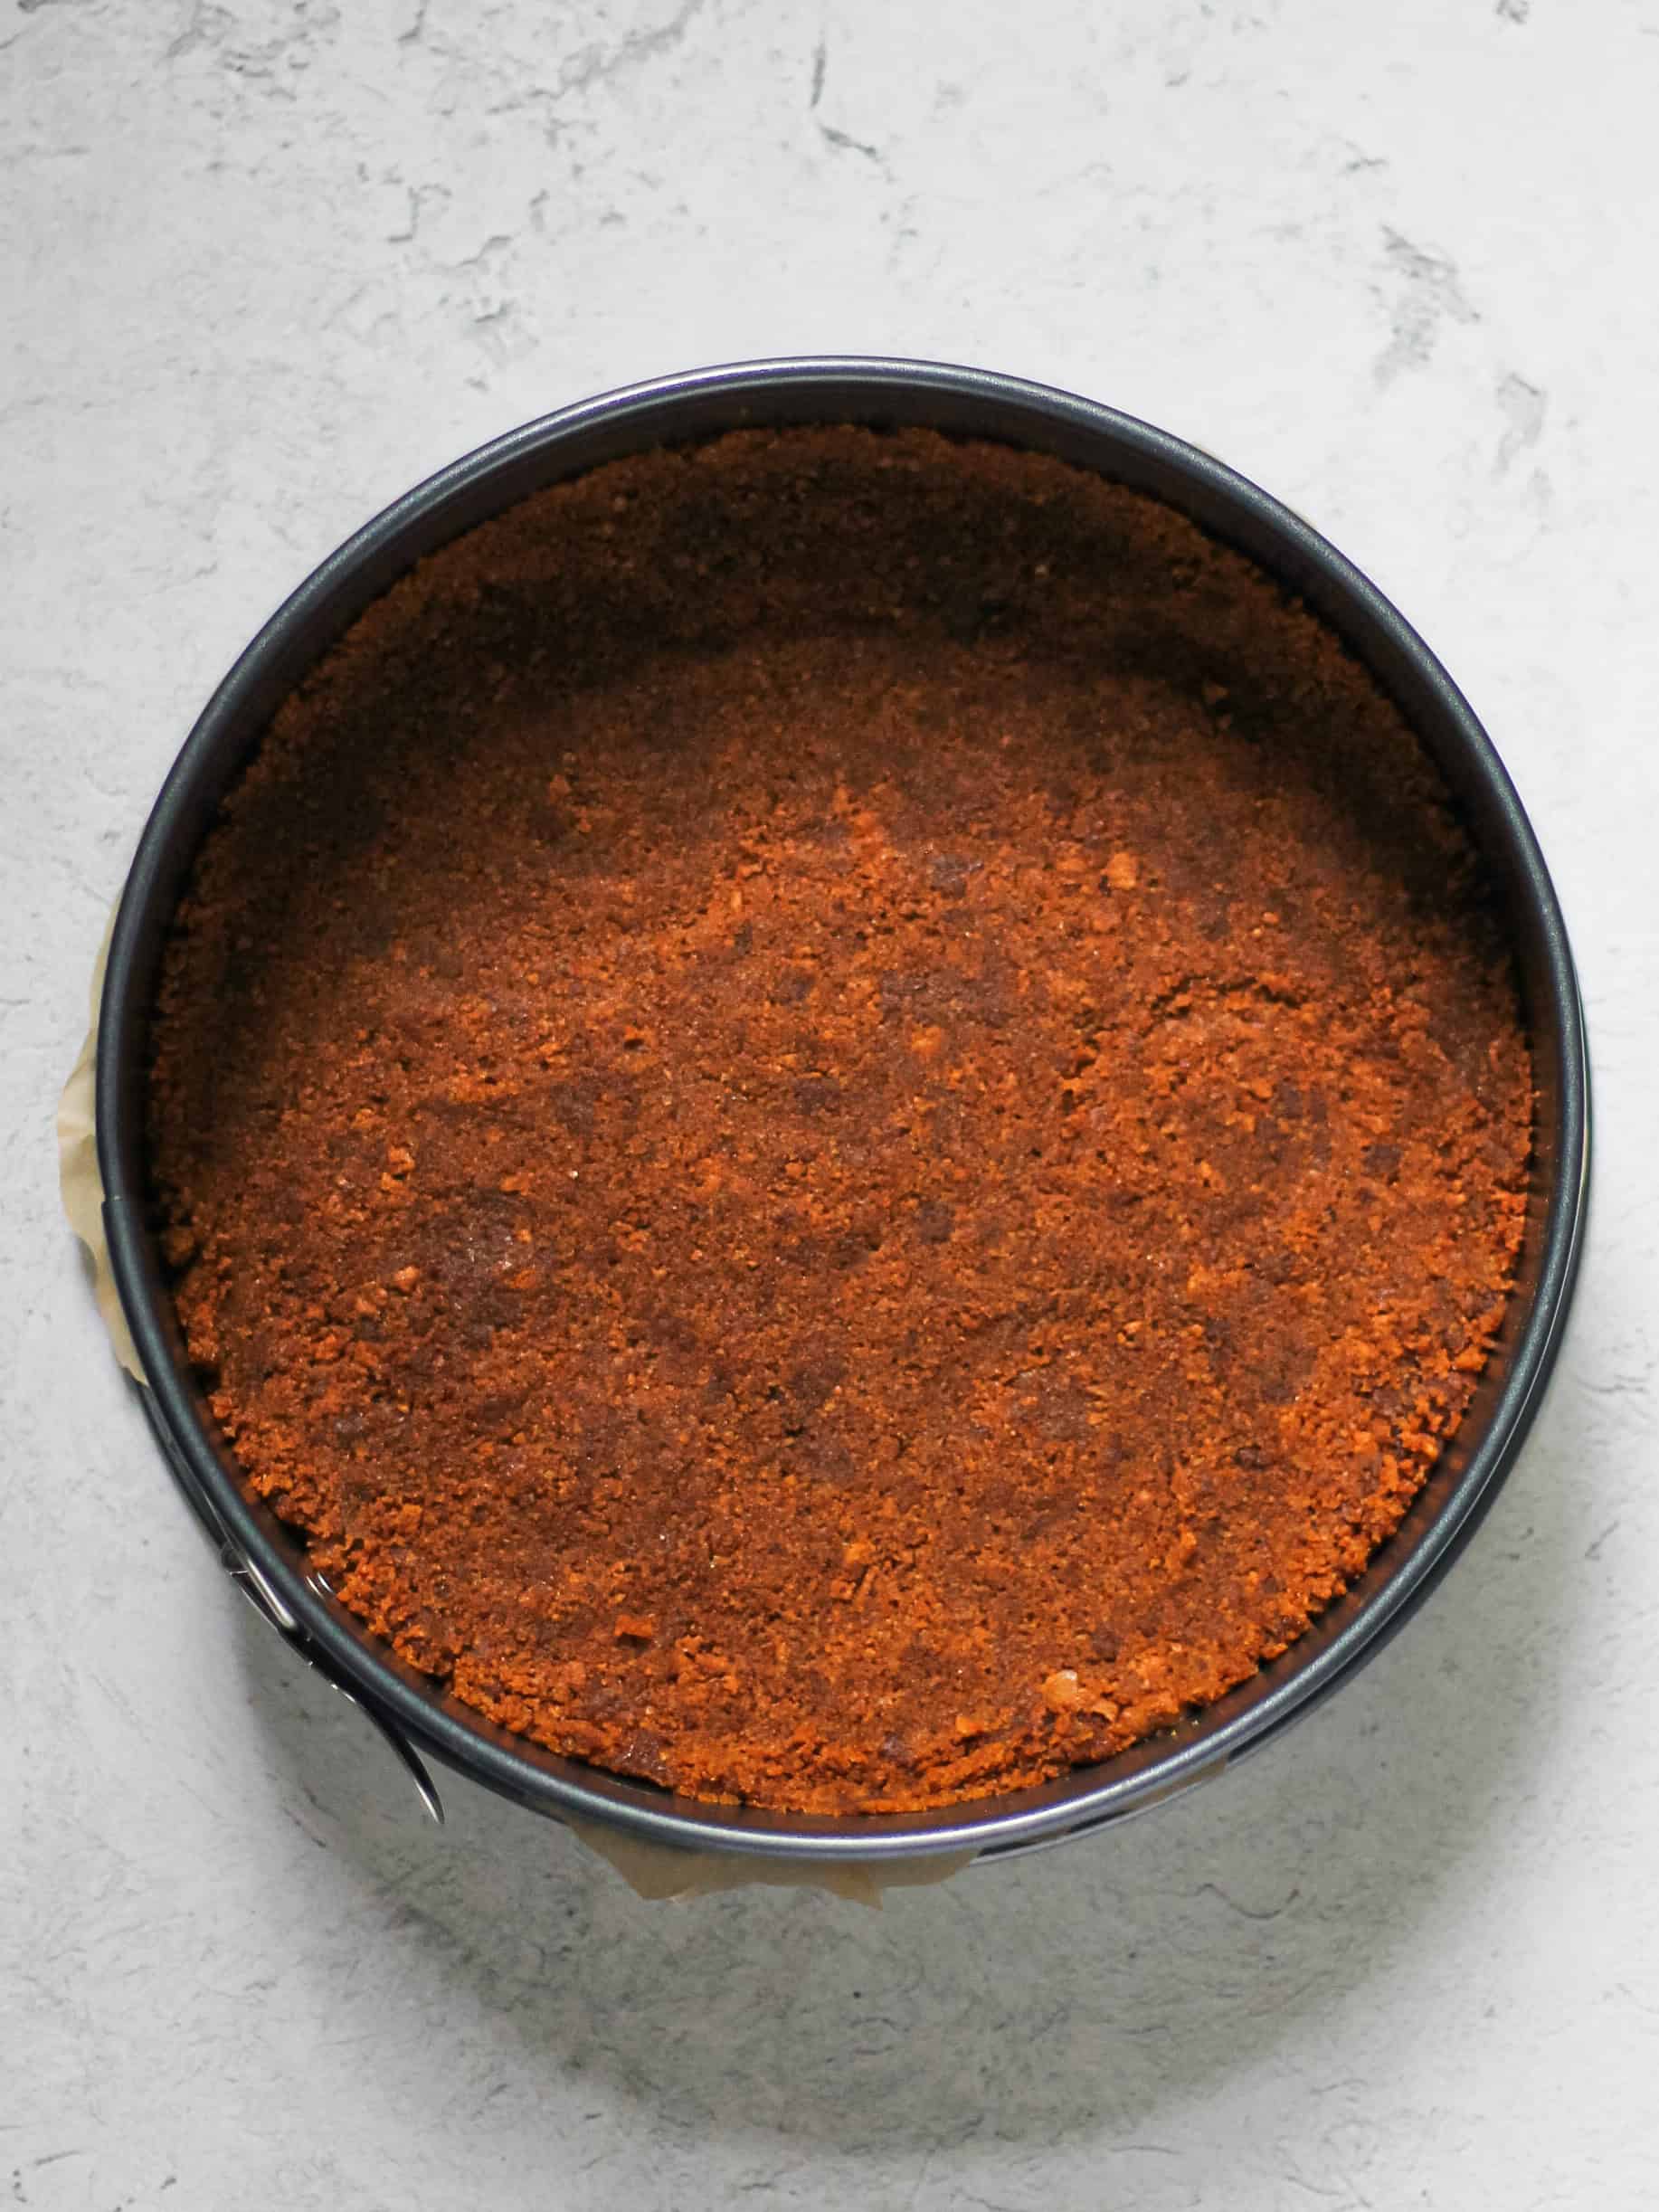
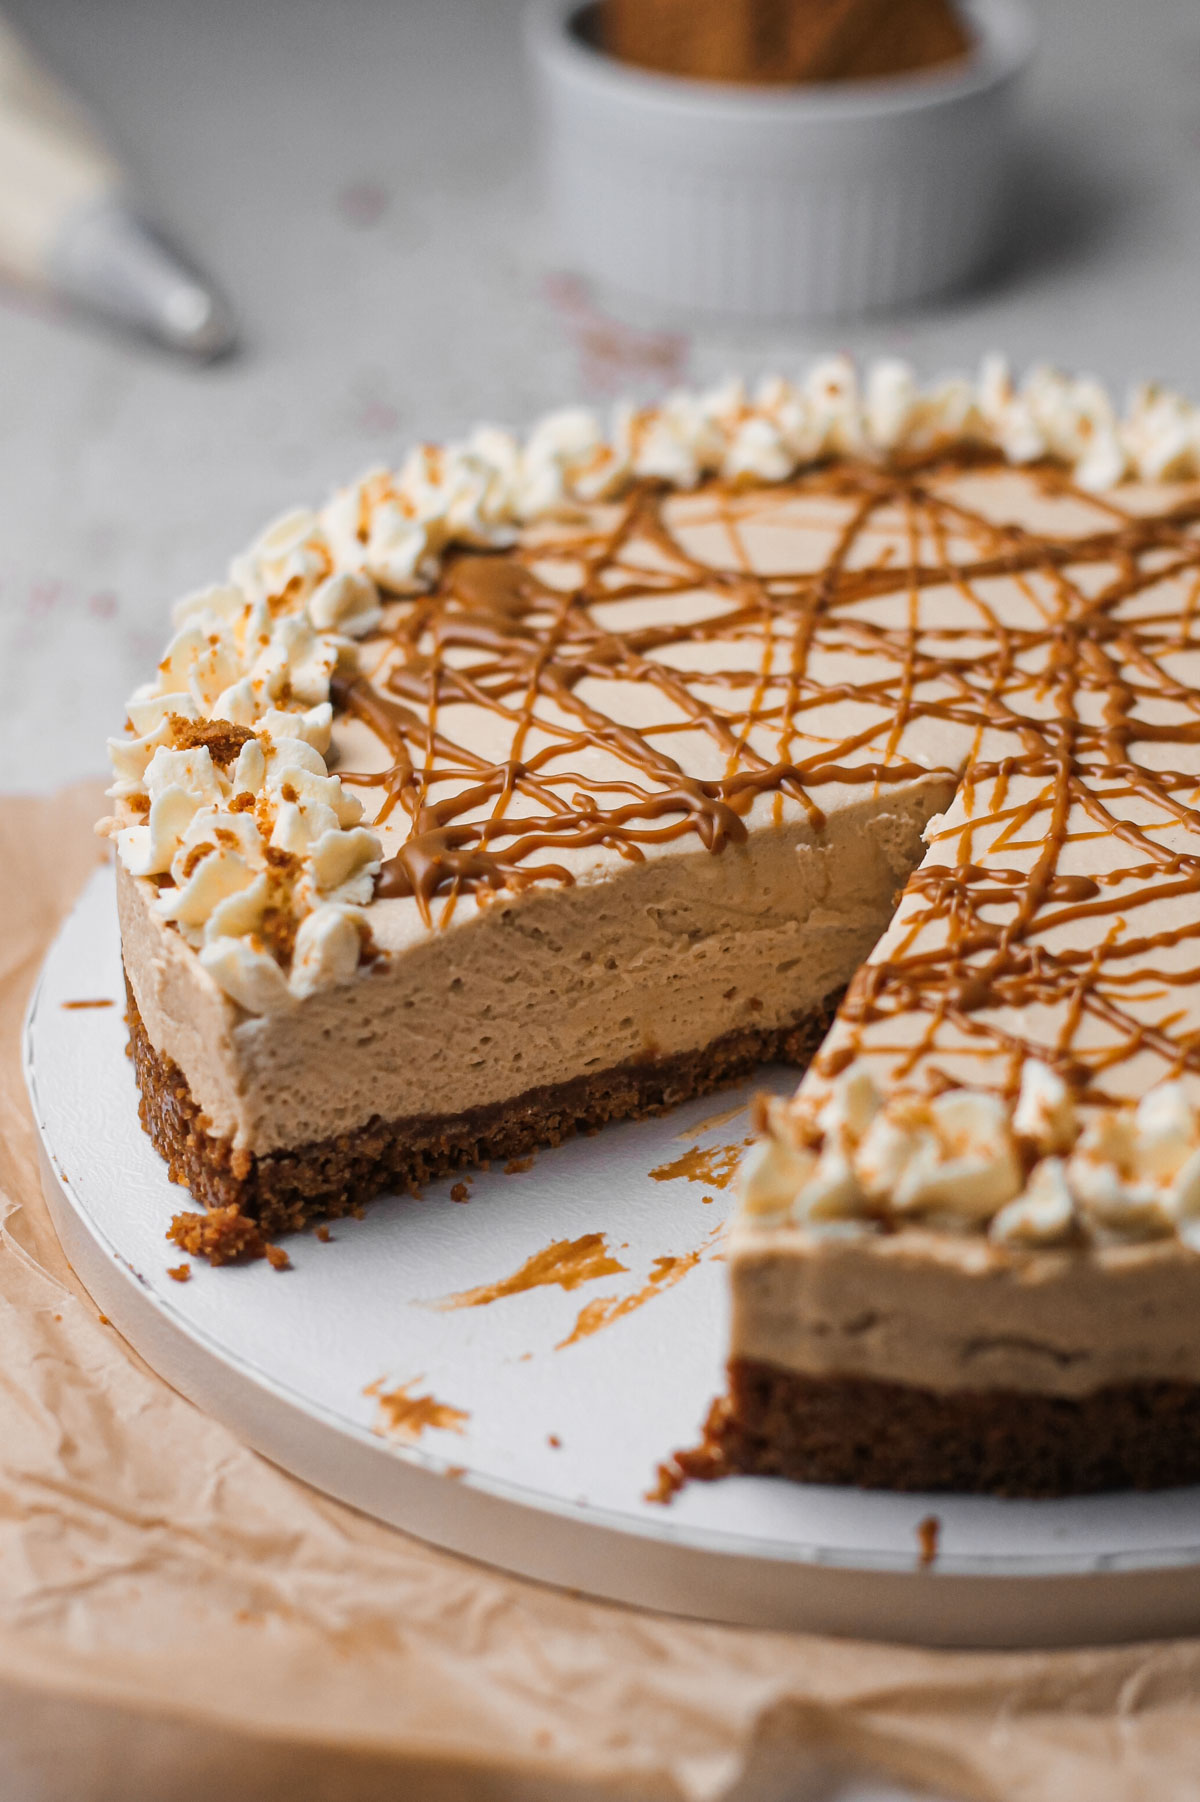
This cheesecake uses my no-bake Biscoff pie crust: crushed Biscoff cookies, melted butter, brown sugar, and a pinch of salt, pressed into a 9-inch springform pan lined with parchment paper. Head to that post for the full step-by-step instructions.
While the crust chills, place your stand mixer bowl in the refrigerator (or fill it with ice for a quick chill). You'll want it cold for whipping the cream.
Tip: If your food processor is small, grind the cookies in two or three batches. Or do what I did this time: seal the cookies in a plastic bag and roll over it with a rolling pin until you have fine crumbs. Sometimes that's simpler than pulling out more equipment.
📝 How to Make No-Bake Biscoff Cheesecake Filling
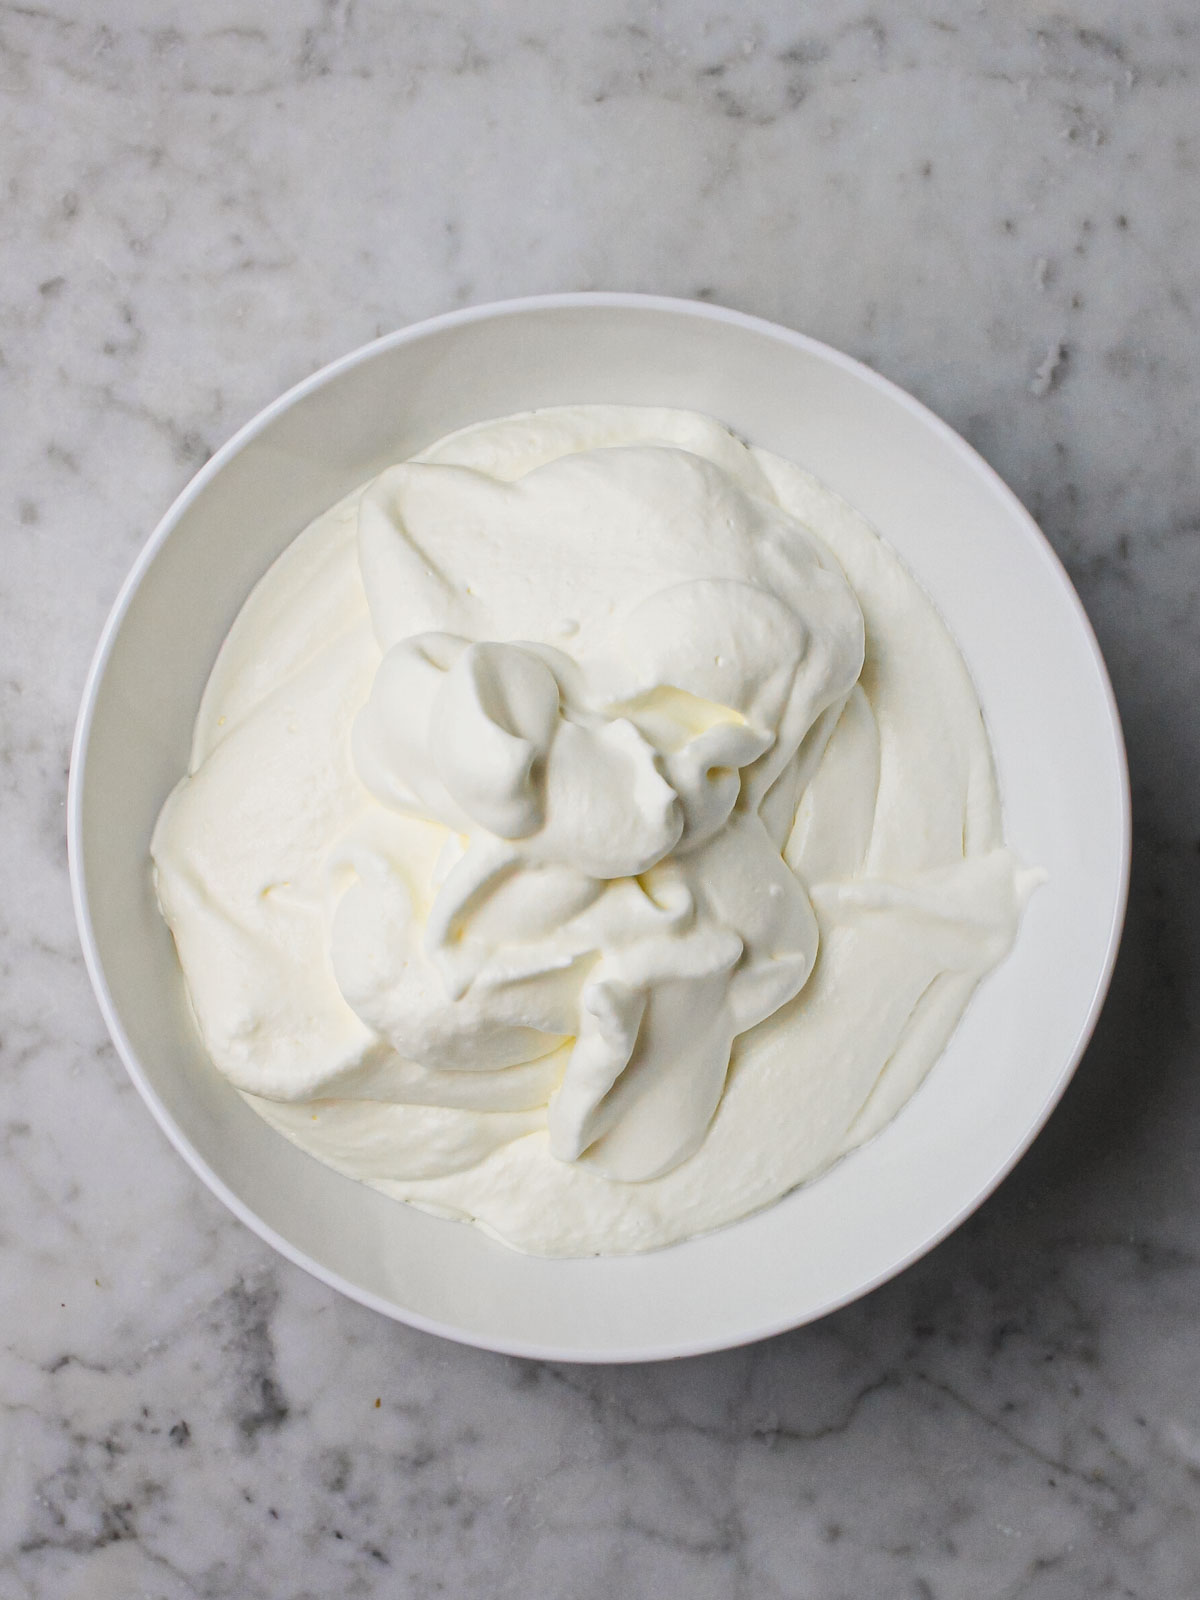
Whip the cream. Dry your chilled bowl if you used ice. Whip the cold heavy cream to medium-stiff peaks, then transfer it to another bowl and refrigerate.
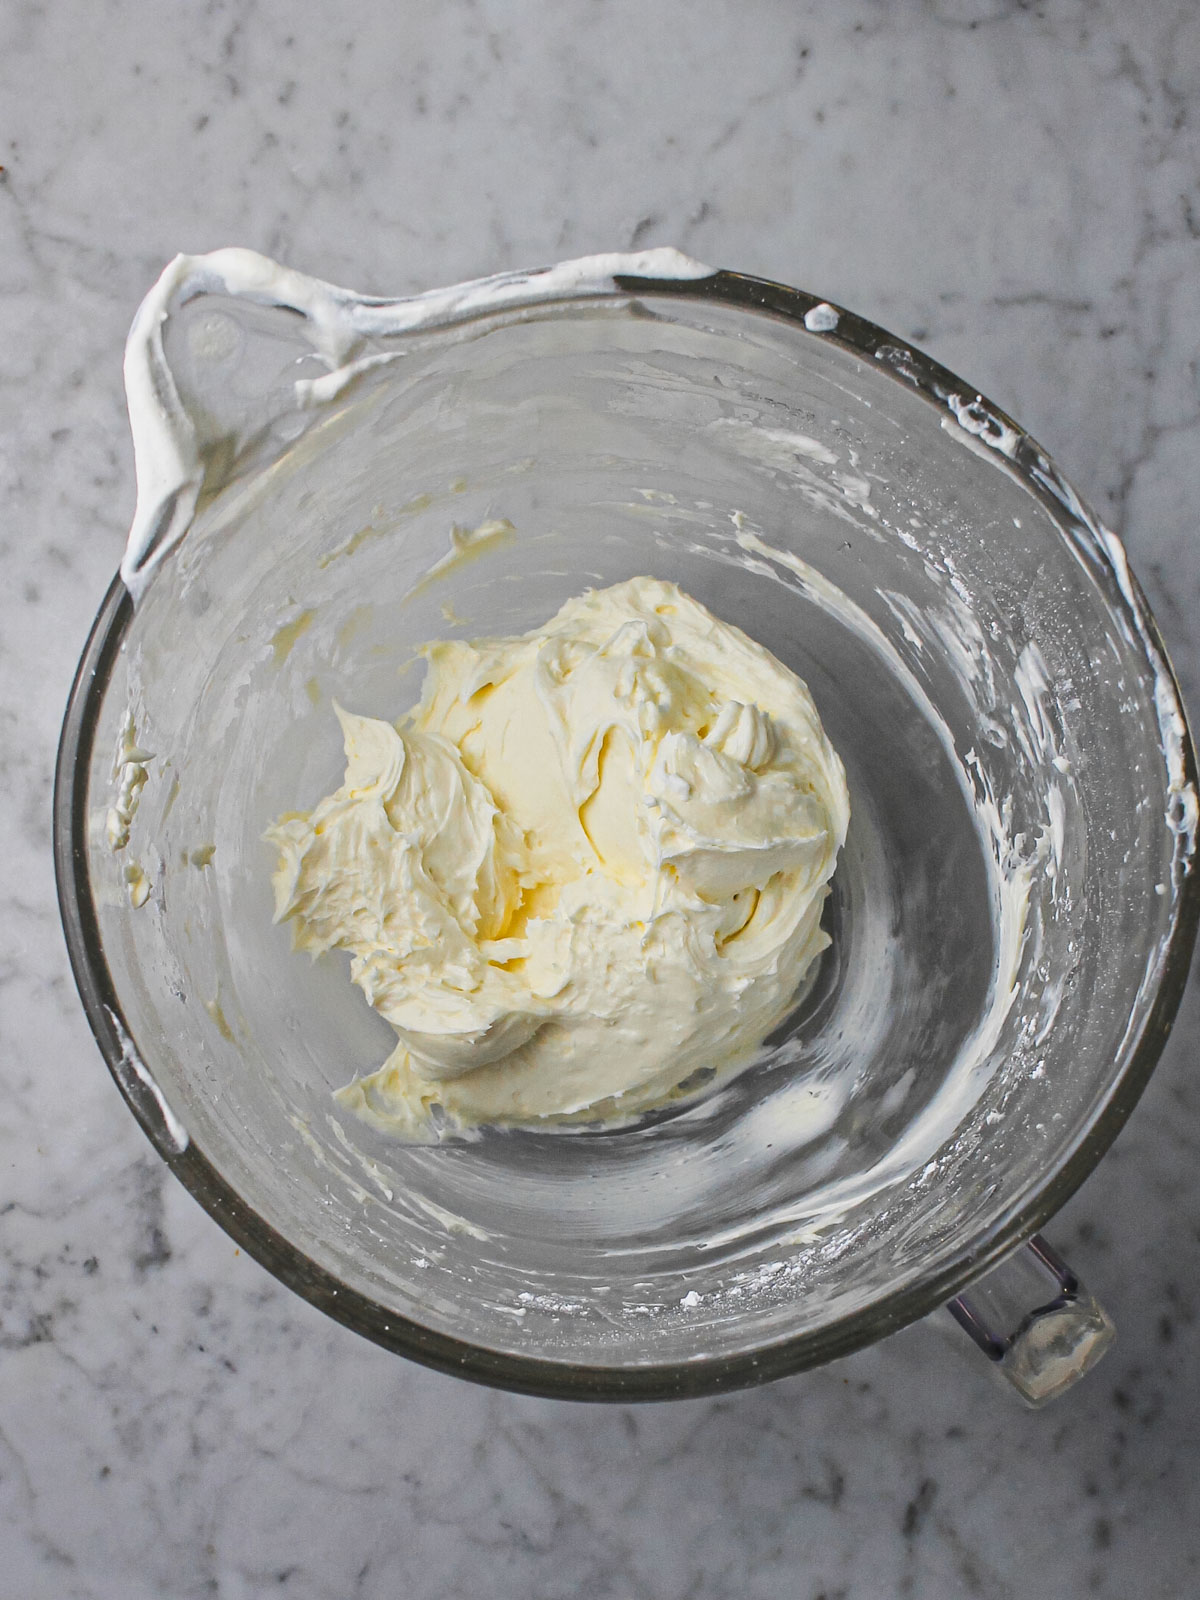
Beat the cream cheese and sugar. In the same mixing bowl, beat the room-temperature cream cheese and powdered sugar until completely smooth, with no lumps.
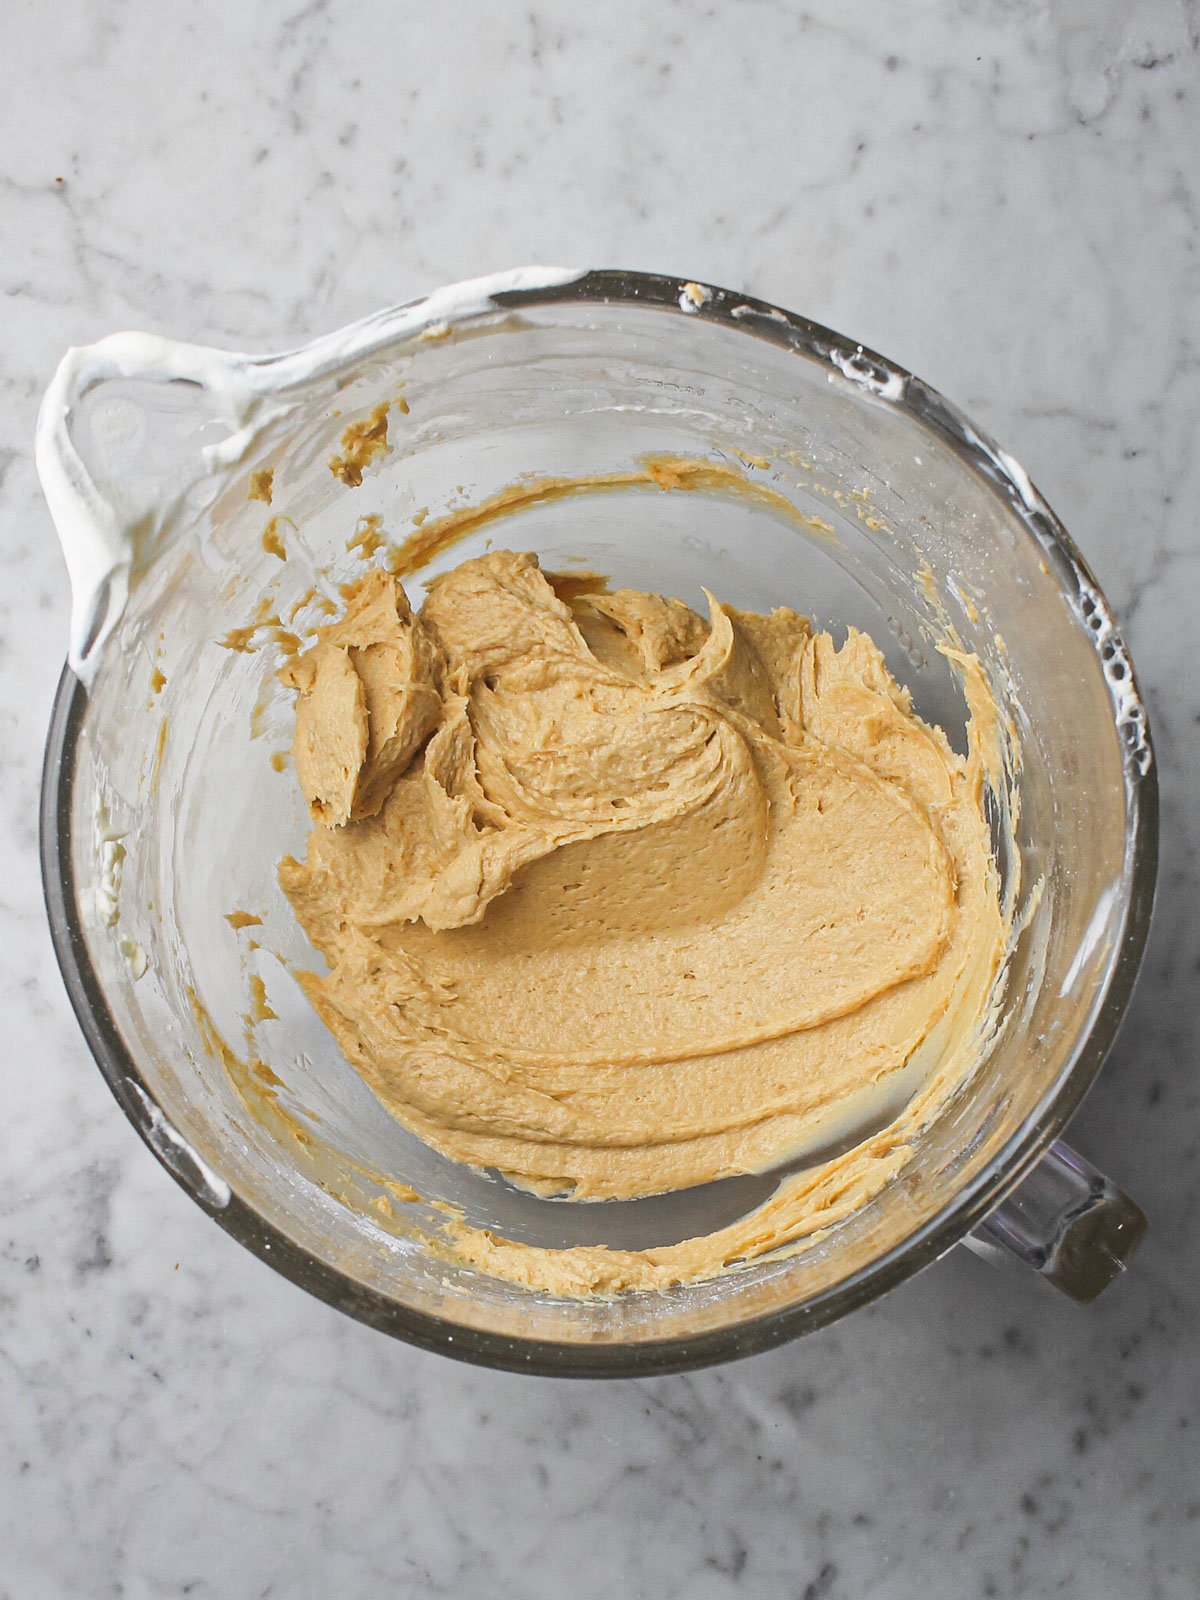
Add the cookie butter. Beat in the cookie butter, lemon juice, vanilla, and salt until evenly combined.
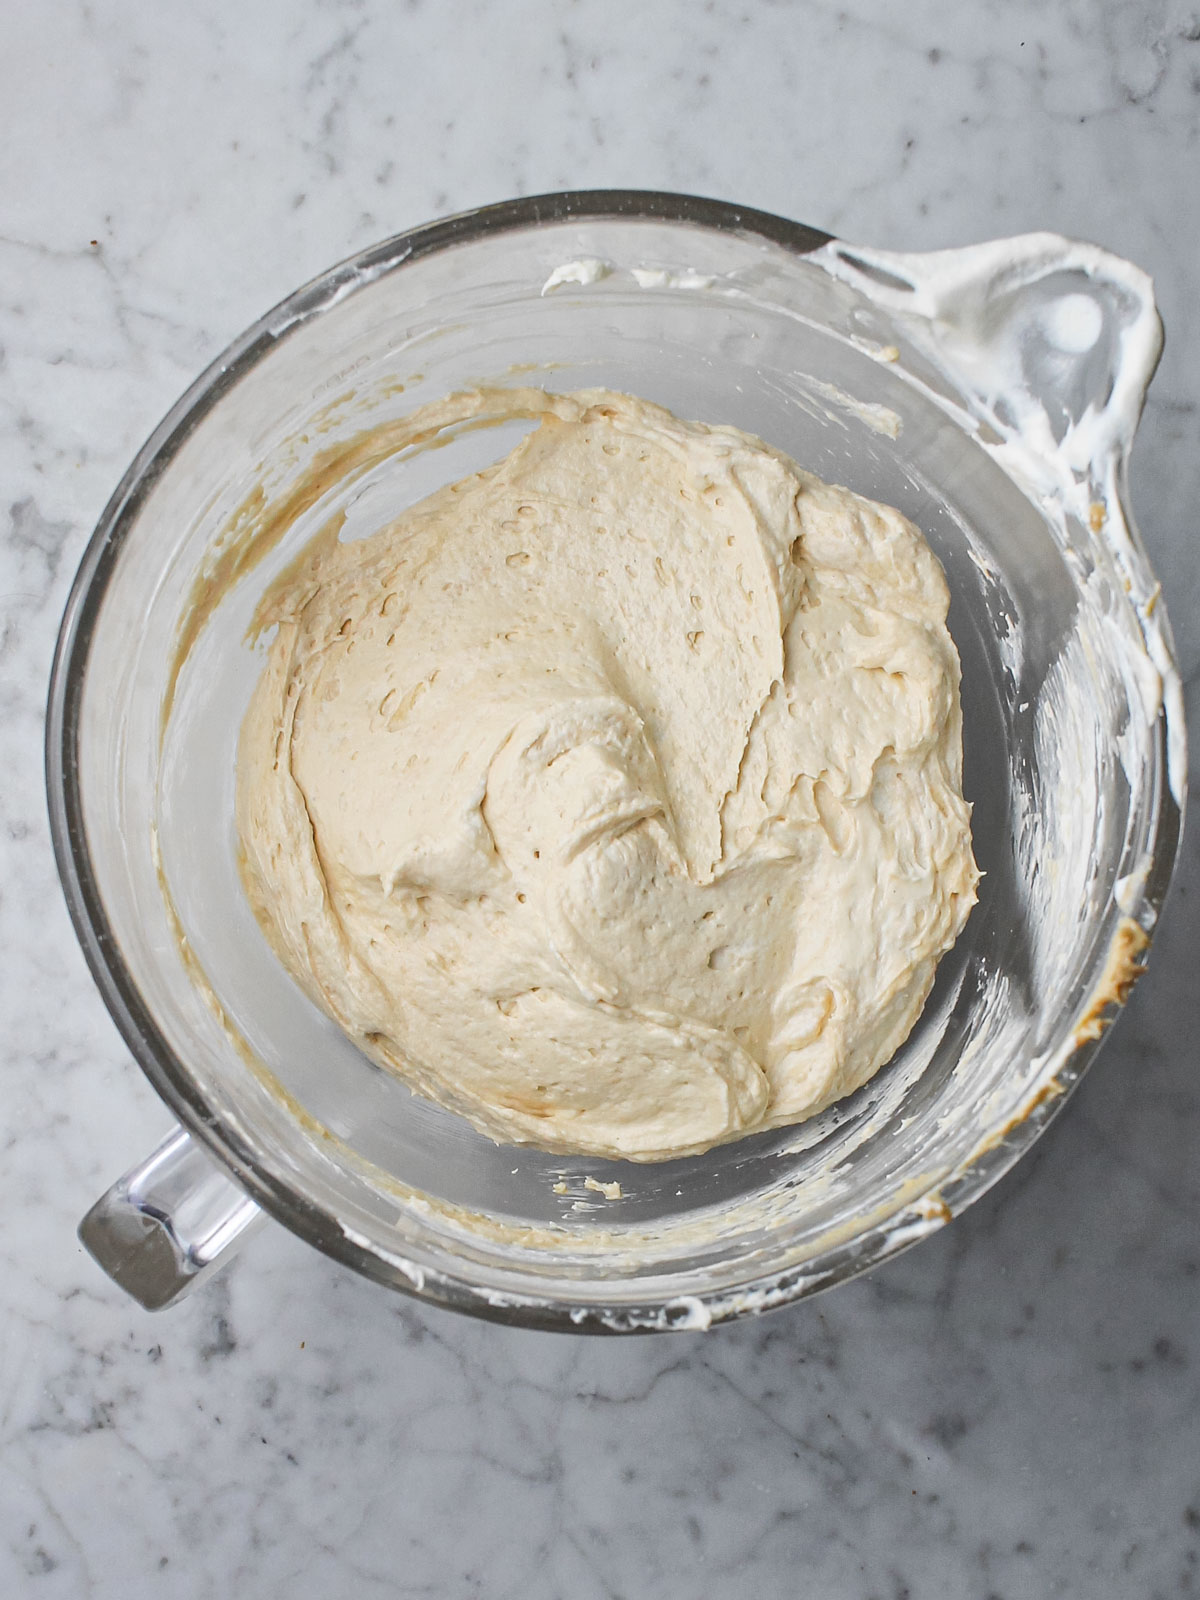
Fold in the whipped cream. Gently fold the whipped cream into the cream cheese mixture in two additions, just until no streaks remain.
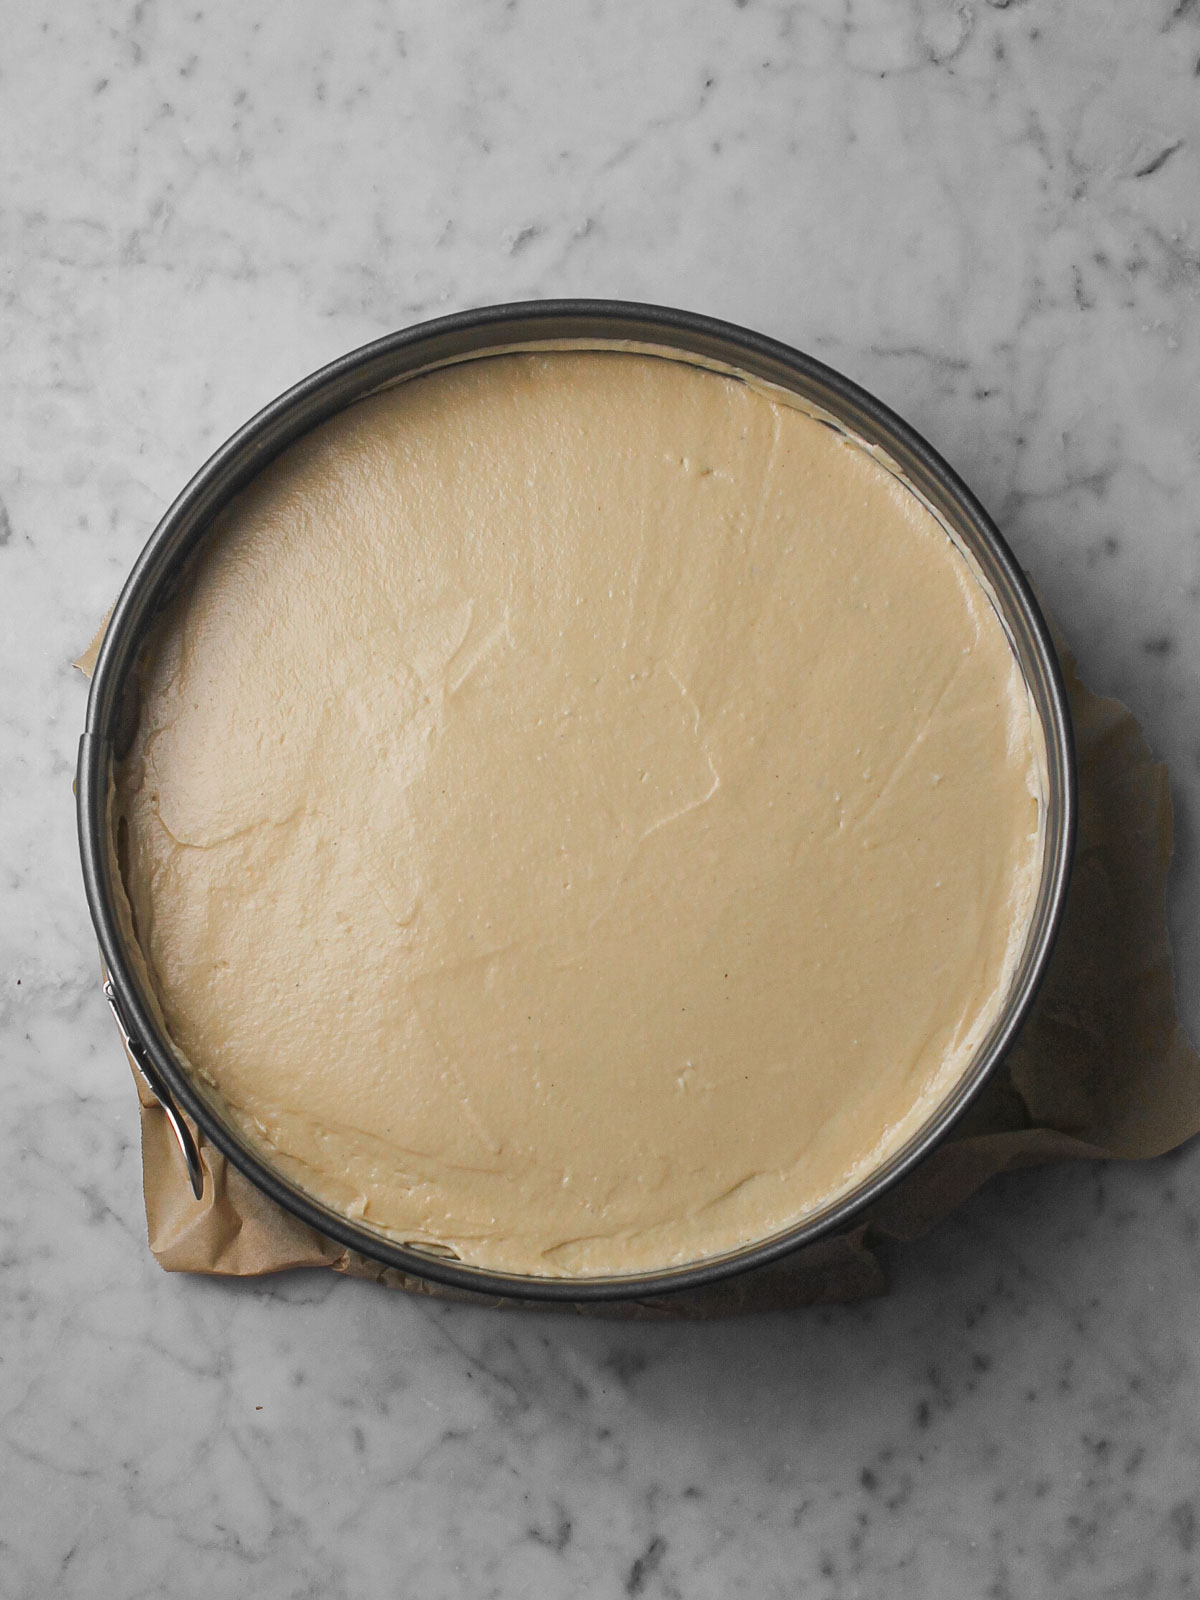
Fill the crust and chill. Spread the filling into the chilled crust and smooth the top with an offset spatula. Cover the pan with plastic wrap and refrigerate for at least 6 hours, or overnight.
🎂 Assembling the Cheesecake
- Release from the pan. Once your cheesecake has fully set (at least 6 hours, ideally overnight), run a thin knife or offset spatula around the edge of the springform pan. Then slowly unclip the sides and lift the ring away. The parchment underneath helps if you'd like to move it to a serving plate. I also like to run a warm spoon or knife along the sides to smooth out any bumps from releasing it.
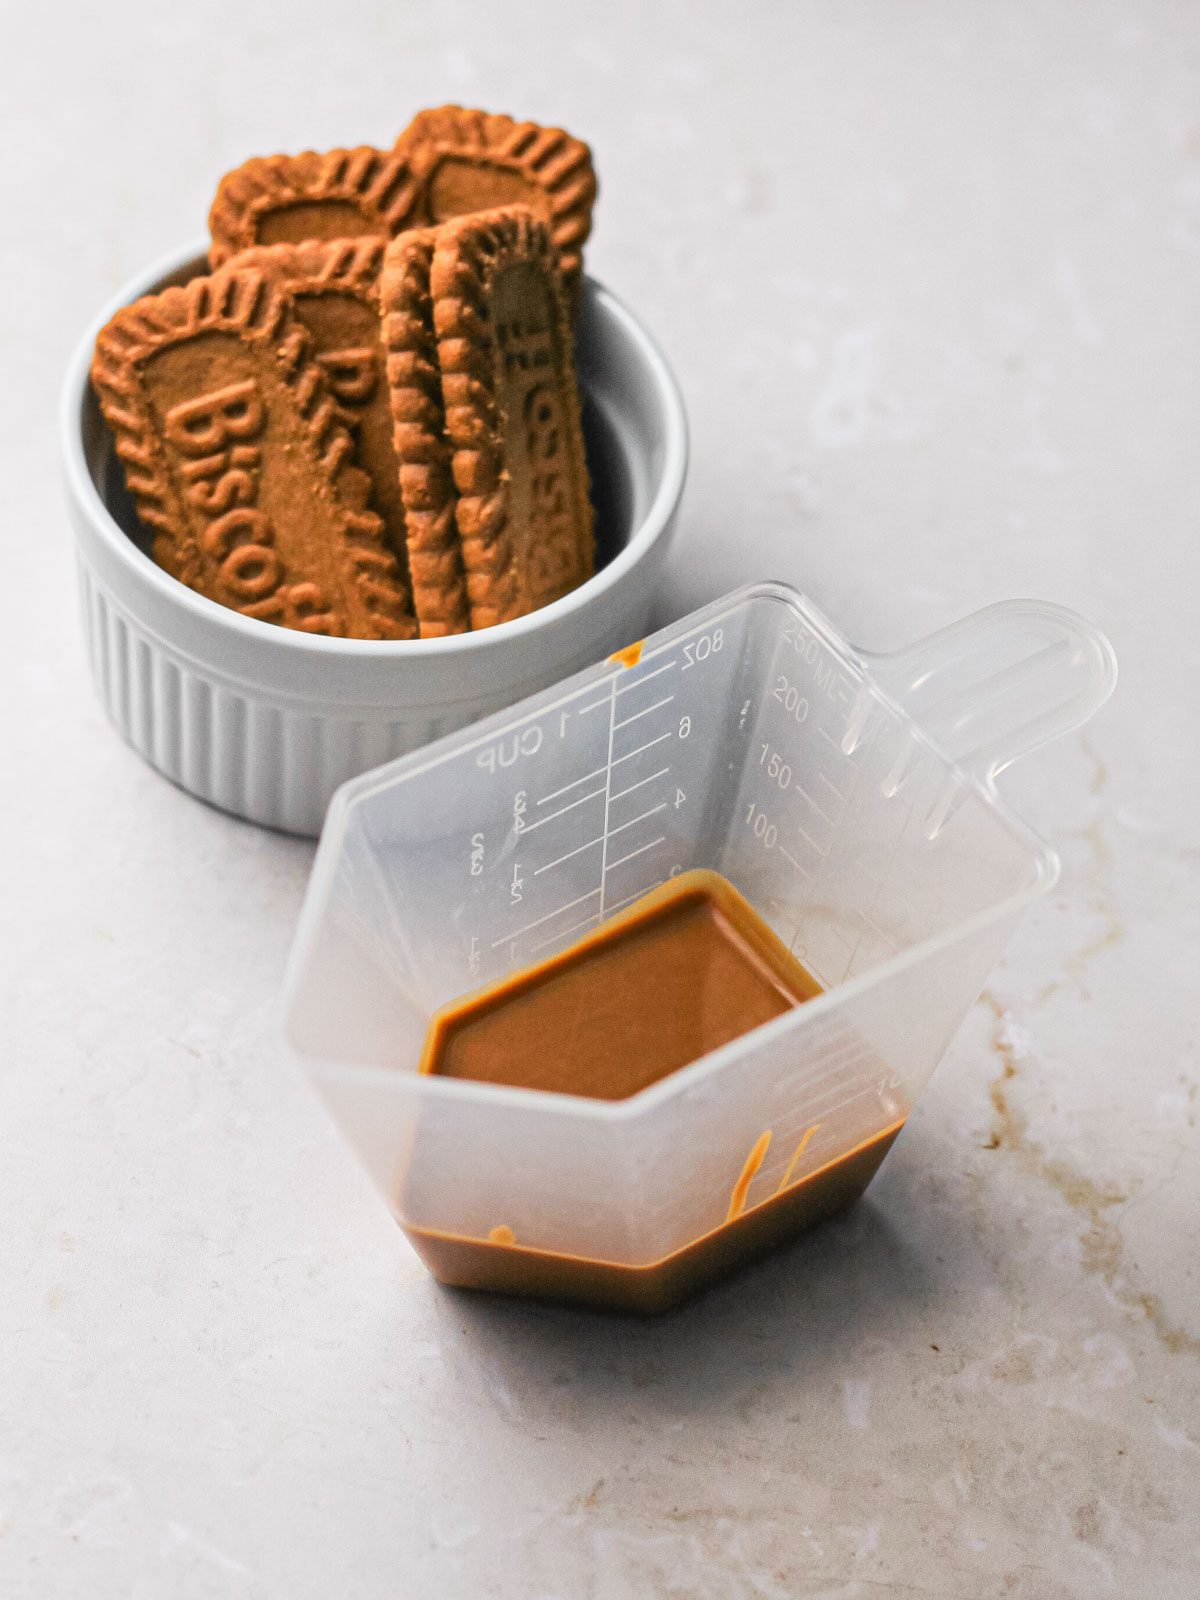
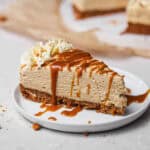
- Drizzle the melted cookie butter. Microwave the cookie butter for 15 to 30 seconds, until it's warm enough to pour but not so hot that it melts the top of your cold cheesecake. Drizzle it however you like. I just had fun with it, so enjoy the process! You can wipe up any drips with a paper towel afterward.
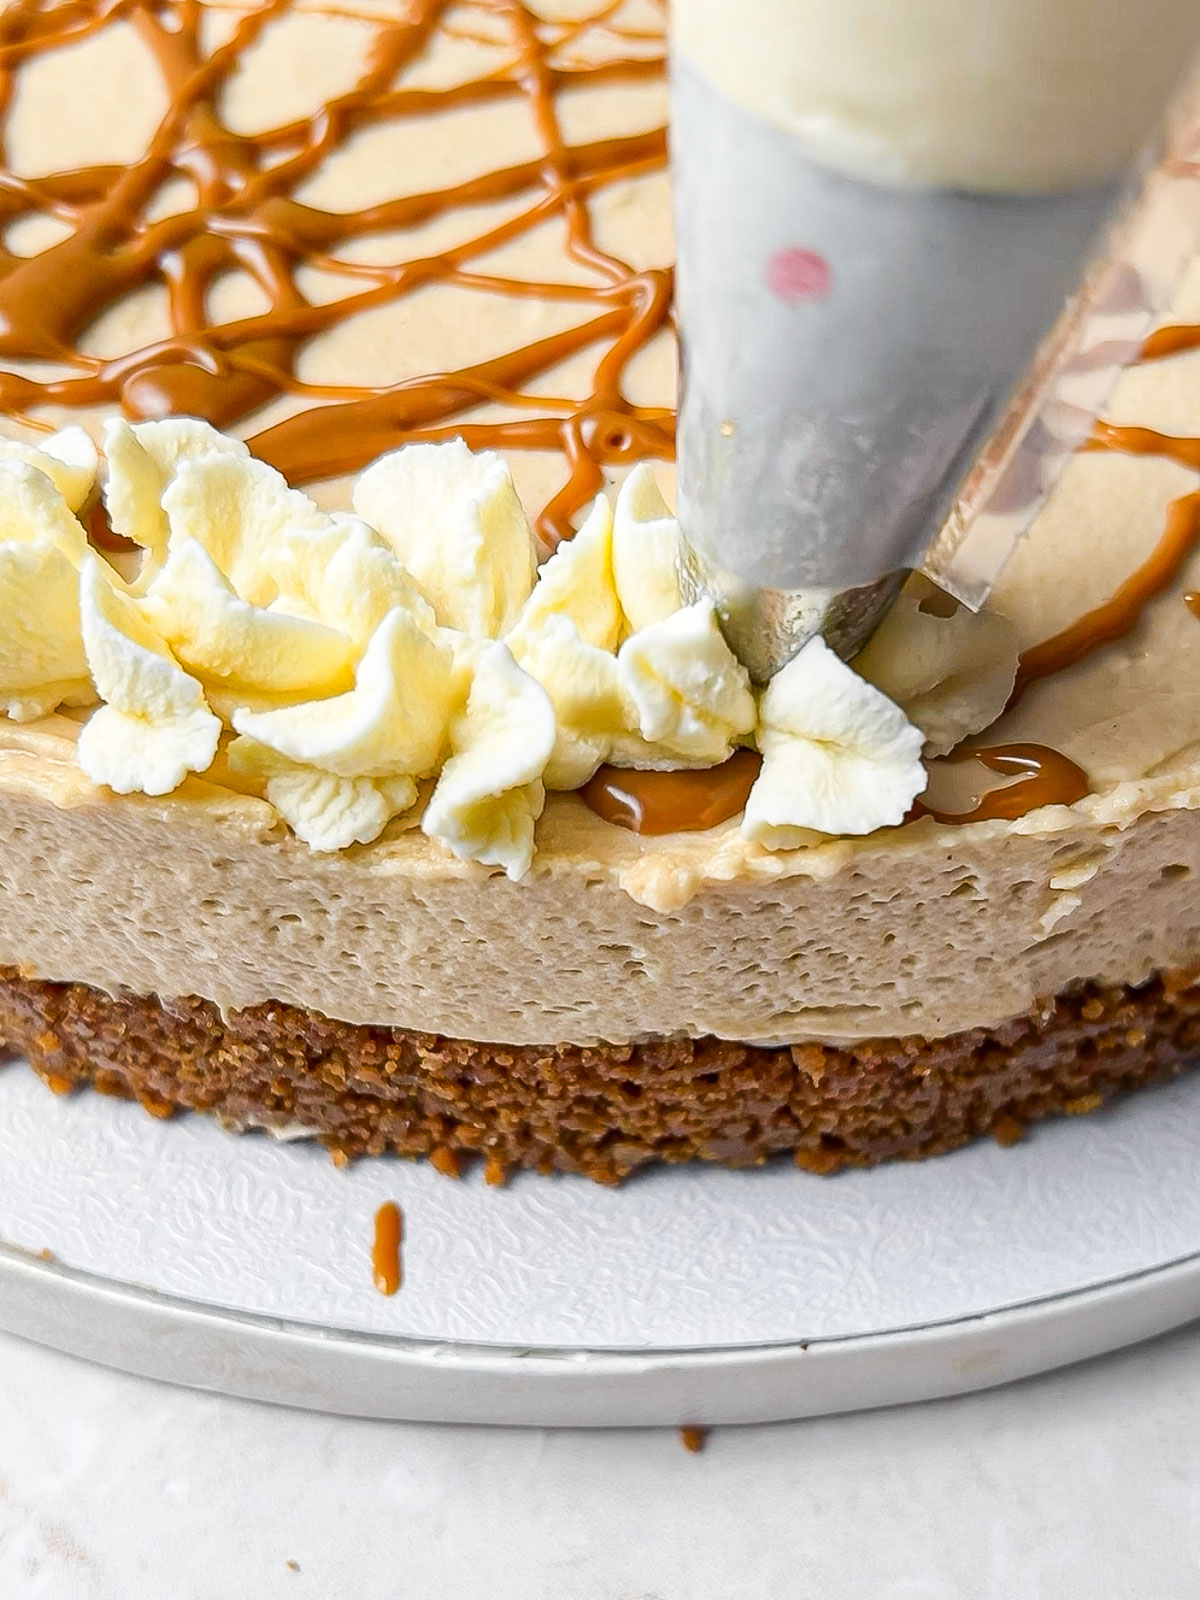
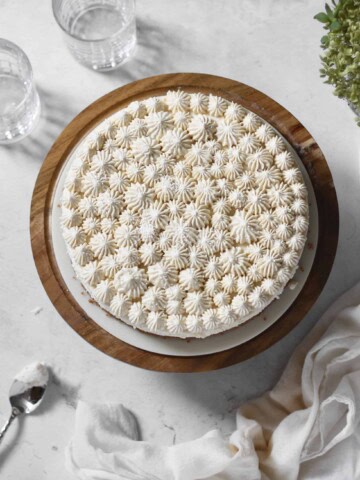
- Top with whipped cream and crushed cookies, if desired. I like garnishes that hint at the flavor inside a dessert. I whipped a little more heavy cream with powdered sugar (amounts are in the recipe card) to pipe a border, then sprinkled on the Biscoff crumbs I set aside earlier for crunch. I assembled mine two days ahead and it was fine, but the design looks cleaner (and the cookies stay crunchier) if you add these right before serving.
⭐️ Tips for Success
- Line your springform pan with parchment, and give the paper a bit of overhang. It's key for removing the cheesecake once it's set, particularly if you'd like to serve it on a pretty dish.
- Slice with a hot, dry knife for clean, elegant slices.
🔄 Variations and Substitutions
- Alternative crusts: Biscoff on Biscoff is a combo you have to try at some point! But if you can't find the cookies, graham crackers or gingersnaps are the easiest swaps. Vanilla wafers might work too, though I haven't tested them yet. They're more crumbly, so you may need to adjust the ratio of butter to cookies for the crust to hold. I could also see the Oreo crust from my no-bake chocolate cream pie being an excellent choice if you want a chocolaty crust with the cozy Biscoff filling.
- Add-ins: Try chopped nuts in the filling or as a garnish. Walnuts, almonds, pecans, and pistachios all feel like natural pairings with Biscoff. Or go for chocolate! I'd love to hear about any variations you try in the comments below.
- Mascarpone instead of cream cheese: I haven't tested it in this recipe yet, but mascarpone is a great option for no-bake cheesecakes. See the FAQ below for what to keep in mind.
🗄️ How to Store Biscoff Cheesecake
Between servings, store your cheesecake covered in the refrigerator, with plastic wrap over the top so it doesn't absorb odors from your fridge. I'd recommend eating it within about a week.
And I won't outright tell you to keep it longer than that, but I will tell you I enjoyed a slice about 10 days after making it, and it was still delicious.
❓ FAQ and Troubleshooting
You can, though I haven't tested it in this Biscoff version. I use mascarpone in my no-bake mascarpone cheesecake, and it makes a wonderfully smooth filling. It's milder and richer than cream cheese, which is why I went with cream cheese here: its tang balances the sweet cookie butter.
If you do swap, keep the mascarpone and cream cold rather than at room temperature. Mascarpone can split when it's mixed with ingredients at a different temperature.
If you didn't whip your heavy cream into peaks before folding it in, that could be one explanation. Another is if your cream cheese wasn't beaten smooth at the start.
Also check that you used brick-style cream cheese and not a tub of whipped cream cheese. That's a no-go here! It won't give you the same results as this recipe.
If your cheesecake is just a bit soft, try leaving it in the refrigerator longer. As a last resort, you can move it to the freezer to firm up if it looks good aside from a slightly-too-soft texture.
Nope, and it's one of the reasons I love no-bake cheesecakes! The filling sets with time in the refrigerator, thanks to the cream cheese and the whipped heavy cream folded into it. It keeps the process simple and the ingredient list even shorter.
I haven't tested this substitution in this recipe, though I imagine it could work. I've had cheesecakes in the past that use it to help firm up the filling. If you give it a go, let me know in the comments!
I wouldn't recommend freezing it to help it set or before you first serve it. It's best kept in the refrigerator. But if you have leftovers you'd like to save for yourself and are less concerned with presentation, you can freeze slices in an airtight container for up to 3 months. The texture will be a little less smooth and silky, but it's still tasty.
More Biscoff Desserts
Cookie butter shows up in a few more recipes on my site:
- Biscoff Sandwich Cookies – Soft, chewy oat cookies with cookie butter in both the dough and the filling.
- Biscoff Crumble Cake with Cookie Butter Frosting – Biscoff spread is baked right into the layers, with a crumb topping made from Biscoff cookies.

No-Bake Biscoff Cheesecake with Cookie Butter Filling
- Total Time: 6 hours 30 minutes
- Yield: 12 slices 1x
Description
This no-bake Biscoff cheesecake has a cookie butter cream cheese filling, Biscoff cookie crust, and melted cookie butter drizzle. No oven needed, and it's an excellent make-ahead option that stays fresh and delicious for days.
Ingredients
Biscoff Crust
- 1 sleeve (240 grams) Biscoff cookies
- 8 tablespoons (113 grams) unsalted butter, melted
- 1 tablespoon brown sugar
- ¼ teaspoon kosher salt
Cookie Butter Cheesecake Filling
- 16 oz (450 grams) full-fat brick cream cheese, room temperature
- ¾ cup (180 grams) creamy Biscoff cookie butter
- ¾ cup (90 grams) powdered sugar, sifted if clumpy
- 1 teaspoon pure vanilla extract
- 2 teaspoons lemon juice for tanginess
- ¼ teaspoon kosher salt
- 1 ¼ cups (300 grams) heavy whipping cream, cold
Topping
- ⅓ cup (80 grams) creamy Biscoff cookie butter
- 2 to 3 Biscoff cookies, crushed for garnish
Whipped Cream Border (optional)
- ½ cup (120 grams) heavy whipping cream, cold
- 1 tablespoon powdered sugar
Instructions
- Make the crust. Pulse the Biscoff cookies, brown sugar, salt, and melted butter in a food processor until the mixture resembles wet sand. Or put the cookies in a Ziploc bag, seal it, and roll and break them up with a rolling pin to form the crumbs and combine it with the other ingrdients. Press it into the bottom and slightly up the sides of a parchment-lined 9-inch springform pan with the base of a glass, then chill while you make the filling.
- Whip the cream. In a chilled mixing bowl with the whisk attachment, whip the cold heavy cream on medium-high speed to medium stiff peaks. Transfer it to another bowl and refrigerate. No need to wash the mixer bowl before using it in the next step.
- Beat the cream cheese. In the same mixing bowl, beat the room-temperature cream cheese and powdered sugar on medium speed for 1 to 2 minutes, until completely smooth with no lumps. Scrape down the bowl.
- Add the cookie butter. Add the ¾ cup of cookie butter, vanilla, lemon juice, and salt. Beat on medium for about 1 minute, until evenly combined.
- Fold in the whipped cream. Using a rubber spatula, gently fold the whipped cream into the cream cheese mixture until no streaks remain. Do so gently so you don’t deflate the cream and air inside it.
- Fill and chill. Spread the filling evenly into the crust and smooth the top with an offset spatula. Cover with plastic wrap and refrigerate for at least 6 hours, or overnight.
- Release the cheesecake. Gently run a thin knife around the edge of the pan, unclip the sides, and lift the ring away. Use the parchment to slide the cheesecake onto a serving plate if you'd like.
- Drizzle the cookie butter. Microwave the ⅓ cup of cookie butter for 15 to 30 seconds, until pourable but not hot, and drizzle it over the cheesecake. If it comes hot out of the microwave, let it rest for a few minutes before pouring.
- Pipe the whipped cream border (optional). Whip the cold heavy cream and powdered sugar to stiff peaks. Pipe a border around the top edge with the piping tip of your choice.
- Garnish and serve. Sprinkle crushed cookies around the edge. Run a thin knife around the pan before releasing the sides, and slice with a hot, dry knife.
Notes
One standard 14 oz (400 gram) jar of cookie butter covers the filling and topping.
Use bricks of cream cheese, not the spreadable kind in a tub, which doesn't have the right texture for this cheesecake.
The cream cheese has to be fully at room temperature when you beat it; otherwise, you'll have a tough time beating out the lumps and creating a nice, smooth cheesecake.
Whipping the cream to medium-stiff peaks helps this cheesecake set without gelatin.
Make ahead: The cheesecake can be made a few days before serving. Ideally, add the whipped cream border and cookie crumbs right before serving so the border looks its neatest and the cookies stay crunchy. That said, I did full prepare mine a few days in advance, and it still looked fabulous upon serving. If you're on a time crunch, it'll do!
Store covered in the refrigerator for up to a week.
- Prep Time: 30 minutes
- 6 hours: Chill Time
- Category: Dessert
- Method: No-Bake
- Cuisine: American
Nutrition
- Serving Size: 1 slice
- Calories: 589
- Sugar: 27 g
- Sodium: 281 mg
- Fat: 46 g
- Saturated Fat: 24 g
- Unsaturated Fat: 22 g
- Trans Fat: 0 g
- Carbohydrates: 40 g
- Fiber: 0.3 g
- Protein: 5 g
- Cholesterol: 98 mg


Leave a Reply