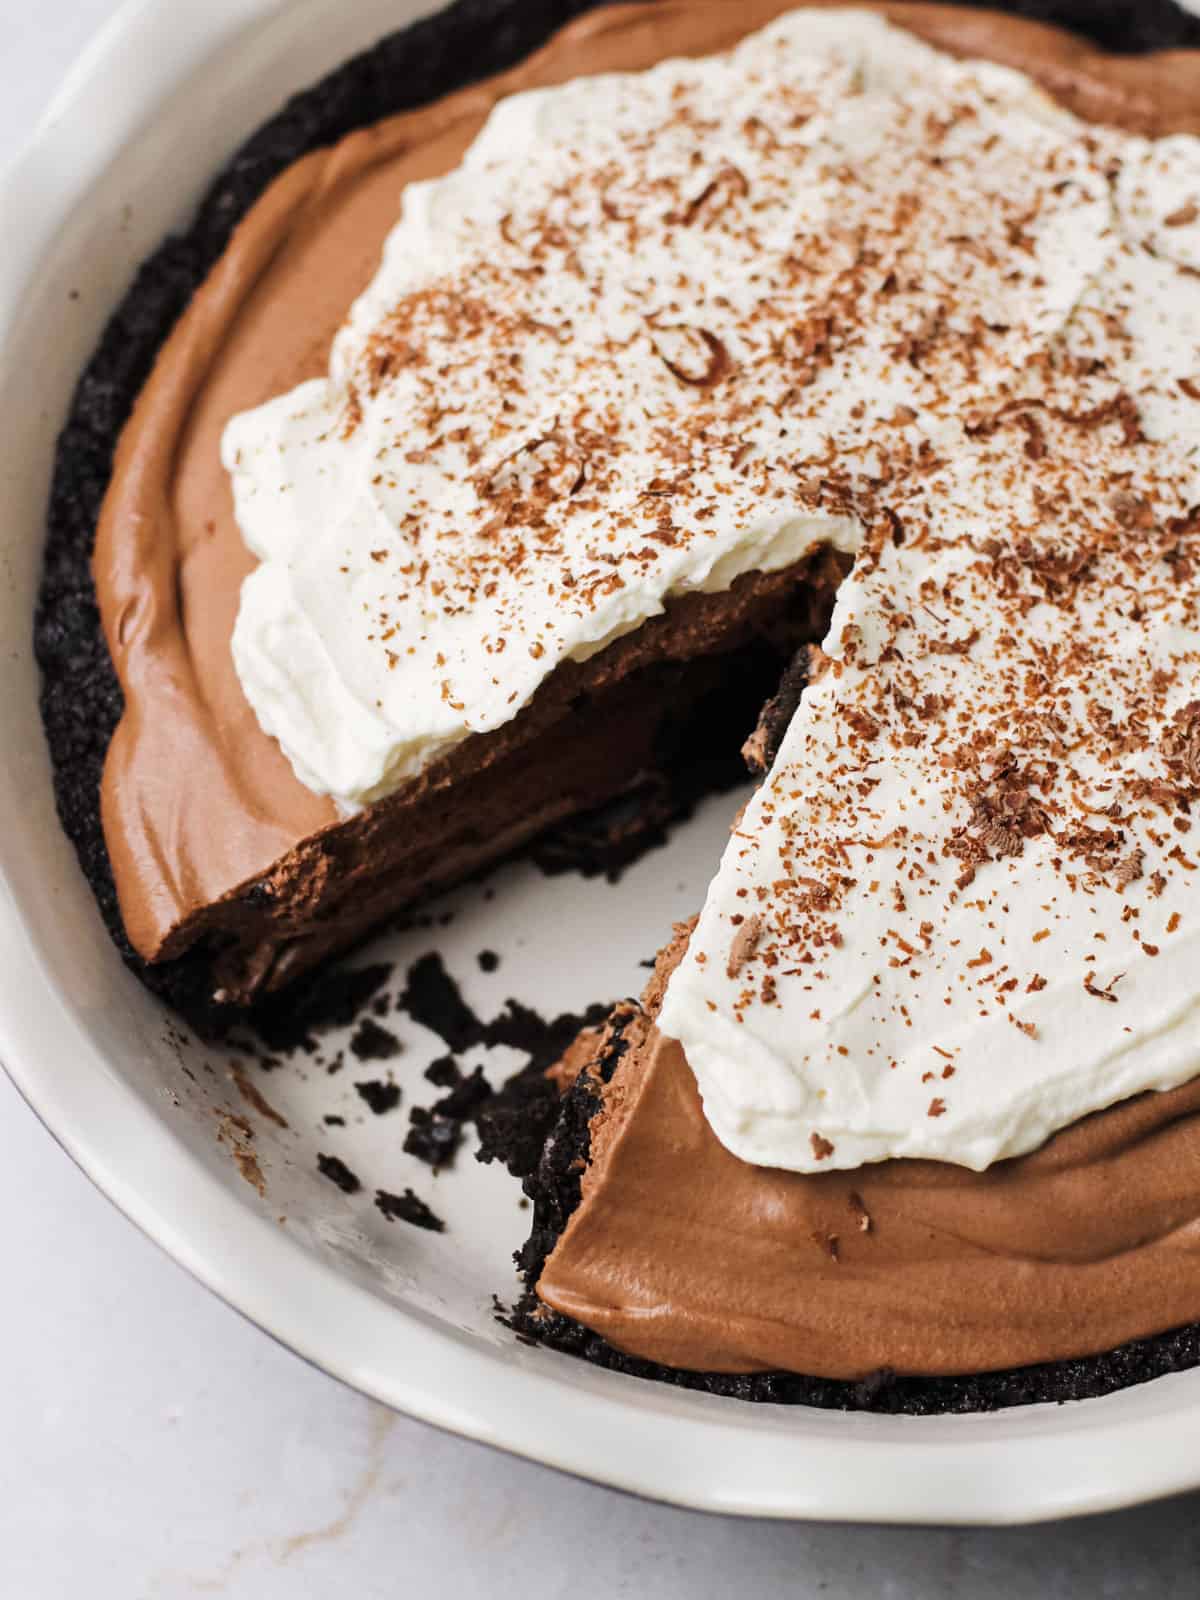
This easy no-bake chocolate cream pie is a dream come true for chocolate lovers! Made with simple ingredients like melted chocolate, heavy cream, and an Oreo cookie crust, it’s a perfect dessert that requires no oven time. Whether you're craving a rich chocolate filling or a light and fluffy topping of whipped cream, this pie delivers both.
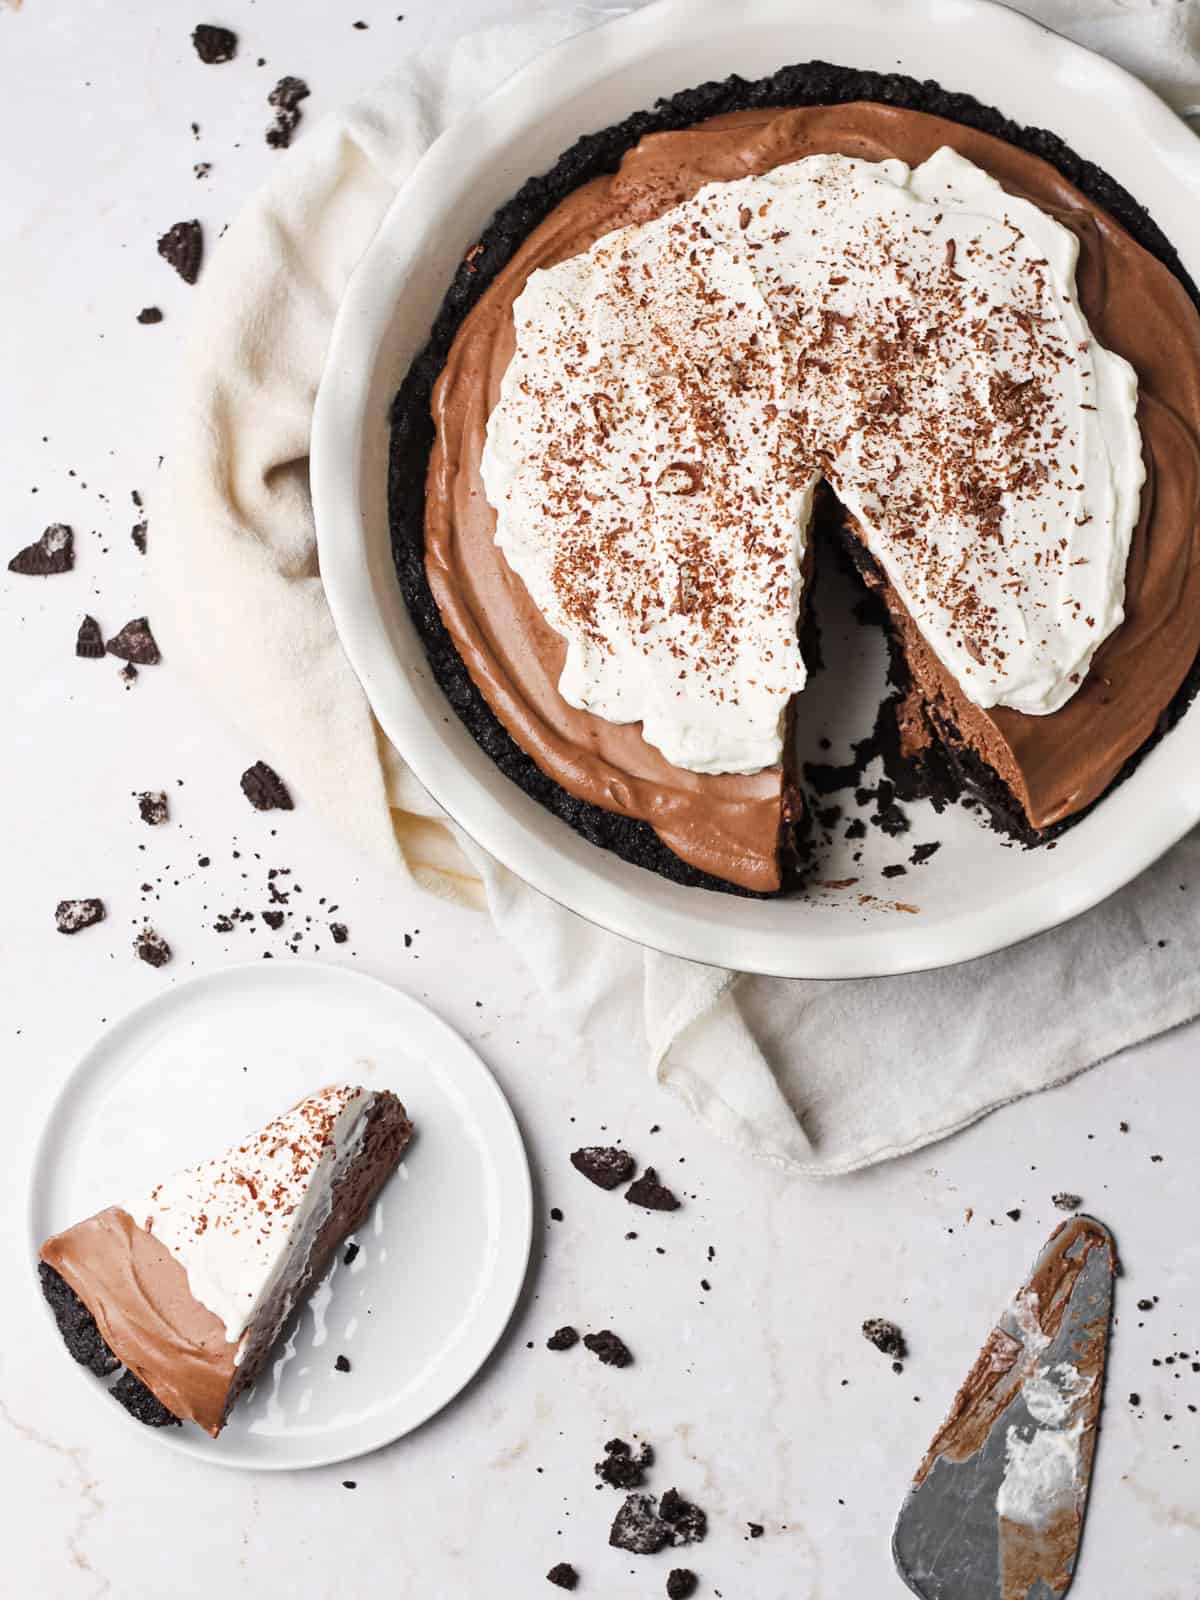
🍫 This easy chocolate pie recipe joins the growing list of deeply rich and flavorful chocolate desserts on my site.
The pie's texture is similar my chocolate mascarpone mousse, which is another indulgent, creamy treat that doesn't require any baking.
If you're more in the mood for chocolate baked goods, check out:
- Strawberry-filled chocolate cake
- Chocolate fudge cupcakes
- Black cocoa cake
- Small batch brown butter chocolate chip cookies
Jump to:
📋 Ingredients for this No-Bake Chocolate Cream Pie
The recipe card has all the details on making this dessert, but here are some quick highlights for what you need to make this decadent chocolate dessert with an Oreo cookie crust.
- Oreo cookies: Finely crushed to create a buttery, chocolate cookie crust that pairs beautifully with the rich chocolate filling.
- Dark chocolate: Opt for a good-quality bar of baking chocolate with 50-60% cacao for that rich chocolate flavor.
- Heavy whipping cream: You’ll need this both for folding into the chocolate filling and for whipping as the topping. Chilled heavy cream is key for best results when whipping it in your stand mixer; otherwise, the cream can't hold its shape.
- Powdered sugar: This ingredient gives sweetness, but it also helps thicken heavy cream that you'll fold into your chocolate pie filling.
- Vanilla extract: This enhances the overall flavor of the pie, adding depth to both the filling and topping. You also don't need to fret over finding the "perfect" (read: expensive!) vanilla extract. A reasonably priced extract at your grocery store will work just fine, and you will have saved $$$!
- Kosher salt: A small pinch brings out the sweetness of the chocolate.
- Melted butter: Mixed with Oreo crumbs to form the pie crust, giving it a rich, buttery texture.
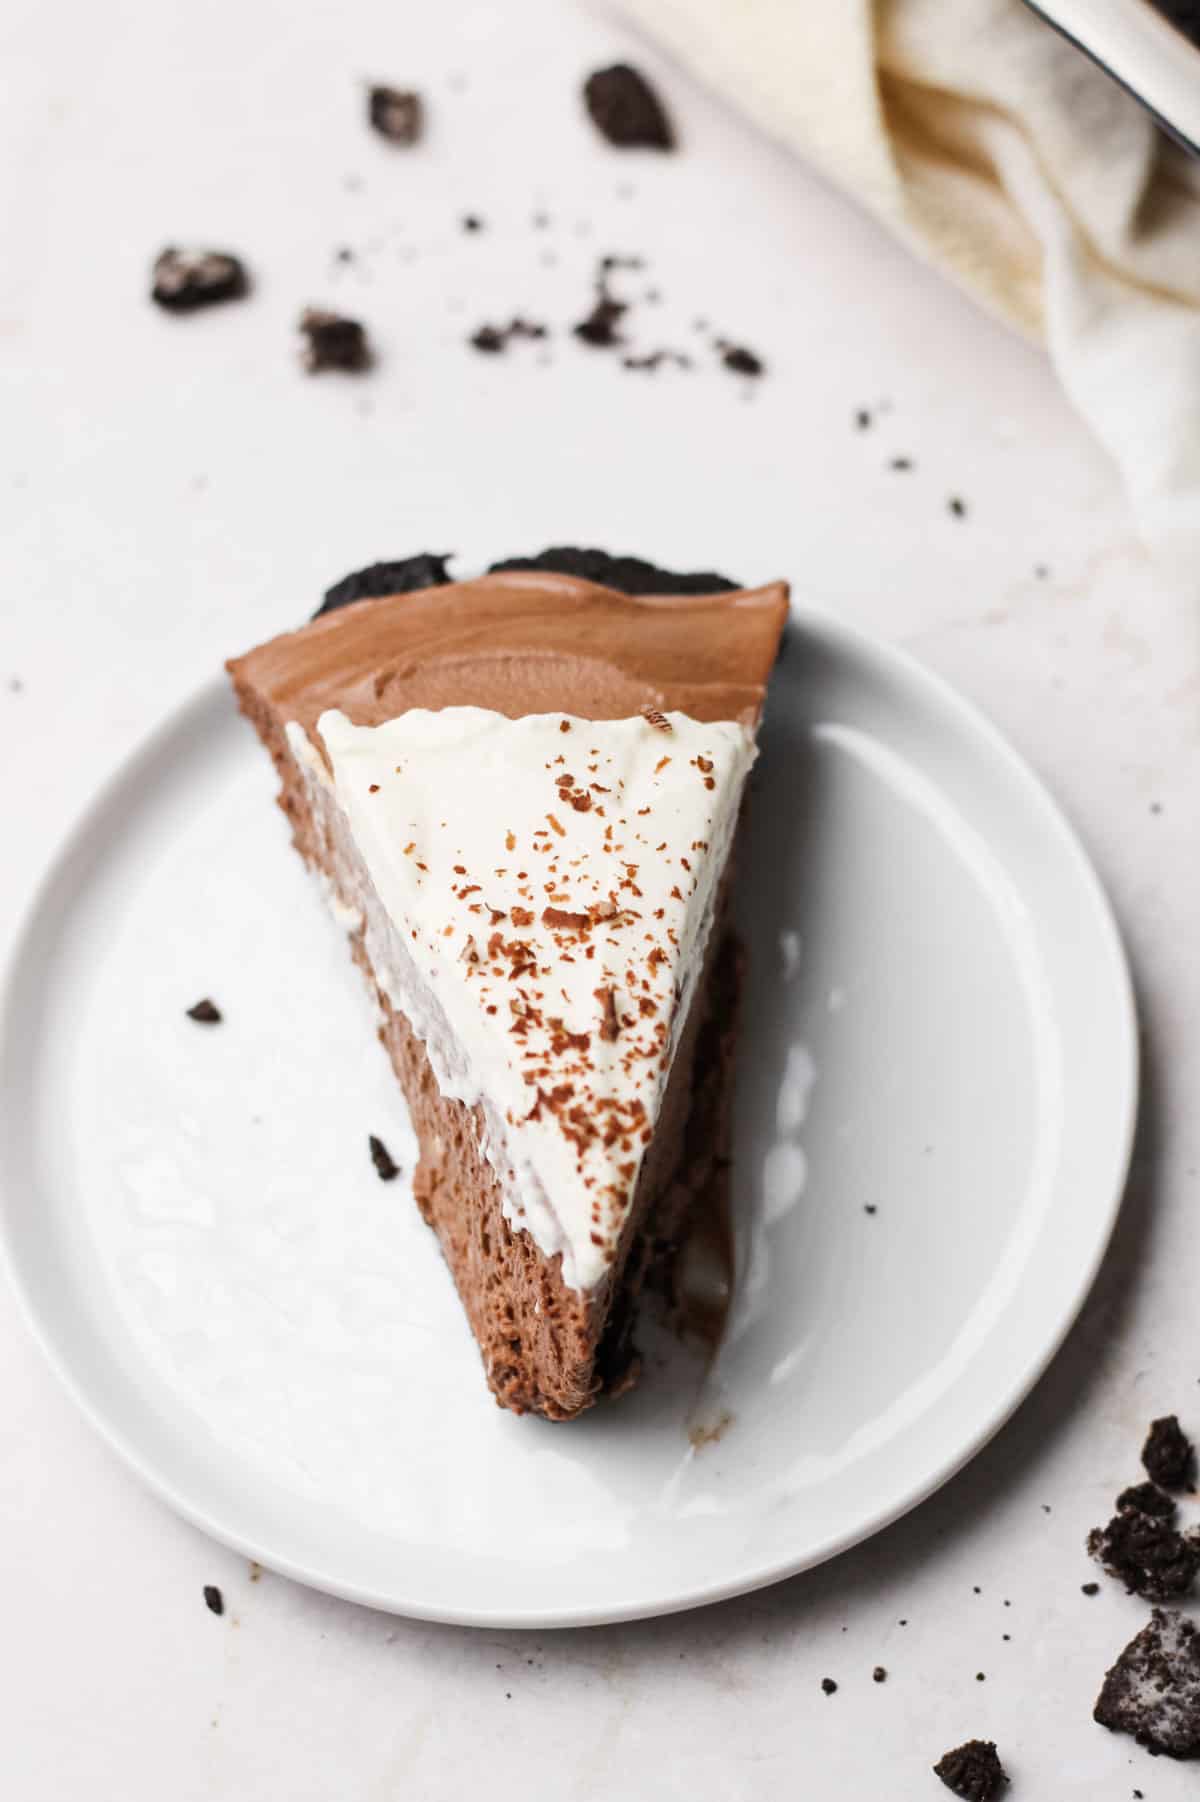
💡 Pro Tip
For best results with your whipped topping in the last step, use chilled heavy cream!
Temperature directly affects its ability to whip properly. Here's why:
- Fat Structure: Heavy cream contains fat, and when it's cold, the fat molecules remain solidified. This solid fat helps the cream trap and hold air, which is essential for creating a stable, fluffy texture.
- Better Volume: Cold cream whips faster and increases in volume more effectively, giving you light and airy whipped cream.
- Prevents Curdling: If the cream is too warm, the fat won't solidify properly, leading to a denser texture that may curdle or turn greasy instead of light and fluffy.
Equipment
- Food processor or blender: For crushing the Oreo cookies into fine crumbs for the pie crust. If you don't have these tools, you could instead place the cookies into a plastic bag. You'll then need to use a rolling pin or another tool to really flatten and crumble the cookies into a fine texture for the crust.
- Double boiler: This helps melt the chocolate and heavy cream together smoothly without burning the chocolate.
- Mixing bowl: You’ll need a large bowl to set on top of the double boiler. This is where your chocolate will melt, and once this mixture has cooled, you'll fold whipped cream into the bowl. This creates the light and fluffy chocolate filling base for your pie.
- Electric mixer with a whisk attachment or hand mixer: You'll need one of these tools in order to whip the heavy cream into stiff peaks.
- Pie dish: A 9x2 inch pie pan works perfectly for this chocolate cream pie recipe. Or if you have a 9" springform, you could use that instead. I'd line the bottom of it with parchment paper for smoother release.
- Vegetable peeler or zester: Not necessary, but this tool is great for creating chocolate shavings or curls to garnish the top of the pie.
Best Results: Baking in Grams
If you’re not already, use a kitchen scale for accuracy in baking.
While I include cups and grams in my recipe cards, weighing your ingredients and writing or following a recipe using a standard metric like grams ensures consistency.
I highly recommend investing $30 or less in a kitchen scale.
Ingredient Substitutions and Variations
- Biscoff cookie crust: If you’re not a fan of Oreo cookies, you could swap them out and make this Biscoff cookie pie crust instead for a lighter option. Or buy or make your own graham cracker cookie crust.
- Semi-sweet chocolate chips: These can replace the dark chocolate bar, but be sure to melt them slowly to avoid burning. This is not my preference but will work in a pinch.
- Cream cheese: For a slightly tangier (and thicker) filling, sub in cream cheese for part of the heavy whipping cream to create a chocolate cream cheese pie filling.
- Garnish: I like to shave chocolate to dust onto the pie at the end, but if you don't have a tool for this or want to skip this step, you can! Instead, you could drizzle chocolate syrup or sprinkle chocolate chips onto the pie before serving.
- Holiday variations: How perfect would this pie be at Christmastime with peppermint?! Add that and a little bit of espresso powder for a peppermint mocha twist on this dessert. Or play up different fruits of the seasons to garnish the top. Maybe strawberries on top at Valentine's Day. These are just a few of the many ways you could customize this treat to your liking.
📖 Easy Steps for No-Bake Chocolate Cream Pie
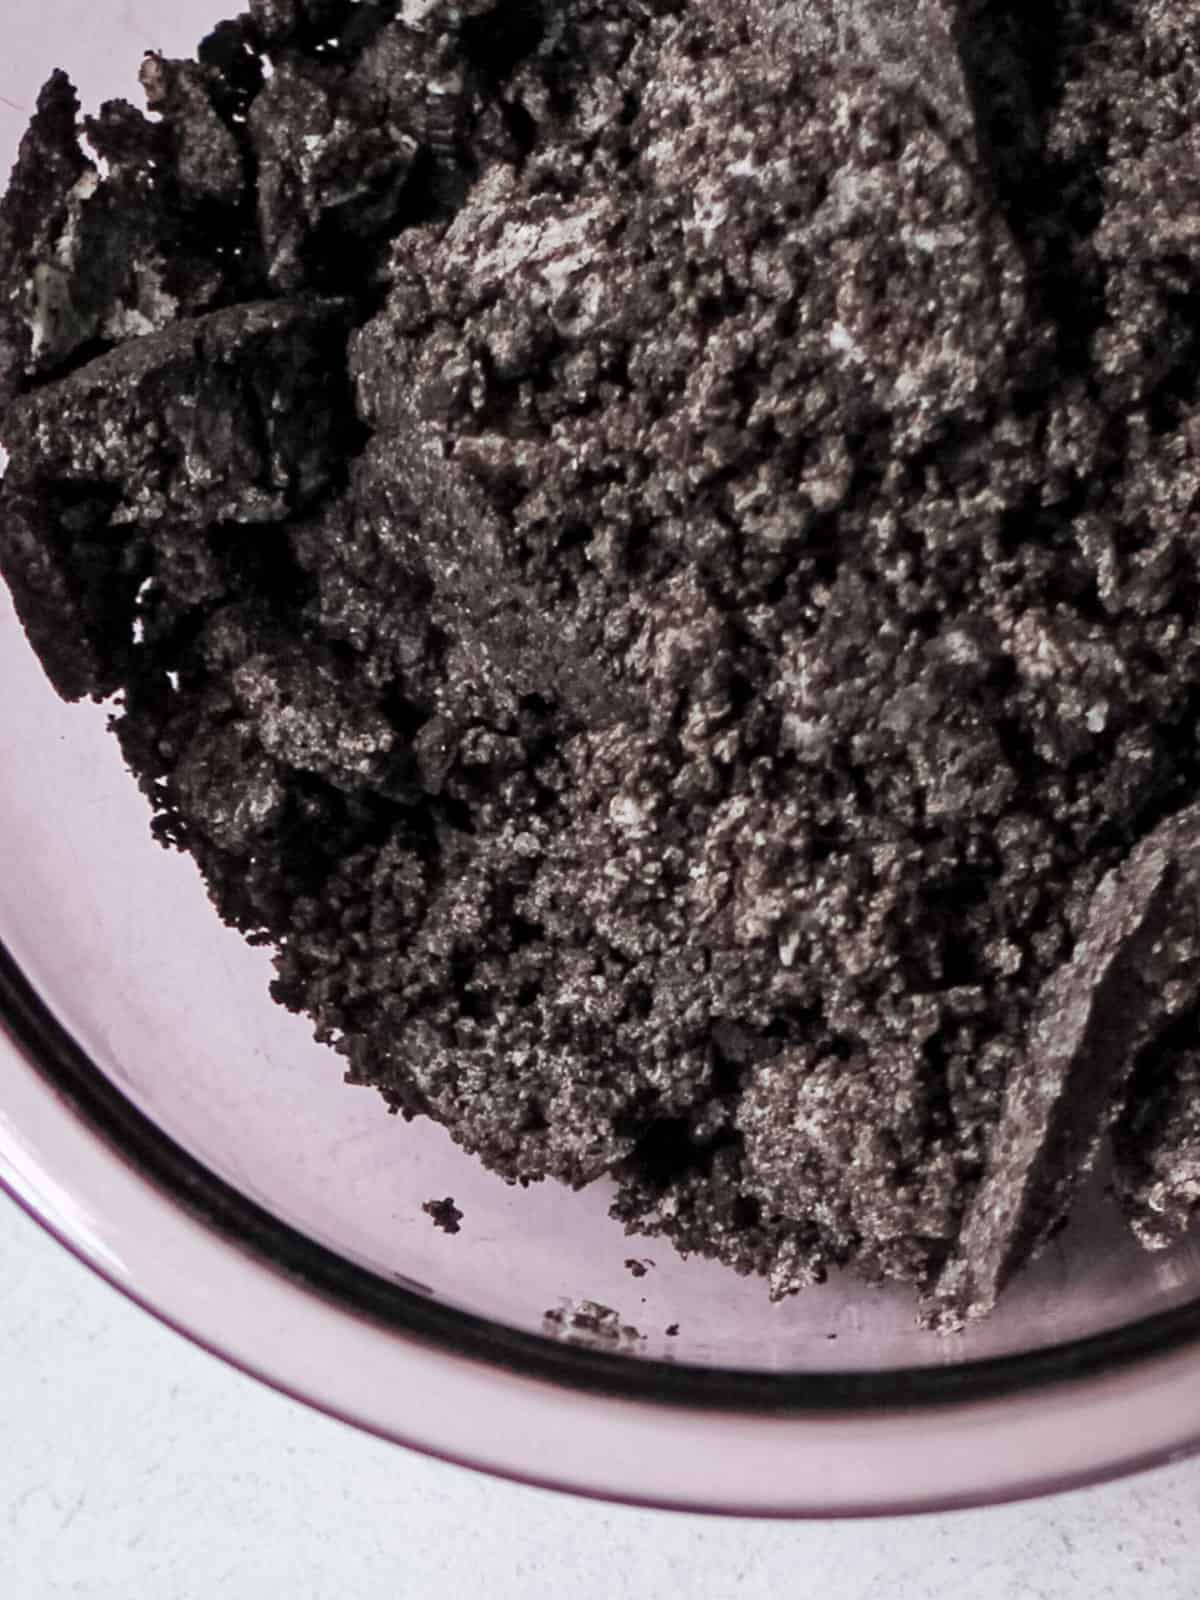
Mix crust: After grinding your Oreo cookies, combine the fine crumbs and melted butter in your 9x2 inch pie dish. The mixture should feel like wet sand.
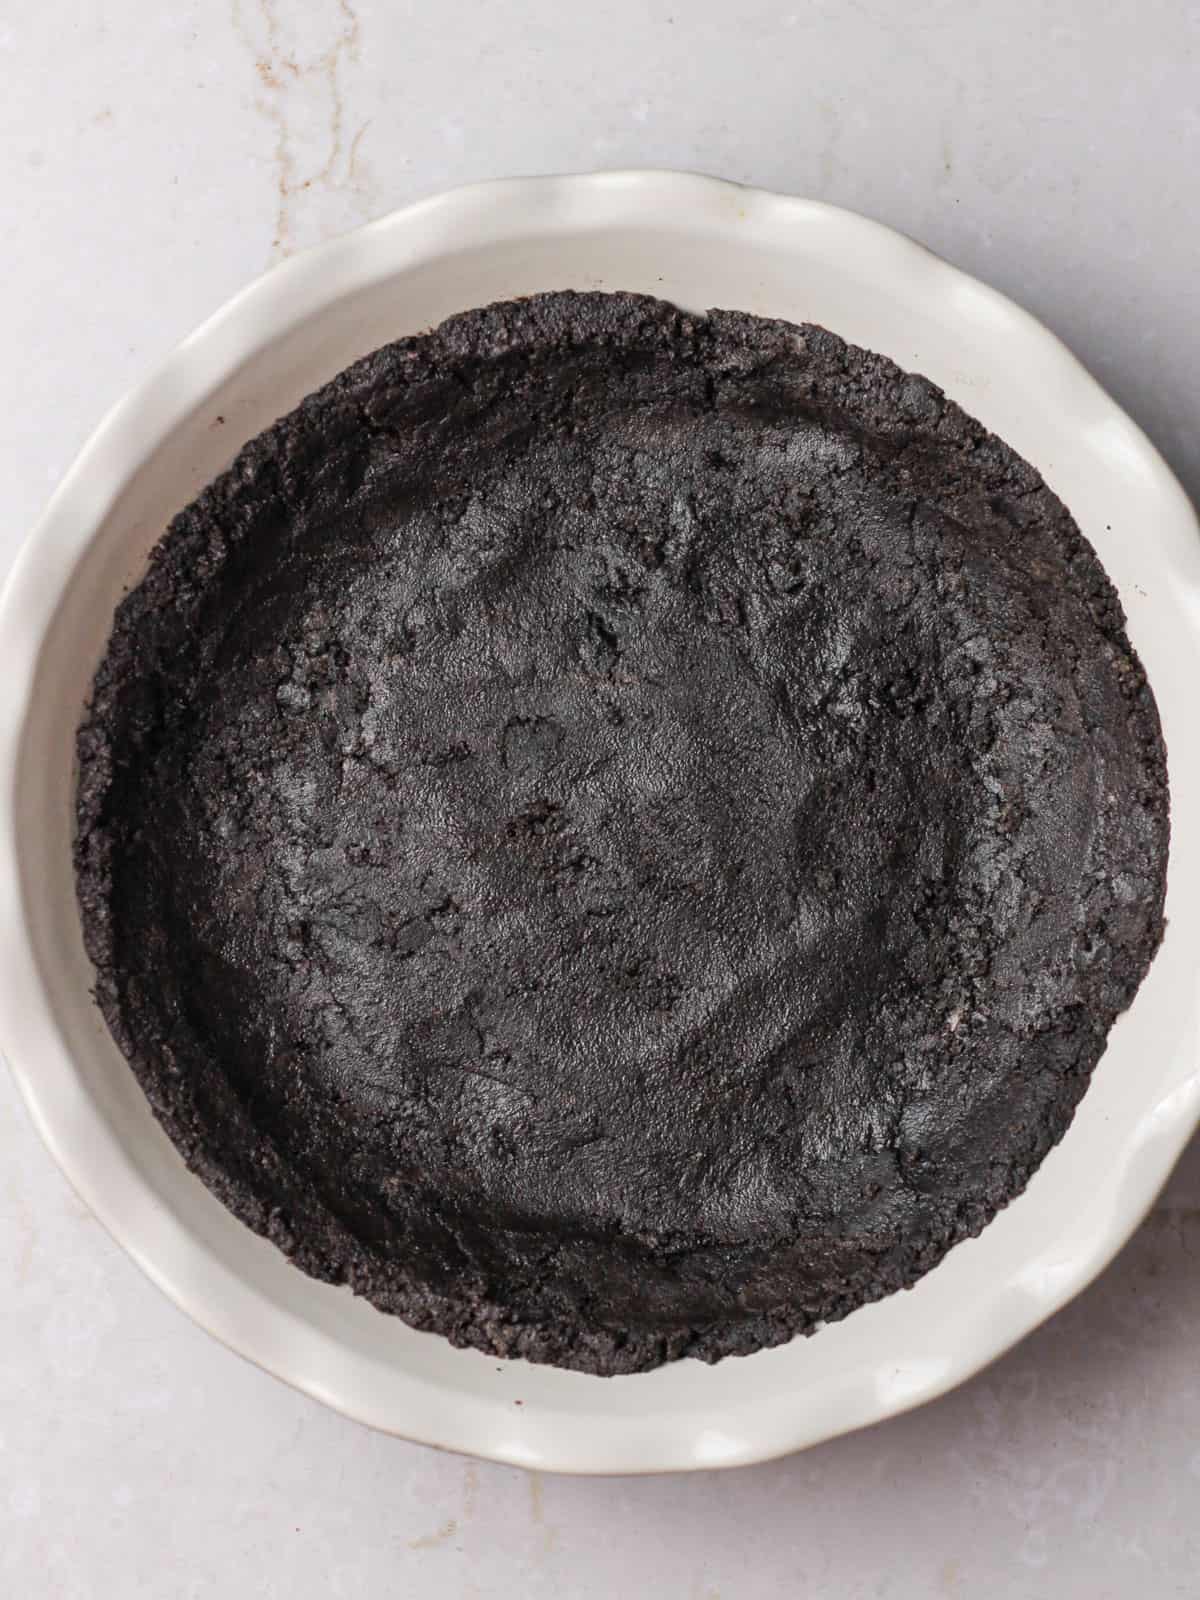
Press into pan: Press it into the bottom and sides of the dish, using the back of a spoon or flat-bottomed glass. Refrigerate it while you prepare the filling.
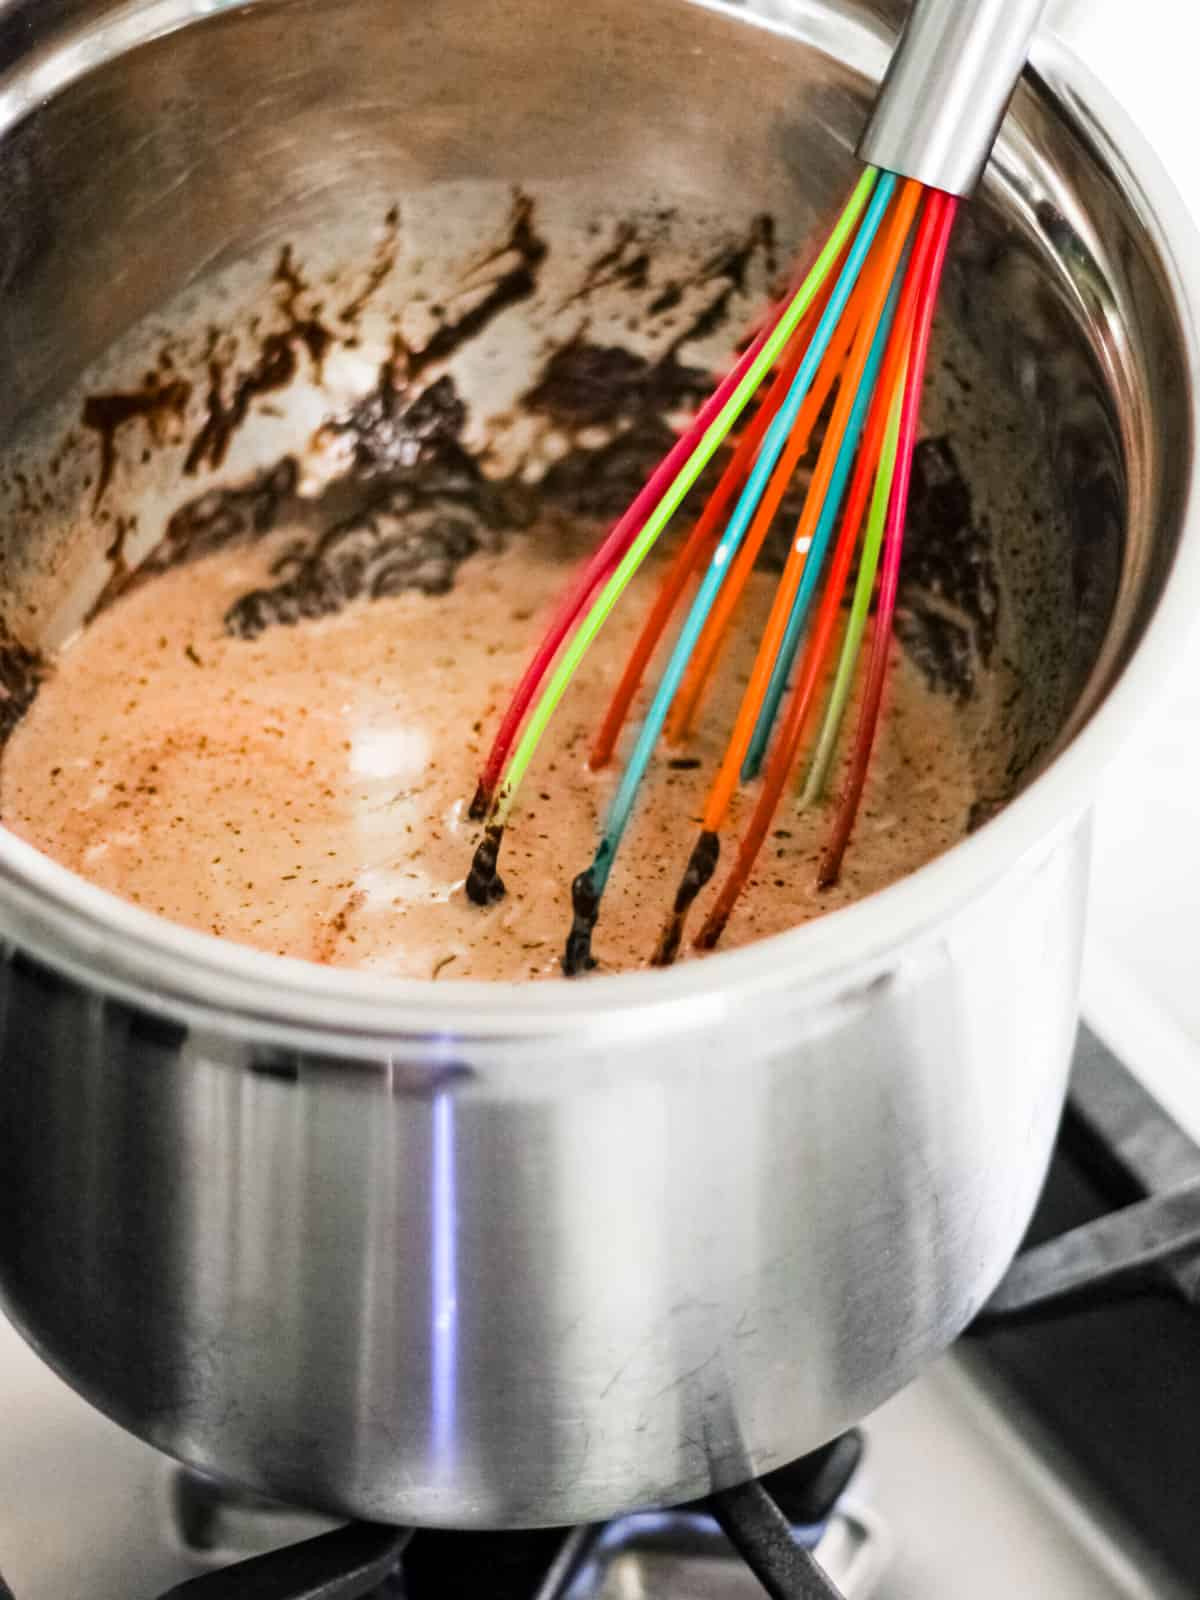
Melt chocolate: In a heatproof bowl, combine chopped dark chocolate and 1 cup of heavy cream. Place the bowl over simmering water (double boiler) and stir for a few minutes until smooth.
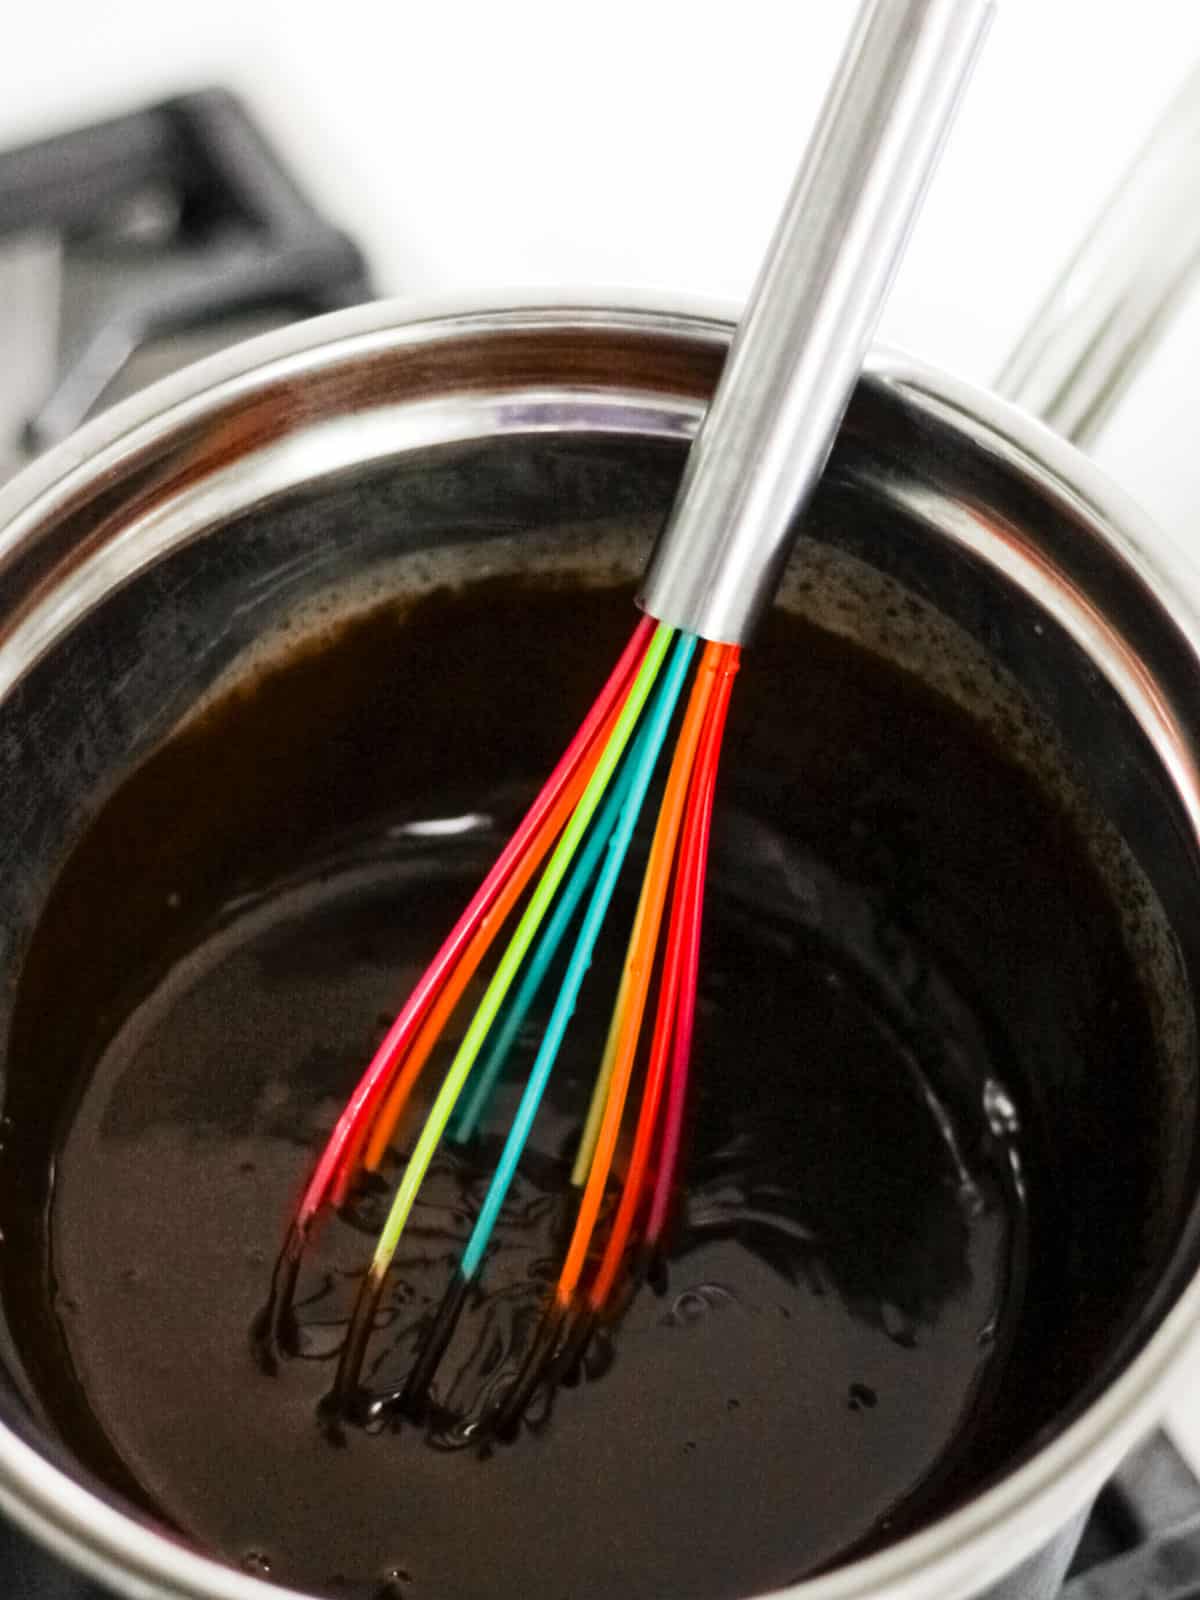
Cool mixture: Remove from heat and refrigerate the chocolate mixture for 15 minutes. Place a lid on the bowl or cover it with foil or plastic wrap so the mixture doesn't absorb any other smells in your refrigerator.
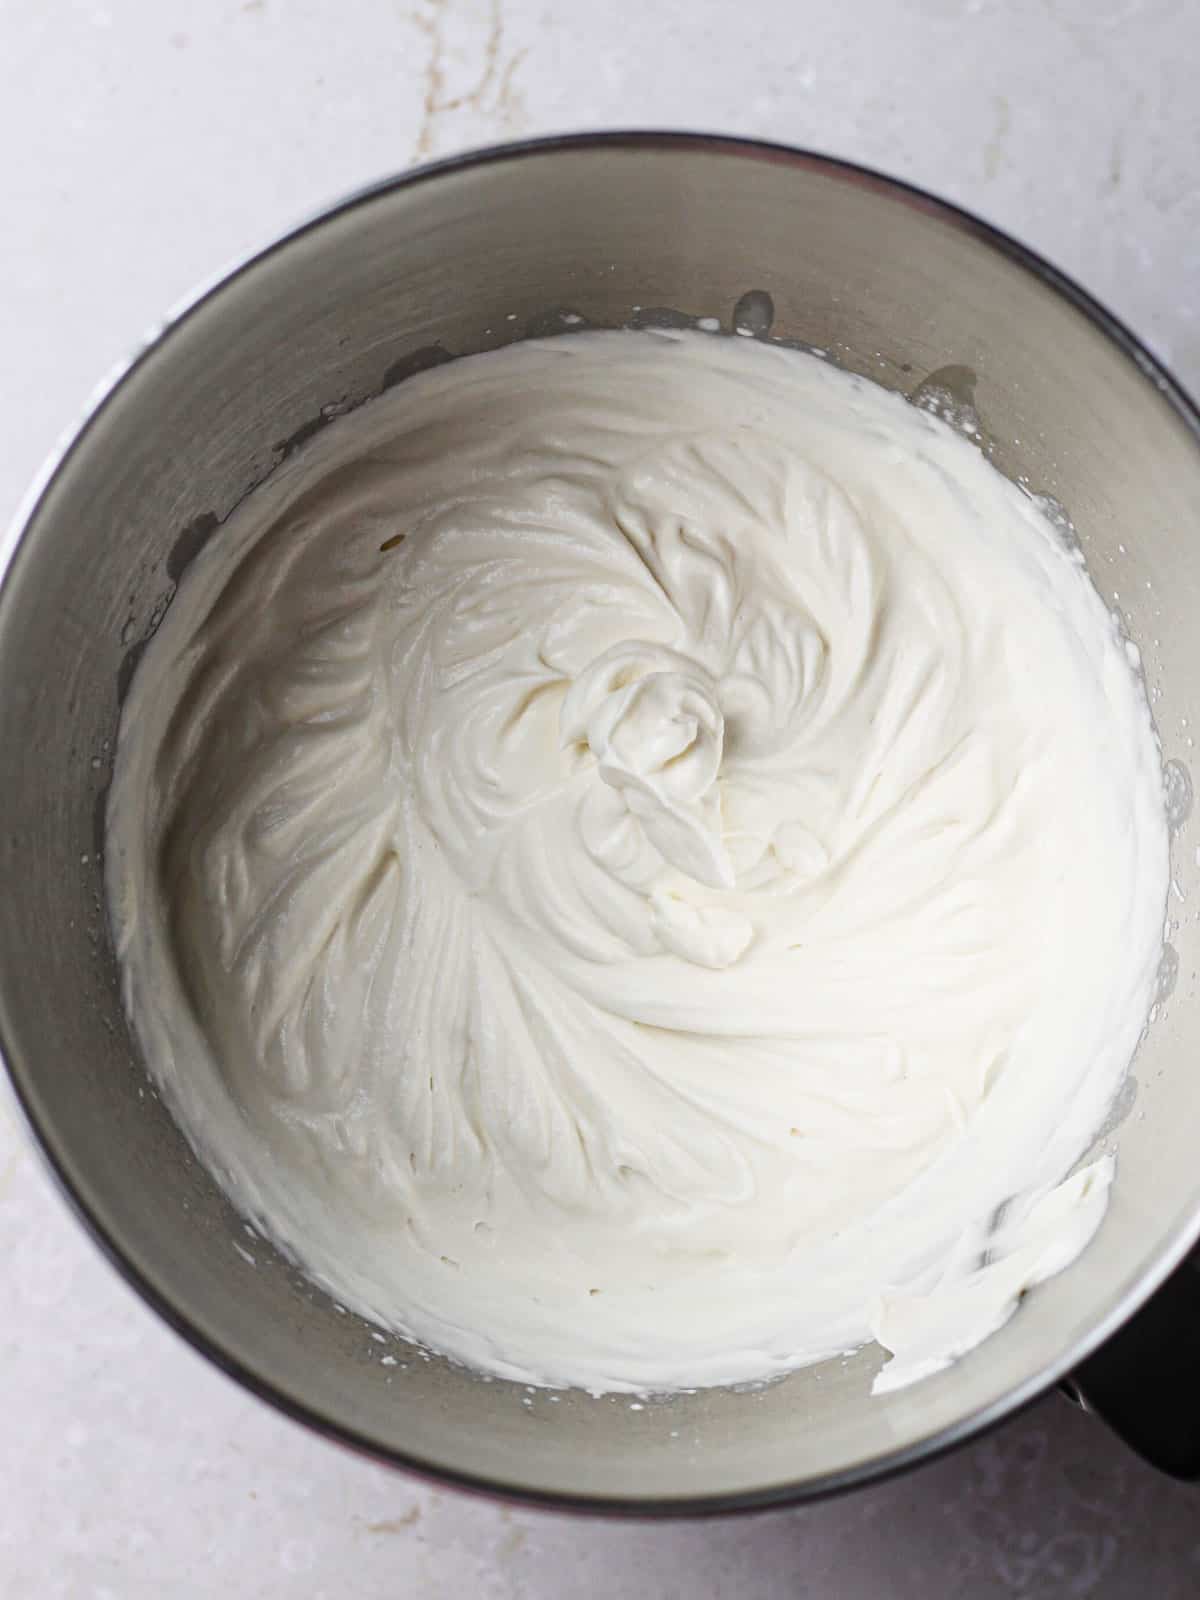
Whip cream: With your hand or stand mixer and whisk attachment, whip your cold 1 ½ cups of heavy whipping cream, powdered sugar, vanilla extract, and salt until stiff peaks form (about 4 minutes).
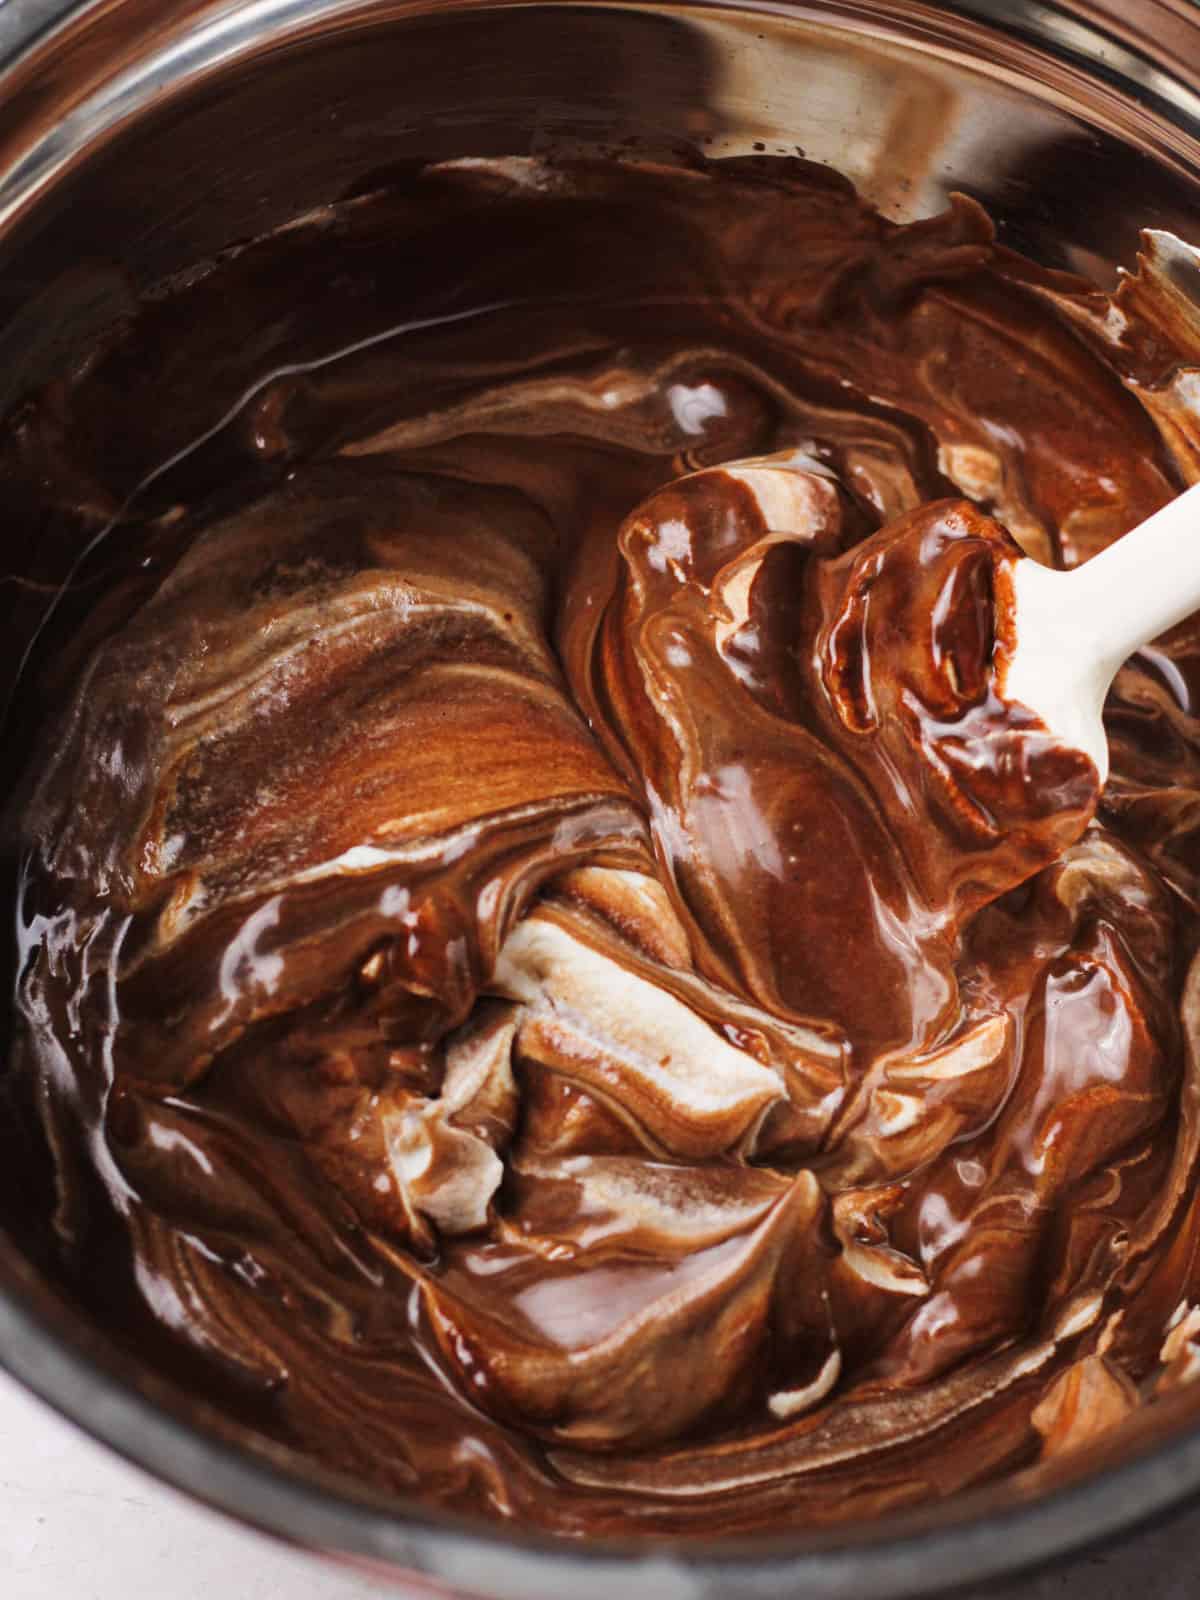
Fold whipped cream: Fold ¾ of the whipped cream into the cooled chocolate mixture, reserving the rest for topping.
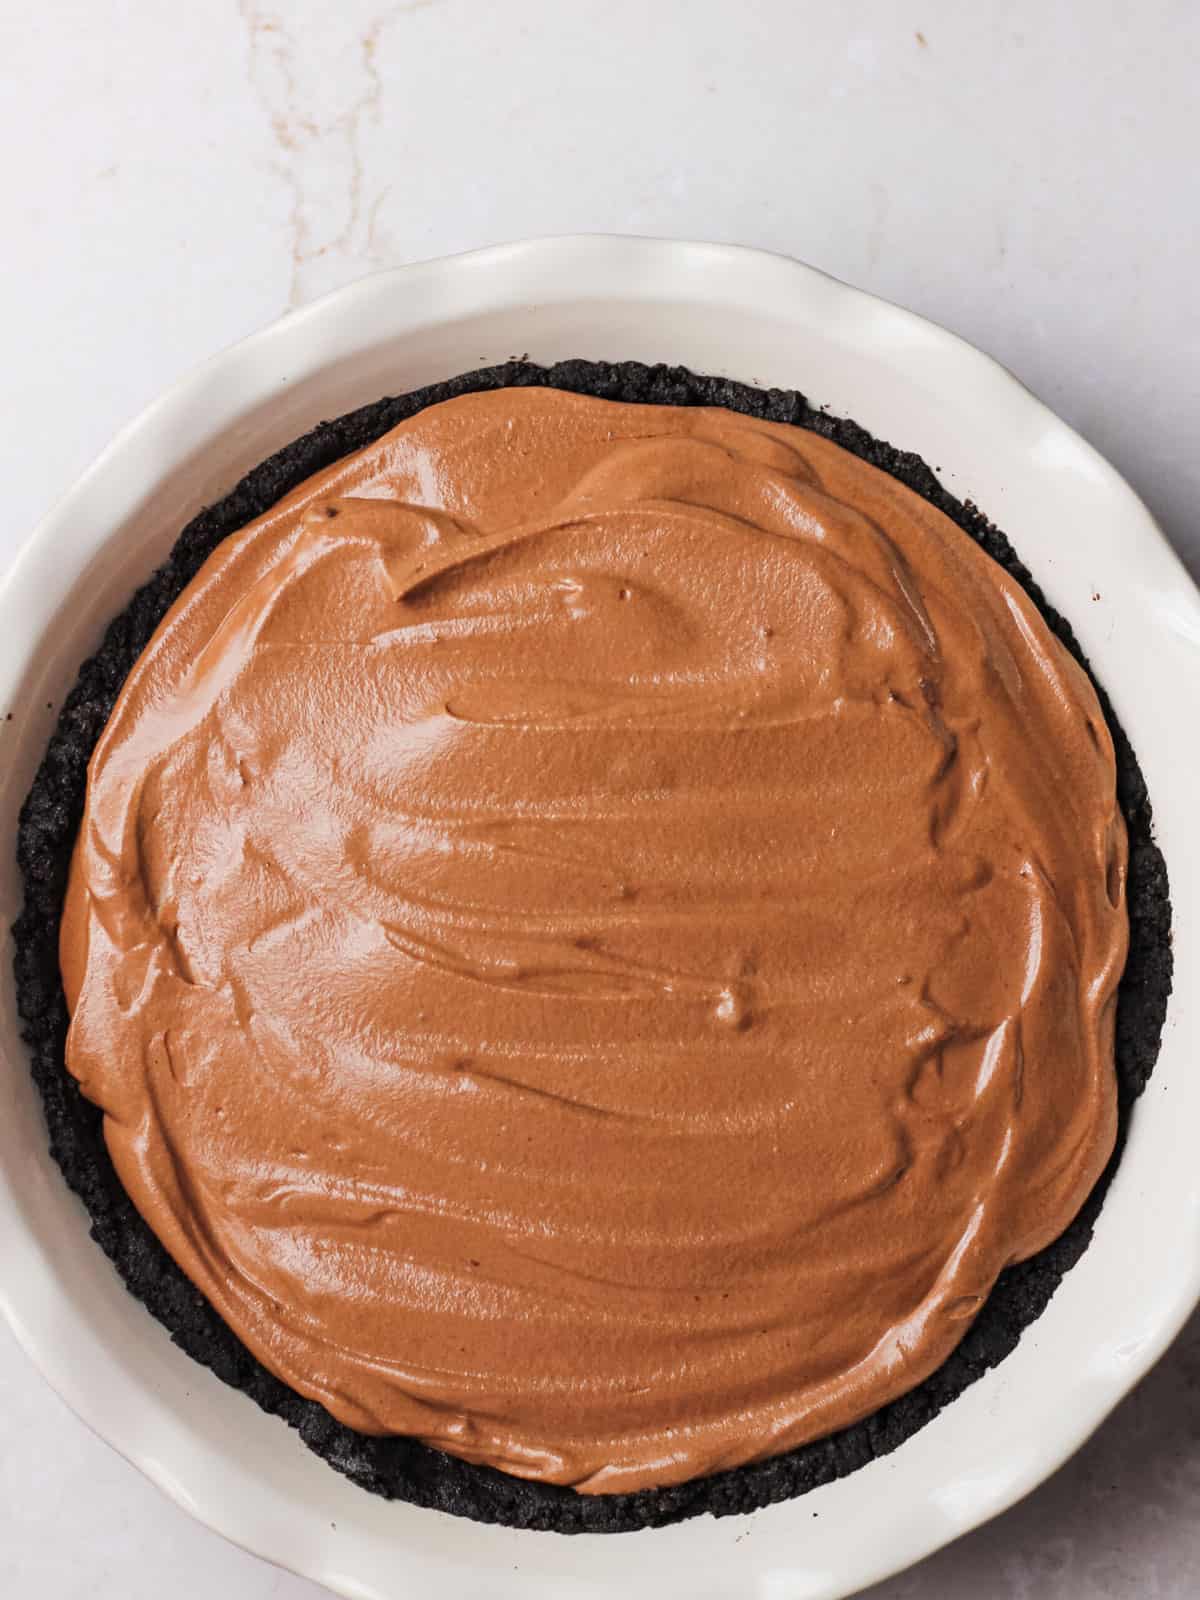
Fill crust: Pour the chocolate filling into the chilled Oreo crust and spread evenly.
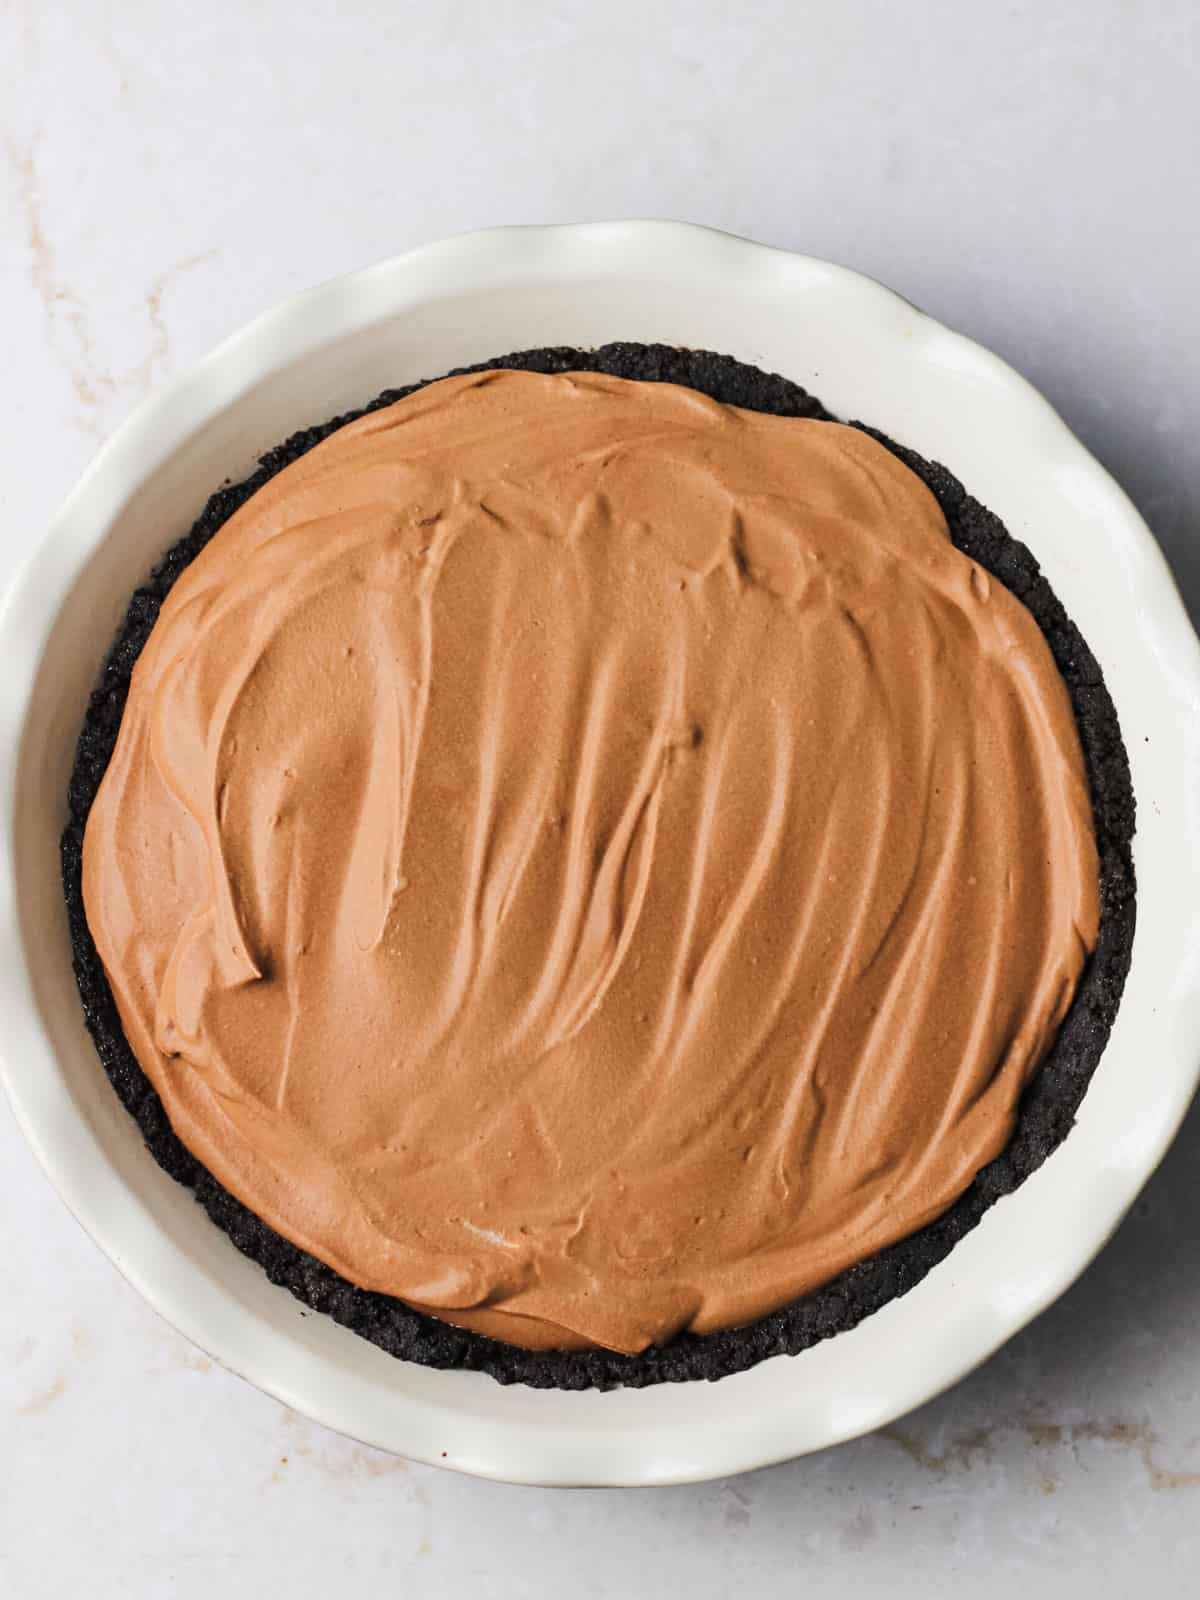
Chill pie: Cover with plastic wrap and refrigerate for at least 4 hours (ideally overnight), or until the filling is set.
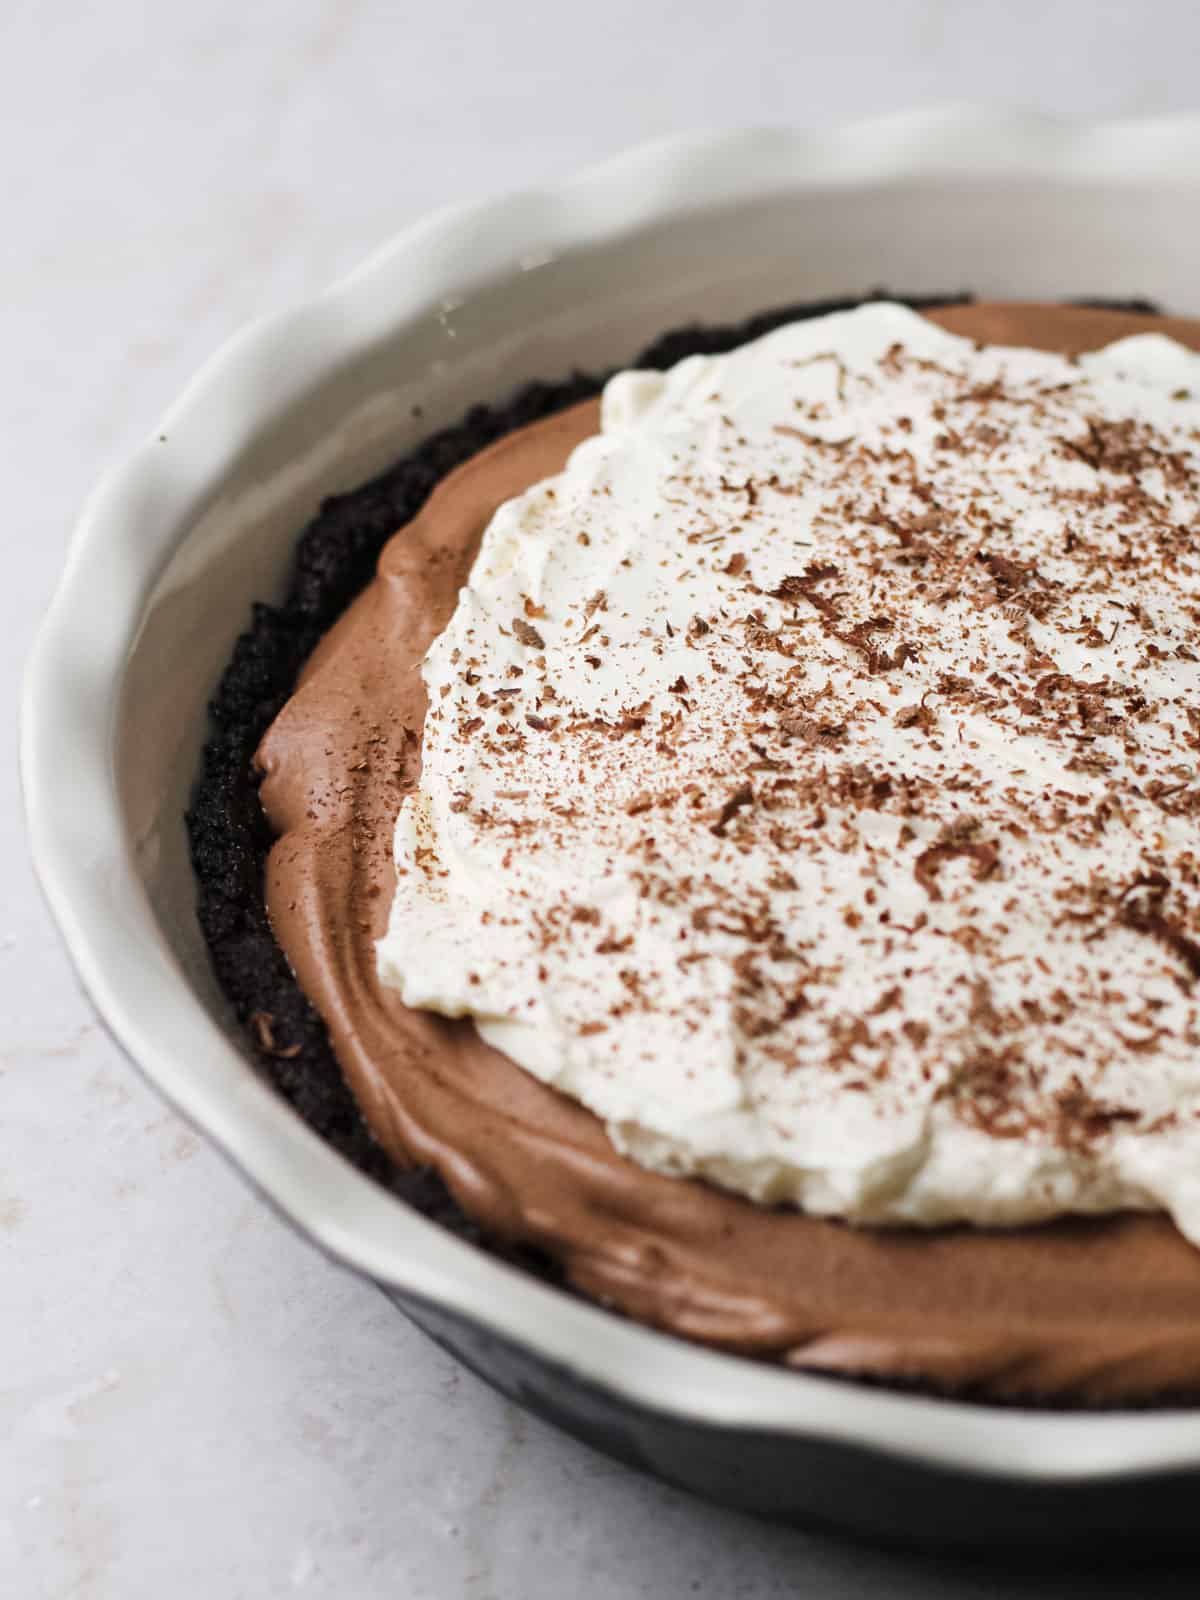
Top and garnish: Before serving, spread or pipe the remaining whipped cream over the pie and optionally garnish with chocolate shavings or curls.
❓Troubleshooting and FAQ
Lumps may result from melting your chocolate too quickly. A double boiler makes this step simpler and more foolproof.
You can use the microwave to warm the chocolate in short bursts, but it's easier to overheat or burn it this way.
Lastly, work with room temperature ingredients. They combine more easily than cold ones do.
While you can melt chocolate chips, use a chopped bar of chocolate instead. That will melt much more easily.
Chips container emulsifiers that help them retain their shape, so melting them will be a slightly longer process.
Cold heavy cream is the best secret to whipping up a light and fluffy whipped topping.
I also chill the mixing bowl and whisk for 10-15 minutes before whipping.
Start beating the cream on a medium speed until it begins to thicken, then gradually increase to high speed to form stiff peaks. Be careful not to over-whip, as this can cause the cream to separate and turn into butter.
If your pie filling is too soft, it’s likely because the chocolate mixture didn’t cool enough before folding it into the whipped cream, or the pie didn’t chill long enough in the fridge.
Make sure the chocolate mixture has cooled a bit before folding in the whipped topping. Refrigerating the pie for at least 4 hours also allows it to fully firm up.
Storage and Serving Instructions
- Refrigerator: Between servings, store your no-bake chocolate cream pie in the refrigerator, covered with plastic wrap, to keep the whipped cream fresh and the chocolate filling firm.
- Freezer: If covered tightly in the freezer or placed in an airtight container, you could freeze the pie for about a month. Move the pie from the freezer to the refrigerator the day before you're planning to serve it so it has time to thaw. You can make the topping the day before serving, too. I would wait until the day of to spread the whipped cream on top. The pie will look best with fresh whipped topping and chocolate garnish.
Room temperature and serving: When you're preparing to serve the pie, bring it from the refrigerator and onto a countertop at room temperature for about half an hour prior to serving. This will help it come closer to room temperature, making it creamier to the taste and easier to cut.
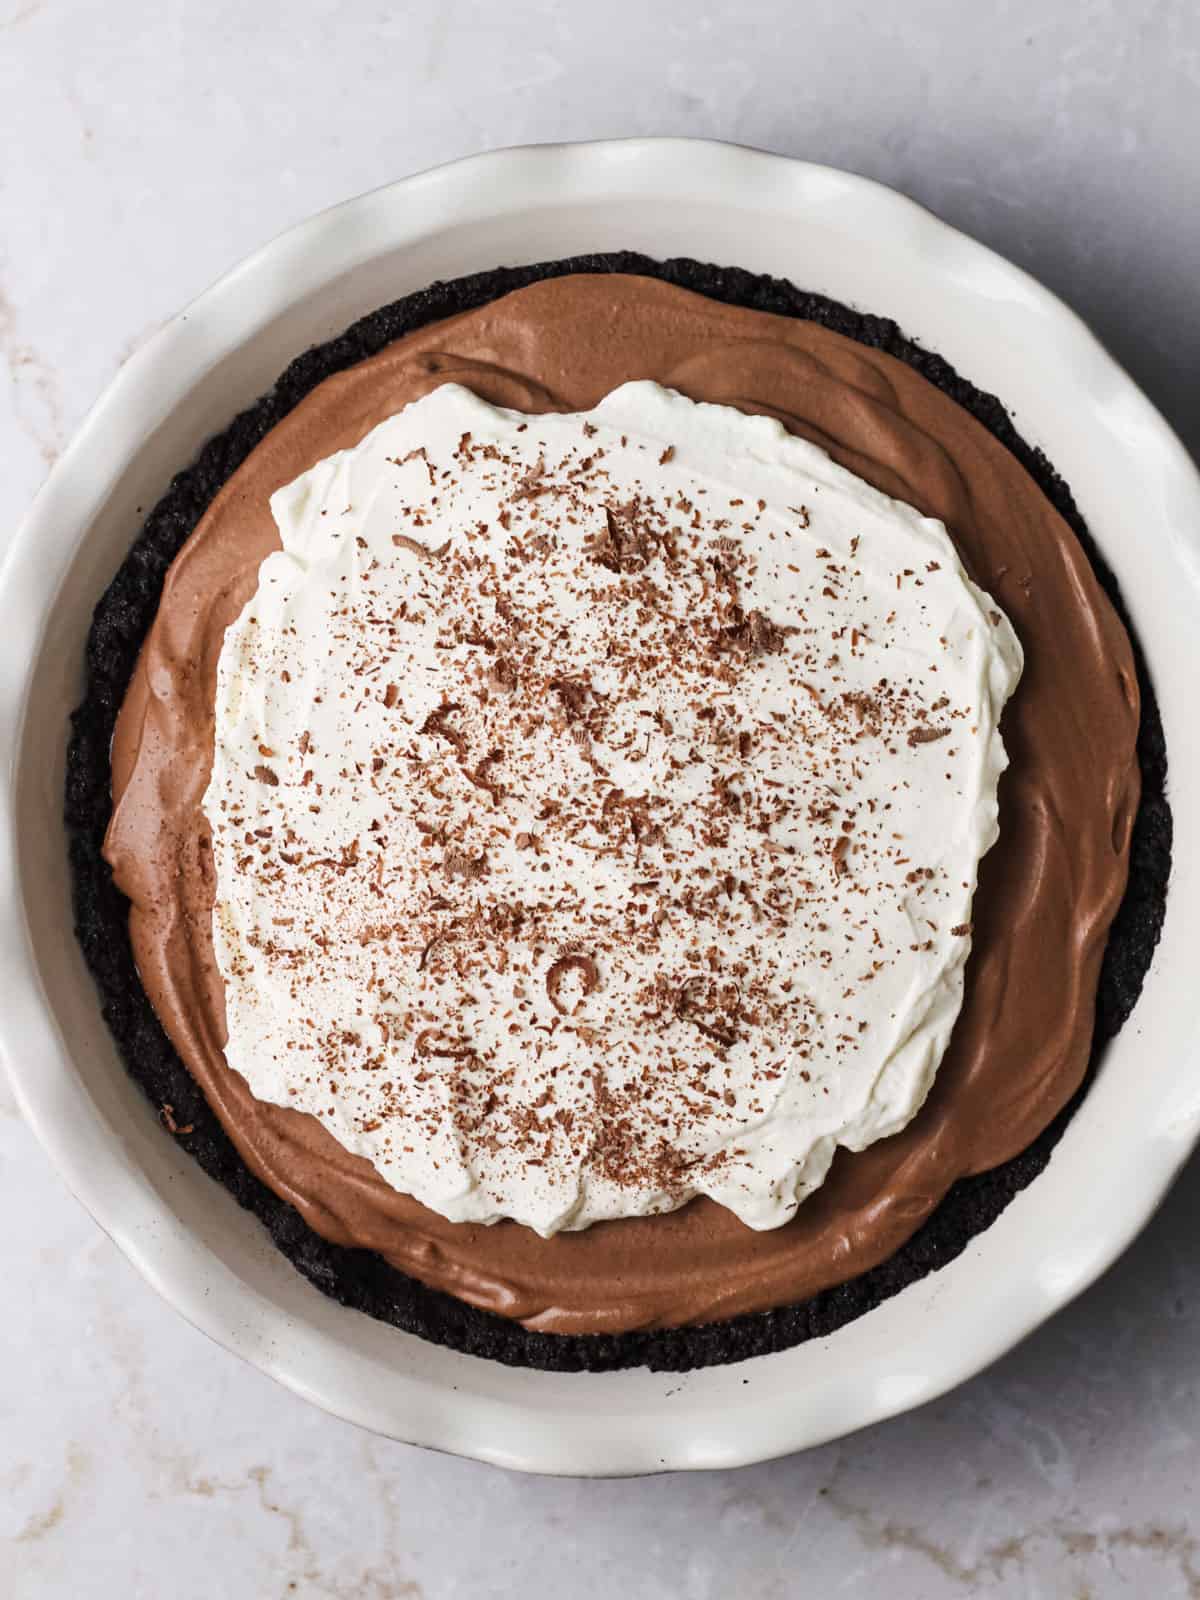
Pretty pie slices: For the cleanest cut, use a sharp knife to cut through to the crust.
Carefully wiping the blade between cuts also keeps the slices looking nicer.
Subscribe to receive more recipes like this one in your inbox!
More Related Recipes
No-Bake Chocolate Cream Pie
This no-bake chocolate cream pie is a dream for chocolate lovers! This light and fluffy dessert requires no oven time and simple ingredients.
- Prep Time: 30 minutes
- Refrigerator Time: At least 4 hours
- Total Time: 4.5 hours
- Yield: 10 slices 1x
- Category: Dessert
- Cuisine: American
Ingredients
Ingredients (for a 9x2 inch pie dish)
For the Crust:
- 22 Oreo cookies (255 grams), finely crushed (about 2 cups of crumbs)
- ½ cup (113 grams) unsalted butter, melted
For the Chocolate Filling:
- 4 oz (113 grams) dark chocolate, chopped (50-60% cacao)
- 1 cup (246 grams) heavy whipping cream
- 1 ½ cups (370 grams) heavy whipping cream, cold (for folding and topping)
- ½ cup (65 grams) powdered sugar
- 1 T vanilla extract
- Pinch of kosher salt
2 ½ cups total needed heavy whipping cream
Instructions
Prepare the Crust:
- In a medium bowl, combine the crushed Oreo cookies and melted butter. Mix until the crumbs are evenly coated with butter.
- Press the mixture into the bottom and up the sides of a 9x2 inch pie dish. Use the back of a spoon or a flat-bottomed glass to compact the crust.
- Place the crust in the refrigerator to set while you prepare the filling.
Make the Chocolate Filling:
- In a heatproof bowl, combine the chopped dark chocolate and 1 cup of heavy whipping cream. Set the bowl over a pot of simmering water (double boiler method) and stir occasionally until the chocolate is fully melted and smooth.
- Remove the bowl from the heat and let the chocolate mixture cool in the refrigerator for about 15 minutes.
- In a separate large bowl, whip the cold heavy whipping cream (1 ½ cups), powdered sugar, vanilla extract, and a pinch of kosher salt until stiff peaks form, about 4 minutes. Start on low before increasing speed.
- Once the chocolate mixture has cooled (it can still be a little warm), gently fold in approximately ¾ of your homemade whipped cream until fully combined. Save the rest in the refrigerator for the topping.
Assemble the Pie:
- Pour the chocolate filling into the prepared Oreo crust, spreading it evenly.
- Cover the pie with plastic wrap and refrigerate for at least 6 hours, or until the filling is set and firm.
Top with Whipped Cream:
- Before serving, take the remaining homemade whipped cream and spread or pipe it over the top of the pie.
- Optionally, garnish with chocolate shavings or curls, and serve with sharp knife.
Notes
These nutritional values are approximate and can vary based on specific ingredient brands and measurements.
Nutrition
- Serving Size: 1 slice
- Calories: 499 kcal
- Sugar: 26 grams
- Sodium: 165 mg
- Fat: 40.6 grams
- Saturated Fat: 24.1 grams
- Unsaturated Fat: 14.7 grams
- Carbohydrates: 42.8 grams
- Fiber: 1.9 grams
- Protein: 4.4 grams
- Cholesterol: 114 mg





Leave a Reply