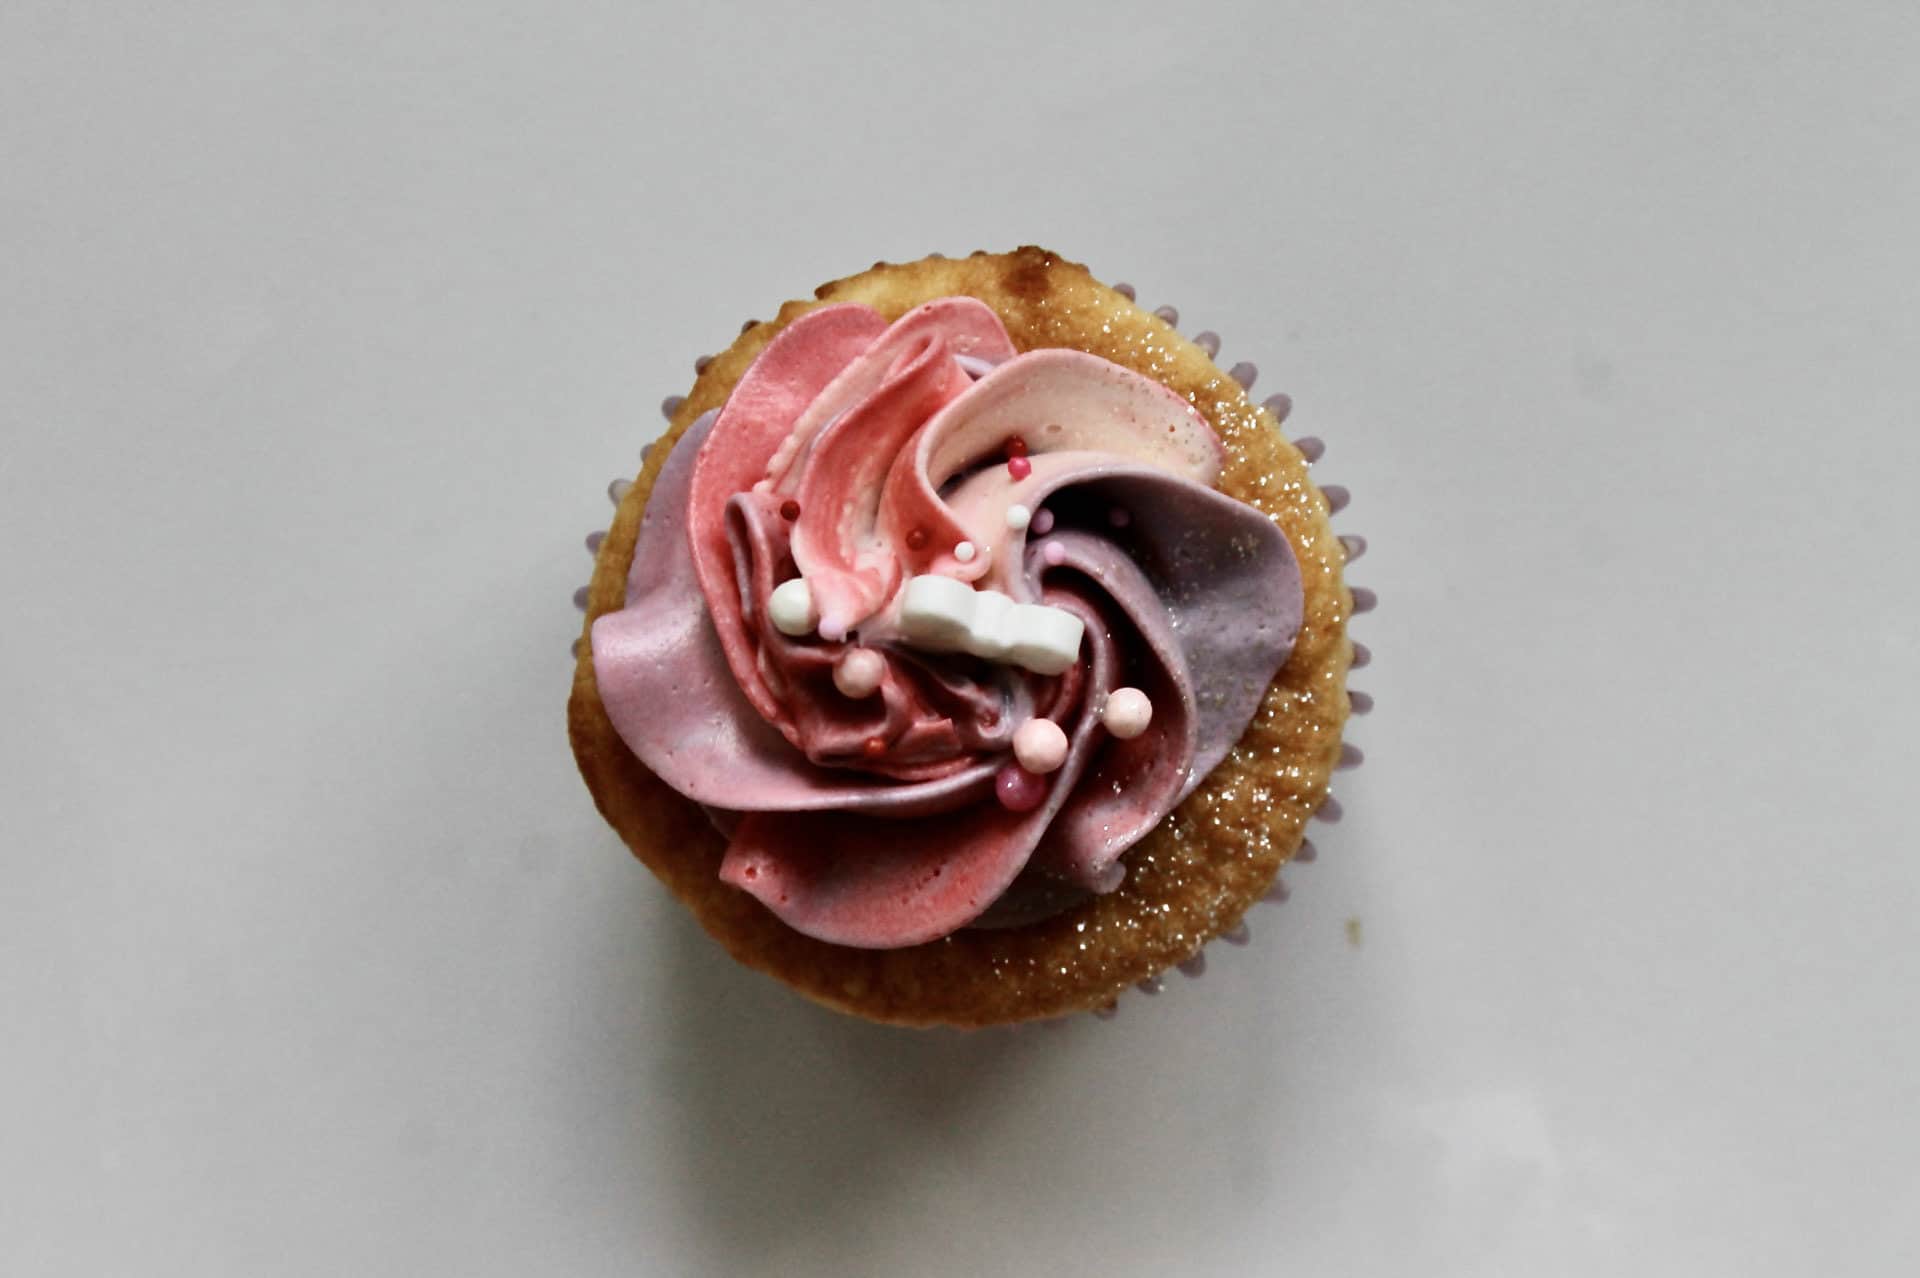
Have you ever seen a multi-colored, swirled cupcake or design on a cake and thought it was impossibly perfect? How do the colorful swirls come together so beautifully on top of these desserts? I used to have these same thoughts, and learning this trick I'm sharing below was a game-changer for my decorating. In this guide to piping colorful frosting swirls, I'll show you how you can also pipe these swirls onto cakes and cupcakes. This technique is helpful for both - oh, the possibilities!
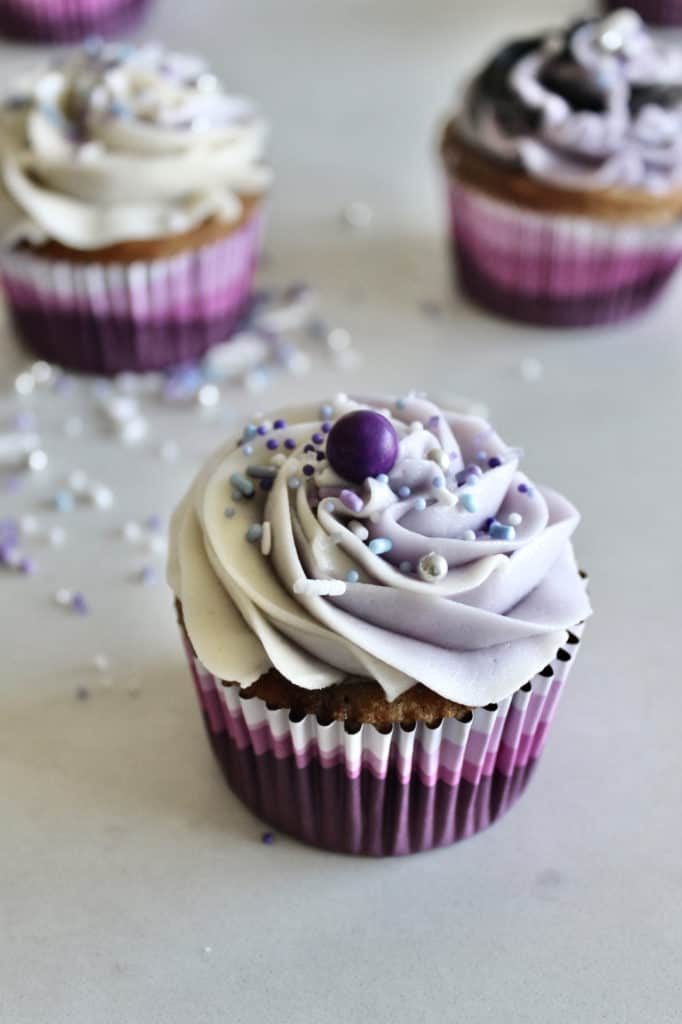

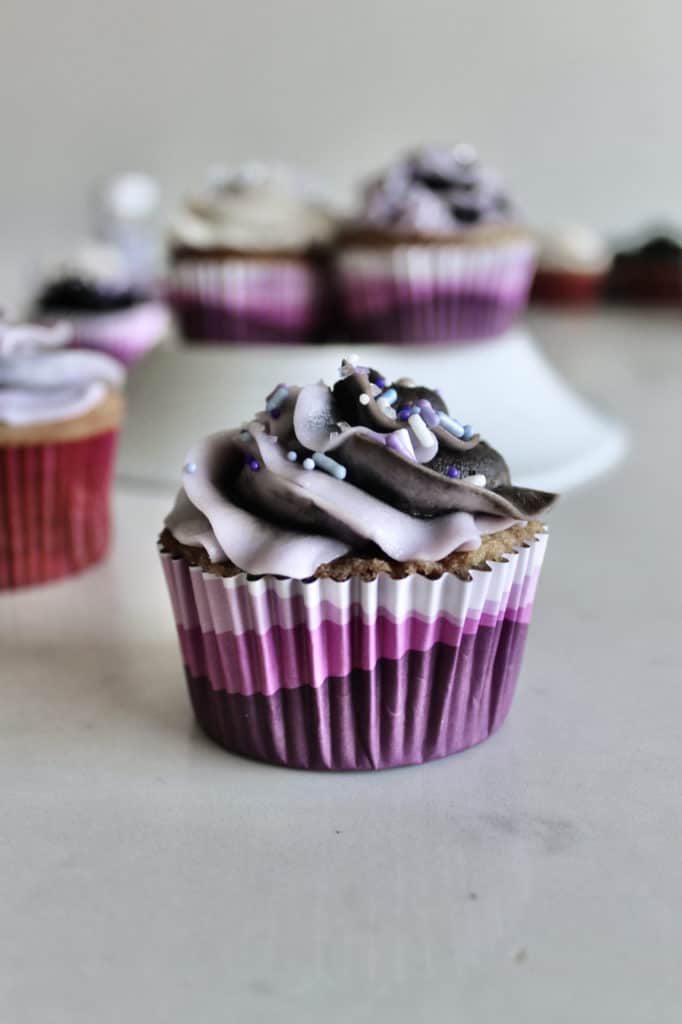
A Few Tips for Piping Colorful Swirls of Frosting
To start out, you'll want to make sure you have a nice, sturdy white frosting you can use to dye with food gels. My homemade vanilla buttercream is a great option that is both smooth and white but great for piping.
To color your buttercream, always be sure to use food gels. I personally use Chef Master and Wilton and have heard great things about Americolor, too. Gels are more vibrant, require just a drop or two for bright colors, and they don't change your frosting's consistency.
A Few More Tips - Piping Bags and Tips, to be Specific
Half the fun in piping frosting on cupcakes or cake is choosing your decorating tip. If you're starting out, I'd recommend buying a set like this one from Wilton. It includes a range of tip sizes. The small tips are good for details (I tend to use them more for intricate designs on cakes than I use them on cupcakes). Tips like 1M (what I used in these photos) or 2D look especially nice on cupcakes. Those tips are bigger and create fuller-looking swirls on your cupcakes.
You'll also need a a piping bag. I have a reusable set similar to this one here.
Let's Pipe Colorful Frosting Swirls!
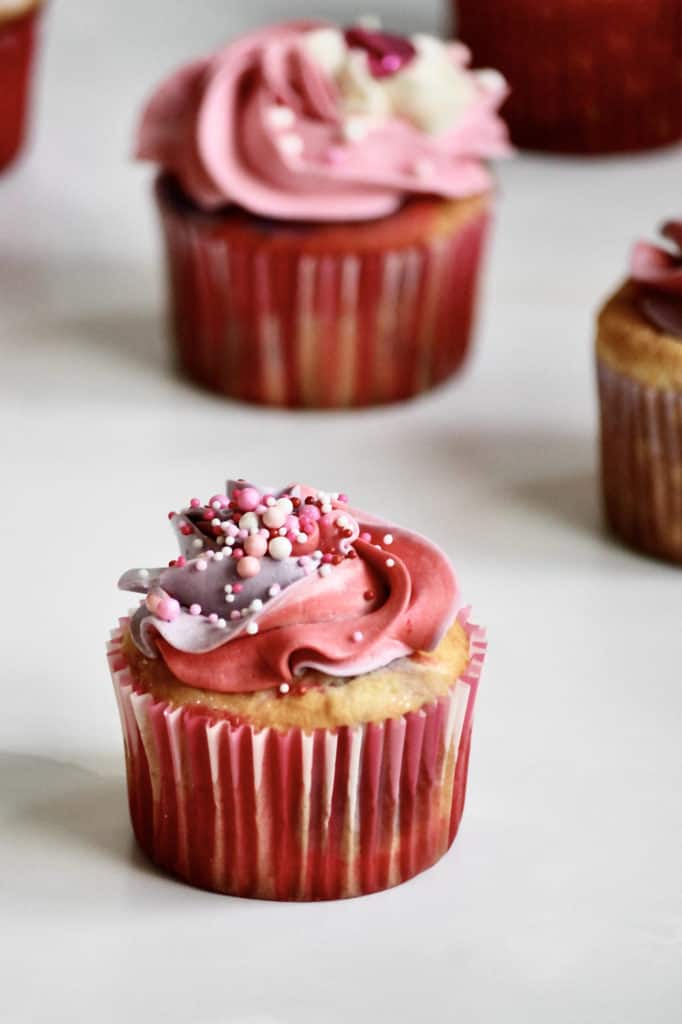
Start by creating your frosting colors.
Divide your vanilla buttercream into bowls of however many colors you'd like to use in your swirls. Add small amounts of gel food coloring to those bowls and mix with a spoon until you reach your ideal color.
Shortcut: If you want to create dark colors, you could do it with lots of gel, but you'll go through a bottle fairly quickly this way. The better option is to dye your frosting a few hours or even the night before you plan to use it. The colors develop and deepen with time.
Assemble your piping bag.
Get out a glass, and place your piping bag with the tip inside it. Folding the larger opening of the piping bag around a glass rim will make your next step easier. It'll look similar to this photo.
If you're in need of more advice on how to assemble your piping bag, this tutorial is useful.

Place your colored frosting into your piping bag.
There are a few options here. With the top still open, you can place spoonfuls of your various frosting colors onto the sides of the bag. That way, when you close up the bag, all the colors will appear together. Be careful to add your frostings evenly to the top of the bag so that no one color dominates the piping tip.
However, if you're just getting started making colorful swirls, I'd recommend using plastic wrap. Spread out a piece of plastic wrap on a flat surface like a countertop. Put dollops of your frosting onto the wrap. Roll it up into a log shape, and snip one end of it with scissors. You can then drop this "bag" of colored frosting into your piping bag. Make sure the end that's cut open is at the end with your piping tip.
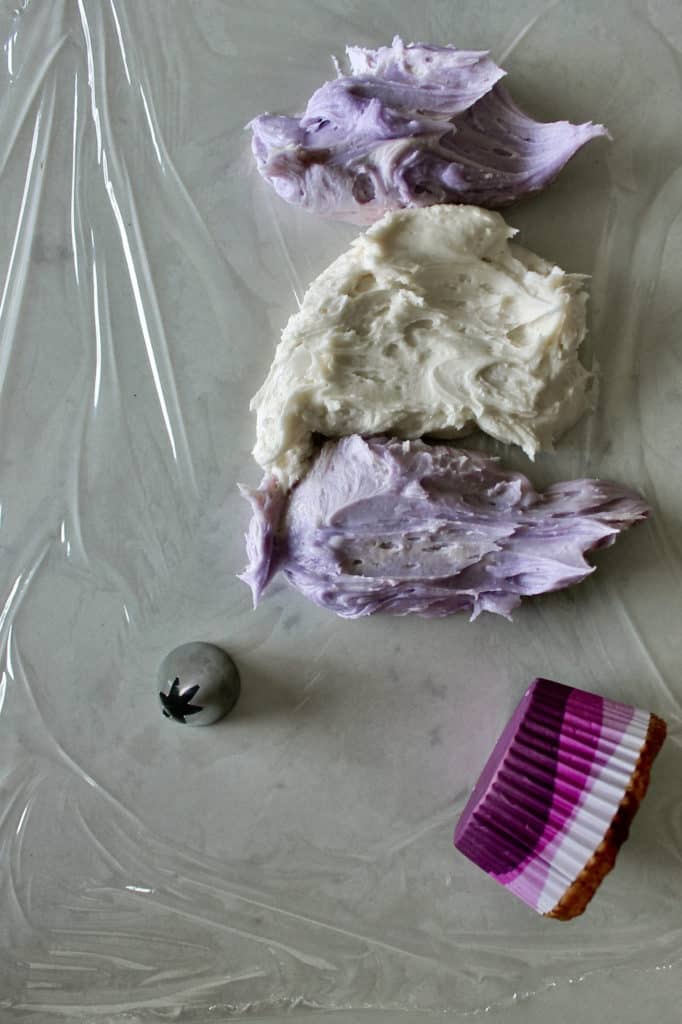
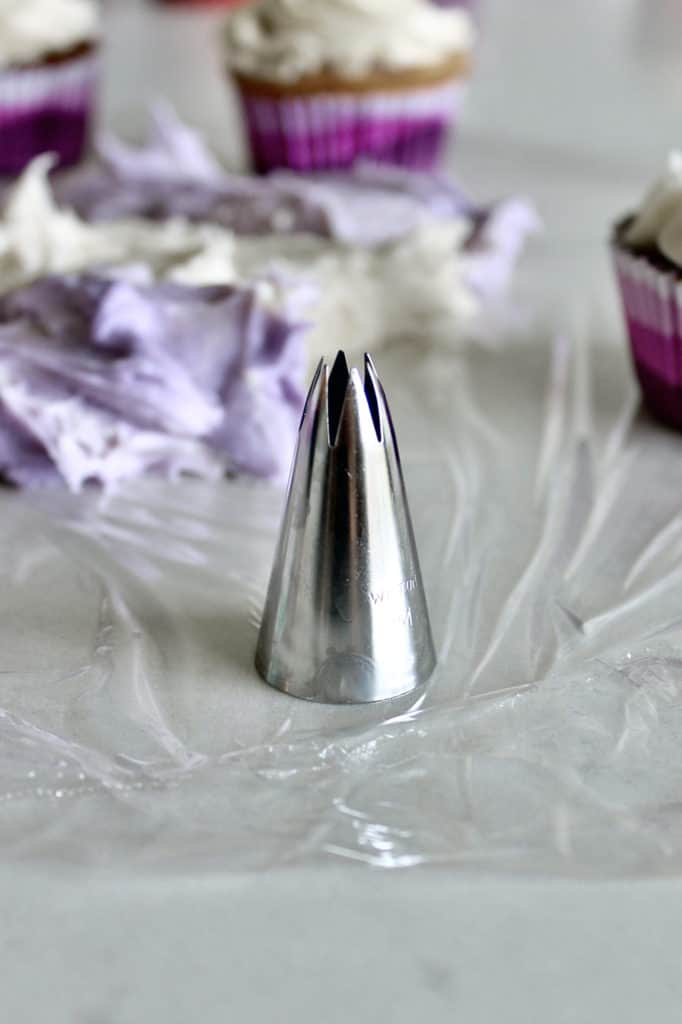

Now pipe those colorful swirls on your cakes and cupcakes!
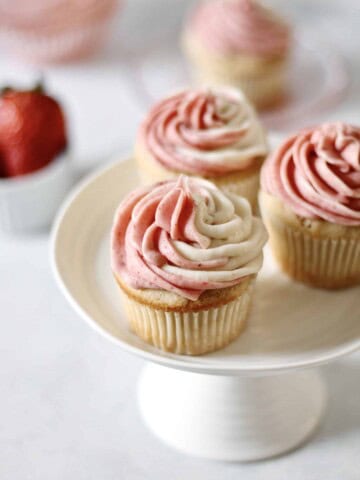
Hold your piping bag in a straight line directly above the top of your cake or cupcake, and pipe away! The colors will come out in a nice pretty swirl. In these photos, I used the 1M tip from Wilton, which is great for this technique.
For this specific design, I started making a circle on the outer edge of the cupcake and worked my way inward.
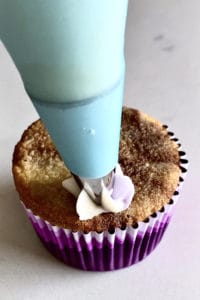
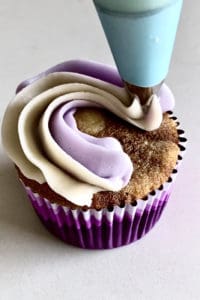
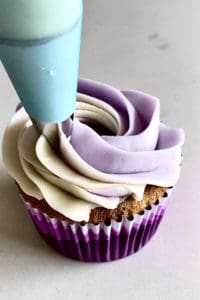

I hope this guide to piping colorful swirls was helpful!
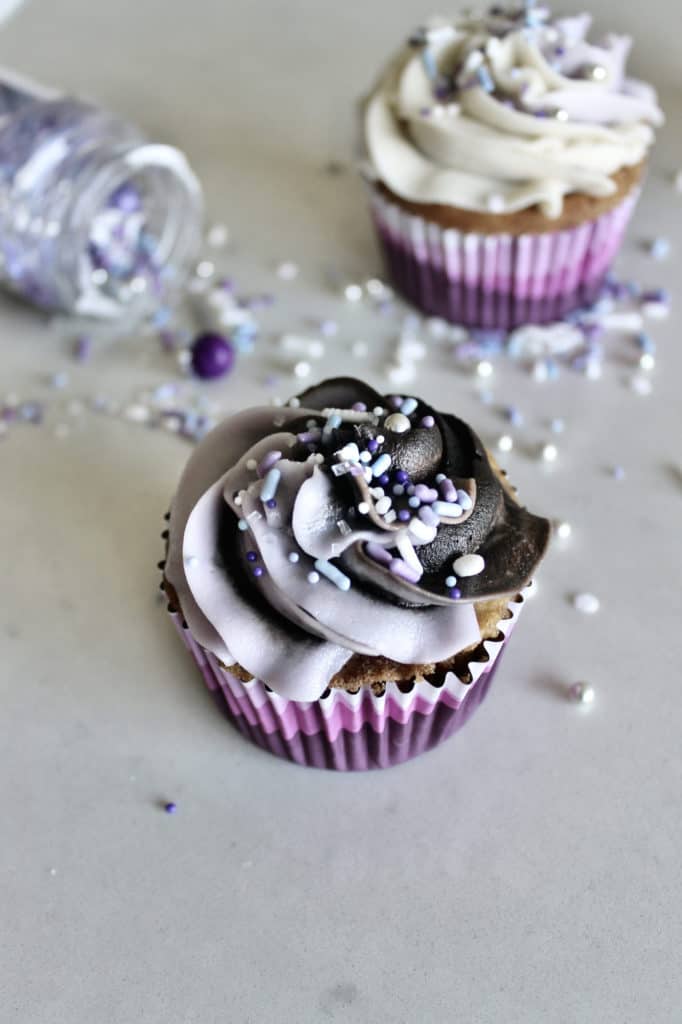
If you have questions, feel free to send them my way. Happy piping! And if you're looking to spice up your cupcake, sprinkles are always a great idea. Some of my favorite brands include Layer Cake Shop, Sweetapolita, Wilton, and Sprinkle Pop.


Leave a Reply