
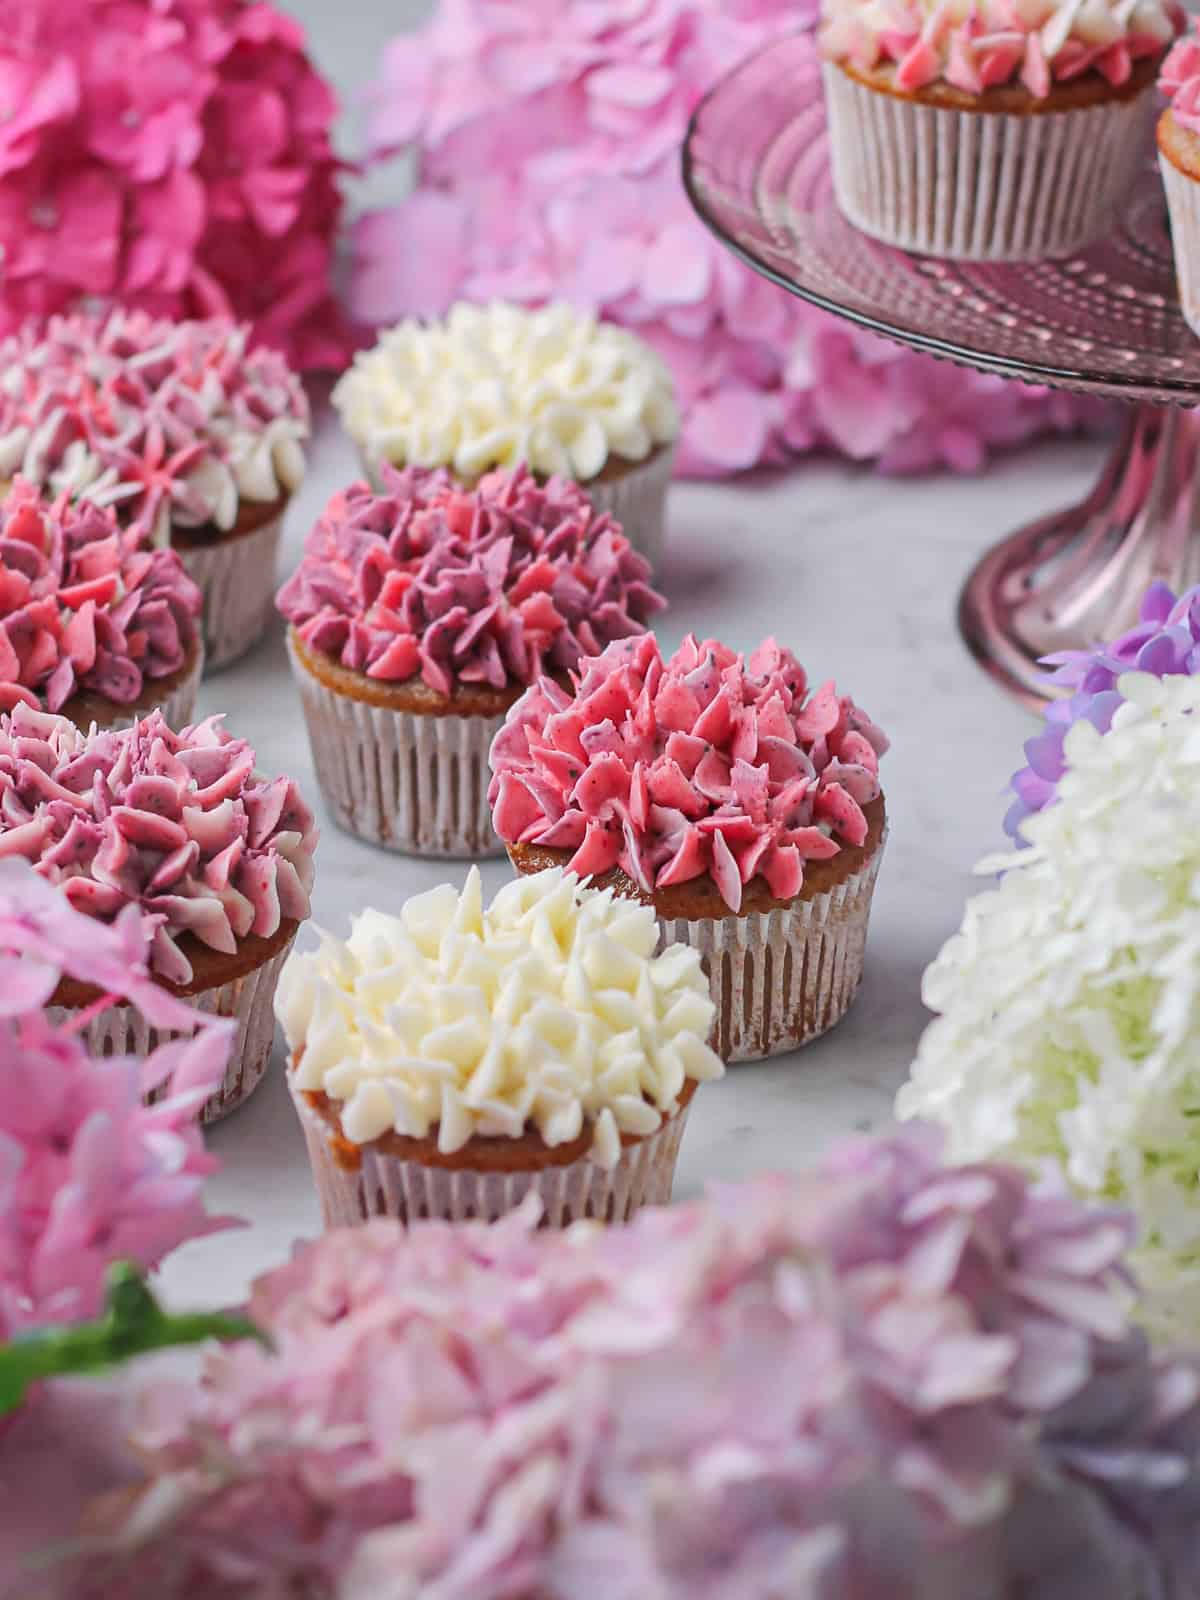
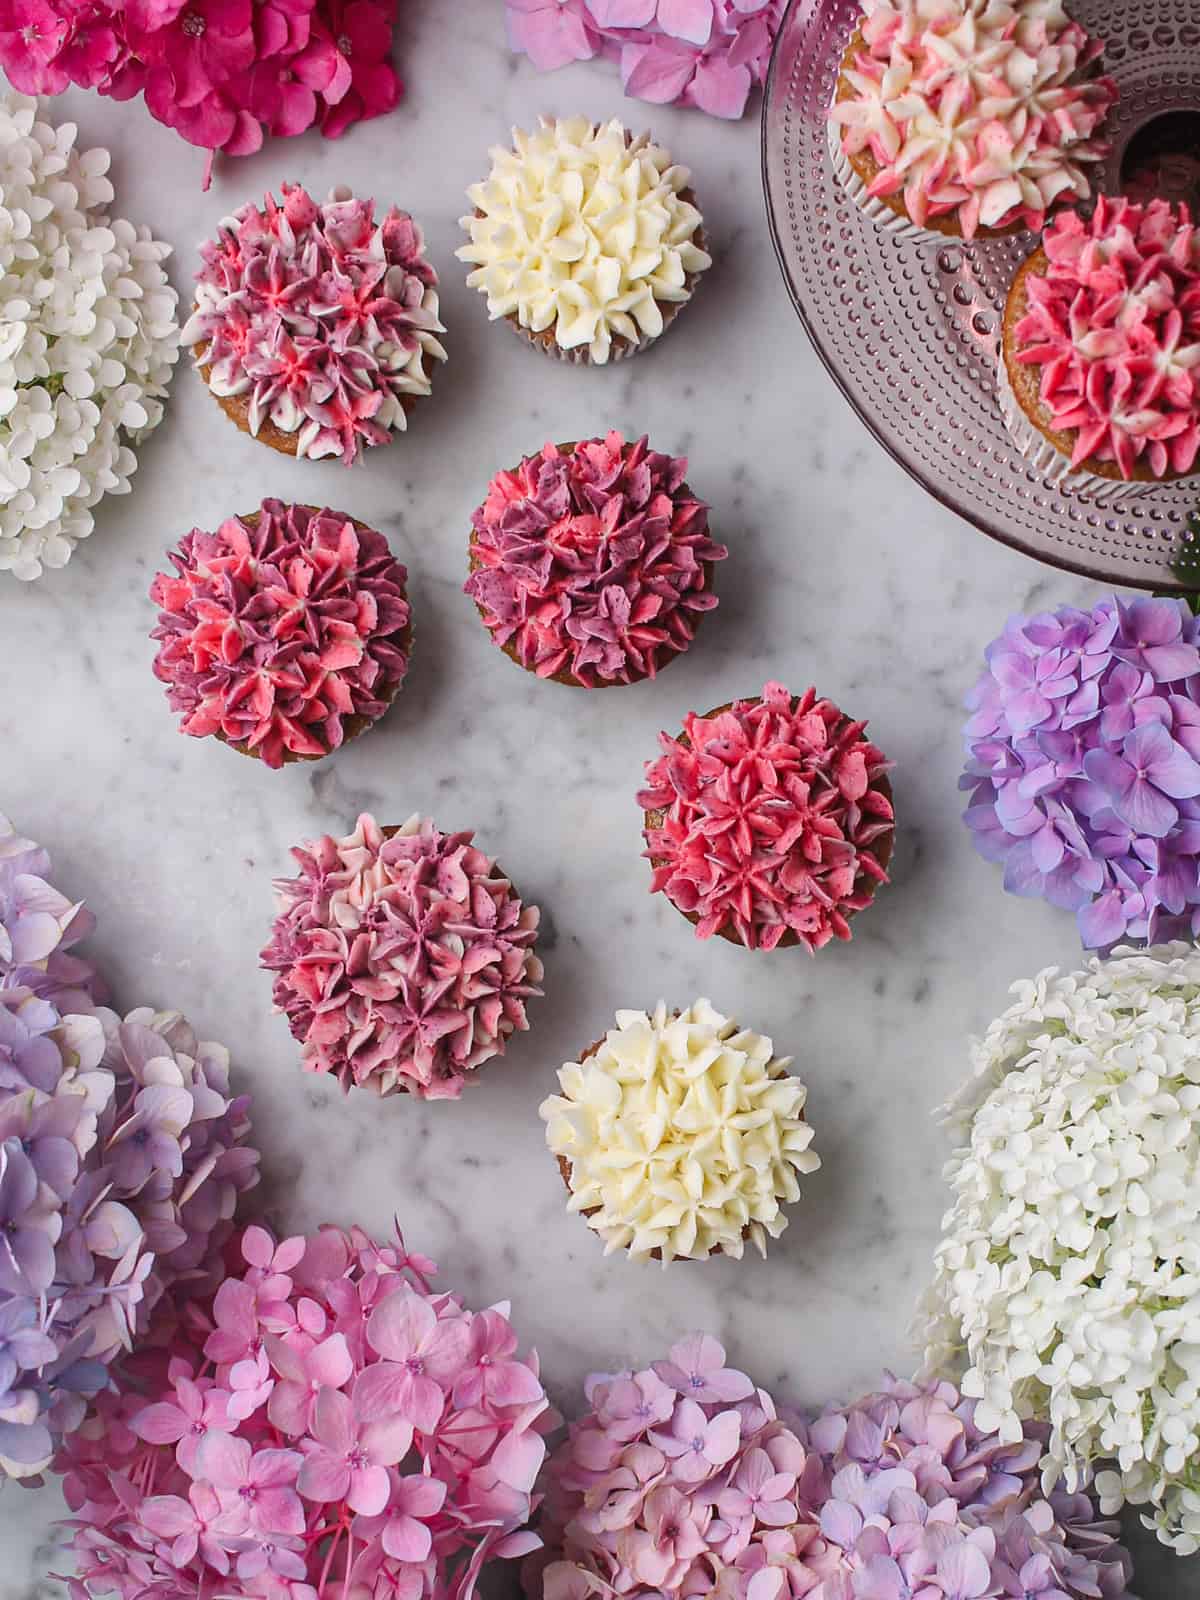
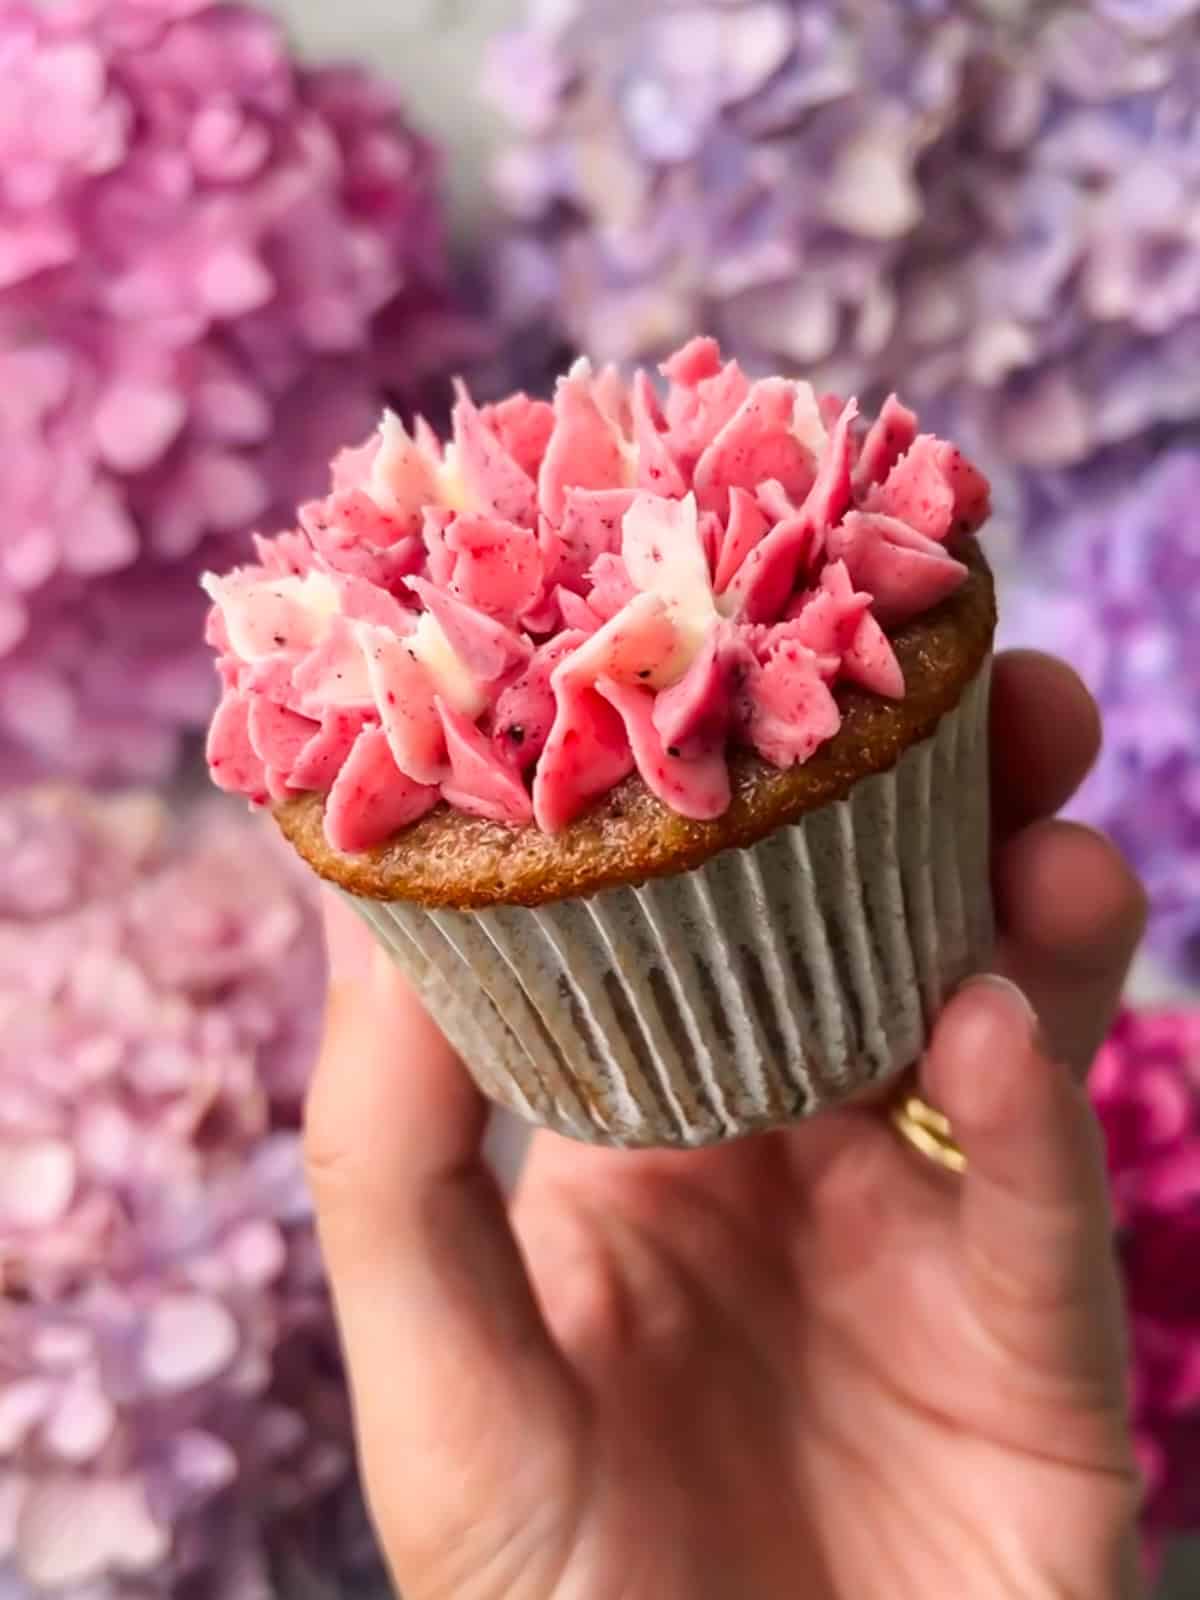
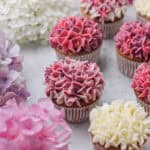
These hydrangea cupcakes come together with a piping bag, just one piping tip (Wilton 2D), and a few shades of buttercream to create full, ruffly blooms. No fondant or advanced decorating skills required. I pipe my flowers in a mix of white, pink, and purple (all from natural colors and ingredients, thanks to freeze-dried berries!) so I have a range of colorful, ombre hydrangeas.
Jump to:
- 💐 The Hydrangeas That Started This
- 💜 Why You'll Love These Hydrangea Cupcakes
- 📋 What You'll Need to Decorate
- 🧁 The Strawberry Cupcake Base
- Want to Start Decorating Sooner?
- 🎨 The Buttercream and Hydrangea Colors
- 🤫 The Secret to Smooth Buttercream
- No Freeze-Dried Fruit? Use Food Gel
- 💡 Pro Tips for Piping
- 🖌️ How to Pipe Hydrangea Cupcakes Step by Step
- ❓ Hydrangea Cupcake FAQ
- Storage Instructions
- 🪄 More Decorating Tutorials
- Hydrangea Cupcakes
💐 The Hydrangeas That Started This
I have this thing with taking inspo from my daily life and adding it to desserts. See my pajama-inspired lemon buttercream cake as well as my tutorial for hot air balloon cupcakes for more where this came from.
The hydrangeas in our yard got me this time. Ours range from white and bright pink to shades of purple and blue.
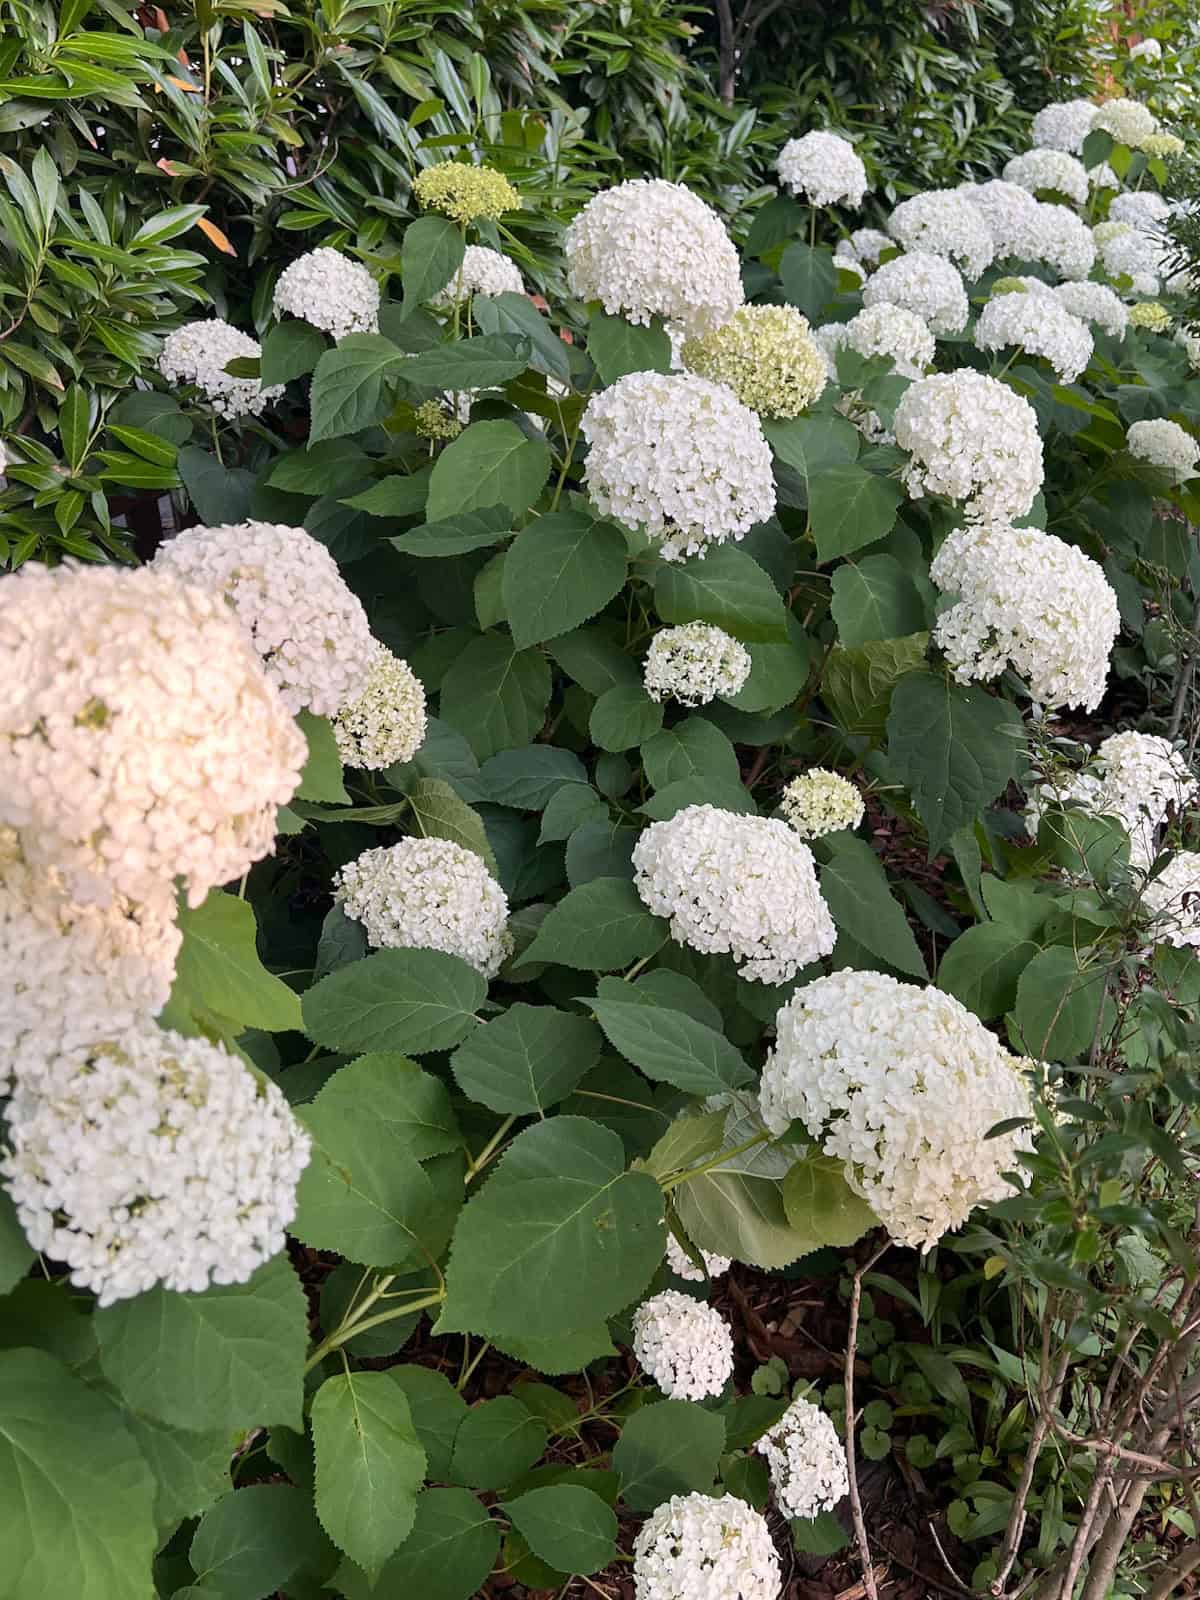
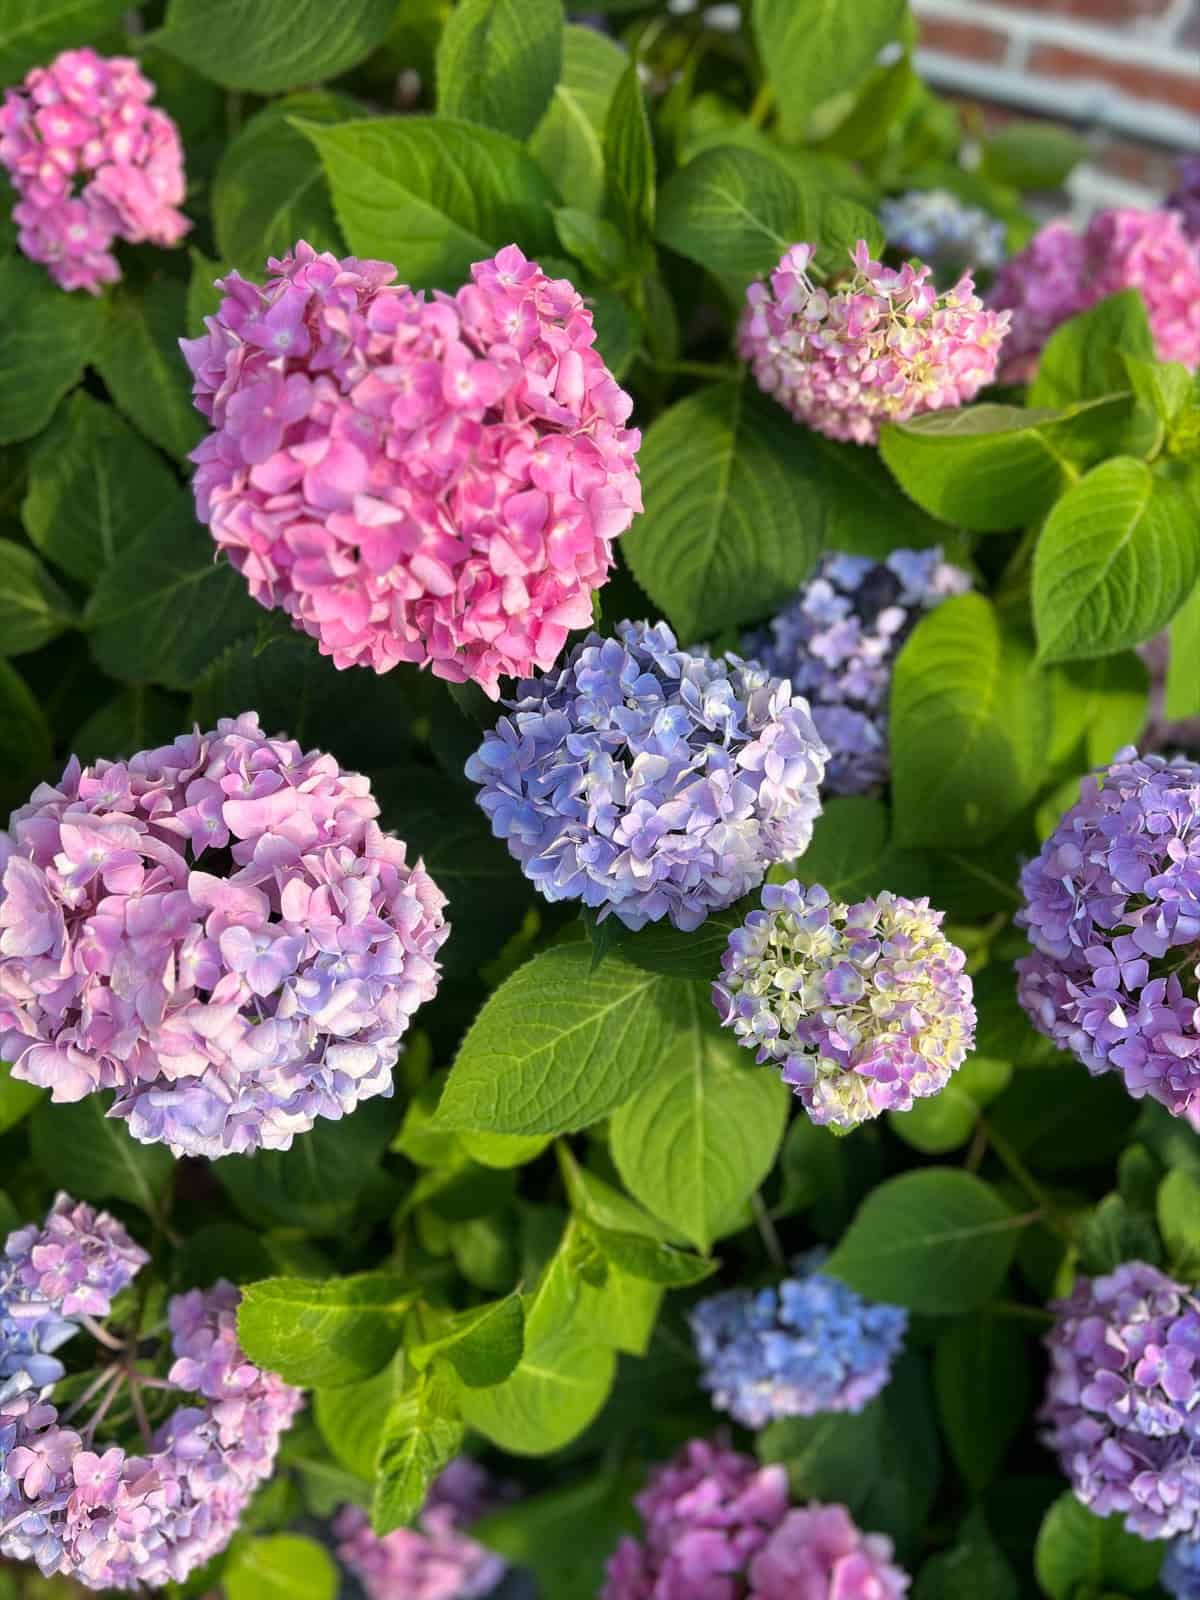
I also riffed on my recipes for raspberry cream cheese frosting and blueberry cream cheese frosting to turn them into a buttercream for the hydrangea "blooms" you see here. The hues from the freeze dried fruits in my frostings helped me naturally achieve all the colors you see.
If you enjoy decorating projects like this, I have a whole library of cake and cupcake decorating tutorials worth a look.
💜 Why You'll Love These Hydrangea Cupcakes
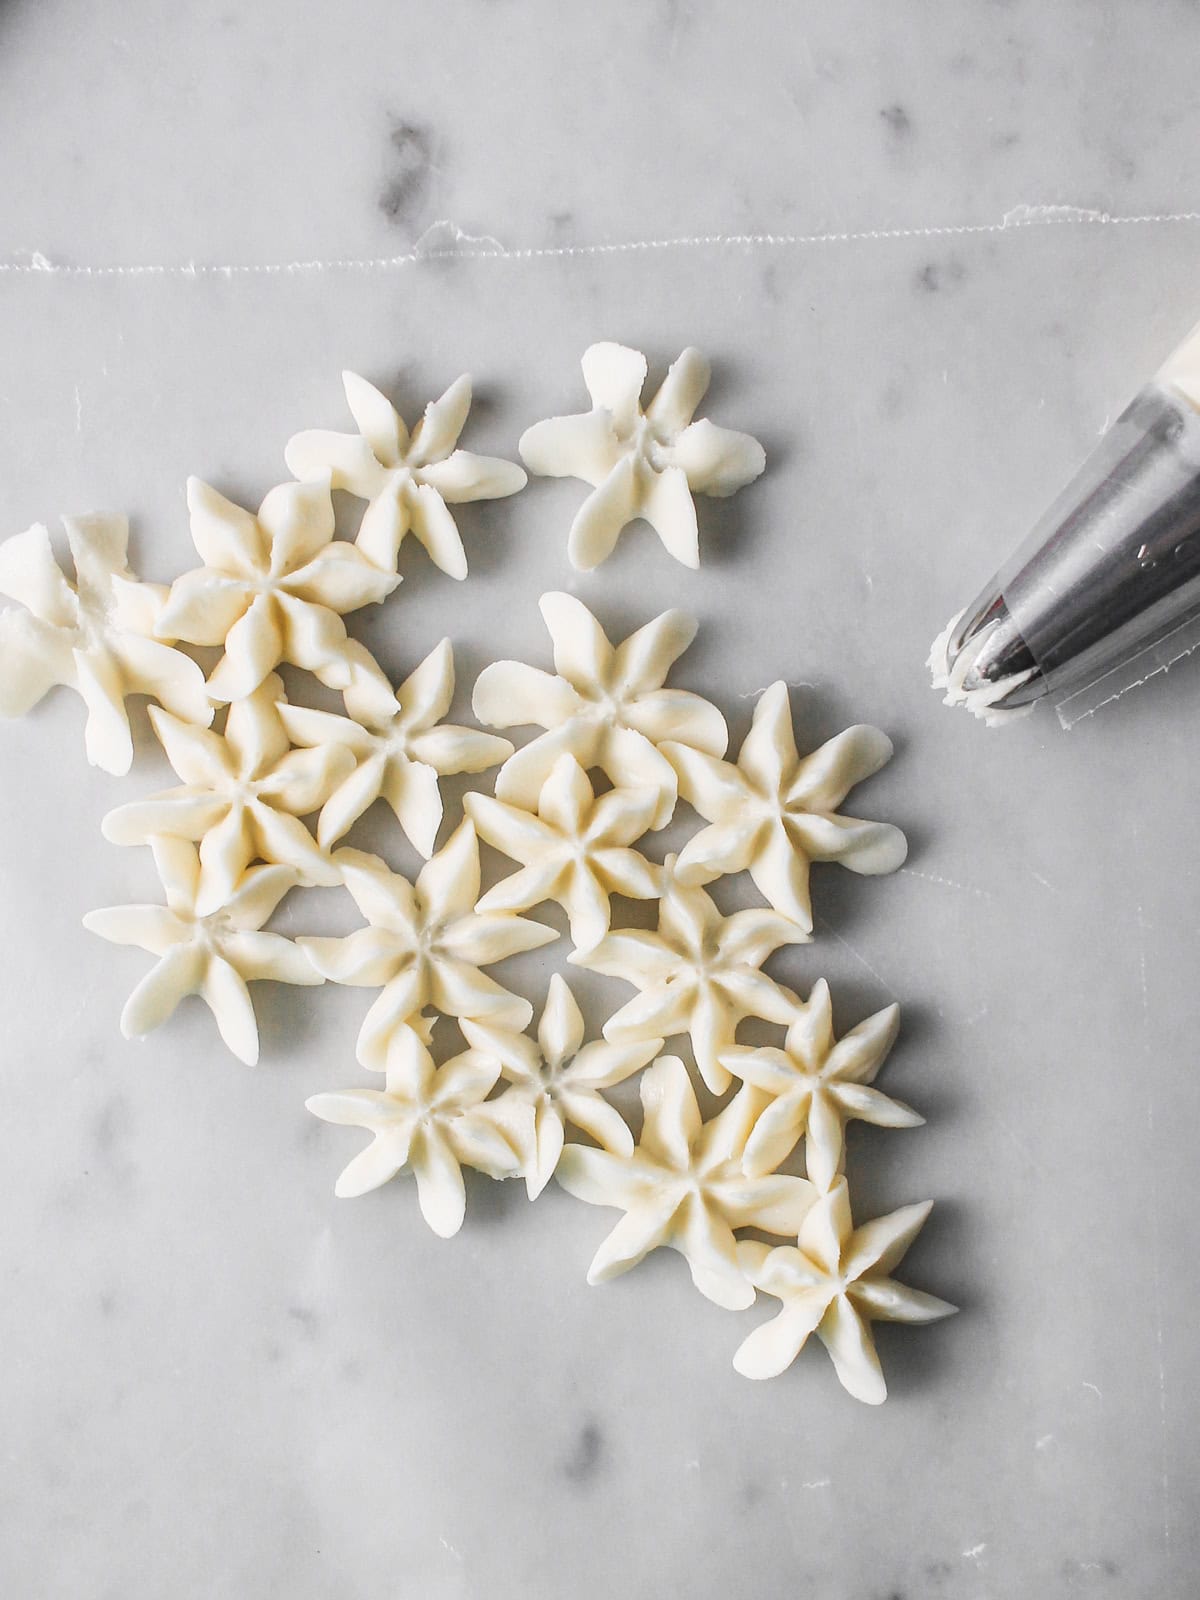
- One piping tip: The Wilton 2D tip pipes the entire hydrangea bloom. You'll press the tip against the cupcake and lift it to create the design, repeating this motion until your cupcake is full. It really is that simple.
- Naturally colored frosting (or not!): I tint my buttercream with freeze-dried blueberries, strawberries, and/or raspberries to achieve the purples and pinks of the hydrangea blooms. No artificial dye needed, but you can use food gel coloring instead if you prefer.
- A mixed berry flavor: These designs sit on cupcakes with a subtle strawberry flavor. That, coupled with the flavors of the colored frosting, gives these a mixed berry taste.
- Perfect for spring and summer gatherings: Imagine bringing these beauties to a bridal shower, baby shower, Mother's Day, or garden party, to name a few of the many places these would be a hit! 💐
📋 What You'll Need to Decorate
On my post for crumb coating a cake, I break down basic decorating tools in more detail, so check that out if you're newer to creating designs with buttercream.
I promise that it really is quite fun and doable with just a few tools you'll use again and again!
For the hydrangea cupcakes, you'll need:
- Cupcake tin and liners — for baking the base.
- Wilton 2D piping tip — This closed-star piping tip creates multi-petal shapes, allowing you to pipe a ruffled flower in a few squeezes of the piping bag.
- Piping bags — One is sufficient, as you'll load multiple colors into the same bag. That said, you could grab a couple in case you want to fully reset between colors.
- A tall glass or cup — This makes loading your piping bag so much easier than trying to add frosting to it by hand with a spatula! The glass holds your piping bag upright while you fill it.
- Stand or hand mixer — for whipping up the buttercream.
🧁 The Strawberry Cupcake Base
🍓The cupcakes here use the batter from my mini strawberry Bundt cakes, baked in a lined cupcake tin instead of a Bundt pan. One batch makes approximately nine cupcakes.
It's a mixer-free batter, too: you cook fresh or frozen strawberries down into a puree, whisk together the wet ingredients, then fold in the dry, alternating with buttermilk. The full, measured recipe is in the card at the bottom of this post. For step-by-step photos of the puree, see the Bundt cake post where I walk through it in detail.
Want to Start Decorating Sooner?
This tutorial for hydrangea cupcakes is all about the piping, so if you'd rather skip the homemade base, a boxed cake mix baked as cupcakes works just fine.
The batter from my raspberry almond cupcakes is another easy swap if you want a different flavor under the flowers.
🎨 The Buttercream and Hydrangea Colors
For the flowers, I made a version of my almond buttercream frosting. The frosting's consistency helps create fluffy-looking yet firm blooms that hold their shape once piped onto the cupcake.
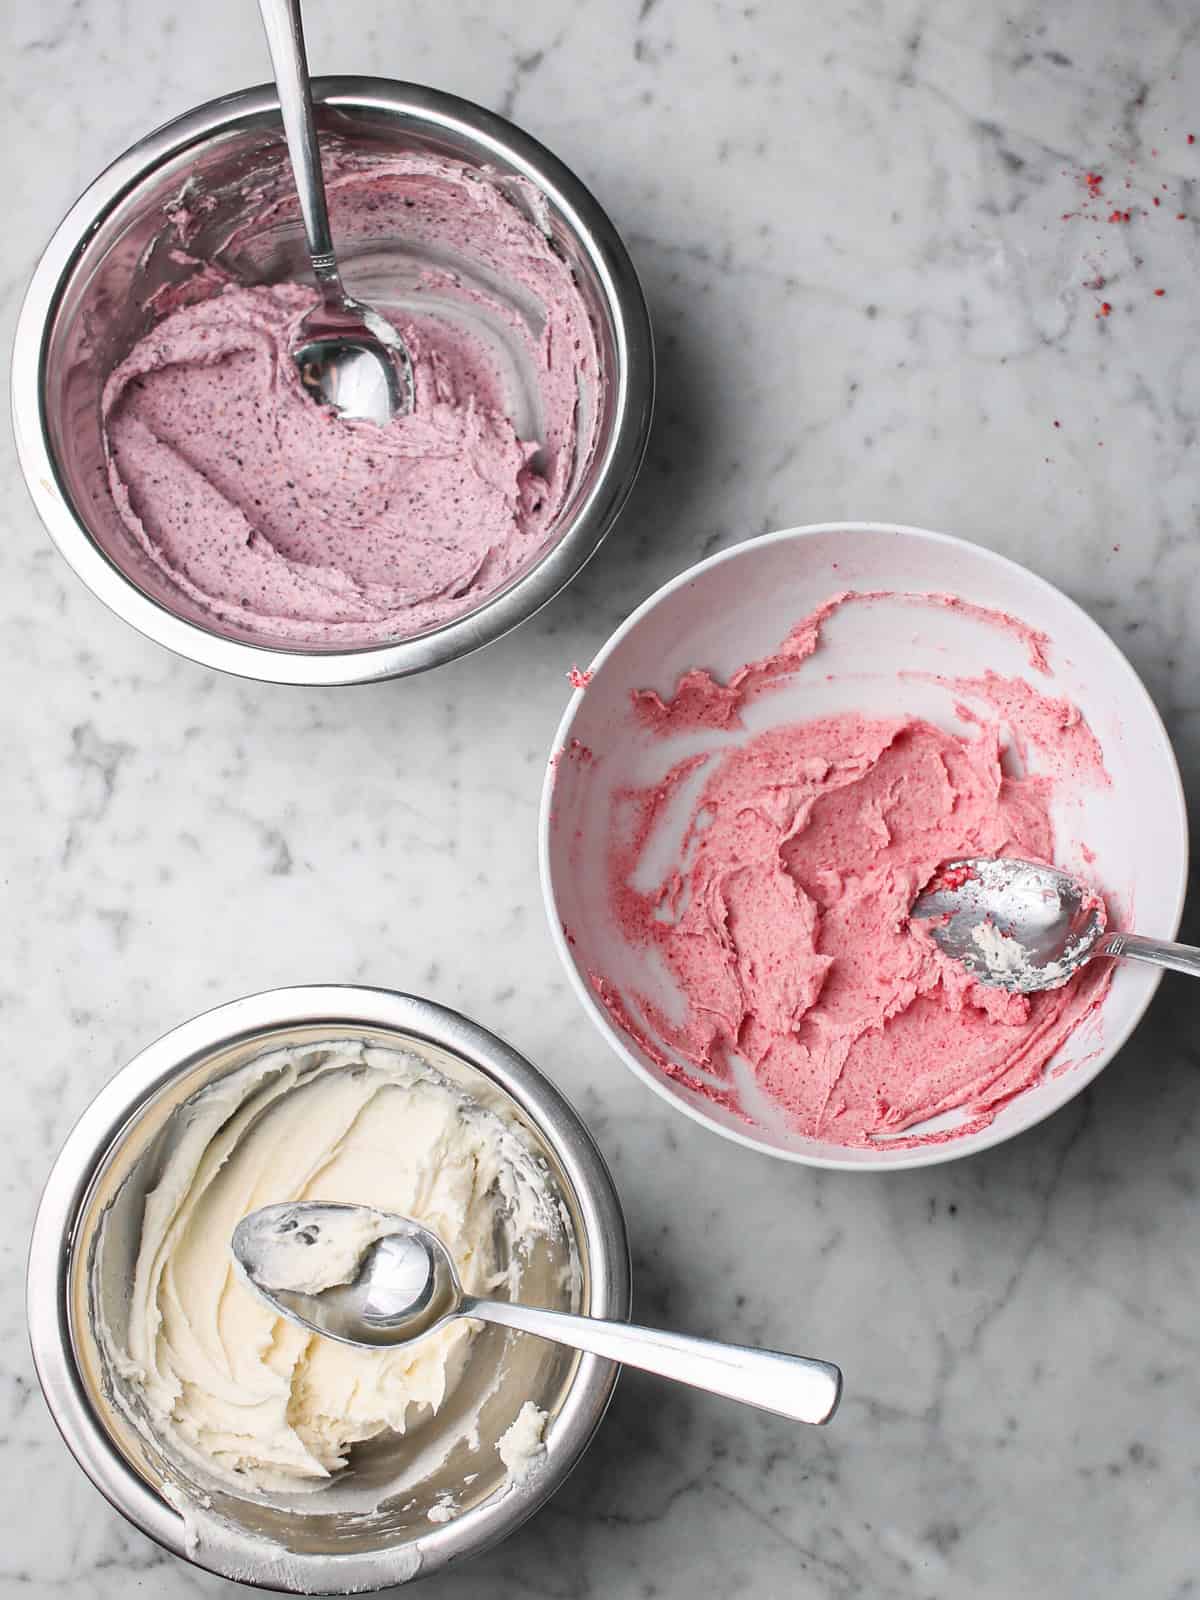
To get the hydrangea's shades without artificial dye, I lean on finely ground freeze-dried fruit. Grind the freeze-dried fruit into a powder and add it to your bowls of frosting, letting your mixer combine it evenly into the white buttercream.
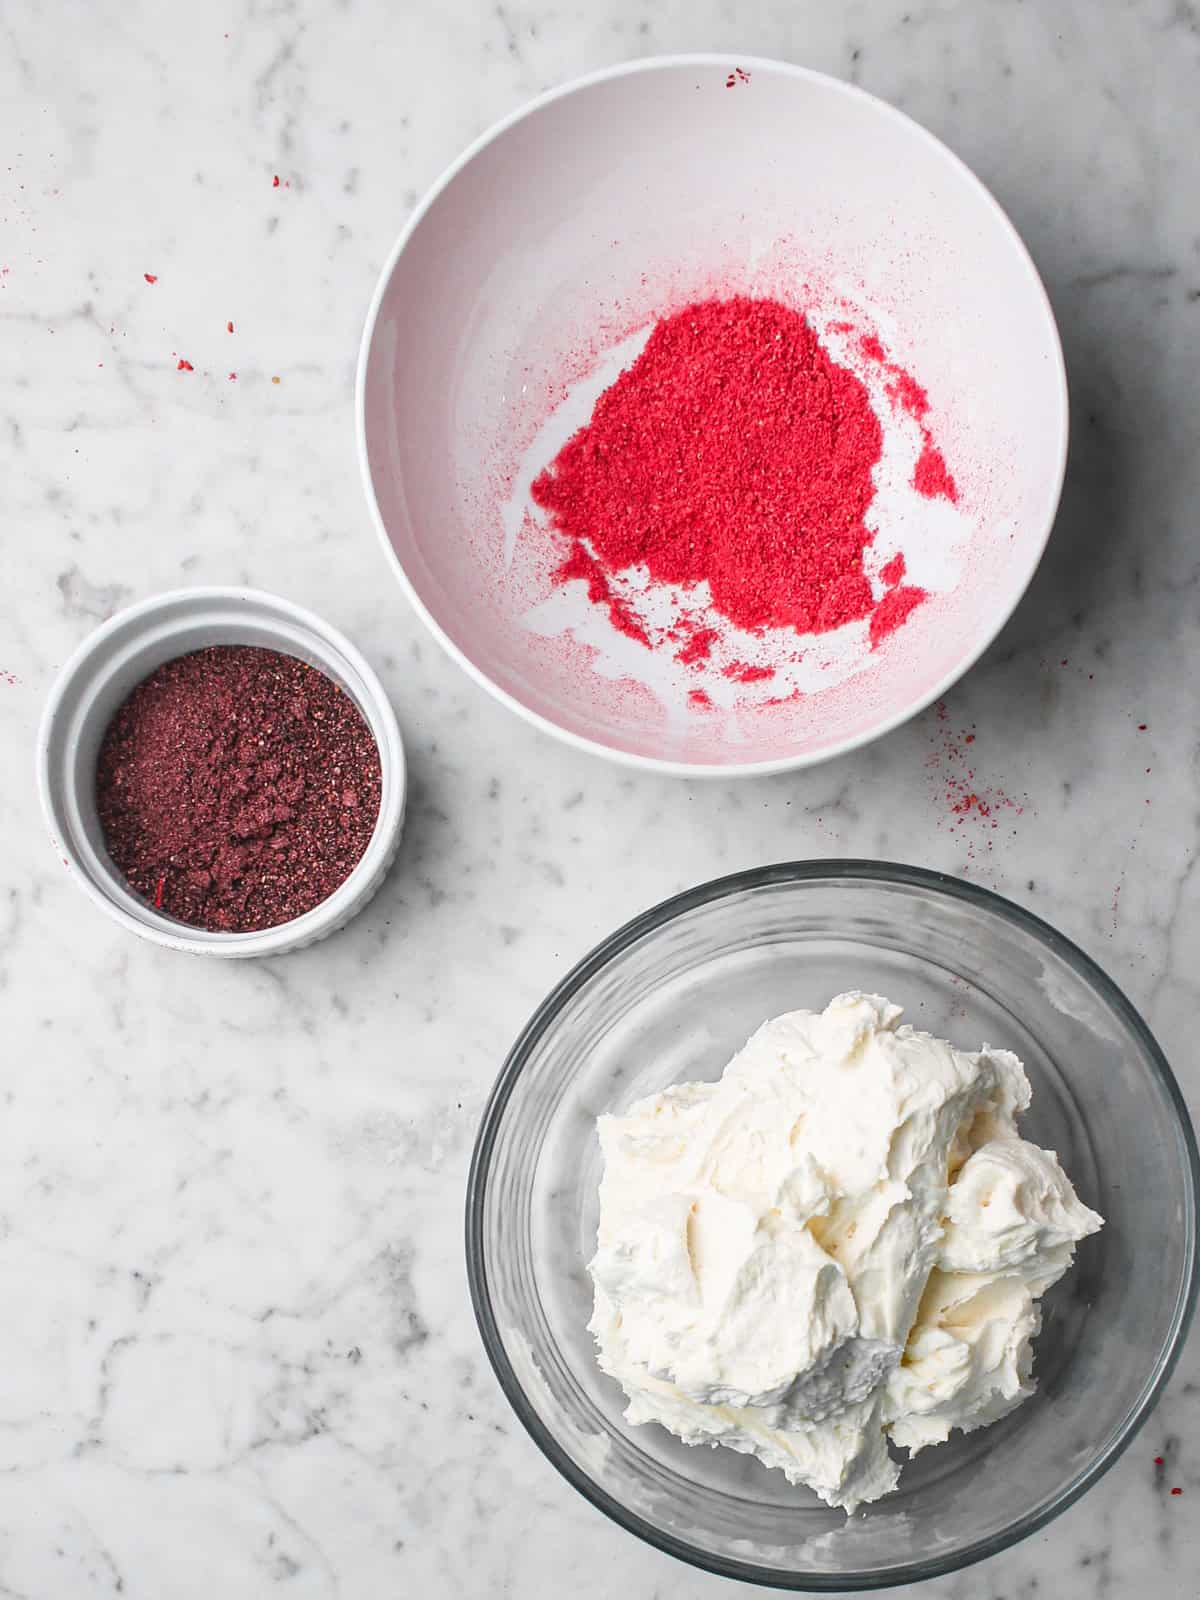
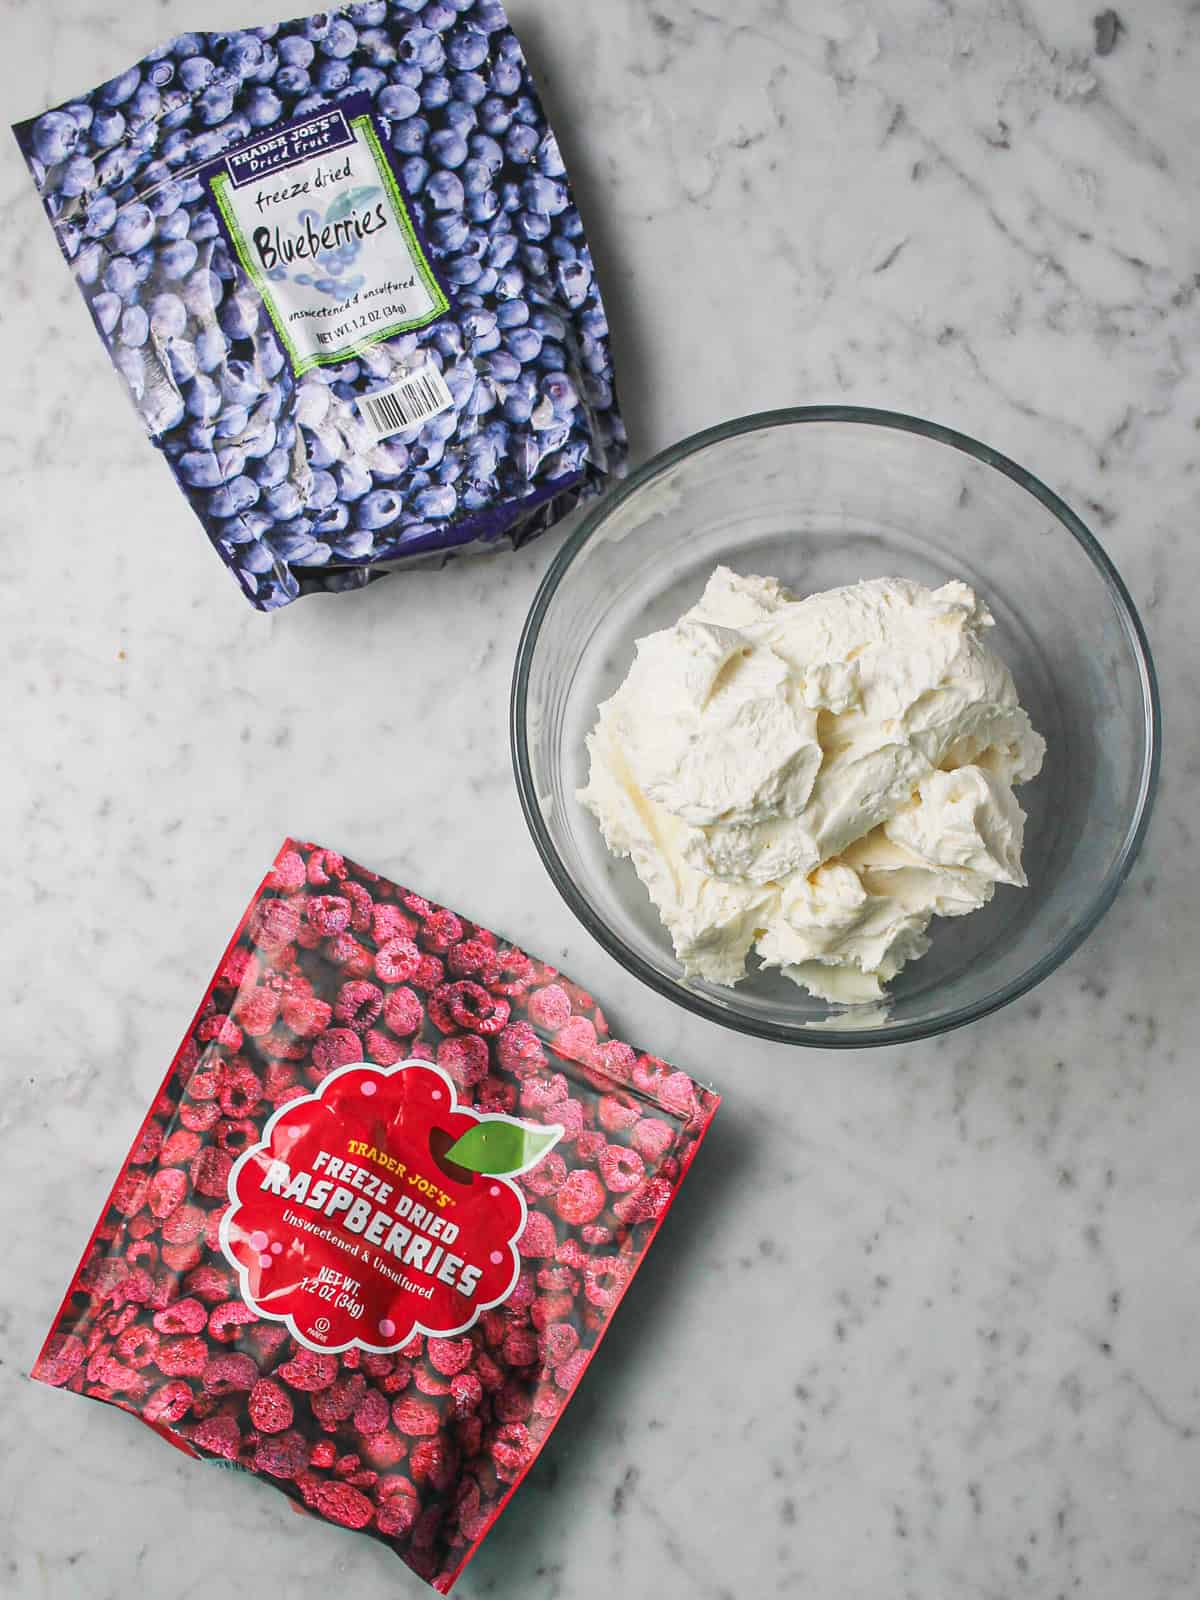
- 🫐 Freeze-dried blueberries give a soft purple-blue.
- 🍓 Freeze-dried raspberries create a sweet, baby pink, depending on how concentrated you'd like it. (Freeze-dried strawberries give a similar pink and work just as well.)
- 🌸 Mix and match any freeze-dried fruit if you want different colors and flavors. Have fun with it!
🤫 The Secret to Smooth Buttercream
Once your mixer has done the heavy lifting, switch to a flexible spatula and push the buttercream from the center of the bowl out to the edges for a few minutes. You'll watch the little air bubbles disappear as you go. This one step makes your frosting silky and keeps your hydrangea petals from looking jagged and torn.
No Freeze-Dried Fruit? Use Food Gel
If you can't get your hands on freeze-dried fruit, a few drops of food gel coloring will tint your buttercream just fine. You'll miss out on the subtle berry flavor (though you could even add that back in with raspberry extract or another flavor of your choice). Wilton, Americolor, and Chef Master all make vibrant pinks, purples, and blues.
That said, freeze-dried fruit is generally easy to find. You can order it online, and I usually grab mine at Trader Joe's, typically near the section of nuts.
💡 Pro Tips for Piping
- Don't overfill your piping bag - A piping bag that's only partway full is so much easier to control than a fully loaded one. An overfilled bag requires more effort from your hand and wrist. Plus, if the bag is totally full, the frosting will likely also emerge from the back end onto your hand when you squeeze the bag! Instead, refill so you work in smaller batches.
- Practice first - If you want to test out your piping skills, an easy way to do this is to tape wax or parchment paper to a flat workspace like your counter. Pipe the details onto your paper, practicing until you're happy with the look of the designs.
🖌️ How to Pipe Hydrangea Cupcakes Step by Step
Dive into the steps here once your cupcakes are baked and completely cool to the touch.
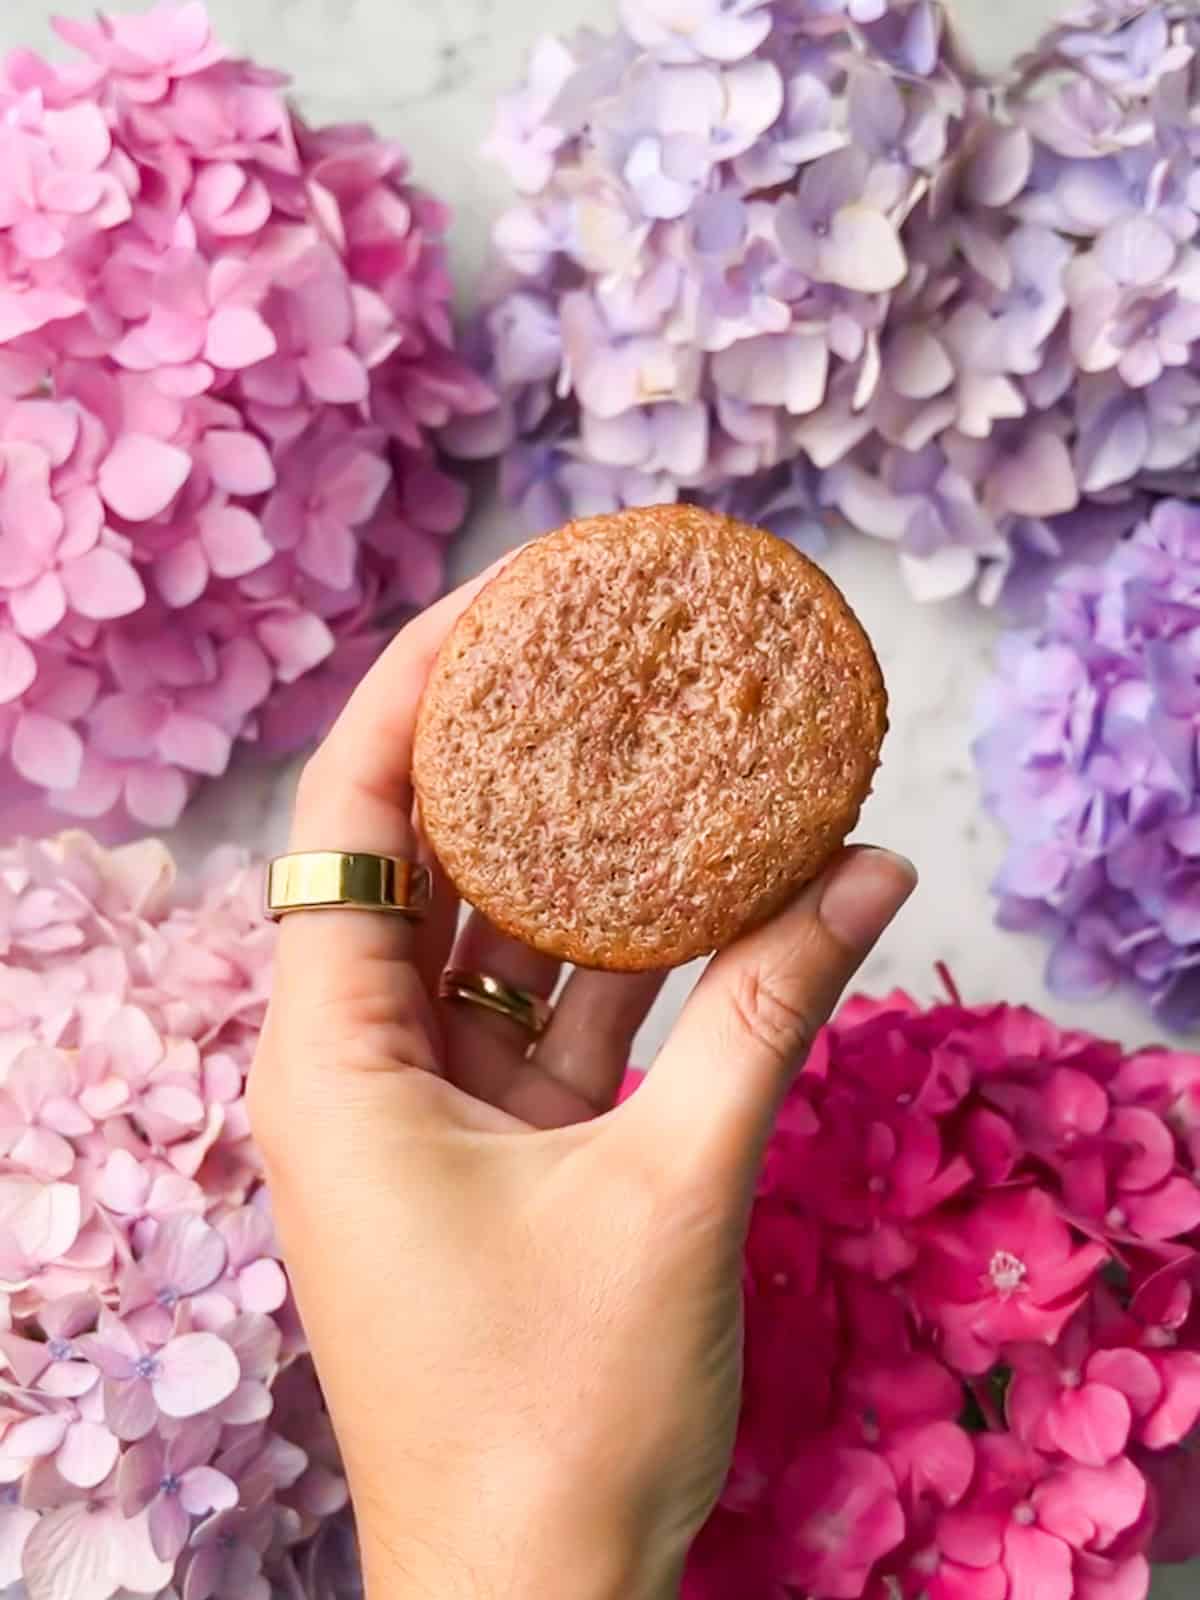
Set up your cupcakes. Once the cupcakes are fully cool, set them out on a flat, clear surface so you have room to work.
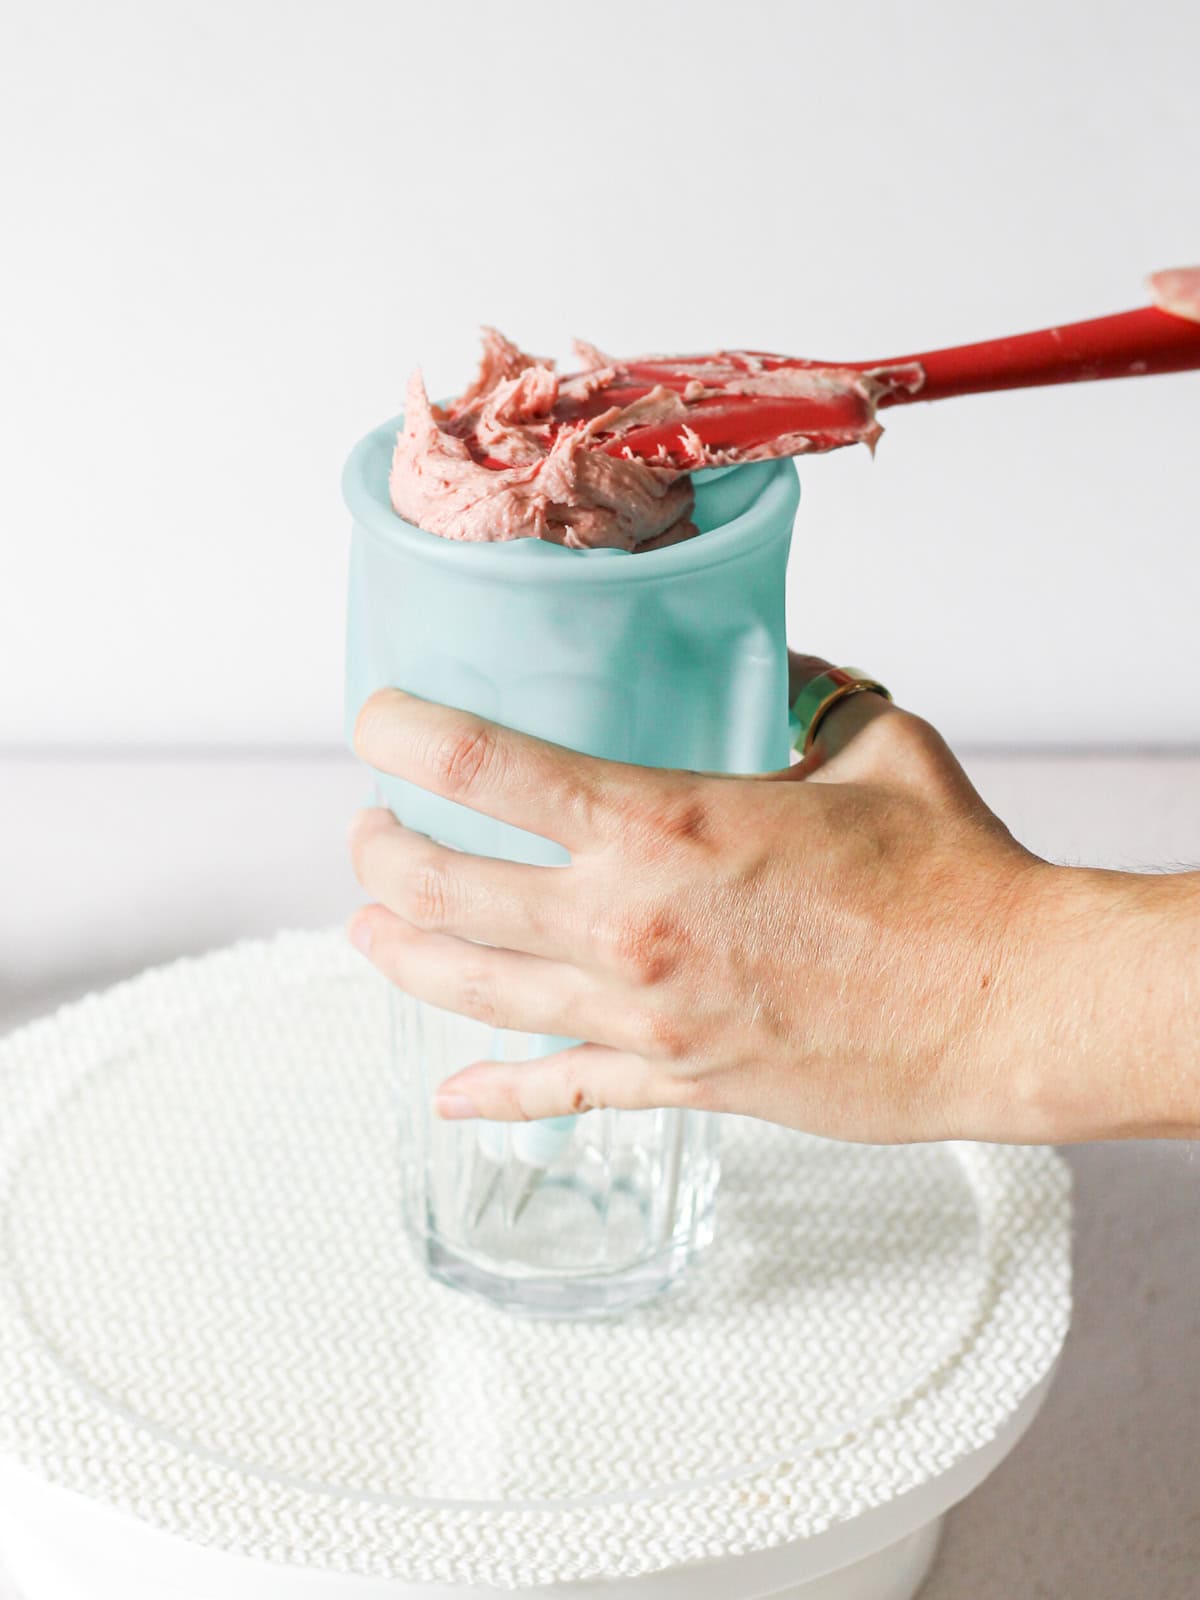
Prep your piping bag. Slide the wide end of a piping bag over a tall cup or glass and fold the sides down over the rim. This holds the bag open and steady so you have space to add your frosting.
Add the Wilton 2D tip. Drop the 2D tip into the bag and push it snugly down toward the opening.
Load your colors. Spoon a mix of colors into the bag in whatever order you like. Because I wanted to include a white variety, I started with white. Always work with your lightest color first if you want to continue using the same bag. Otherwise, the colors will get muddied very quickly.
Because real hydrangeas shift from bright pink to ombre purple, I love combining shades in one bag for natural variety.
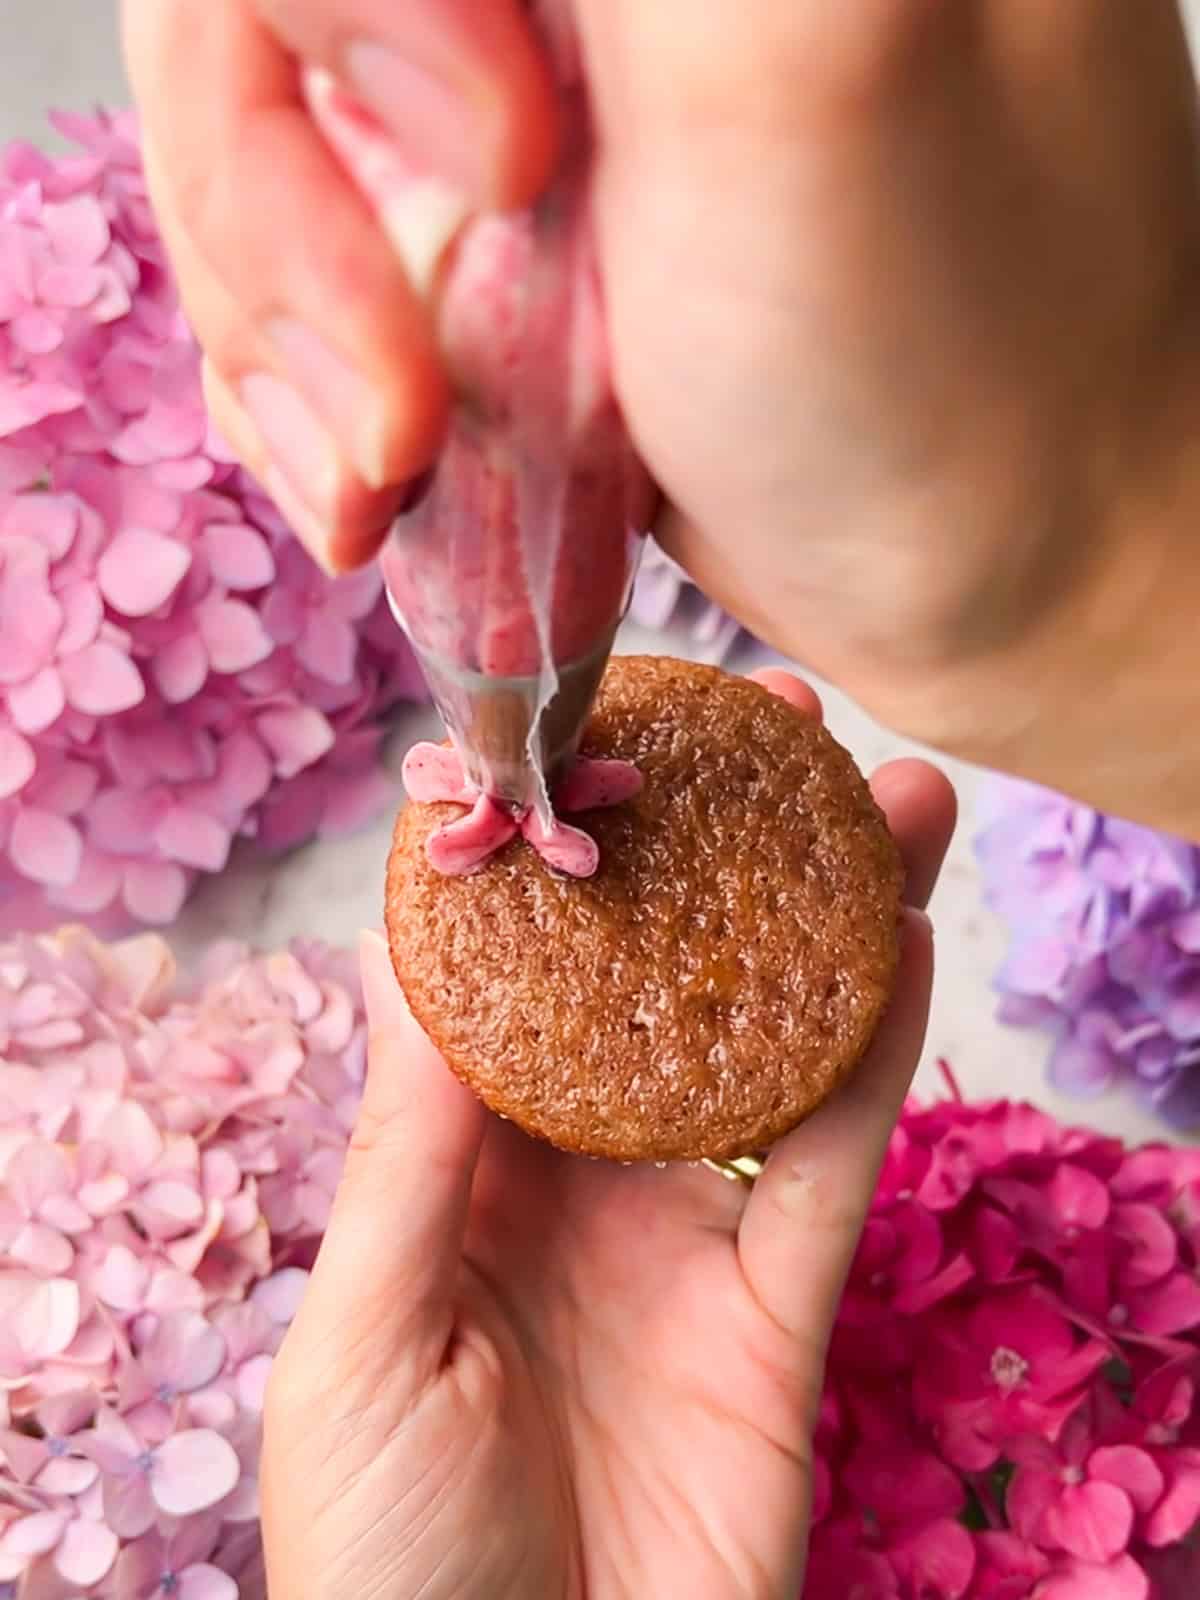
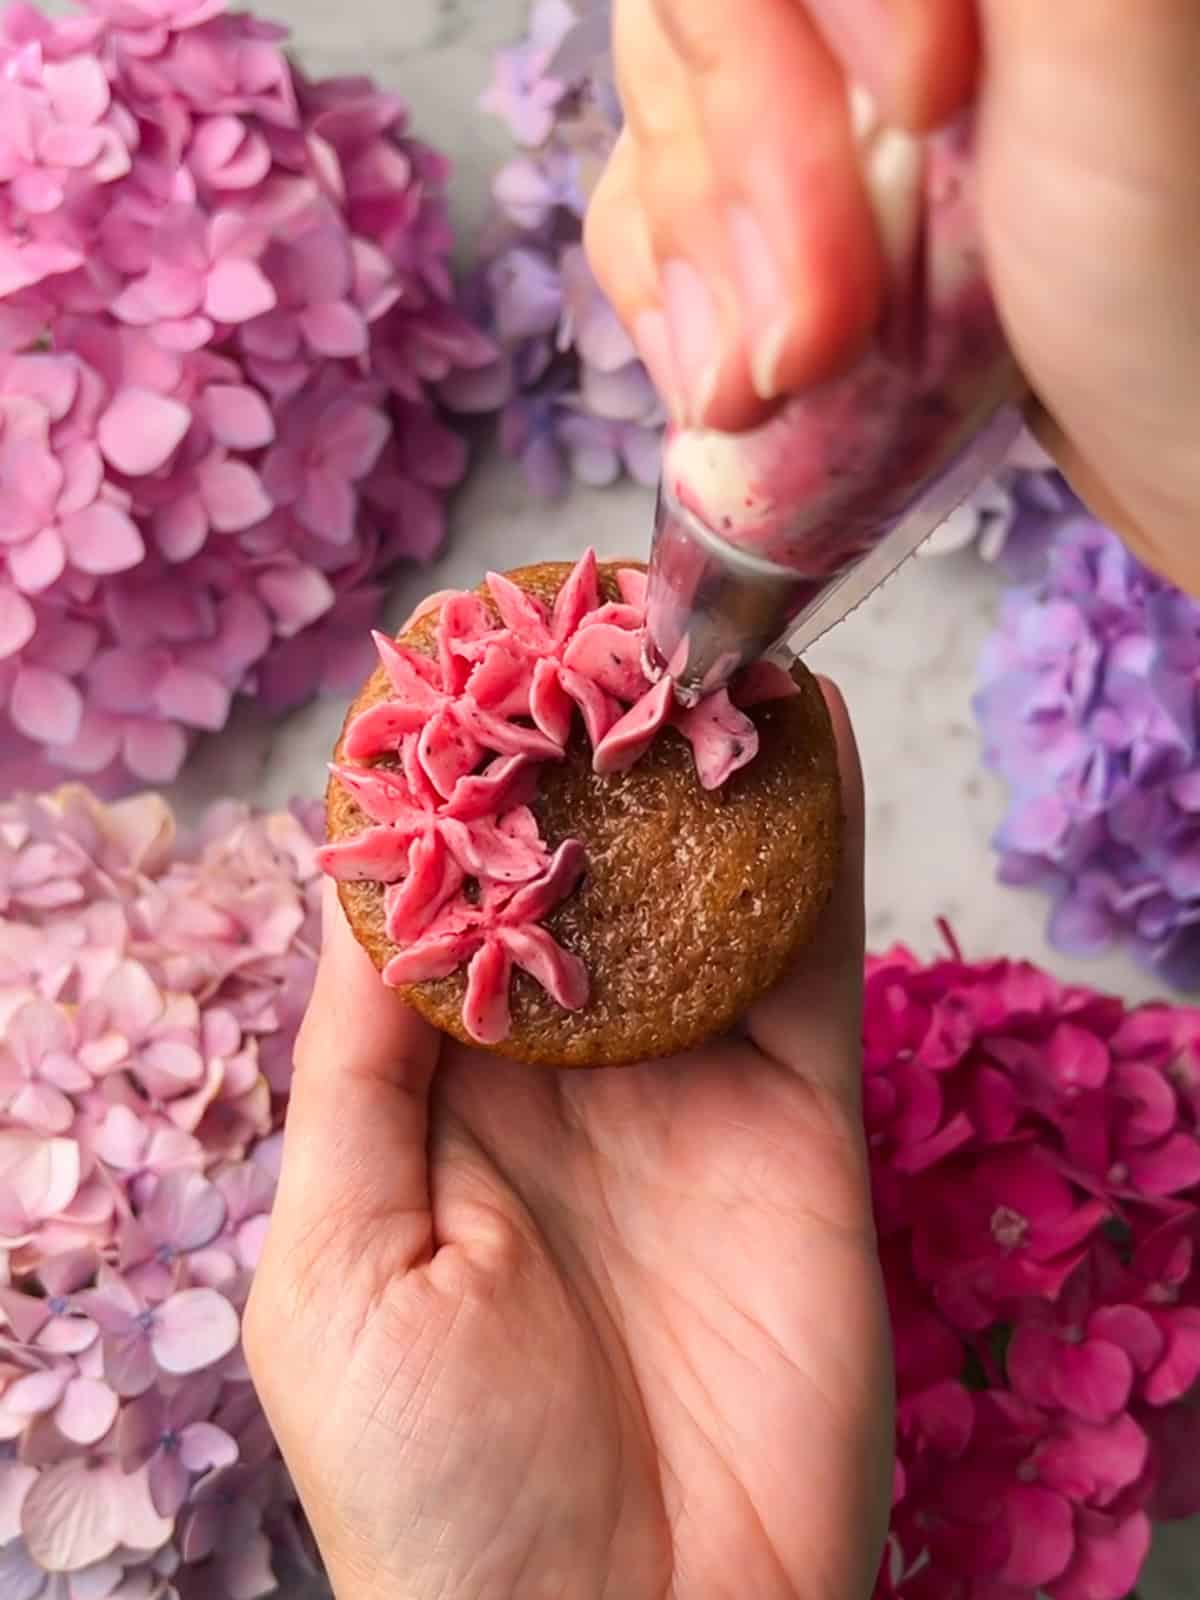
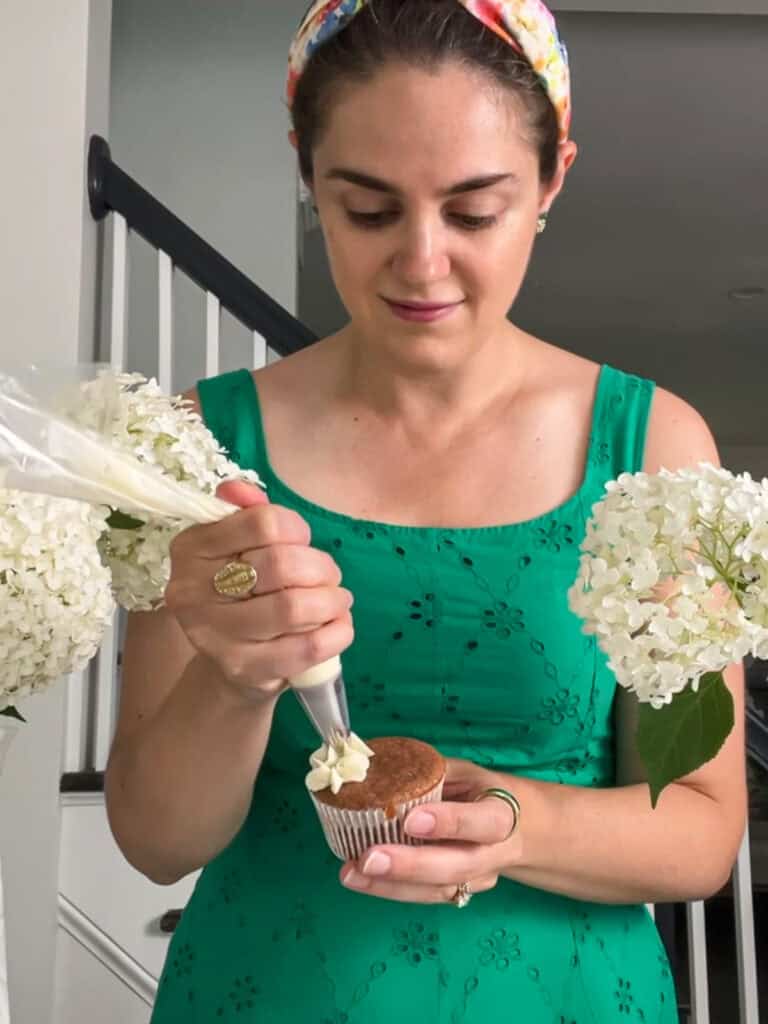
Make contact and pipe. Hold the bag straight above your first cupcake and bring the tip down so it actually touches the surface, then apply gentle, steady pressure.
Important note: keep the tip in contact with the cupcake so the frosting anchors and fans out cleanly. If you hover above it as you pipe, the flowers can't attach to the cupcake and will look sloppily placed. You don't want that!
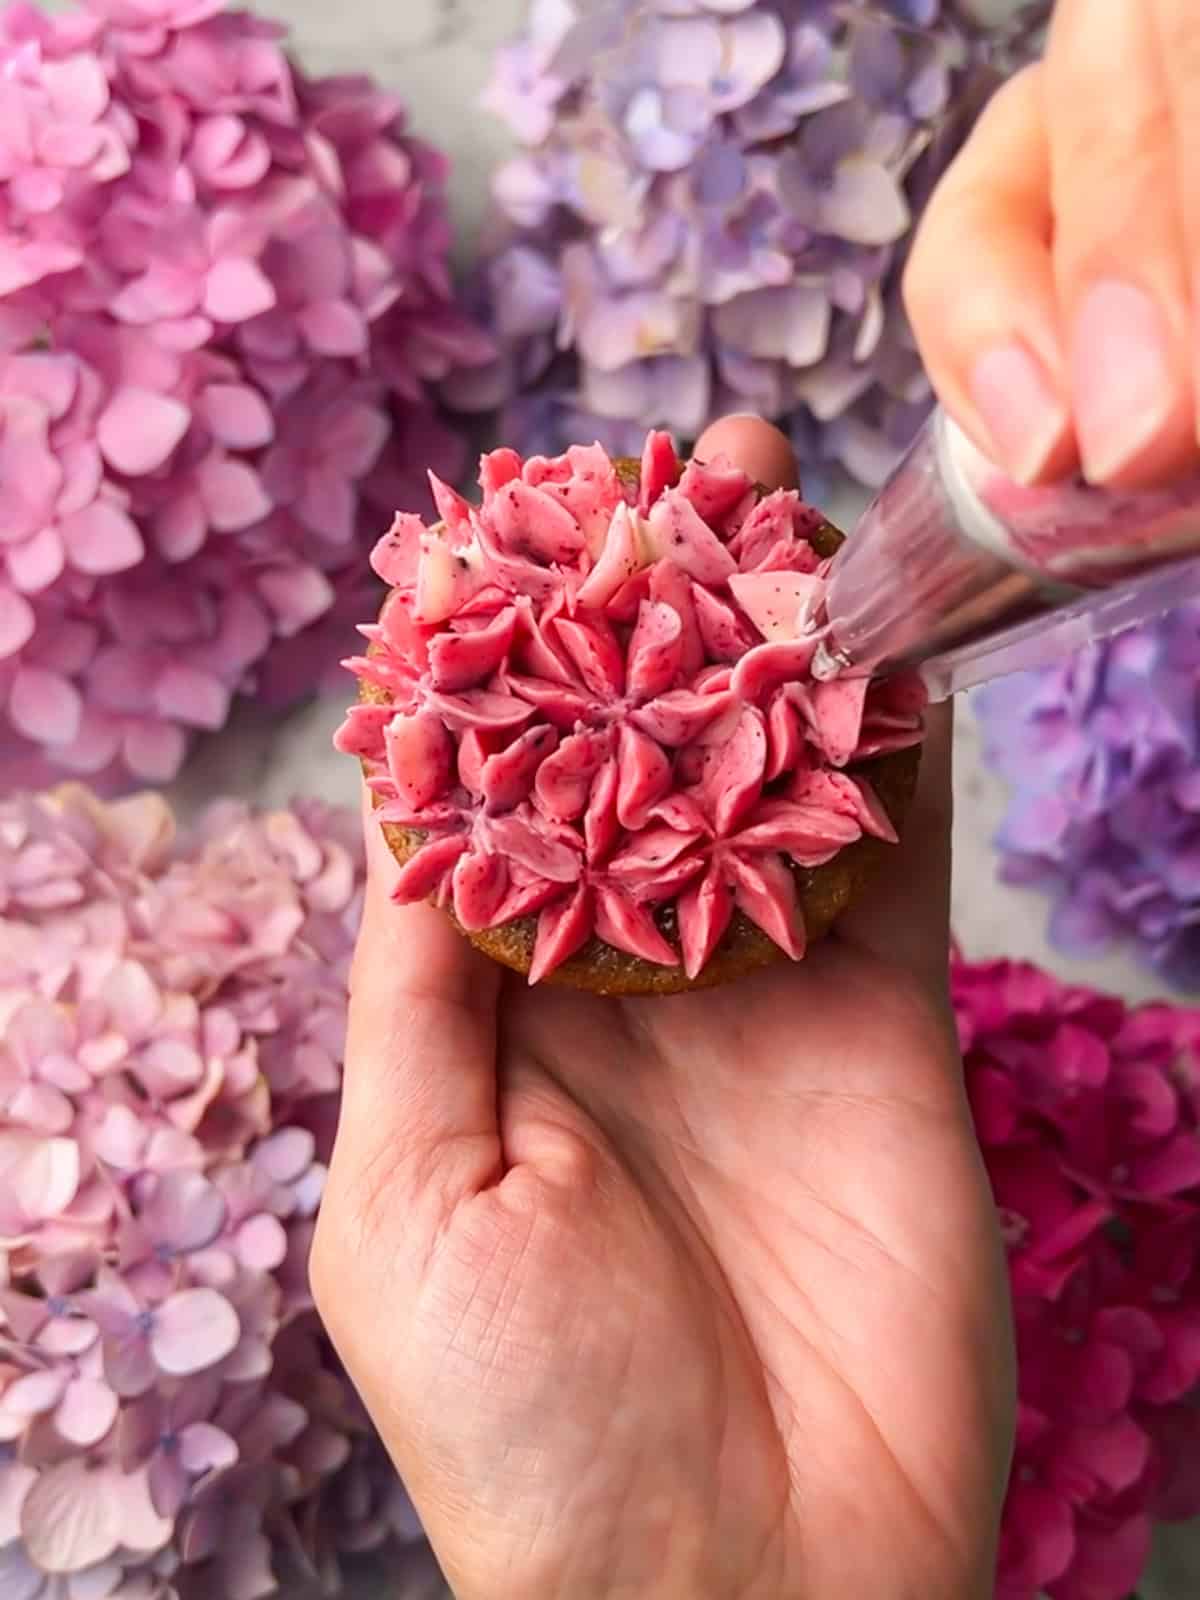
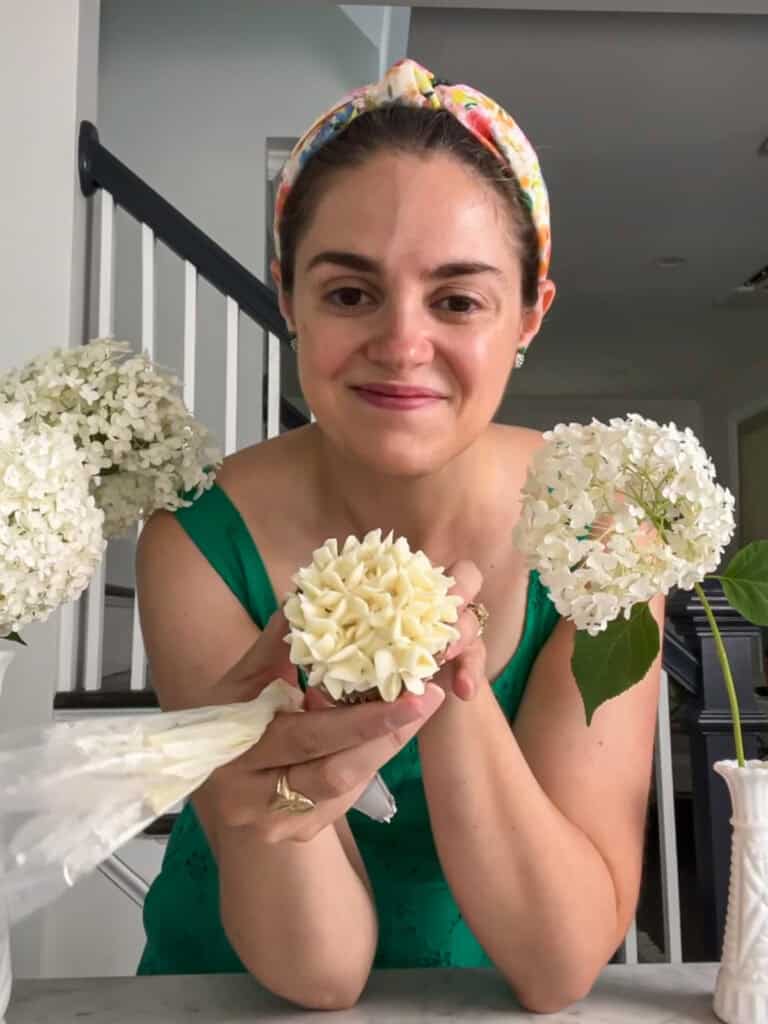
Release, lift, and repeat. Once the buttercream fans out of the tip into a flower, stop the pressure, then lift straight up. Place the next bloom right beside it and keep going until the whole top of the cupcake is covered in clustered hydrangea flowers.
❓ Hydrangea Cupcake FAQ
A Wilton 2D tip. Its closed-star shape pipes a full, ruffled flower in a single squeeze, which is what gives these cupcakes their look. A 1M tip would be a decent substitution but will give a slightly different shape.
Finely grind freeze-dried blueberries (for purple) and freeze-dried raspberries or strawberries (for pink). Add the powders directly into your buttercream. They tint the frosting naturally and add a subtle berry flavor.
If you can't get your hands on freeze-dried fruit or want to explore other colors, a few drops of food gel coloring work great, too.
Yes to both. For frosting, whip it with an electric mixer for a few minutes to lighten its texture. Tint it with food gel or freeze-dried fruit powder.
Generally, a stiffer butter-based buttercream holds the petal shape best, so you may need to beat in a little extra powdered sugar. Store-bought cupcakes or cupcakes from a box mix work, too.
Yes. You can pipe the cupcakes a day or two ahead and keep them covered in the refrigerator. Bring them to room temperature about an hour before serving so the buttercream softens. Unfrosted cupcakes also freeze well for up to three months.
Storage Instructions
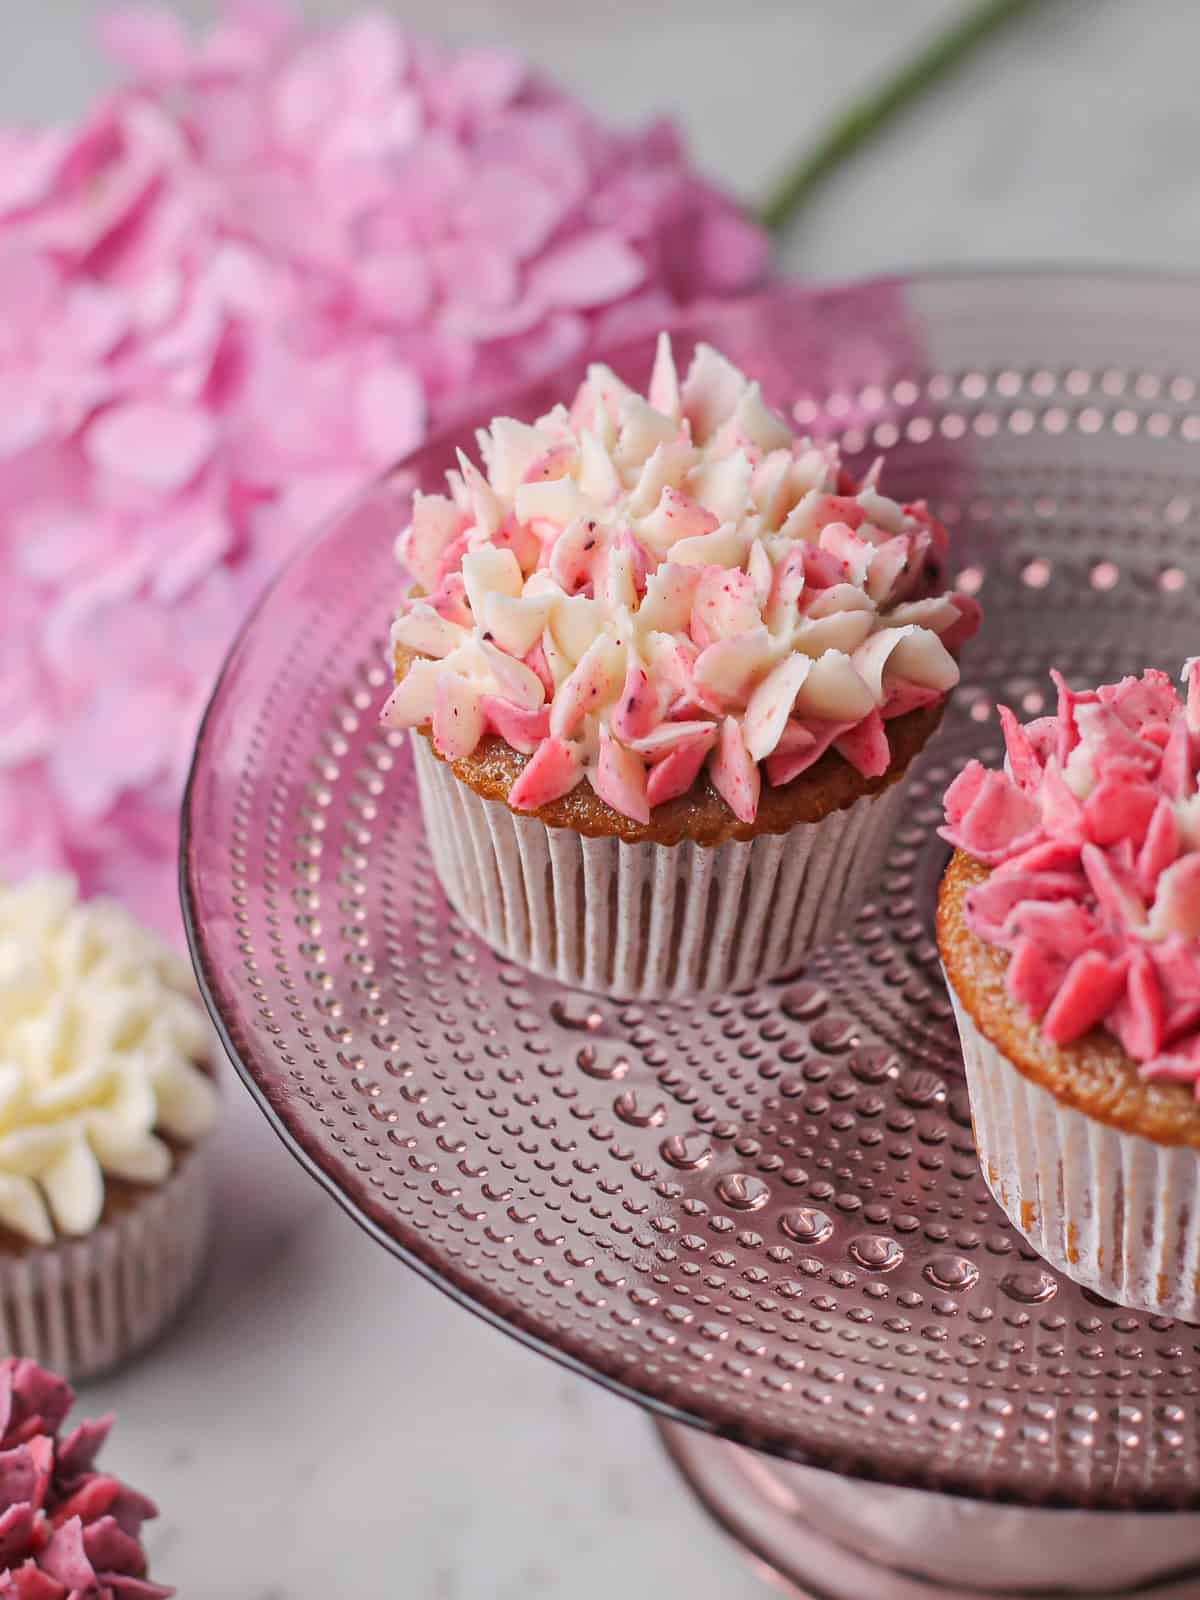
Keep decorated hydrangea cupcakes in an airtight container in the refrigerator for up to 3 days. Bring them out about an hour before serving so the buttercream softens. The cupcakes taste their best at room temperature.
Unfrosted cupcakes freeze well for up to 3 months. For more detail, see my guide to freezing and storing cupcakes with frosting.
🪄 More Decorating Tutorials
If these were fun, my hot air balloon cupcakes tutorial is another beginner-friendly buttercream project worth trying next. 🎈

Hydrangea Cupcakes
- Total Time: 80 minutes
- Yield: 9 cupcakes 1x
Description
Made with just one piping tip, these hydrangea cupcakes are topped with "blooms" of pink, purple, and white buttercream, naturally dyed with freeze-dried fruit.
Ingredients
Strawberry Cupcakes
- Use 100 grams of your favorite strawberry jam or preserves OR make it at home yourself with below ingredients!
- ½ cup (120 grams) strawberries, fresh or frozen (7-8 medium-sized strawberries)
- 2 tablespoon granulated sugar
- 1 ½ teaspoon lemon juice, bottled or fresh
- Pinch of salt
Cake Batter
- ½ cup (110 grams) granulated sugar
- ⅓ cup (70 grams) canola oil
- 2 eggs, room temperature
- ¾ teaspoon almond extract
- 1 ½ teaspoon vanilla
- ¾ cup (100 grams) all purpose flour
- ½ teaspoon baking powder
- ½ teaspoon baking soda
- ½ teaspoon salt
- ¼ cup (60 grams) buttermilk, room temperature
- Optional: Pink food gel (cake will still be somewhat pink without it, just more muted in color)
Hydrangea Buttercream
- 10 tablespoons (140 grams) unsalted butter, room temperature
- 4 cups (520 grams) powdered sugar
- 3 tablespoon heavy cream
- ¾ teaspoon vanilla extract
- 1 ½ teaspoon almond extract
- Pinch of fine salt
- Freeze-dried blueberries, finely ground (10 grams)
- Freeze-dried raspberries or strawberries, finely ground (10 grams)
- Or food gel in the colors of your choice (think hydrangeas: pink, purple, and blue are most common)
Instructions
- Make the strawberry puree (skip if using 100g jam). Cook strawberries with a little sugar and a splash of lemon juice over medium heat until thick and jam-like (about 5 min for fresh, 10–15 for frozen). Cool, then blend smooth.
- Prep. Preheat oven to 350°F and line a cupcake tin.
- Mix the wet ingredients. In a large bowl, whisk together sugar, canola oil, eggs, and the vanilla and almond extracts. Whisk in the cooled strawberry puree (and pink gel, if using).
- Add the dry ingredients. In a separate bowl, combine flour, baking powder, baking soda, and salt. Add to the wet ingredients alternating with the buttermilk, beginning and ending with the flour mixture.
- Bake. Divide batter among the liners and bake ~19–21 minutes, until a toothpick comes out clean. Cool completely before decorating.
- Make buttercream. In the bowl of your stand mixer, combine your unsalted butter, powdered sugar, extracts, heavy cream, and salt. Start mixing on a low setting in short spurts to incorporate and avoid powder flying everywhere. Then increase speed and beat for another 5 minutes.
- Tint the buttercream. Divide one batch of buttercream into the number of bowls that corresponds with the number of colors you plan to use for your blooms. Use a spatula to fold the finely ground freeze-dried fruit (or food gel) into each to create your pink and purple shades.
- Load the bag. Fit a piping bag with a Wilton 2D tip, hold it open over a tall glass, and spoon in a mix of colors.
- Pipe the hydrangeas. Touch the tip to the cupcake, apply gentle pressure until the buttercream fans into a flower, release, and lift. Repeat, clustering blooms until the top is covered.
Notes
- If you have any leftover frosting, it will store well in an airtight container in the freezer for up to three months. Thaw before next use.
- The nutritional values are approximate and can vary based on specific ingredient brands and measurements.
- Prep Time: 15 minutes
- Buttercream and Cupcake Assembly: 45 minutes
- Cook Time: 20 minutes
- Category: Dessert
- Cuisine: American
Nutrition
- Serving Size: 1 cupcake
- Calories: 484
- Sugar: 62 g
- Sodium: 281 mg
- Fat: 21 g
- Saturated Fat: 8 g
- Trans Fat: 0 g
- Carbohydrates: 73 g
- Fiber: 1 g
- Protein: 3 g
- Cholesterol: 74 mg


Leave a Reply