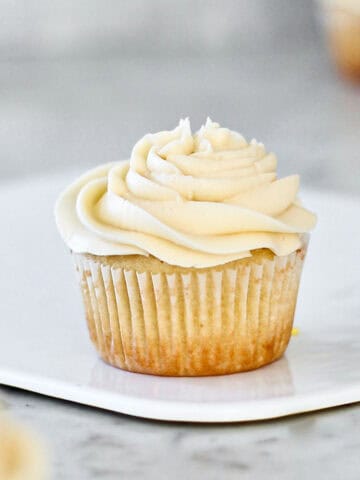
I love cake, but the right frosting can really take even the yummiest cakes to the next level. With a silky smooth texture, this buttercream does just that and is super easy to whip up. Whether you want to slather it onto a cake or lightly apply it, this frosting will become your new favorite homemade vanilla buttercream.
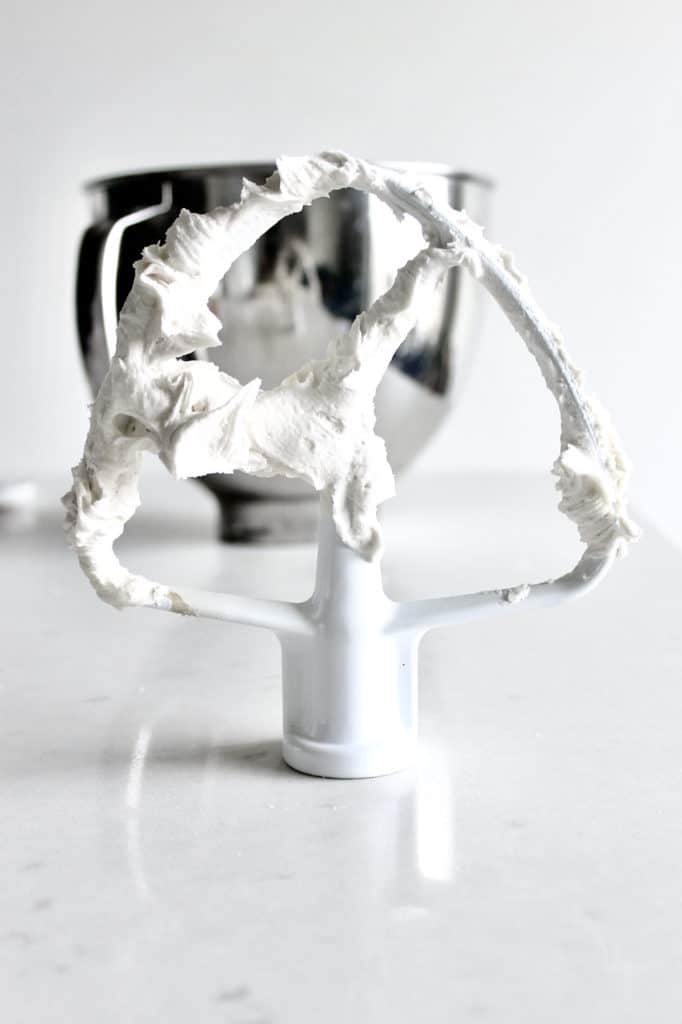
Worth noting about this recipe is that it's best for piping a sturdy design onto cake and cupcakes. If you're looking for a frosting that holds its shape well when piping, this is a fantastic option. It is a thick buttercream. If you need frosting that's very easily spreadable onto a cake for your base or crumb coat, add a few additional tablespoons of butter to your bowl or stand mixer when you're first creaming your butter. This, and using your frosting when it's room temperature, will help you apply it to your cake more easily.
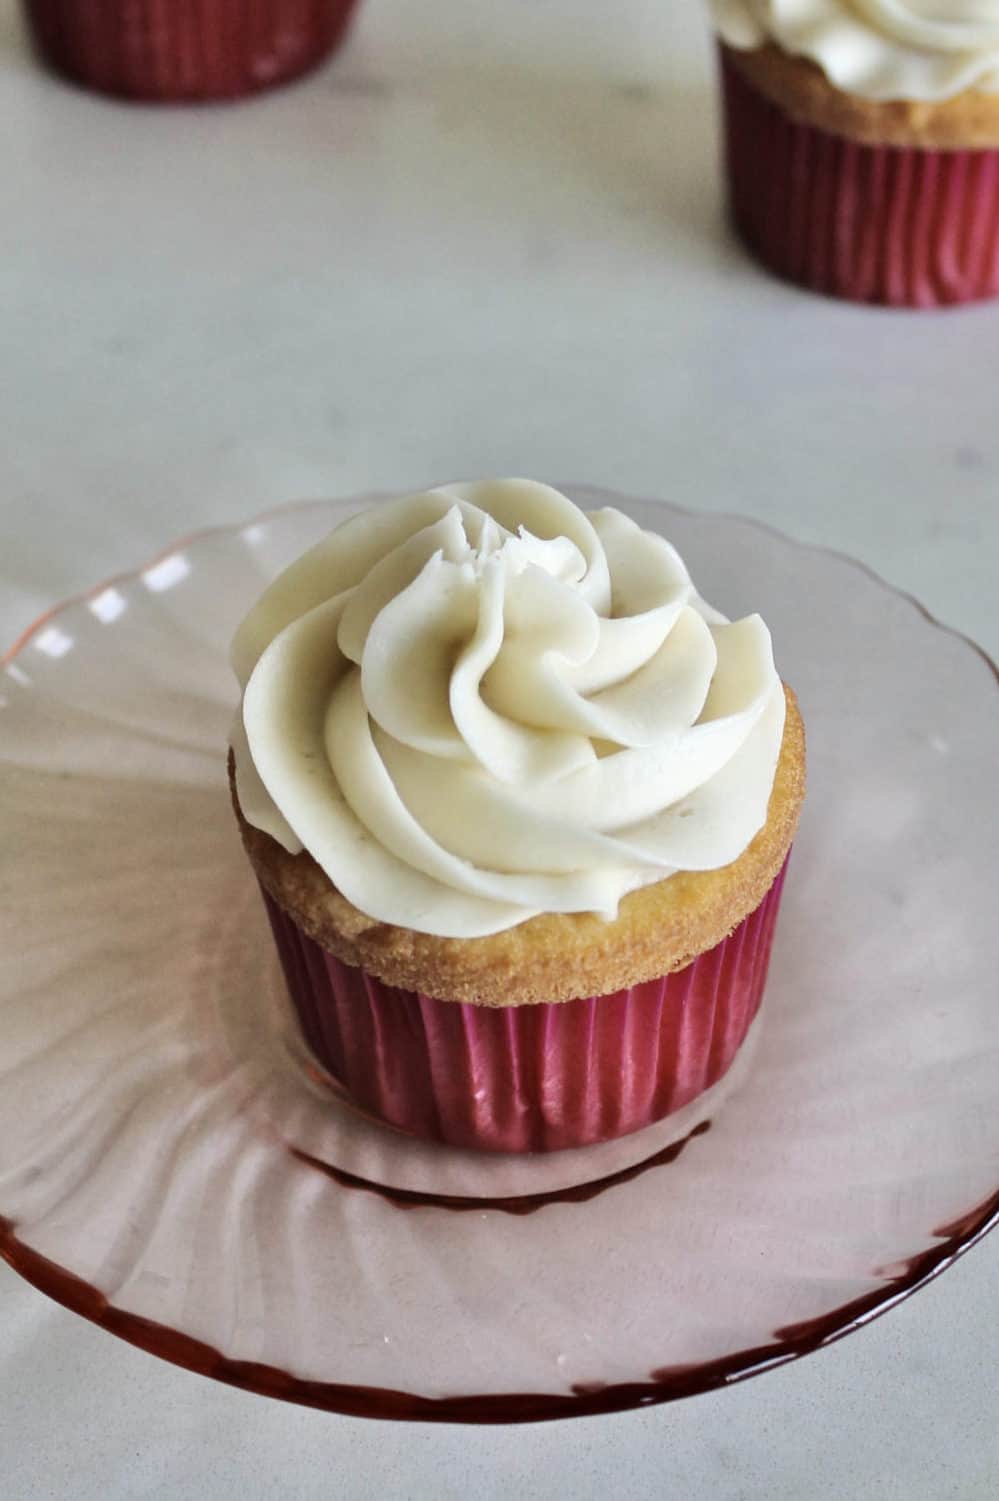
Your New Favorite Homemade Vanilla Buttercream is Super Easy
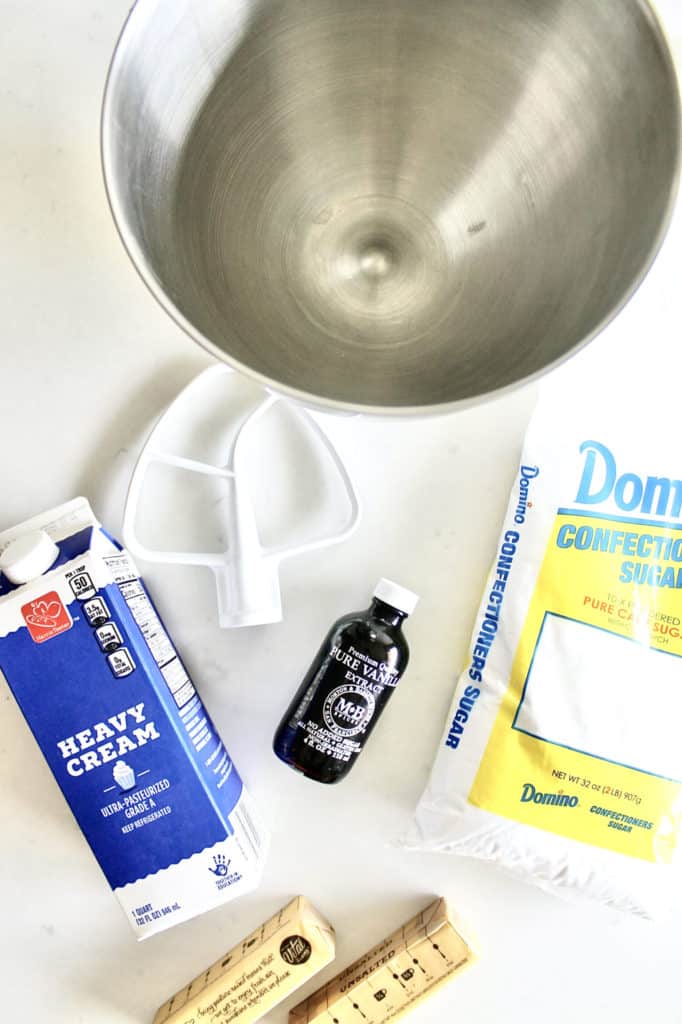
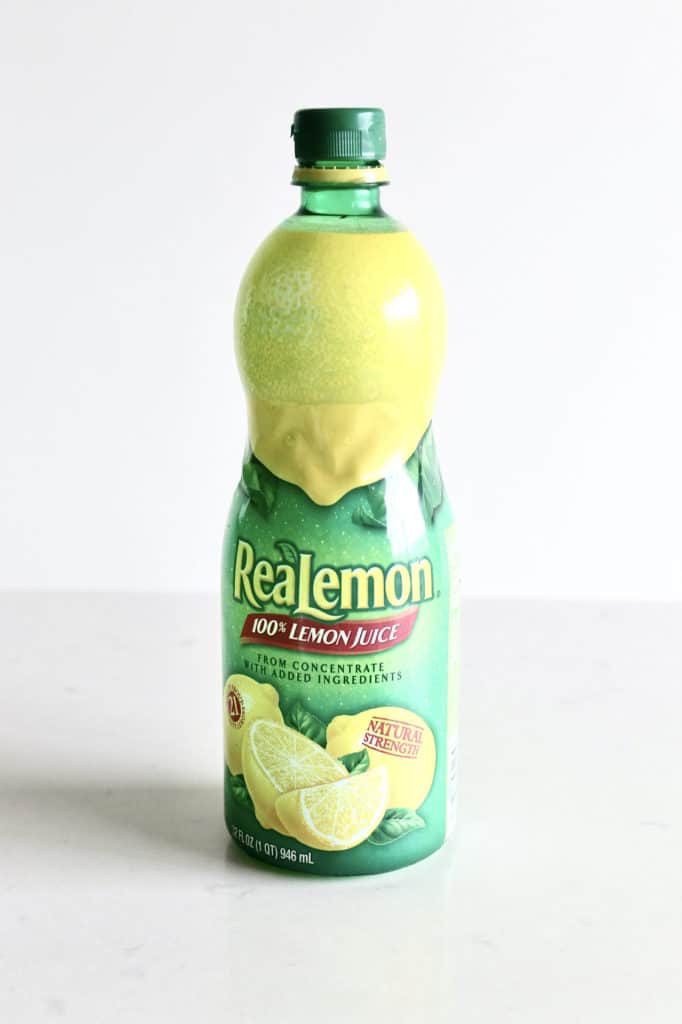
Even the name “vanilla buttercream” tells you almost everything you need to make this recipe! Grab butter, heavy cream (you can instead use milk or whipping cream), vanilla extract, powdered sugar (also known as confectioner's sugar), and a pinch of salt. With these items, you have all the ingredients for creating this delicious frosting. I also add lemon juice or distilled white vinegar. Sound wild? Keep reading because I promise there's a good reason!
If you want the creamiest texture and richest flavor, opt for heavy cream or heavy whipping cream over milk. But milk will work just fine.
Tips and FAQs on How to Make Homemade Vanilla Buttercream Frosting
"I don't know about this... Vanilla buttercream is just too sweet!"
If you've ever had a similar thought about vanilla frosting, I get it, but don’t discredit this recipe just yet! My sweet tooth has calmed down as I’ve gotten older, so I prefer a frosting that’s not overly sweet. I've tweaked this recipe so it can be adapted for those with a super sweet tooth OR people who prefer a homemade vanilla frosting that's more subtle.
If you, like me, lean on the side of less sweet, here's where lemon juice or distilled white vinegar come into play. Including a few drops of either of those ingredients significantly cuts down on an overly sweet vanilla buttercream. I add roughly a quarter of a teaspoon of either of those options to this frosting. However, if you prefer all the sweets, ignore this suggestion.
Minimize Kitchen Mess
You can't make this buttercream without powdered sugar, but that powder can really fly everywhere in the process. I start my mixer on a low speed to slowly incorporate the powdered sugar. I further minimize mess by adding powdered sugar and heavy cream to my bowl a bit at a time, allowing the liquid to absorb that sugar before I add more. Slowly combining the ingredients helps prevent your kitchen counter from looking like a small snowstorm when all is said and done. If I add all the powdered sugar at once, it'd go everywhere. Remembering this tip will save you a lot of time and mess later.
How to Create Smooth Vanilla Frosting
For starters, you want your butter to be room temperature before you mix it. Bring your butter out of the refrigerator at least an hour before you start making your vanilla icing. The room should be around 70 degrees Fahrenheit. If you’re in a hotter or colder setting, plan accordingly. Butter that is room temperature will whip up more quickly and have that creamy textured base for your frosting. If I'm planning to make a cake in the morning, I'll even set my butter out the night before.
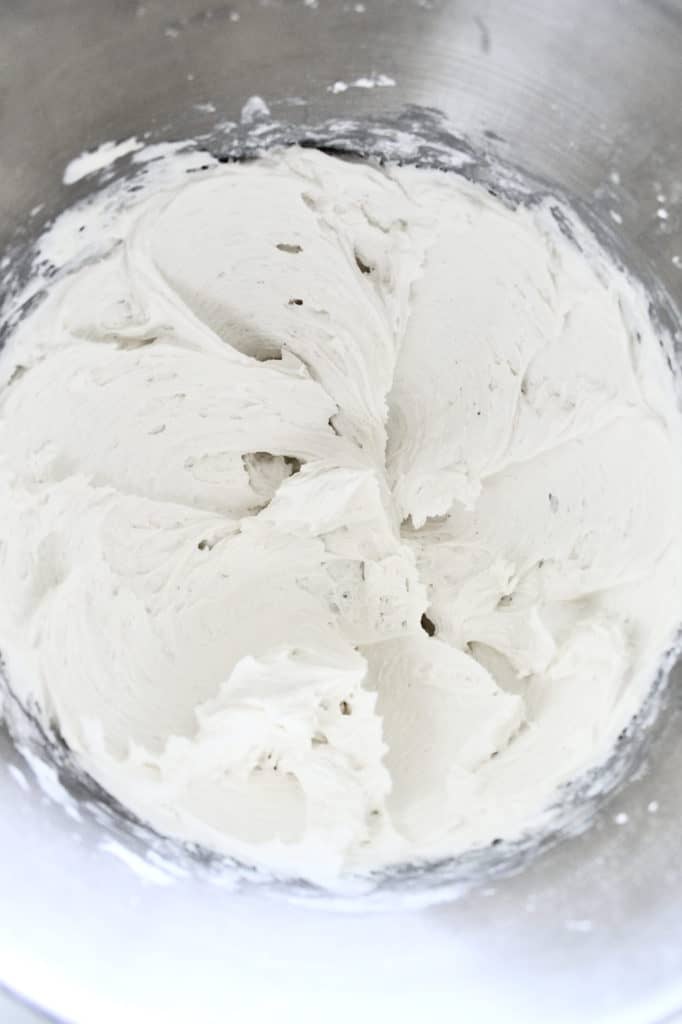
Once you start beating your room temperature butter, you also want to continue to beat it for 3-4 minutes. I've found that a creamy butter mixes better with the remaining ingredients.
The biggest tip for smooth frosting comes at the end, once you've mixed your heavy cream, butter, vanilla extract, powdered sugar, salt, and optional lemon juice or distilled white vinegar. Spend a few minutes taking a spatula or wooden spoon around the bowl. Push the frosting up to the sides of the bowl. As you do this, you'll notice the little tears and air bubbles in your frosting going away. You're essentially pushing them out of your frosting as you do this, resulting in a silkier buttercream to pipe onto cupcakes or spread onto a cake. If it doesn't feel like a bit of an arm workout, keep going. 🙂


What kind of butter should you use?
Always buy unsalted butter so that you can best control the amount of saltiness in the vanilla frosting. If you're on a time crunch and only have salted butter on hand at home, omit adding any additional salt.
Most any brand of unsalted butter should work well for making frosting, but I have found that organic butters whip up best. They also are generally less yellow and more bright and white in color. That helps if you want a stark white frosting. In particular, I really like butter from Vital Farms and Nellie's Free Range.
"But my frosting is still yellow. How do I get bright, white vanilla buttercream?"
If your buttercream tends to have a yellowish tint, I have two fixes. When you start making your frosting, whip your butter on medium high for about 4-5 minutes. You’ll notice that it slowly becomes more white and loses some of its yellow tint! This was a game-changer for me.
Still, sometimes it’s more yellow than I’d like. When that happens, take a toothpick and dip it into purple food gel (my local grocery store sells this set from Wilton). I put the toothpick into the top of the food gel and then swipe the tiniest amount of purple gel into the frosting. It sounds like it wouldn't work, but it does! Because purple and yellow are opposites on the color wheel, the purple neutralizes and cancels out the yellow. You can slowly add more purple gel until you’ve gotten the shade of white you want.
How long does homemade buttercream last?
If you cover and place your homemade vanilla buttercream in the refrigerator, it'll hold up for a few weeks. If you freeze your leftover frosting in an airtight container, it'll last even longer, up to three months.
Either way, you'll need to bring your buttercream back to room temperature and rewhip it before applying it to cake or cupcakes. Don't forget to remove those air bubbles when you do!
Buttercream Doesn't Love High Heat
Lastly, it’s worth noting that buttercream does not hold up well under high heat. It will melt because it’s butter-based. If you’ll be serving cake or cupcakes frosted with vanilla buttercream at an outdoor event where temperatures are in the 70s or higher, you’ll want a cooler bag to keep your dessert chilled.
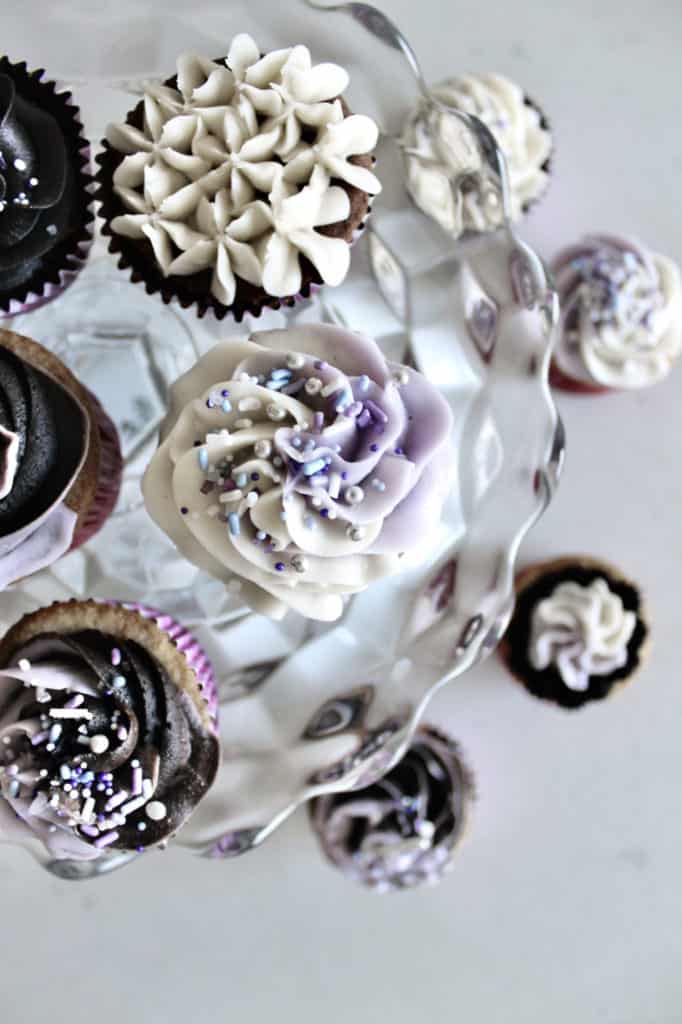
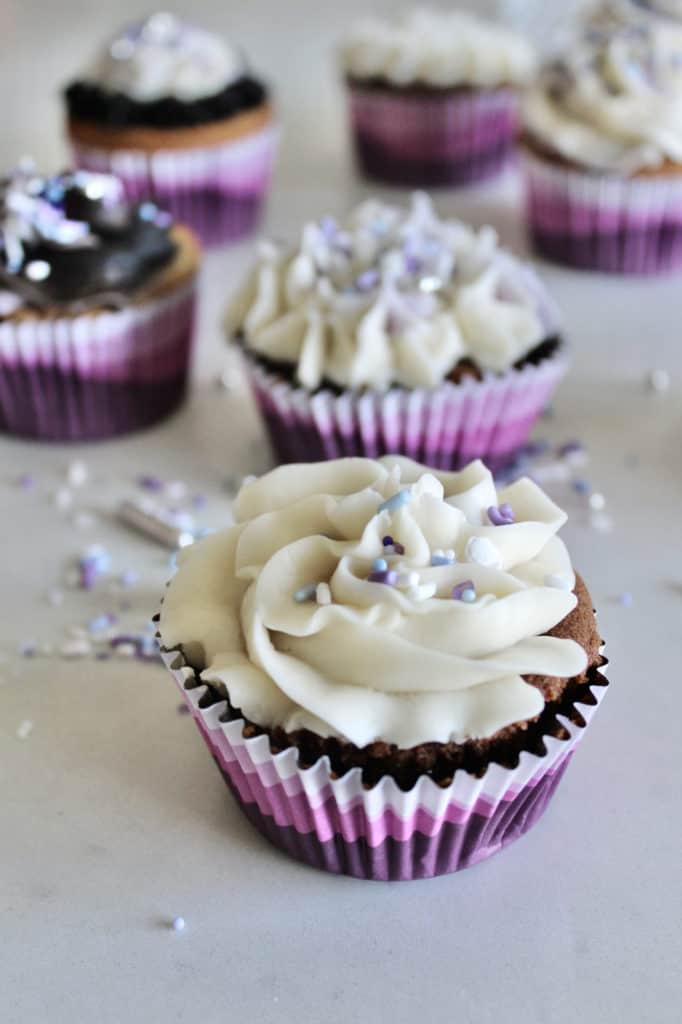
Piping and Coloring Homemade Vanilla Buttercream
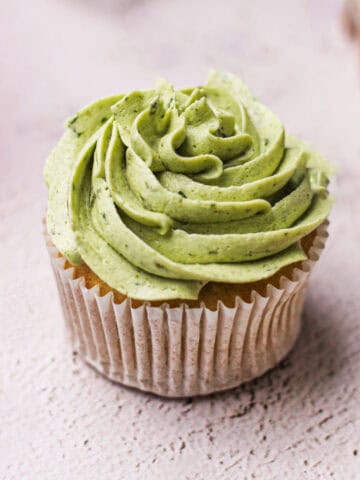
If want to color or dye your buttercream, you can with this recipe! This vanilla frosting is sturdy and holds up well for piping. If you're coloring your buttercream, always be sure to use food gels. I personally use Chef Master and Wilton and have heard great things about Americolor, too. Gels are more vibrant than liquid food coloring, require just a drop or two for bright colors, and don't change your frosting's consistency.
Your New Favorite Homemade Vanilla Buttercream
I hope this becomes your new favorite recipe! If you're looking for ways to use it, check out the some of these options:
A Simple Guide to Decorating Cake with a Spoon
Guide: Piping Colorful Frosting Swirls on Cakes, Cupcakes
Print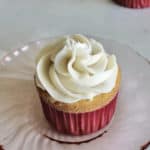
Your New Favorite Homemade Vanilla Buttercream
- Total Time: 1.25 hours
- Yield: About 4.5 cups 1x
Description
This vanilla buttercream is super easy to whip up. Whether you want to pipe it onto cupcakes or slather it onto a cake, this will become your new favorite homemade vanilla buttercream.
Ingredients
- 2 sticks (227 grams) of room temperature butter
- ⅓ cup (80 grams) of room temperature milk, heavy cream, or whipping cream
- 6-7 cups (720 - 840 grams) of powdered sugar
- 1 tbsp of vanilla extract
- ¼ tsp of salt
Optional:
- White vinegar or lemon juice to counterbalance sweetness (I add about ¼ tsp*)
- You may want to include 3-4 more tablespoons of butter, depending on what you're decorating. See notes for additional information on achieving your desired consistency for frosting.
Instructions
- Cream Your Butter: Using a handheld or stand mixer fitted with a paddle attachment, beat two room temperature sticks of butter on medium high for 3-4 minutes; they should be much creamier and a paler yellow when you’re done.
- Add the remaining ingredients: Pause your mixer and add your salt and vanilla extract, with half of your confectioners’ sugar and half of your cream or milk. Start your mixer again on a low setting at first to incorporate the powdered sugar so it doesn't fly everywhere! Bump your mixer up to to medium-high speed and beat for 2 full minutes. Stop and add your remaining sugar and cream or milk. Beat again for another minute, starting on a low setting initially and increasing as ingredients combine.
- Taste test and tweak: At this stage, you can pour additional cream or sugar as needed, depending on your ideal taste and consistency. Also add and mix your lemon juice or distilled white vinegar if you want to reduce the sweetness.
- Put your buttercream to good use: Start piping or spreading your frosting on a cake! If not using, store in refrigerator for a month or freezer for up to three months in a tightly sealed container.
Notes
- This recipe provides enough buttercream to frost about 24 cupcakes.
- This recipe provides enough frosting for covering a three-layer 6" cake. You can read more about frosting ratios here.
- This recipe is particularly great for piping a sturdy design onto cake and cupcakes, as it is a thick buttercream. If you need frosting that's very easily spreadable onto a cake for your base or crumb coat, add a few additional tablespoons of butter to your bowl or stand mixer when you're first creaming your butter. This, and using your frosting when it's room temperature, will help you apply it to your cake more easily.
- Time for Cold Ingredients to Reach Room Temperature: 1 hour
- Cook Time: 15 minutes


Jerry Forester
This icing is amazing on sugar cookies