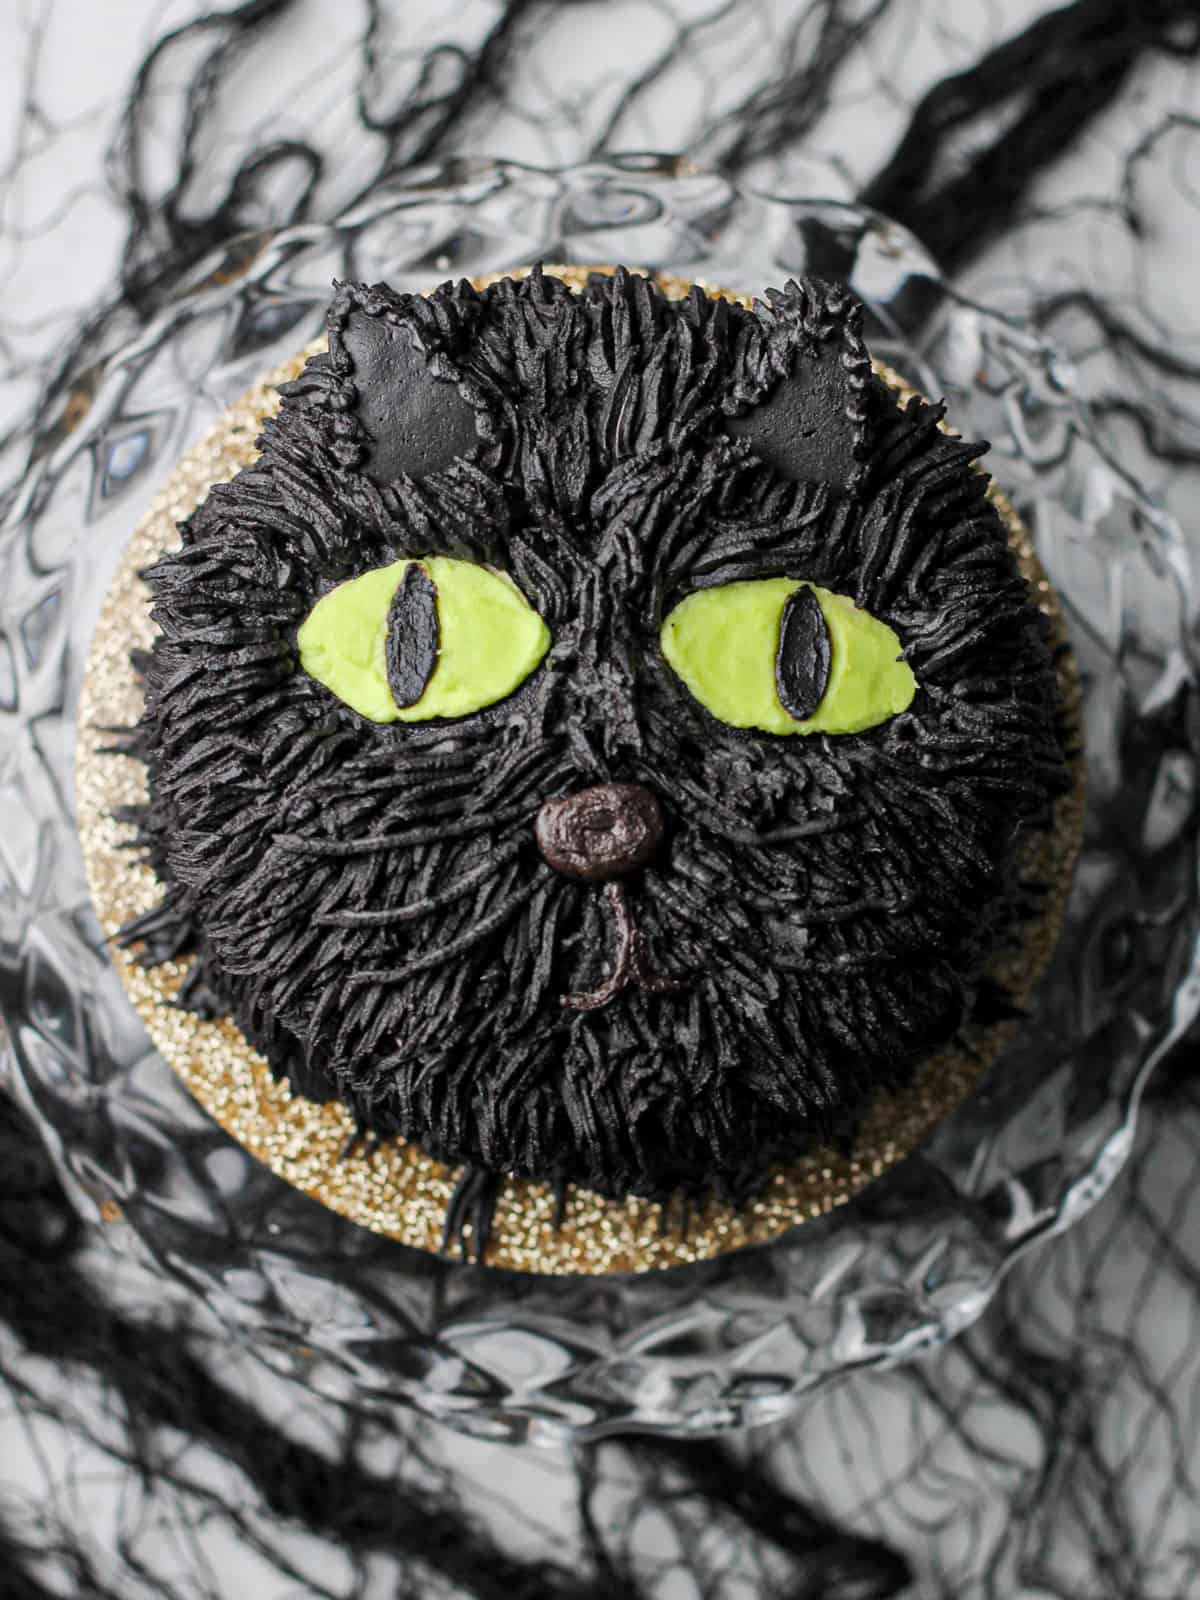
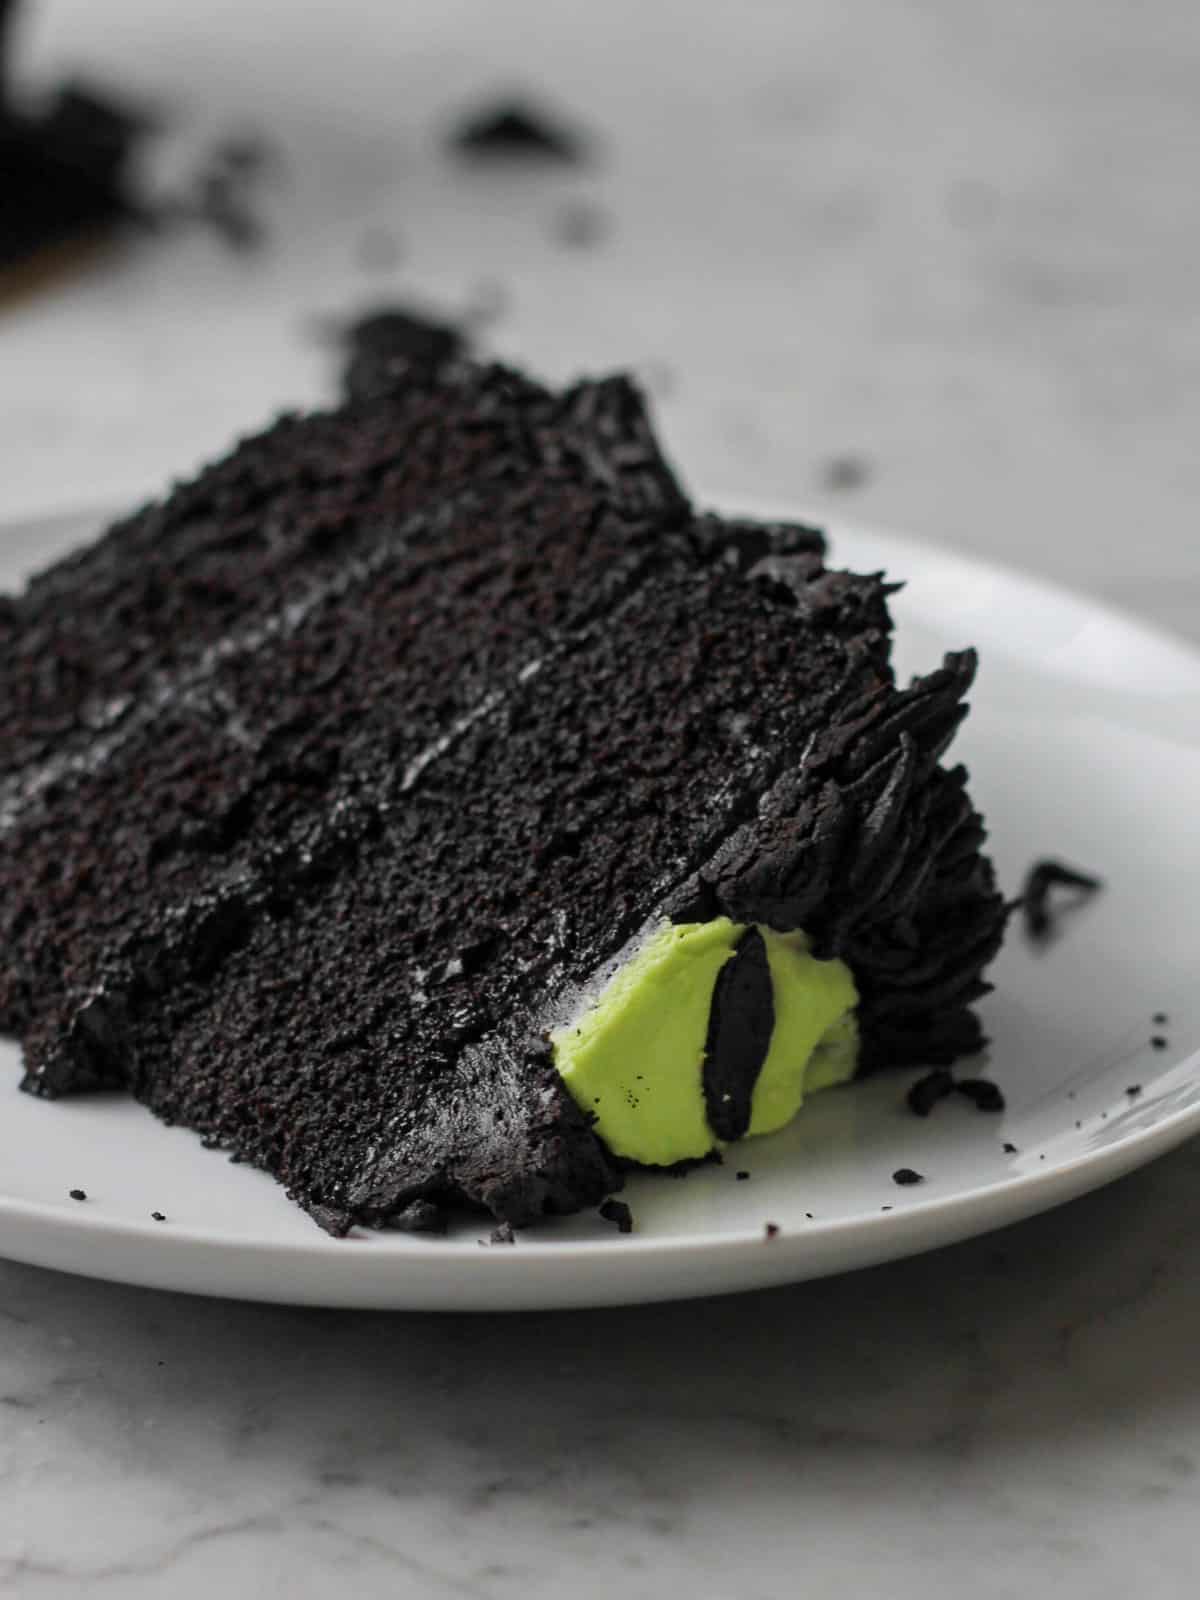
This black cat cake is the showstopper Halloween dessert you didn't know you needed — and the secret to that jet-black fur is black cocoa powder (no food dye required for the cake layers and just a hint in the frosting!). The shaggy buttercream design looks impressive but is actually forgiving for beginners, and the moist chocolate cake underneath is worth making year-round.
Jump to:
- 📋 Ingredients for Black Cocoa Cat Cake
- Best Results: Baking in Grams
- Recipe Substitutions and Variations
- 📖 How to Bake the Black Cocoa Cake Layers
- Tools Needed for Making this Cake Design
- Biggest Secret for Creating a True Black Frosting: Time
- Creating Smooth, Spreadable Frosting
- 💡 Key Tip for Piping Shag Frosting (The Fur Technique)
- 🐈⬛ How to Stack & Decorate Your Black Cat Cake
- 💭 Cake Storage and Serving Instructions
- Tips for Perfecting this Black Cocoa Cake
- More Related Recipes
- Black Cocoa Cake with a Spooky Cat Design
Whether you're celebrating Halloween or just love a dark, moody dessert, this crowd-pleaser is sure to impress! Serve it alongside these homemade pumpkin sugar cookies with buttercream for a fun Halloween pairing.
And the black cocoa powder in this cake has been such an MVP for me in baking. So much so that I have put it in cookies and cream cookies, black velvet cupcakes, and black cocoa cookies. If you didn't know, it's also the key ingredient in Oreo cookies that gives them their distinctive (read: amazing) and rich chocolate flavor.
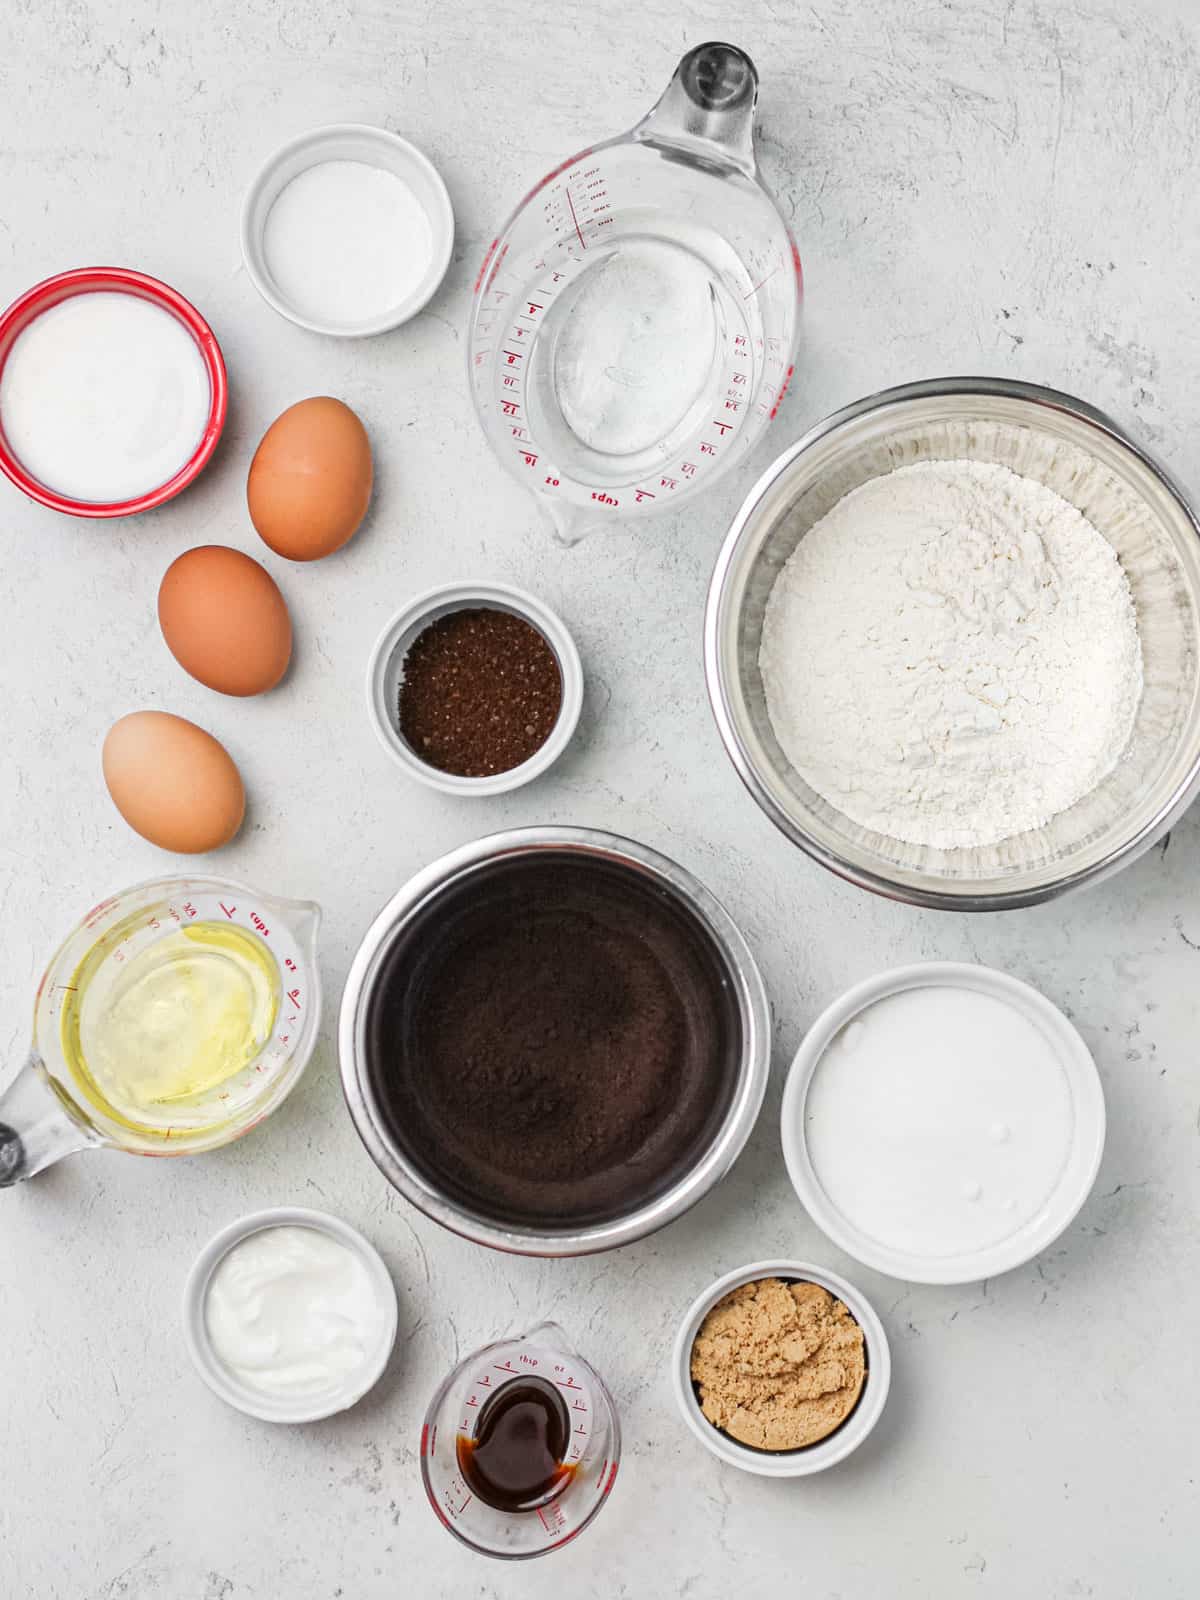
📋 Ingredients for Black Cocoa Cat Cake
In the recipe card below, you'll find all the ingredients you need for making this moist cake. I highlight a few of the key ones and why they're important.
- Ultra Dutch-Processed Cocoa Powder — Also known as alkalized cocoa powder, this dark cocoa powder has been treated with an alkalizing agent. As a result, compared to regular cocoa powder, it has a smoother, milder flavor with less bitterness. This ingredient is also less readily available in grocery stores; I've ordered mine online and use the Wincrest brand.
- Espresso powder — Enhances chocolate flavor (optional).
- Canola or vegetable oil — Keeps these layers moist for days. Why oil matters in cake →
- Buttermilk — Buttermilk adds tang and helps the cake rise.
- Hot water — Hot coffee or hot water are often used in chocolate cake recipes because they intensify chocolate flavor.
Best Results: Baking in Grams
If you’re not already, use a kitchen scale for accuracy in baking.
While I include cups and grams in my recipe cards, weighing your ingredients and writing or following a recipe using a standard metric like grams ensures consistency.
I highly recommend investing $30 or less in a kitchen scale.
Recipe Substitutions and Variations
Alternative to black cocoa powder - The Hershey’s ultra dark powder at the grocery store works as a sub in this recipe.
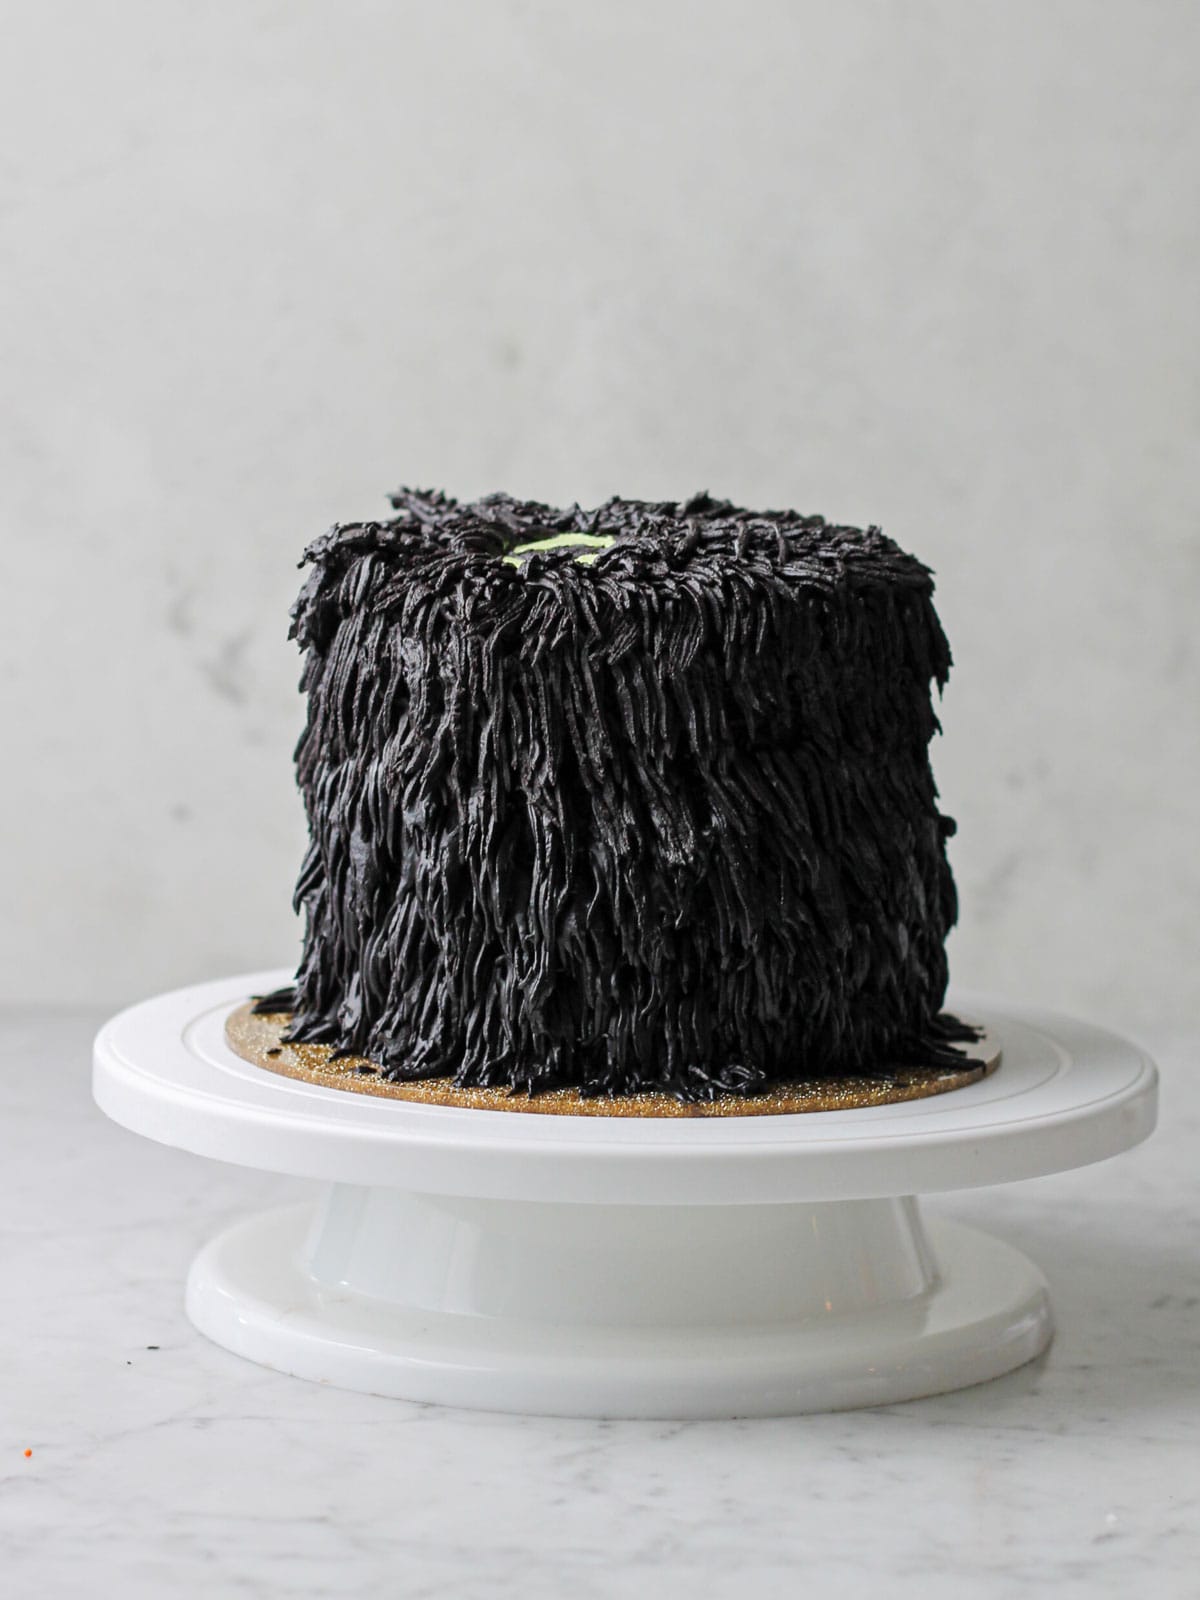
Ditch the cake decorating - Also, if you don't feel like decorating a cake like a cat, don't!
Instead of creating the design here, simply pipe and spread black buttercream all around your cake. This recipe will give you enough frosting (and some extra) to do that.
📖 How to Bake the Black Cocoa Cake Layers
Preheat your oven to 350°F and dive into the steps below.
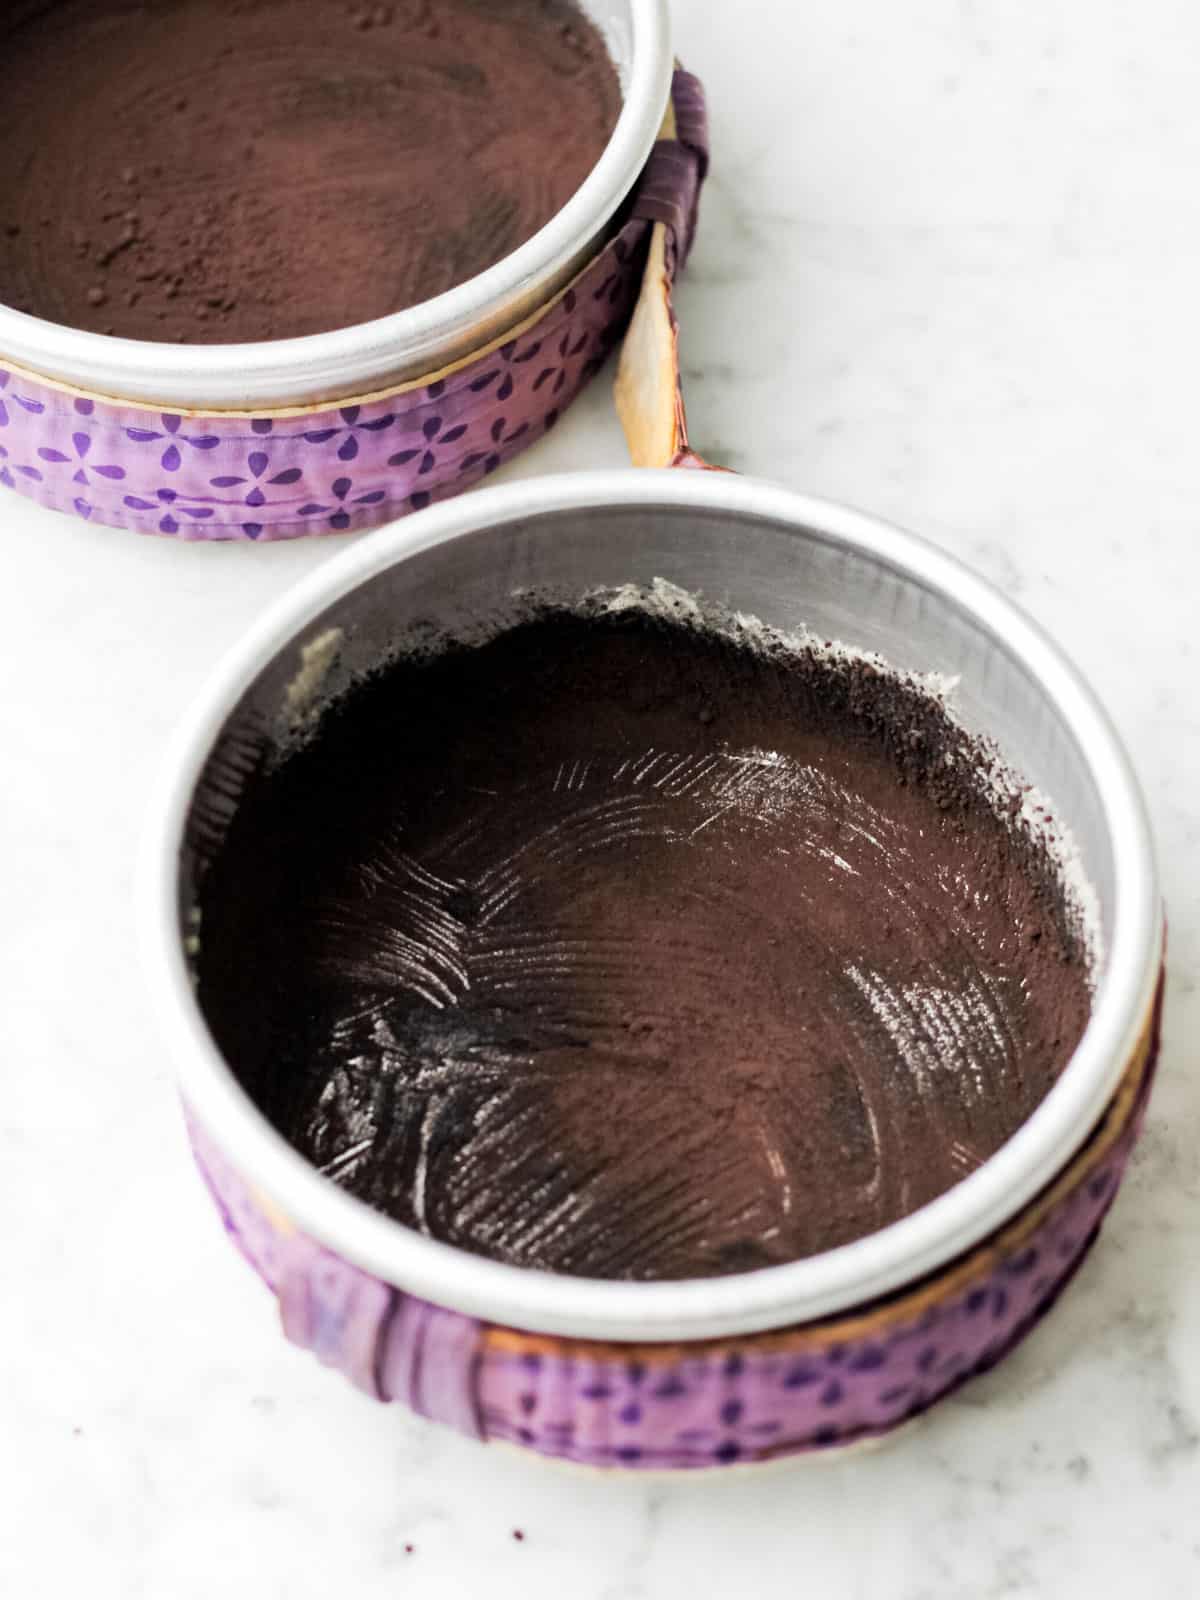
Step 1: Line three six-inch round cake pans with parchment paper.
Alternatively, you can generously butter the pans and coat with cocoa powder or use non-stick baking spray.
Unlike some recipes for vanilla or light-colored cakes, we don't flour the pans for this chocolate cake recipe. The white flour would contrast with the dark brown color of the layers, so cocoa powder is necessary.

Step 2: To a large bowl, add and whisk together all-purpose flour, brown sugar and granulated sugar, dutch processed cocoa powder, baking powder, baking soda, espresso powder, and kosher salt. Set aside.
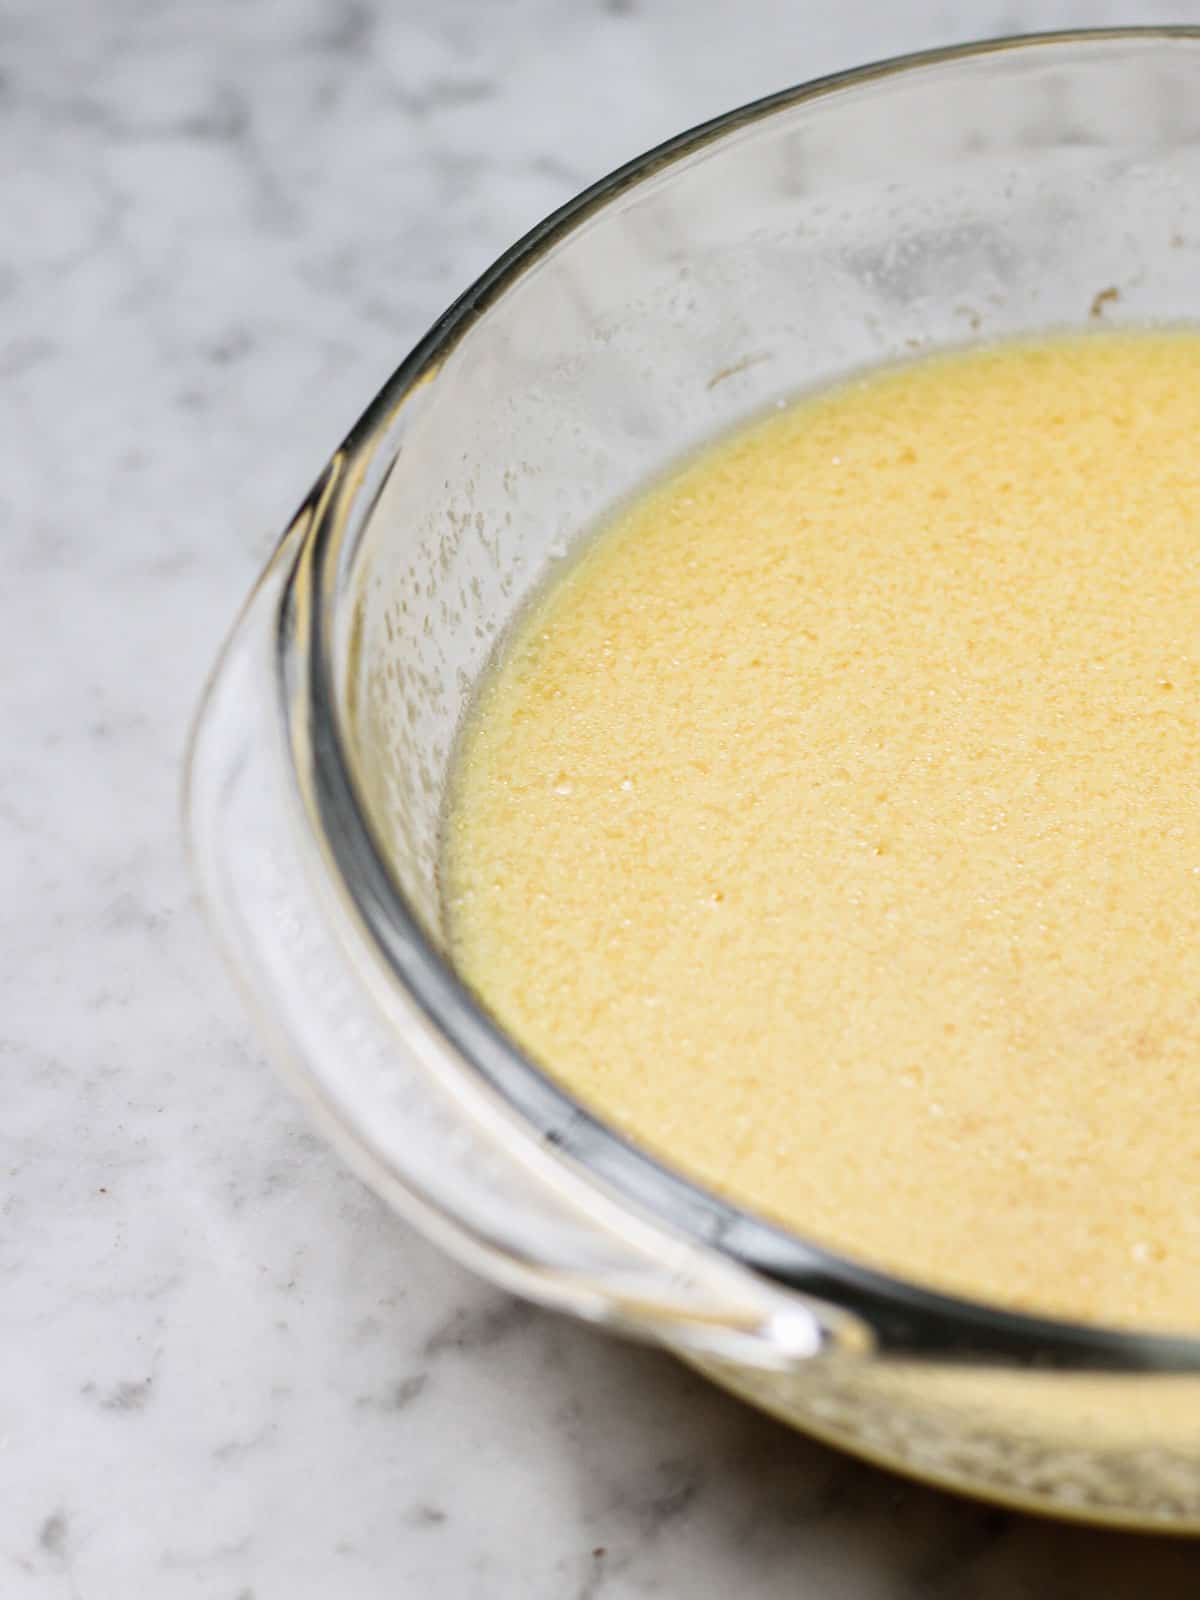
Step 3: In a large mixing bowl or bowl of a stand mixer, whisk together your vanilla extract, eggs, greek yogurt or sour cream, buttermilk, and oil.
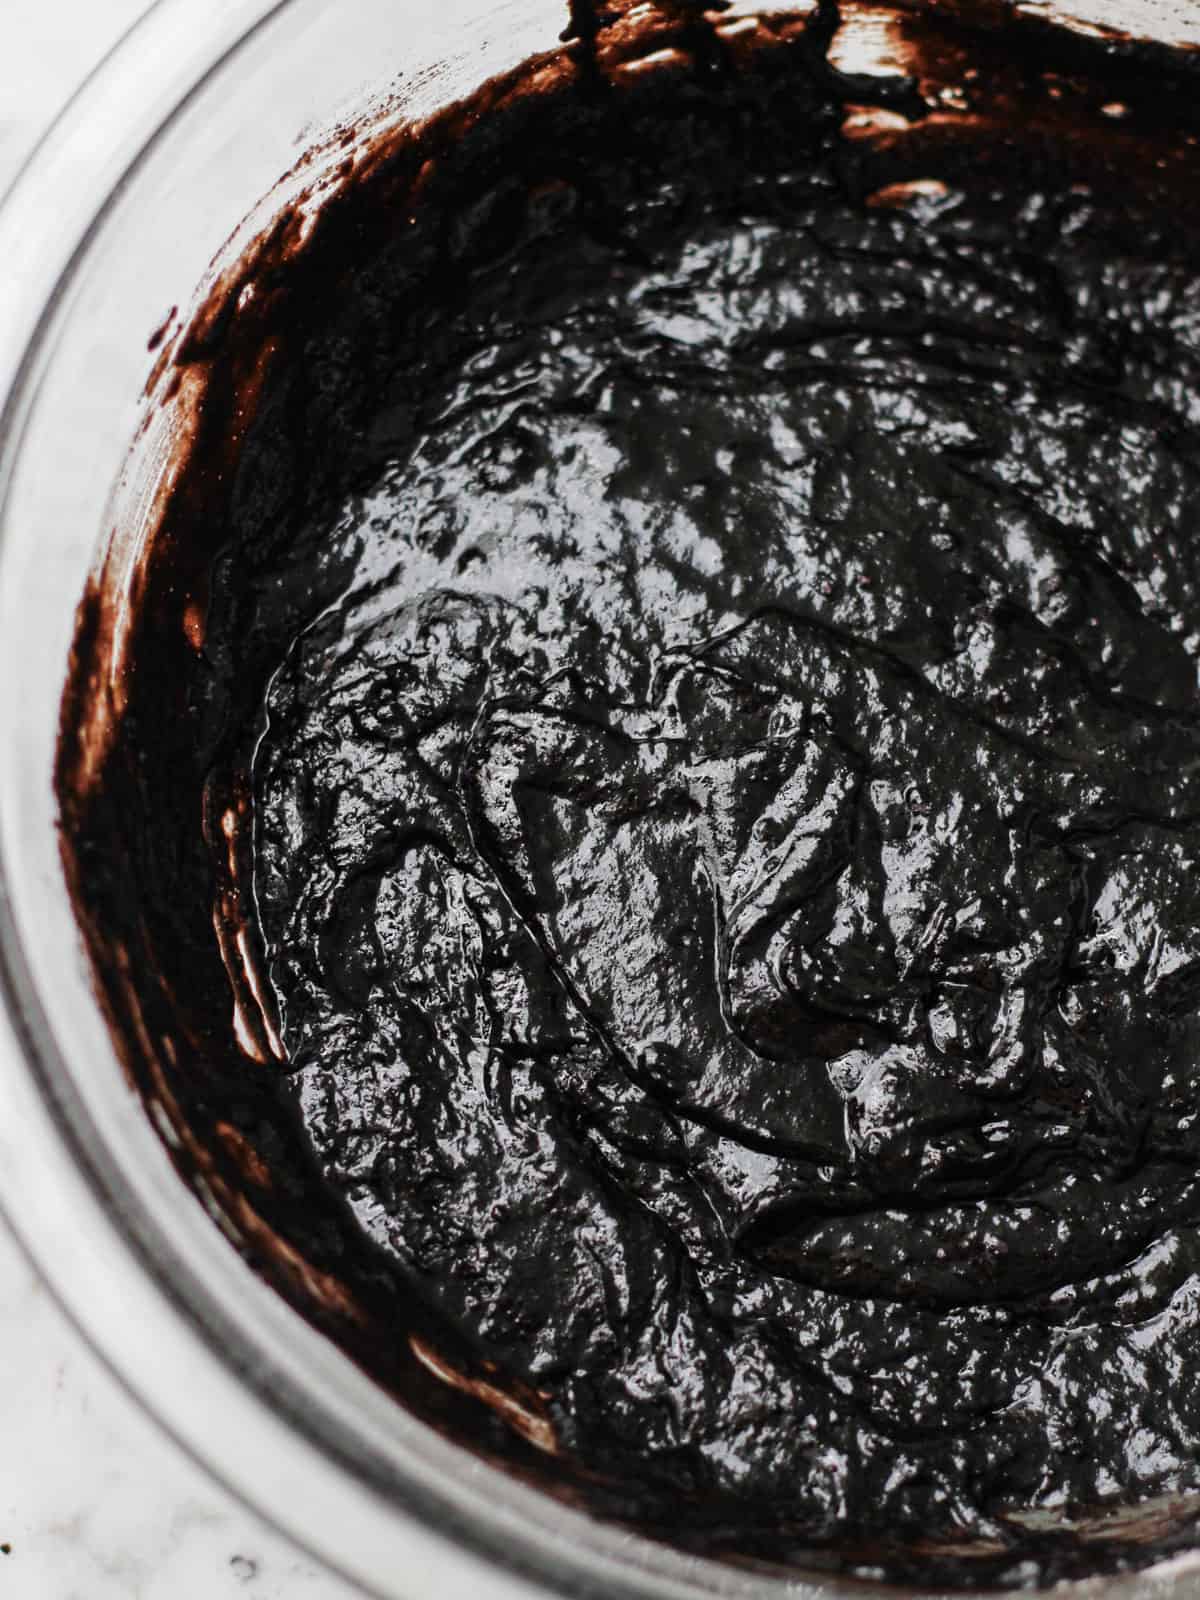
Step 4: Pour your hot water into the bowl of dry ingredients (flour mixture) so your cocoa powder can bloom. Mix until fully combined. Then pour bowl of other ingredients to this one and mix again until all ingredients are fully incorporated.
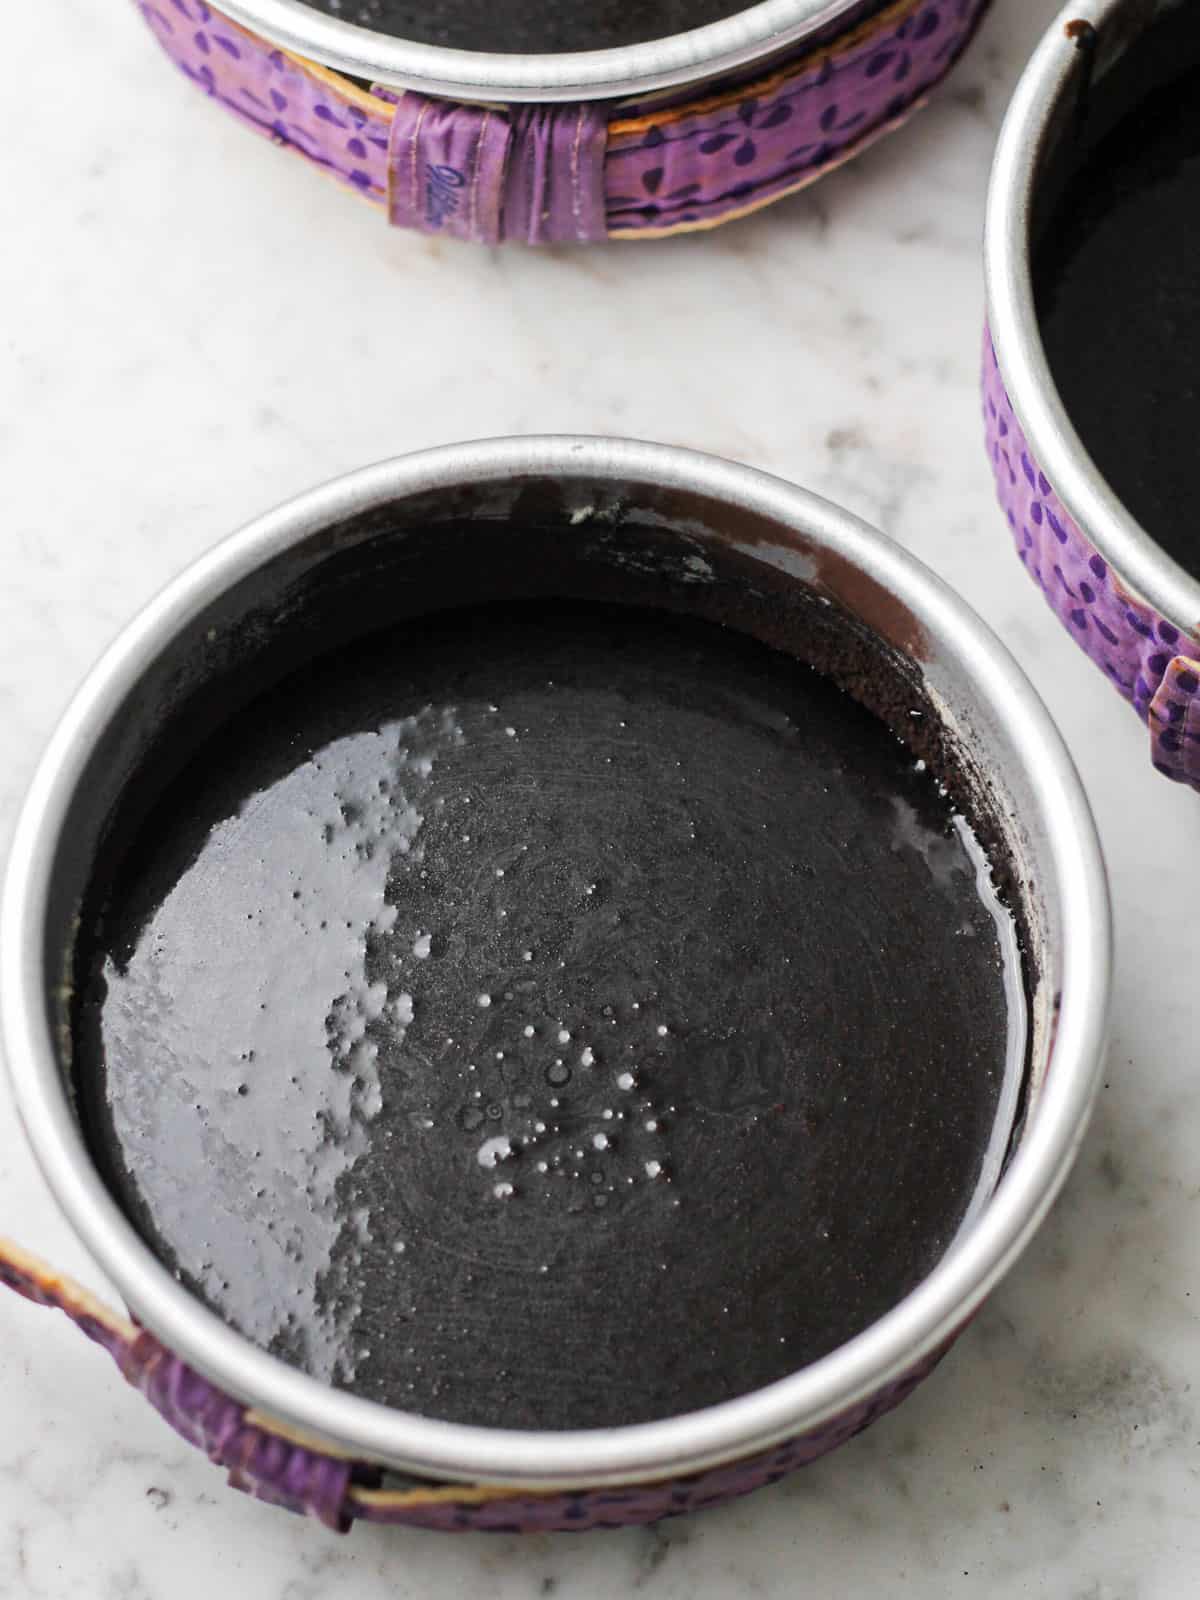
Step 5: Evenly divide and pour batter into your prepared cake pans. Bake for 35-40 minutes or until the center of the cake bounces back at the touch of your finger.
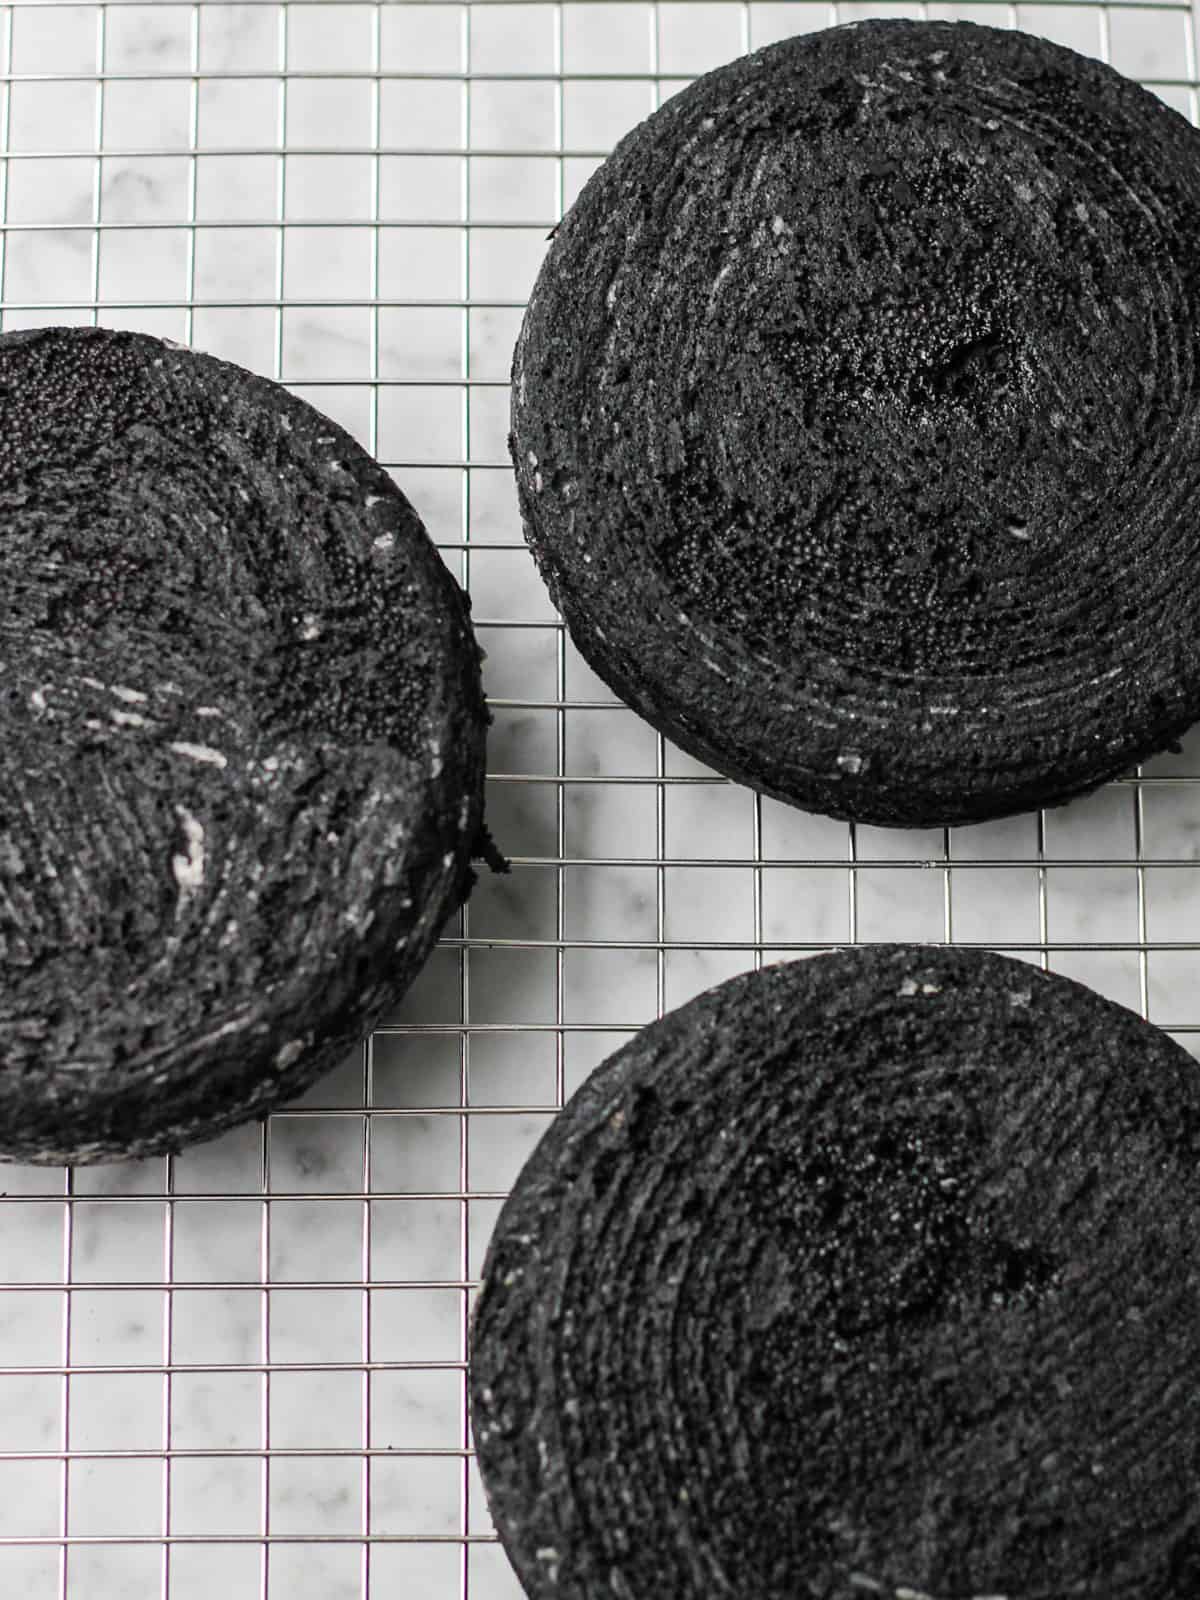
Step 6: For best results, let the cake layers cool in pans for about 10 minutes before transferring to wire racks to cool completely before frosting.
Tools Needed for Making this Cake Design
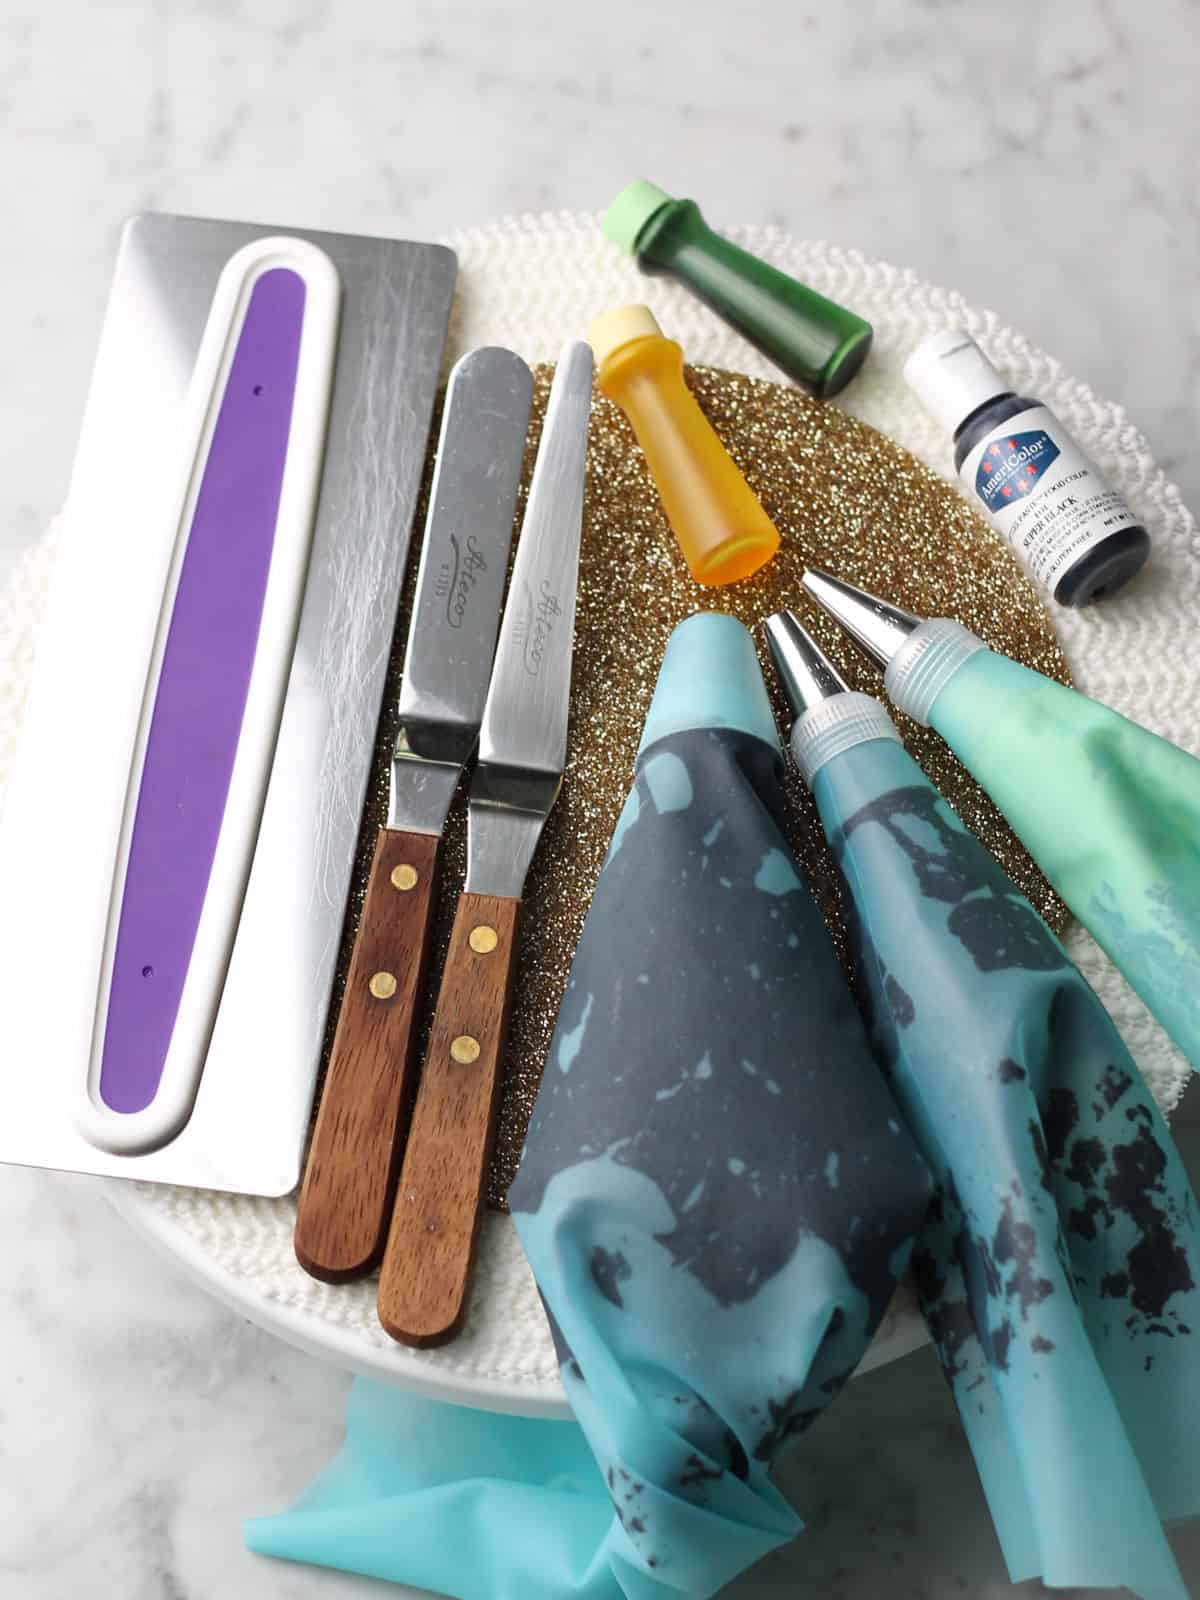
- Four piping bags and at least three open circle piping tips.
- A large shag cake tip (like tip 234 from Wilton) OR as an alternative, you can use an open star tip for a different texture on your cake
- An offset spatula to spread frosting onto the cake’s top
- Stand and/or hand mixer for making your frosting
- A few smaller bowls for mixing your frosting: One for your black, one for your green (the eyes), and one for the gray nose. I recommend leaving a little while frosting aside so you can add it as you go. It’s nearly impossible to turn black frosting white, so having white on reserve is a good and safe move!
- A cake stand or turntable for decorating While not totally necessary, it really helps to have a flat, steady surface where you can place your cake and rotate it as decorate it and cover its sides and top.
- A cake circle for your cake. This will help you lift and transport it once baked and frosted.
- Wax or parchment paper - You’ll pipe the cat ears onto this paper and freeze it so you can later affix it to your cake.
- Food gels to dye your cat’s fur. I like Wilton food gel, though here I used Americolor's super black food coloring.

Biggest Secret for Creating a True Black Frosting: Time
To save yourself energy of whipping your frosting and melting it until it’s black, I make my frosting on one day and apply to the cake the next.
Letting it rest overnight at room temperature helps give the dark color time to deepen.
Check out my blog post on black buttercream for a deep dive into making this buttercream.
Creating Smooth, Spreadable Frosting
This black buttercream is thick! To ease the decorating process, set aside a half cup of room temperature milk and add a little at a time to loosen the texture before loading your piping bag.
💡 Key Tip for Piping Shag Frosting (The Fur Technique)
The most important thing about piping with a grass tip: You must press your tip against the cake and make sure buttercream has connected with the cake before pulling it away.


It’s an easy and forgiving decorating style to learn. Just be sure you’re pressing the tip against your cake to create this effect.
🐈⬛ How to Stack & Decorate Your Black Cat Cake

Step 1: Make Buttercream:
In a stand mixer with the paddle attachment, beat unsalted butter, powdered sugar, vanilla extract, heavy cream, and salt for 2-3 minutes.
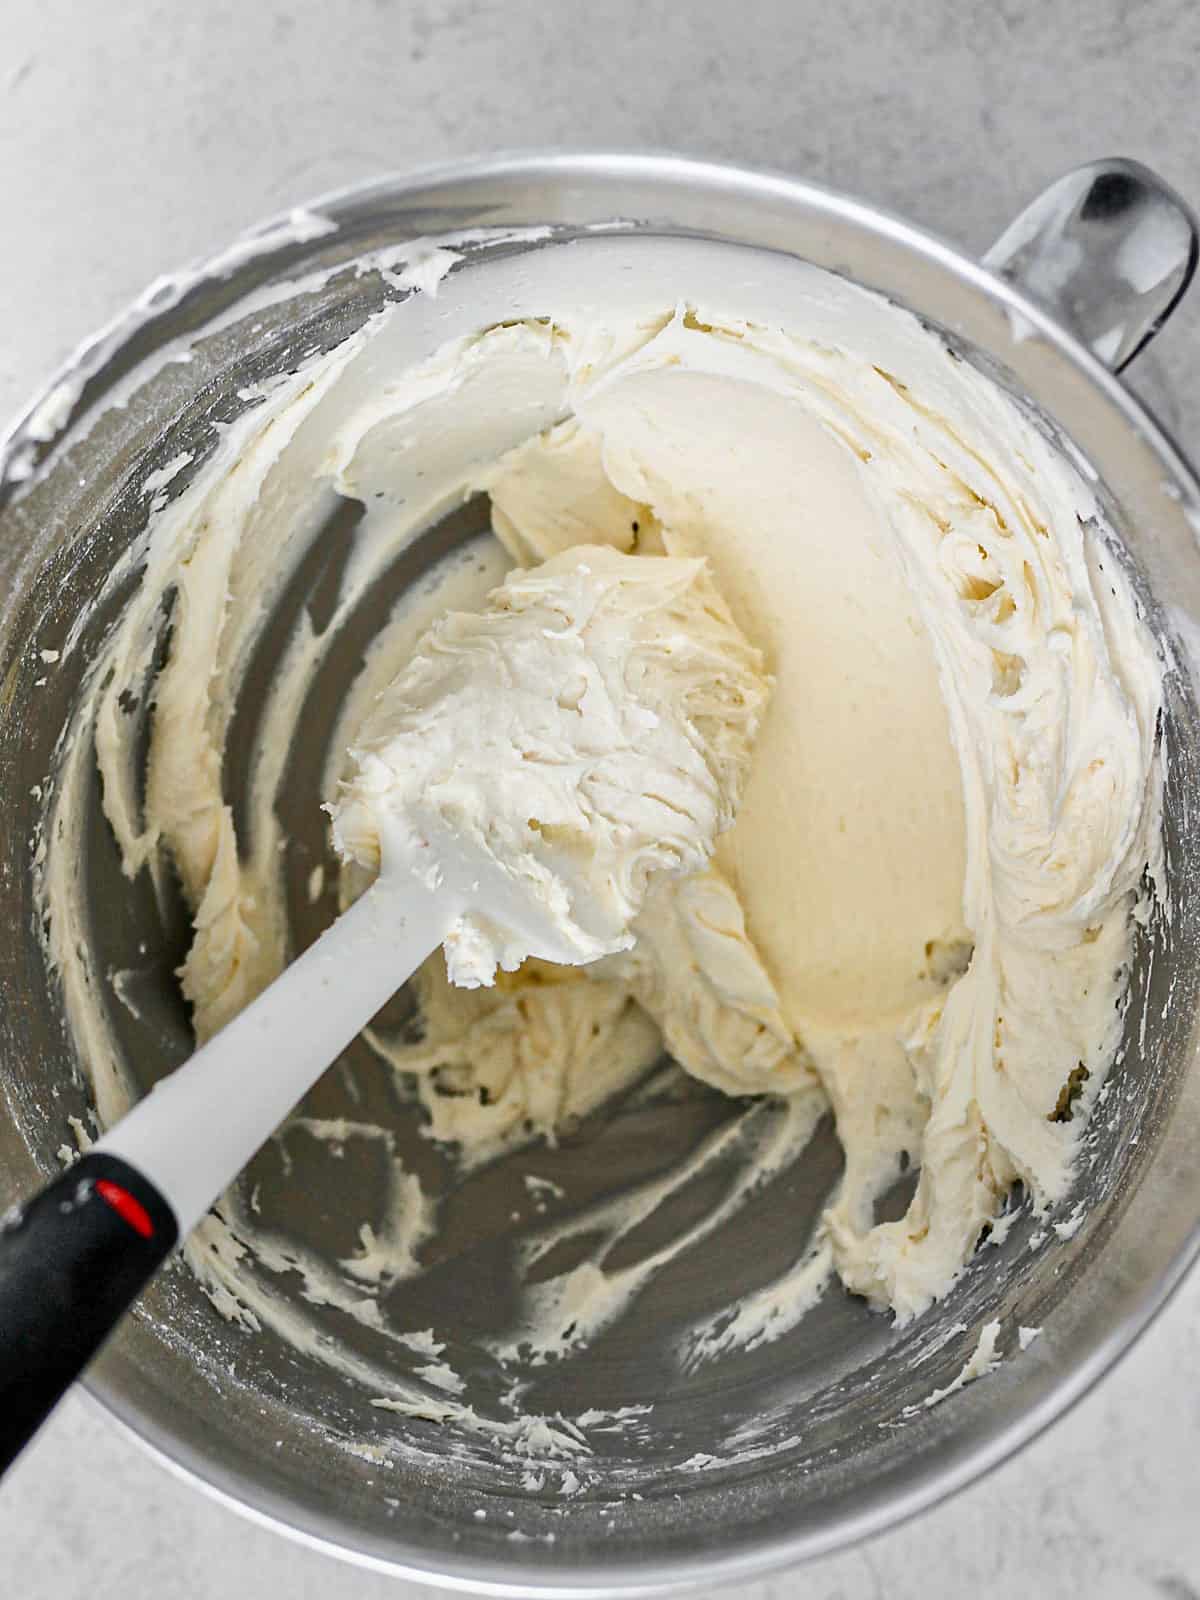
Step 2: Prepare White Frosting:
Set aside ⅓ cup of the white frosting for the eyes and nose.
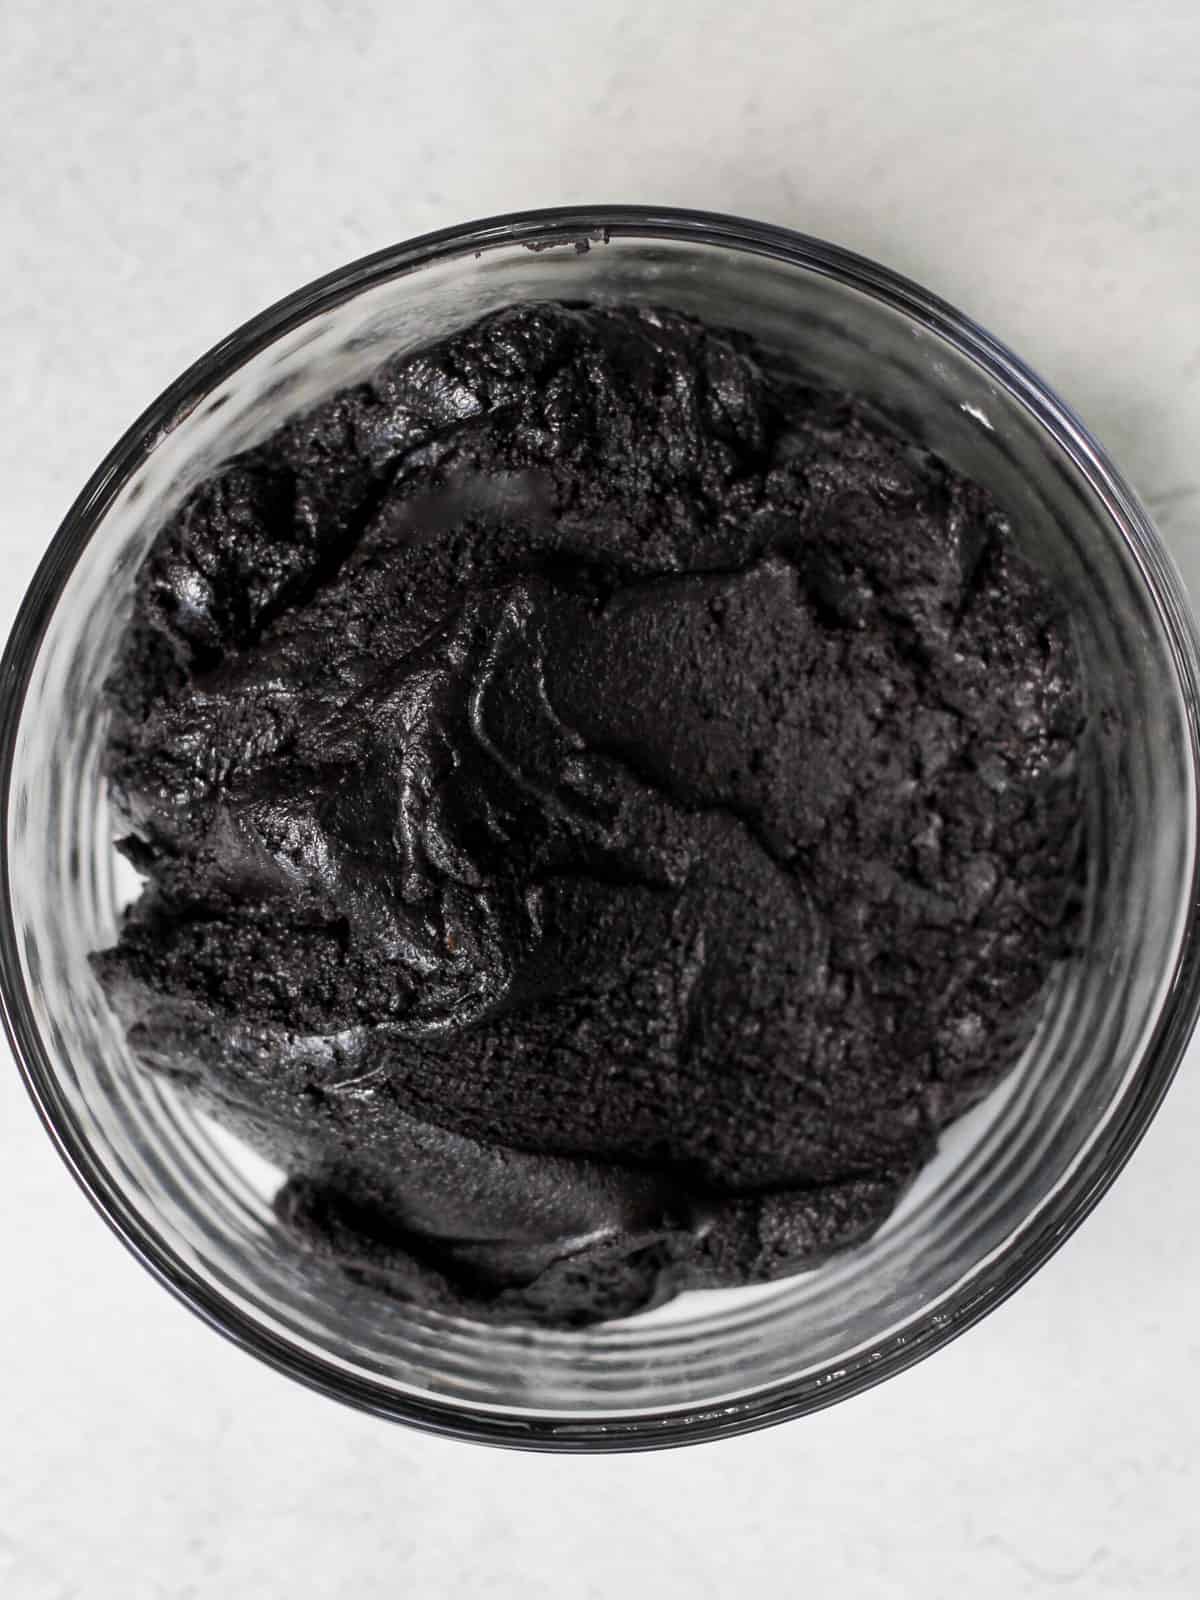
Step 3: Color the Frosting:
Add cocoa powders and black food gel to the remaining frosting, mixing until charcoal gray. To darken, melt small amounts of frosting (about ¼ cup) for 5 seconds, then mix back in.
Rest frosting overnight at room temperature to deepen the color.
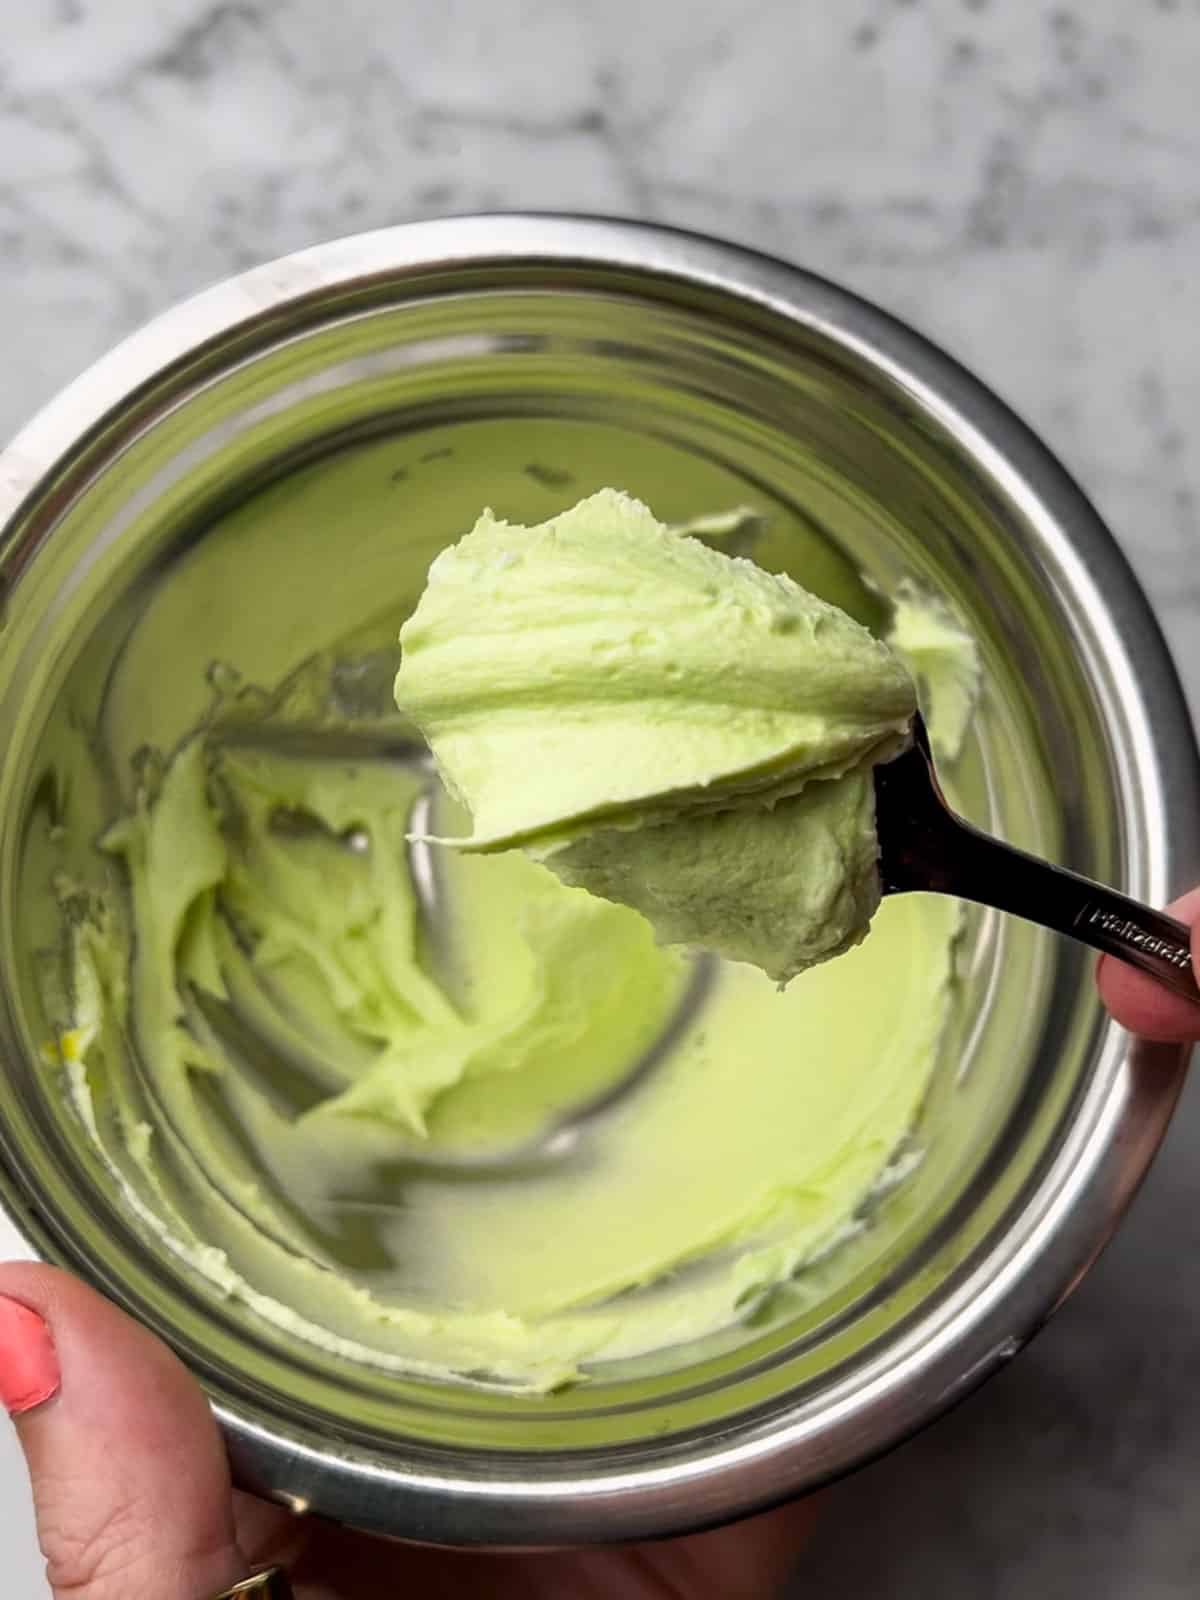
Step 4: Color the Details: Dye a few spoonfuls of white frosting green for eyes.
Mix another small portion of white frosting with black for a gray nose.
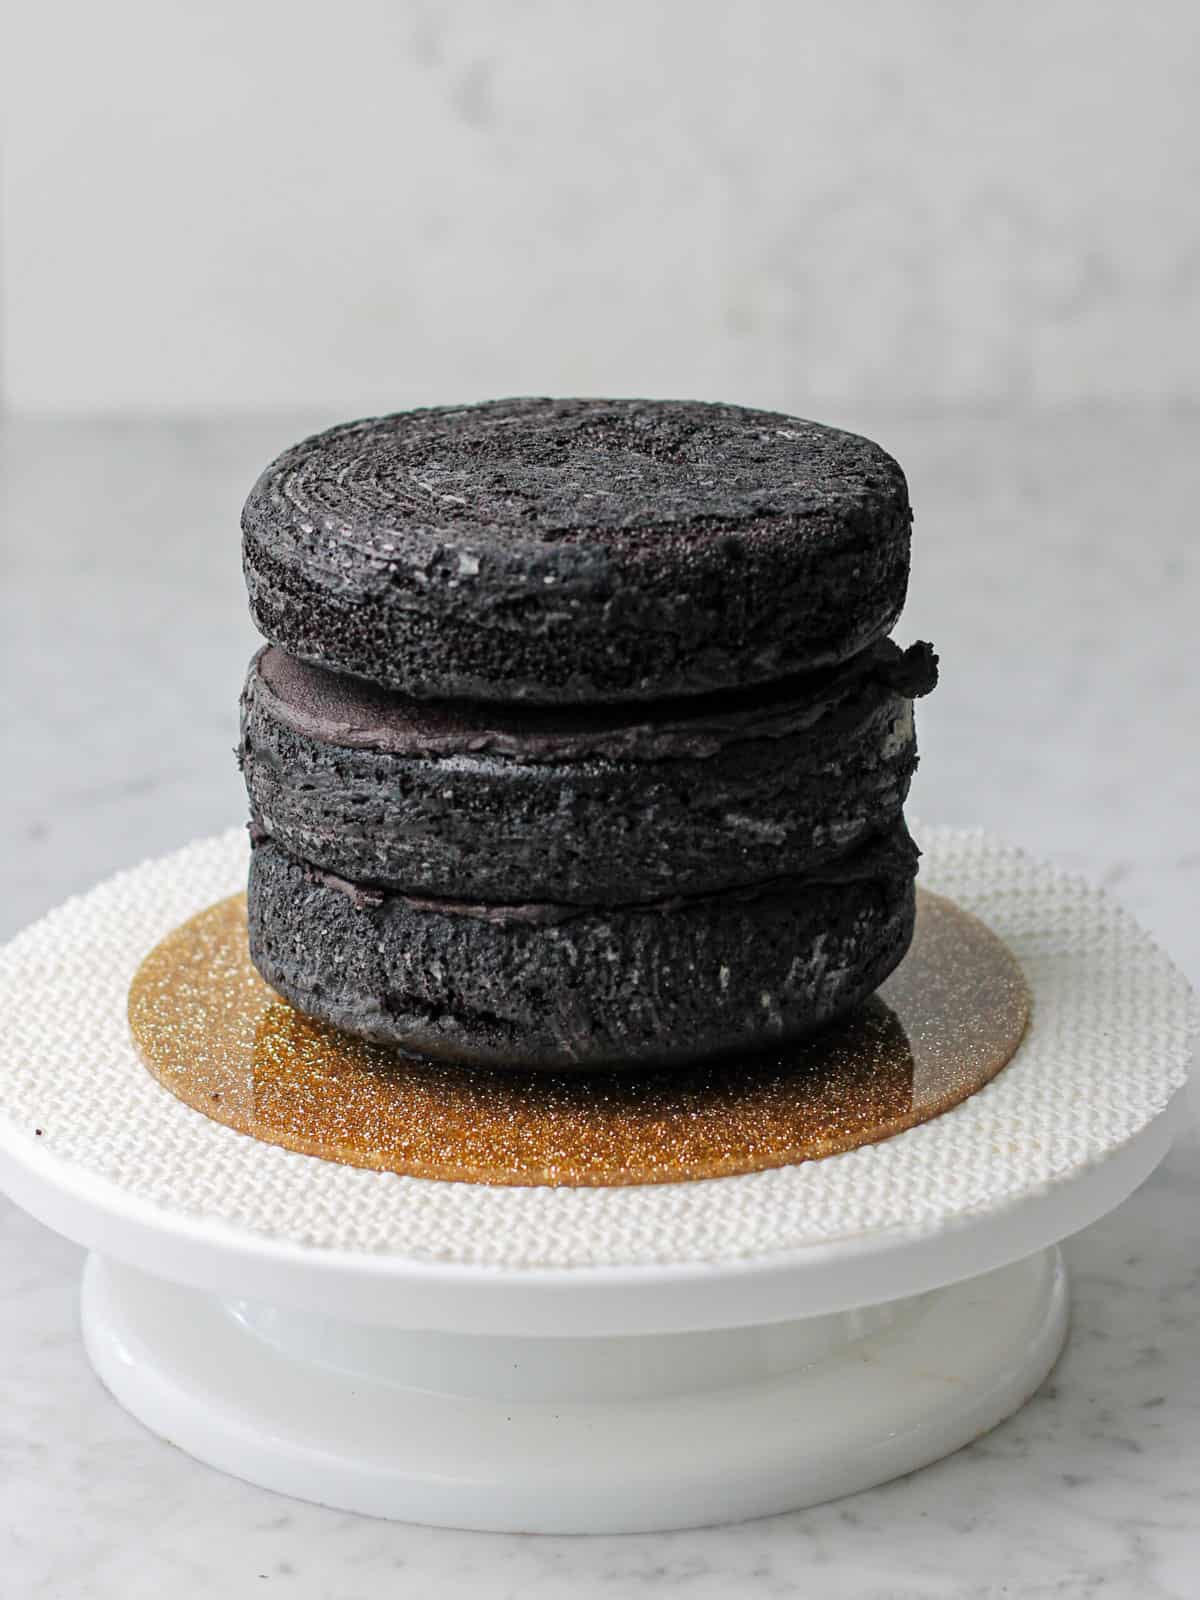
Step 5: Assemble the Cake: Spread black frosting onto a cake circle to secure the first cake layer. Stack and frost each one.
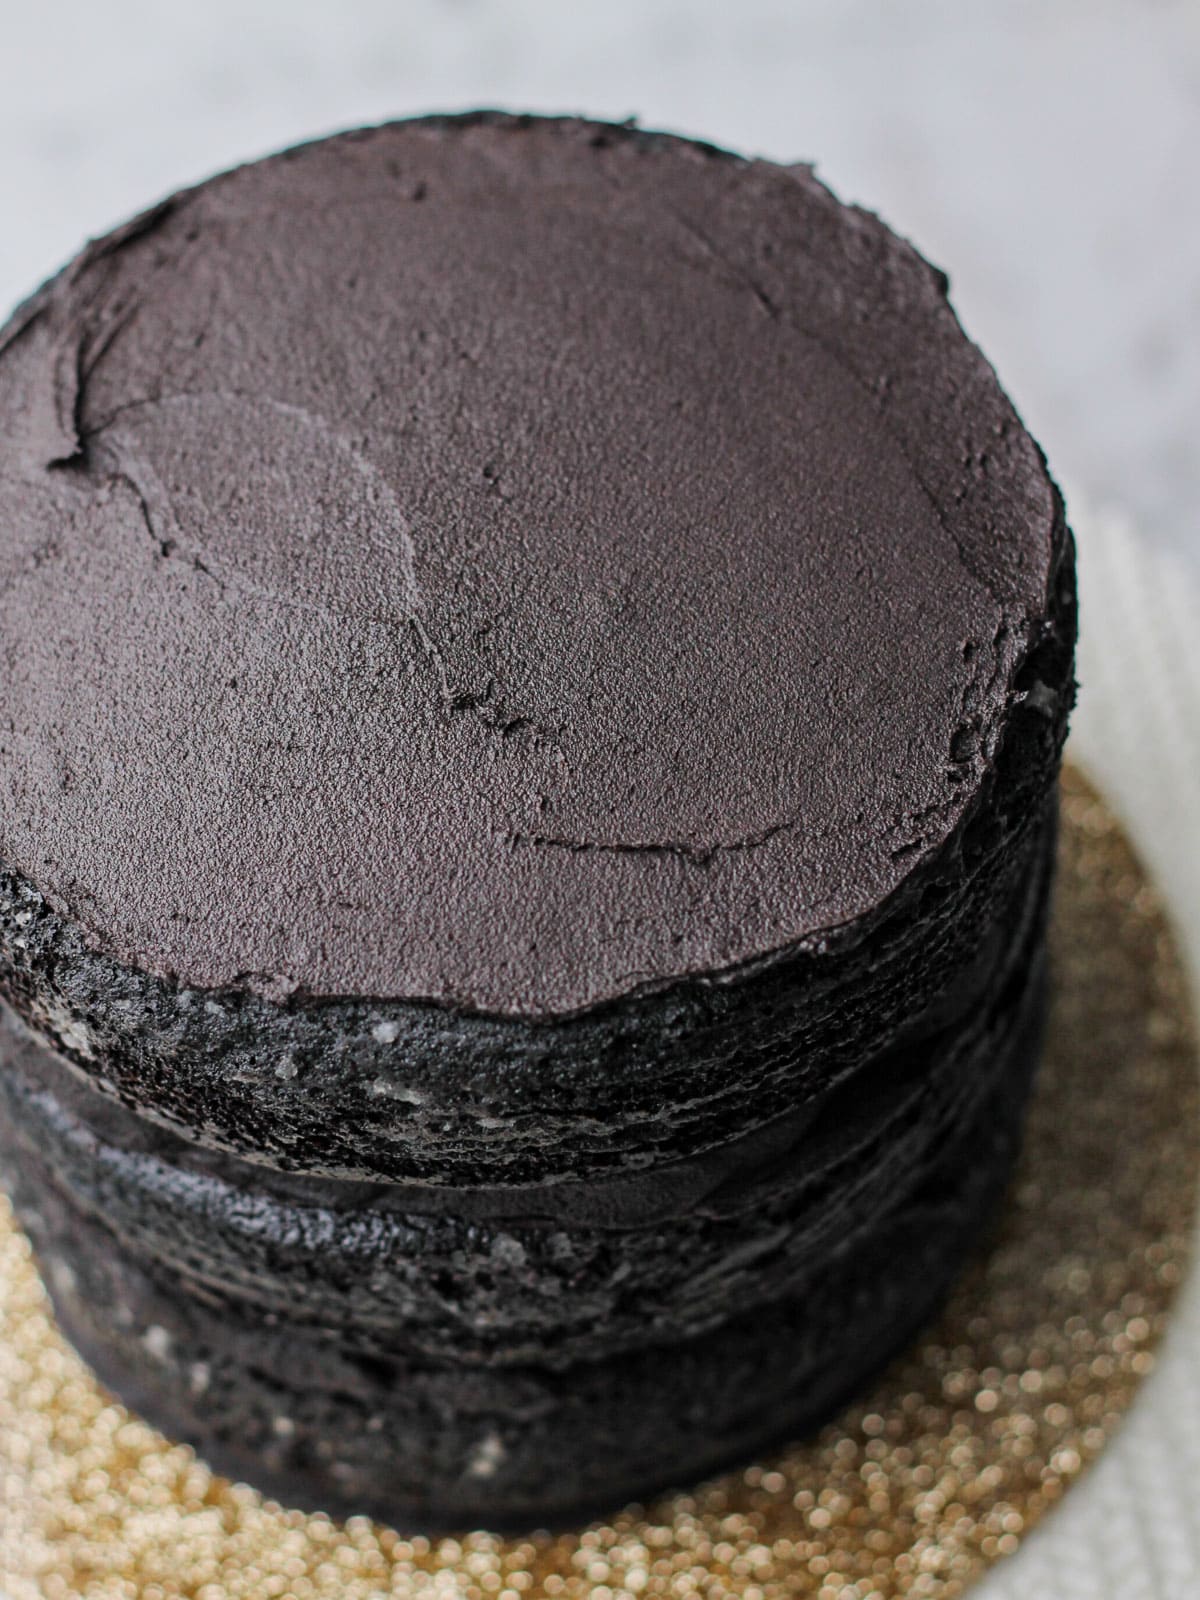
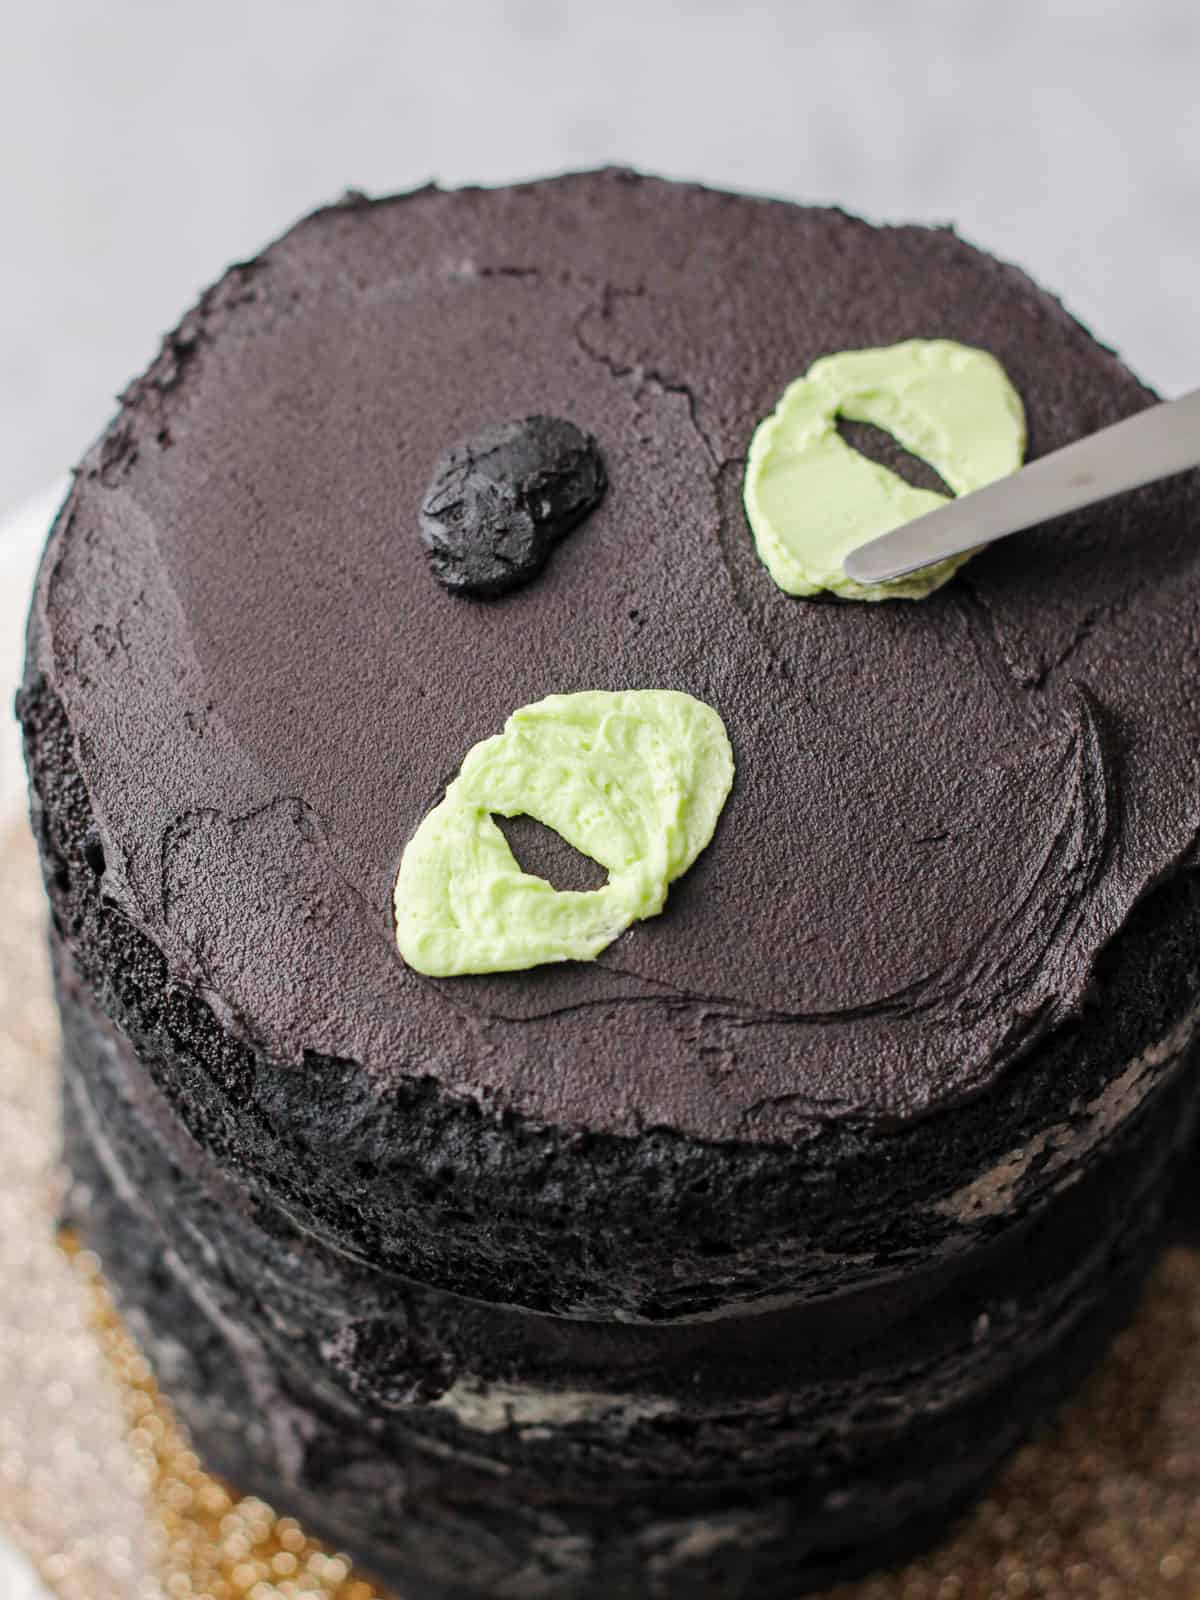
Step 6: Applying Frosting: Spread a thin layer of black buttercream on the top of the cake.
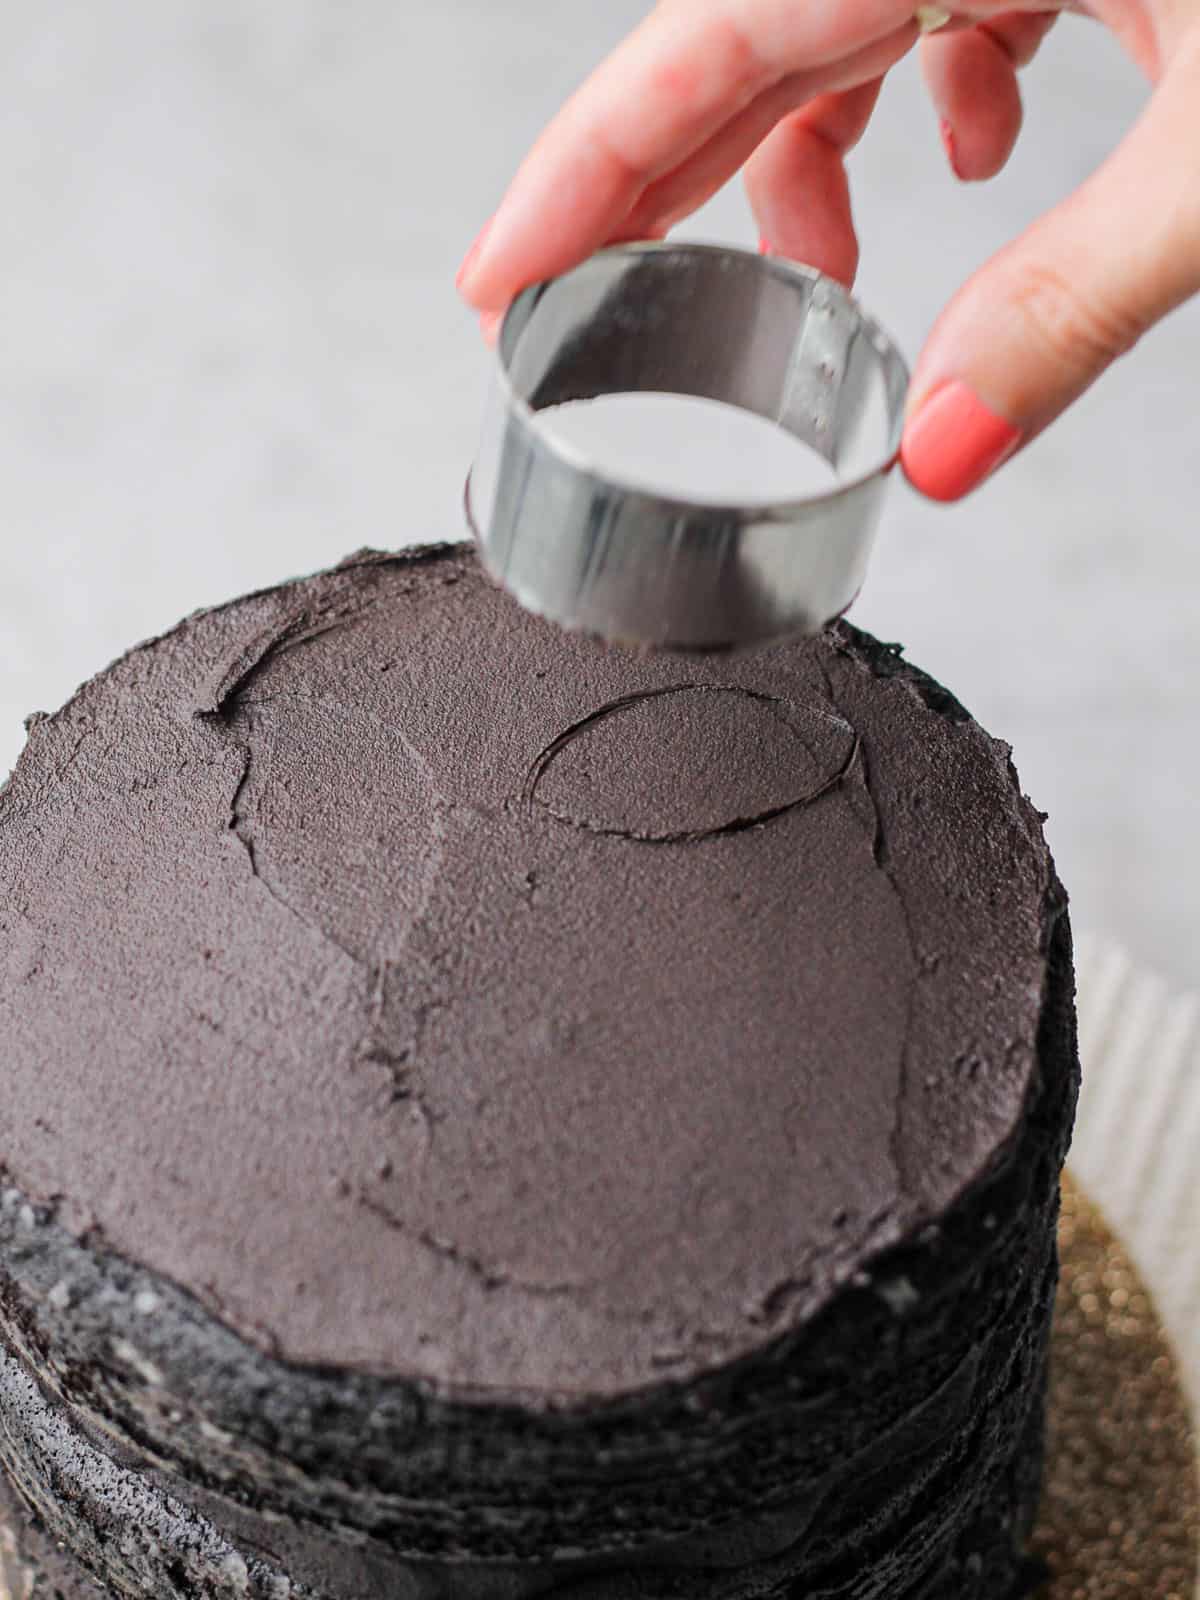
Step 7: Outline the Face: Use toothpicks or small cookie cutters for a guide to fill in the eyes and nose.
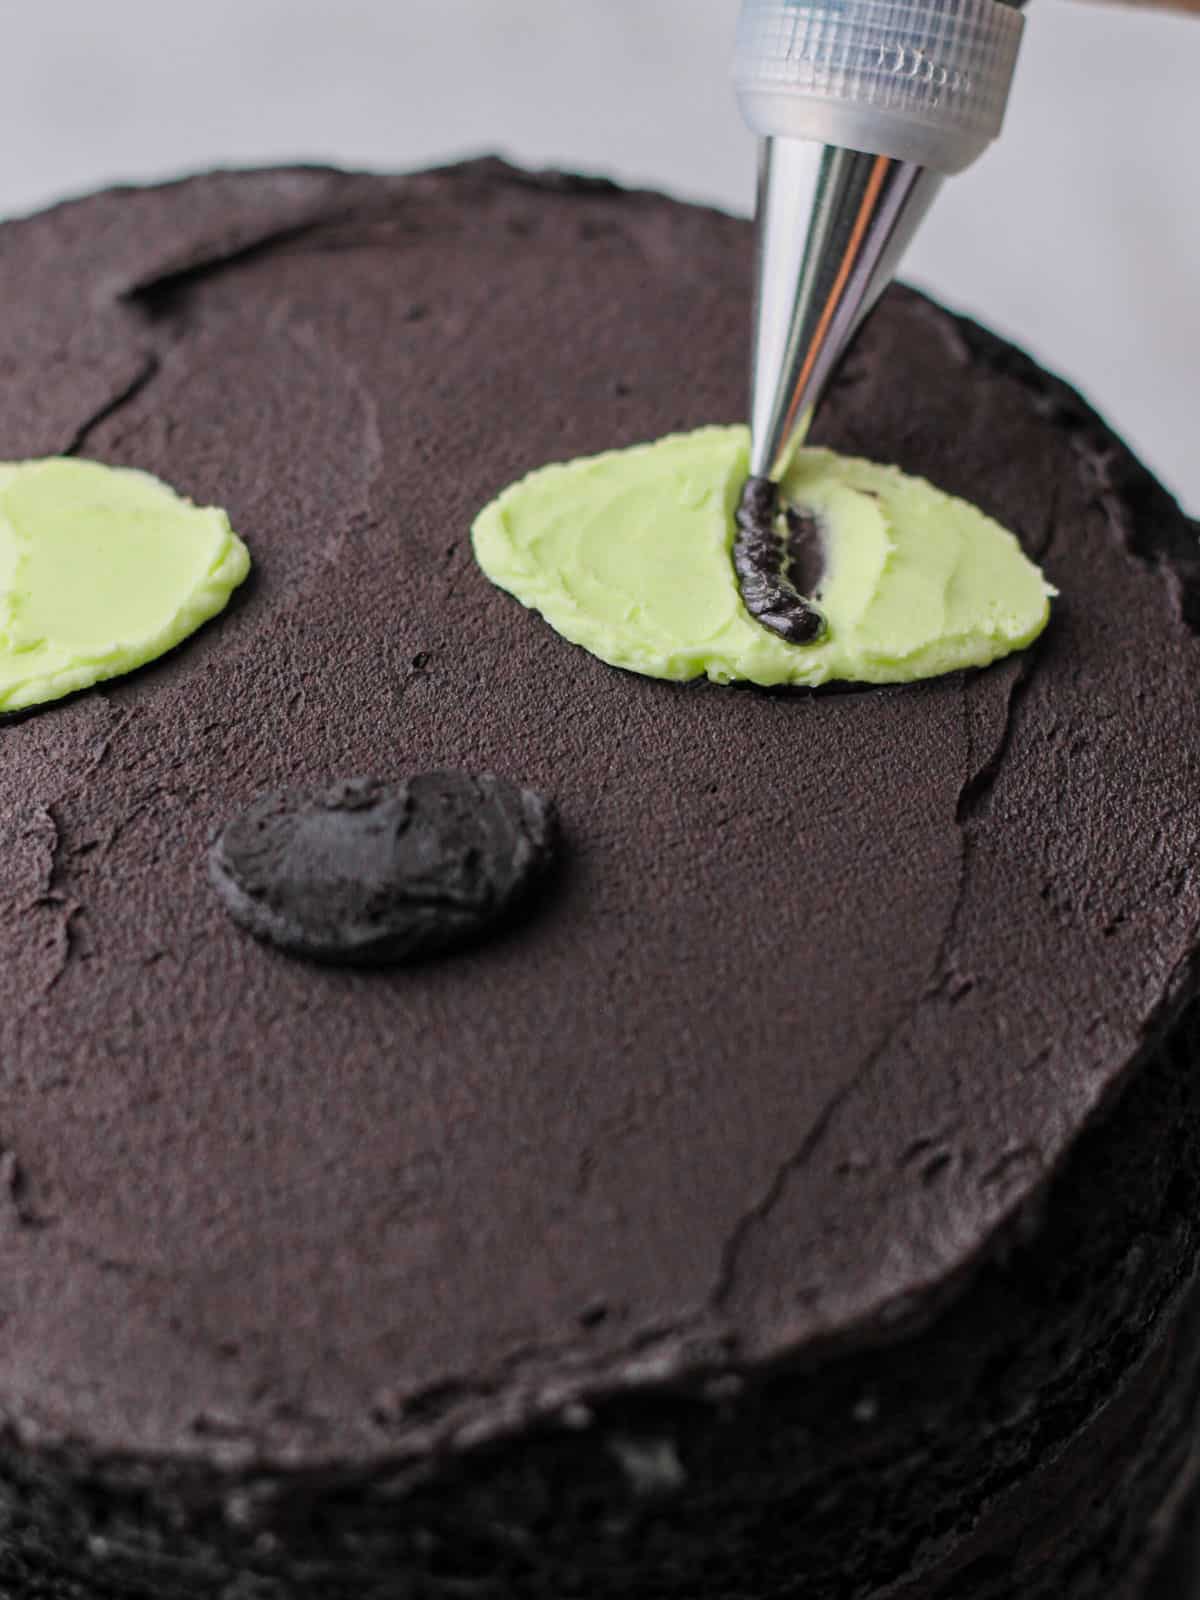
Step 8: Pipe the face: With your round open piping tips, create the green eyes and gray nose onto the cake.
A black nose gets lost in the overall design later so this contrast is good.
Step 9: Clean up the design: As needed, smooth out frosting with your smaller spatula.
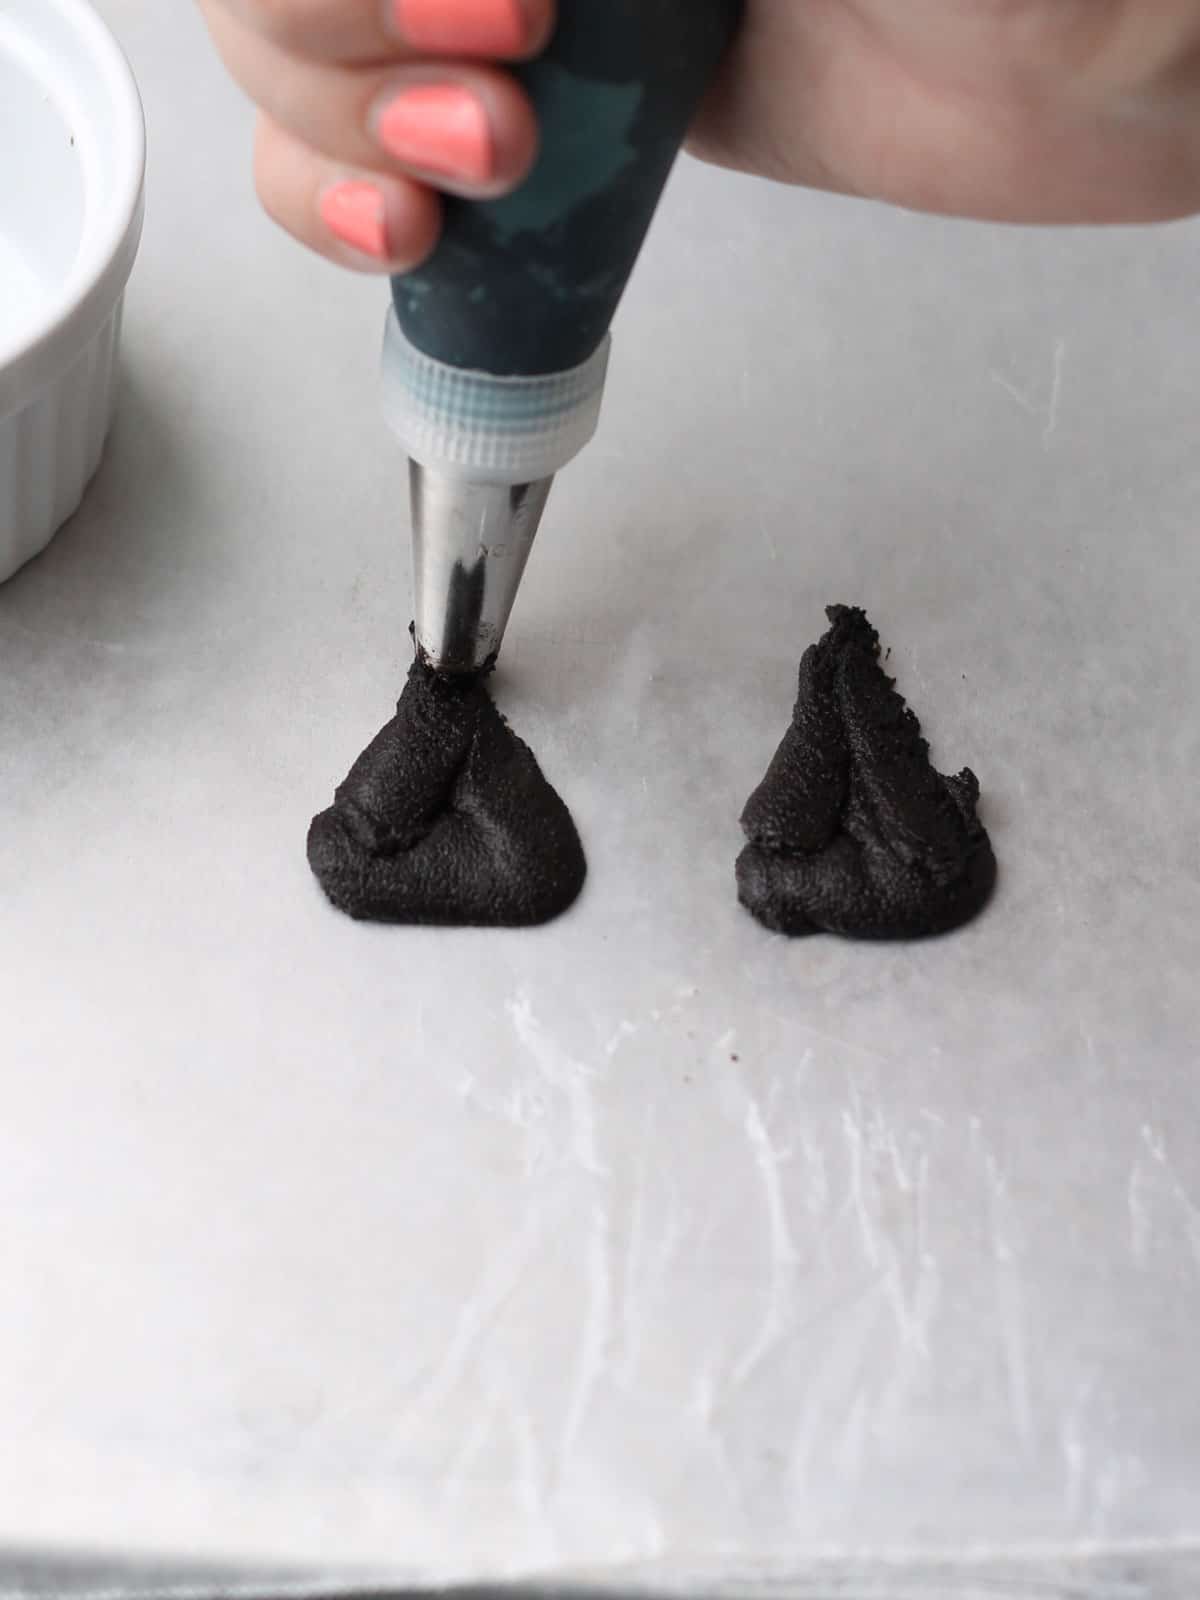
Step 10: Prepare the Ears: Pipe two black buttercream triangles onto wax paper and freeze.

Step 11: Pipe the Fur: With a large grass piping tip, start from the base and work upwards, pressing and pulling away to create fur. Work around the eyes and nose.
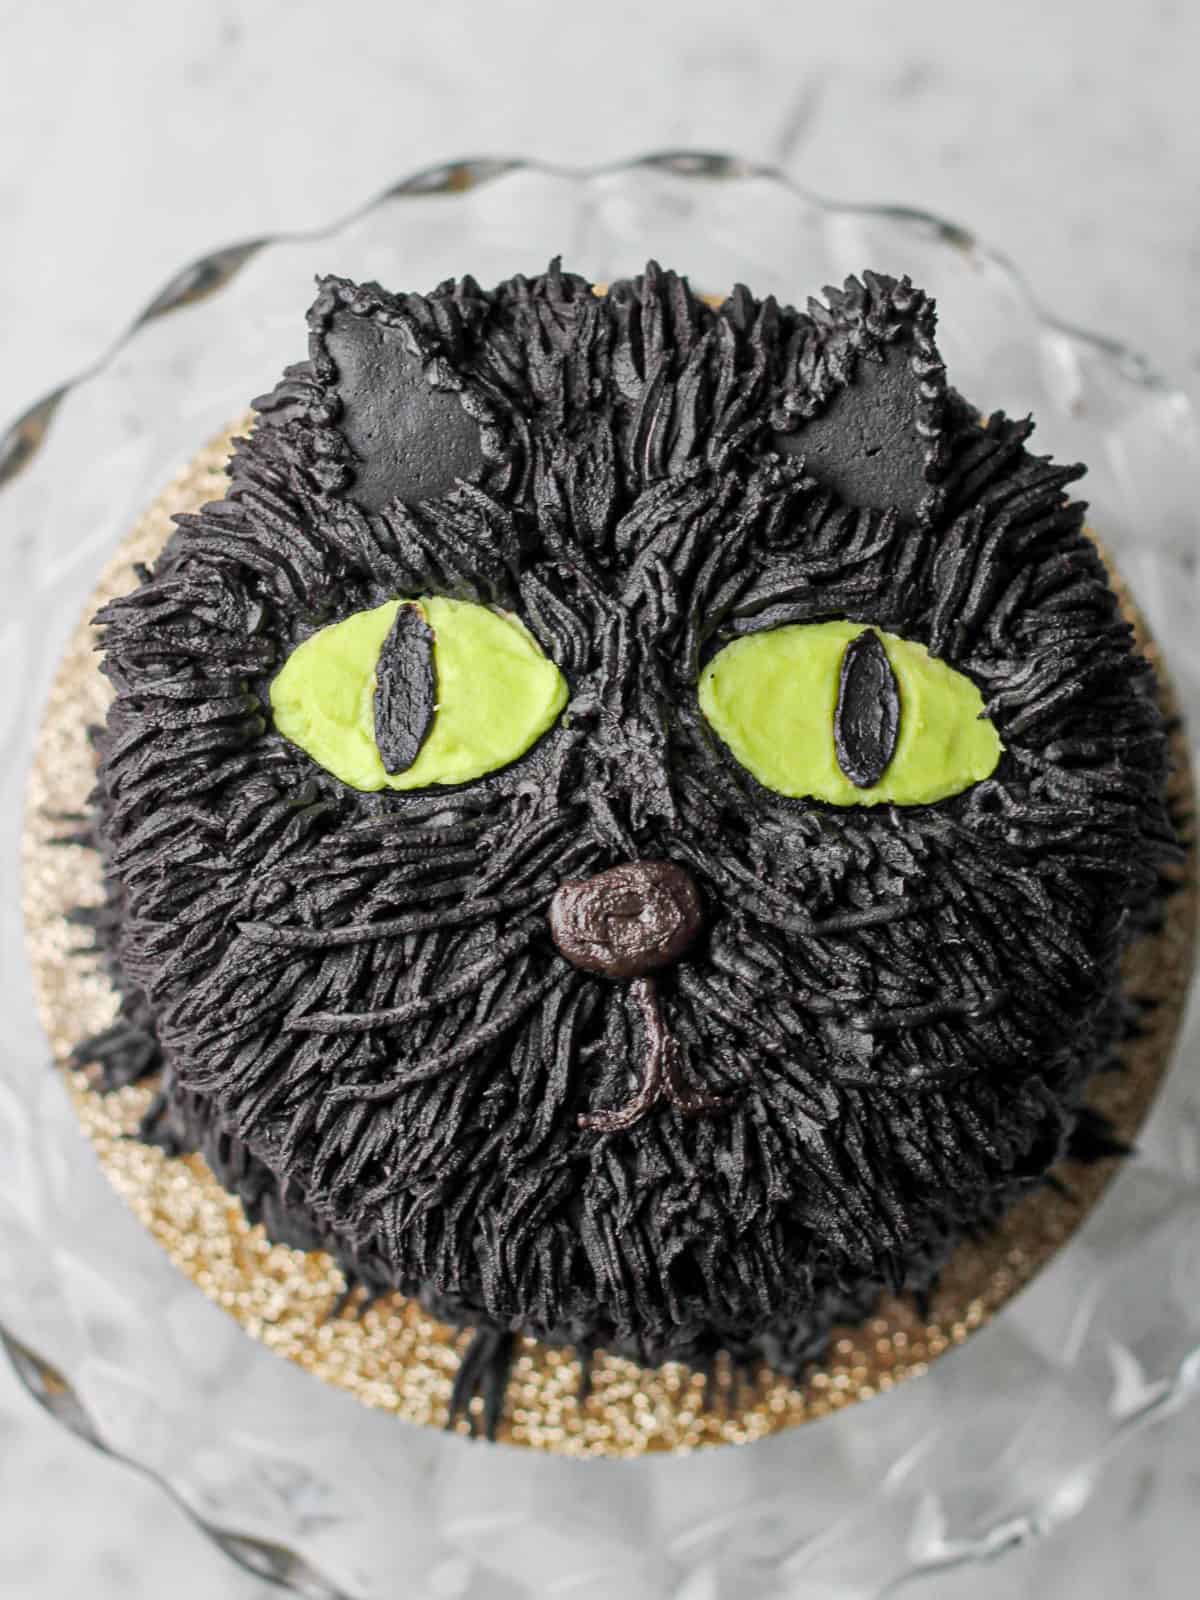
Step 12: Finish the Black Cocoa Cake: Attach the frozen ears, and pipe a gray line for the mouth.
💭 Cake Storage and Serving Instructions
Serving and refrigerating - This cake will remain most fresh if stored in the refrigerator for no more than five days.
If possible, bring out the cake about 30 minutes before serving so that it can reach room temperature. This will make it more moist, giving it the best flavor and texture.
Freezing - This cake will freeze pretty well for 3 months. Store slices in wax or parchment paper in an airtight container.
Tips for Perfecting this Black Cocoa Cake
- Let cake layers cool before assembling cake. If the layers are still warm when you pipe frosting onto them, the black buttercream will melt.
- For a more flavorful dessert, eat cake the next day. The added time allows the flavors to "marinate" together longer.
Subscribe to receive more recipes like this one in your inbox!
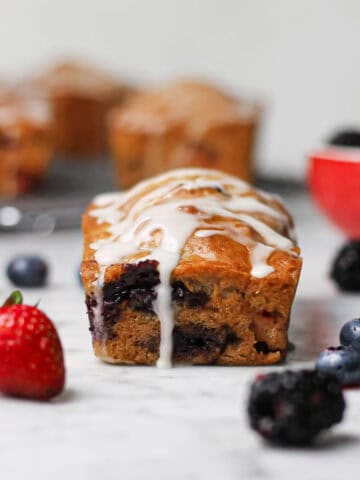
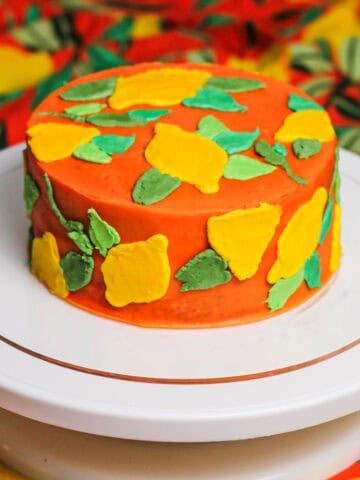
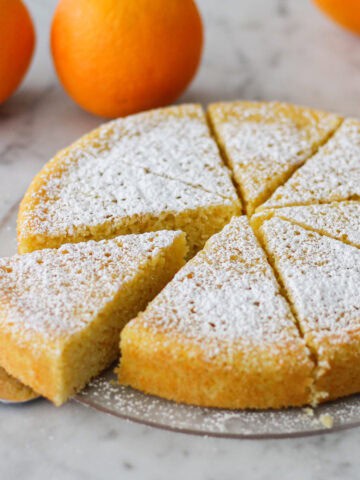
More Related Recipes


Black Cocoa Cake with a Spooky Cat Design
- Total Time: 2 hours
- Yield: 12 slices 1x
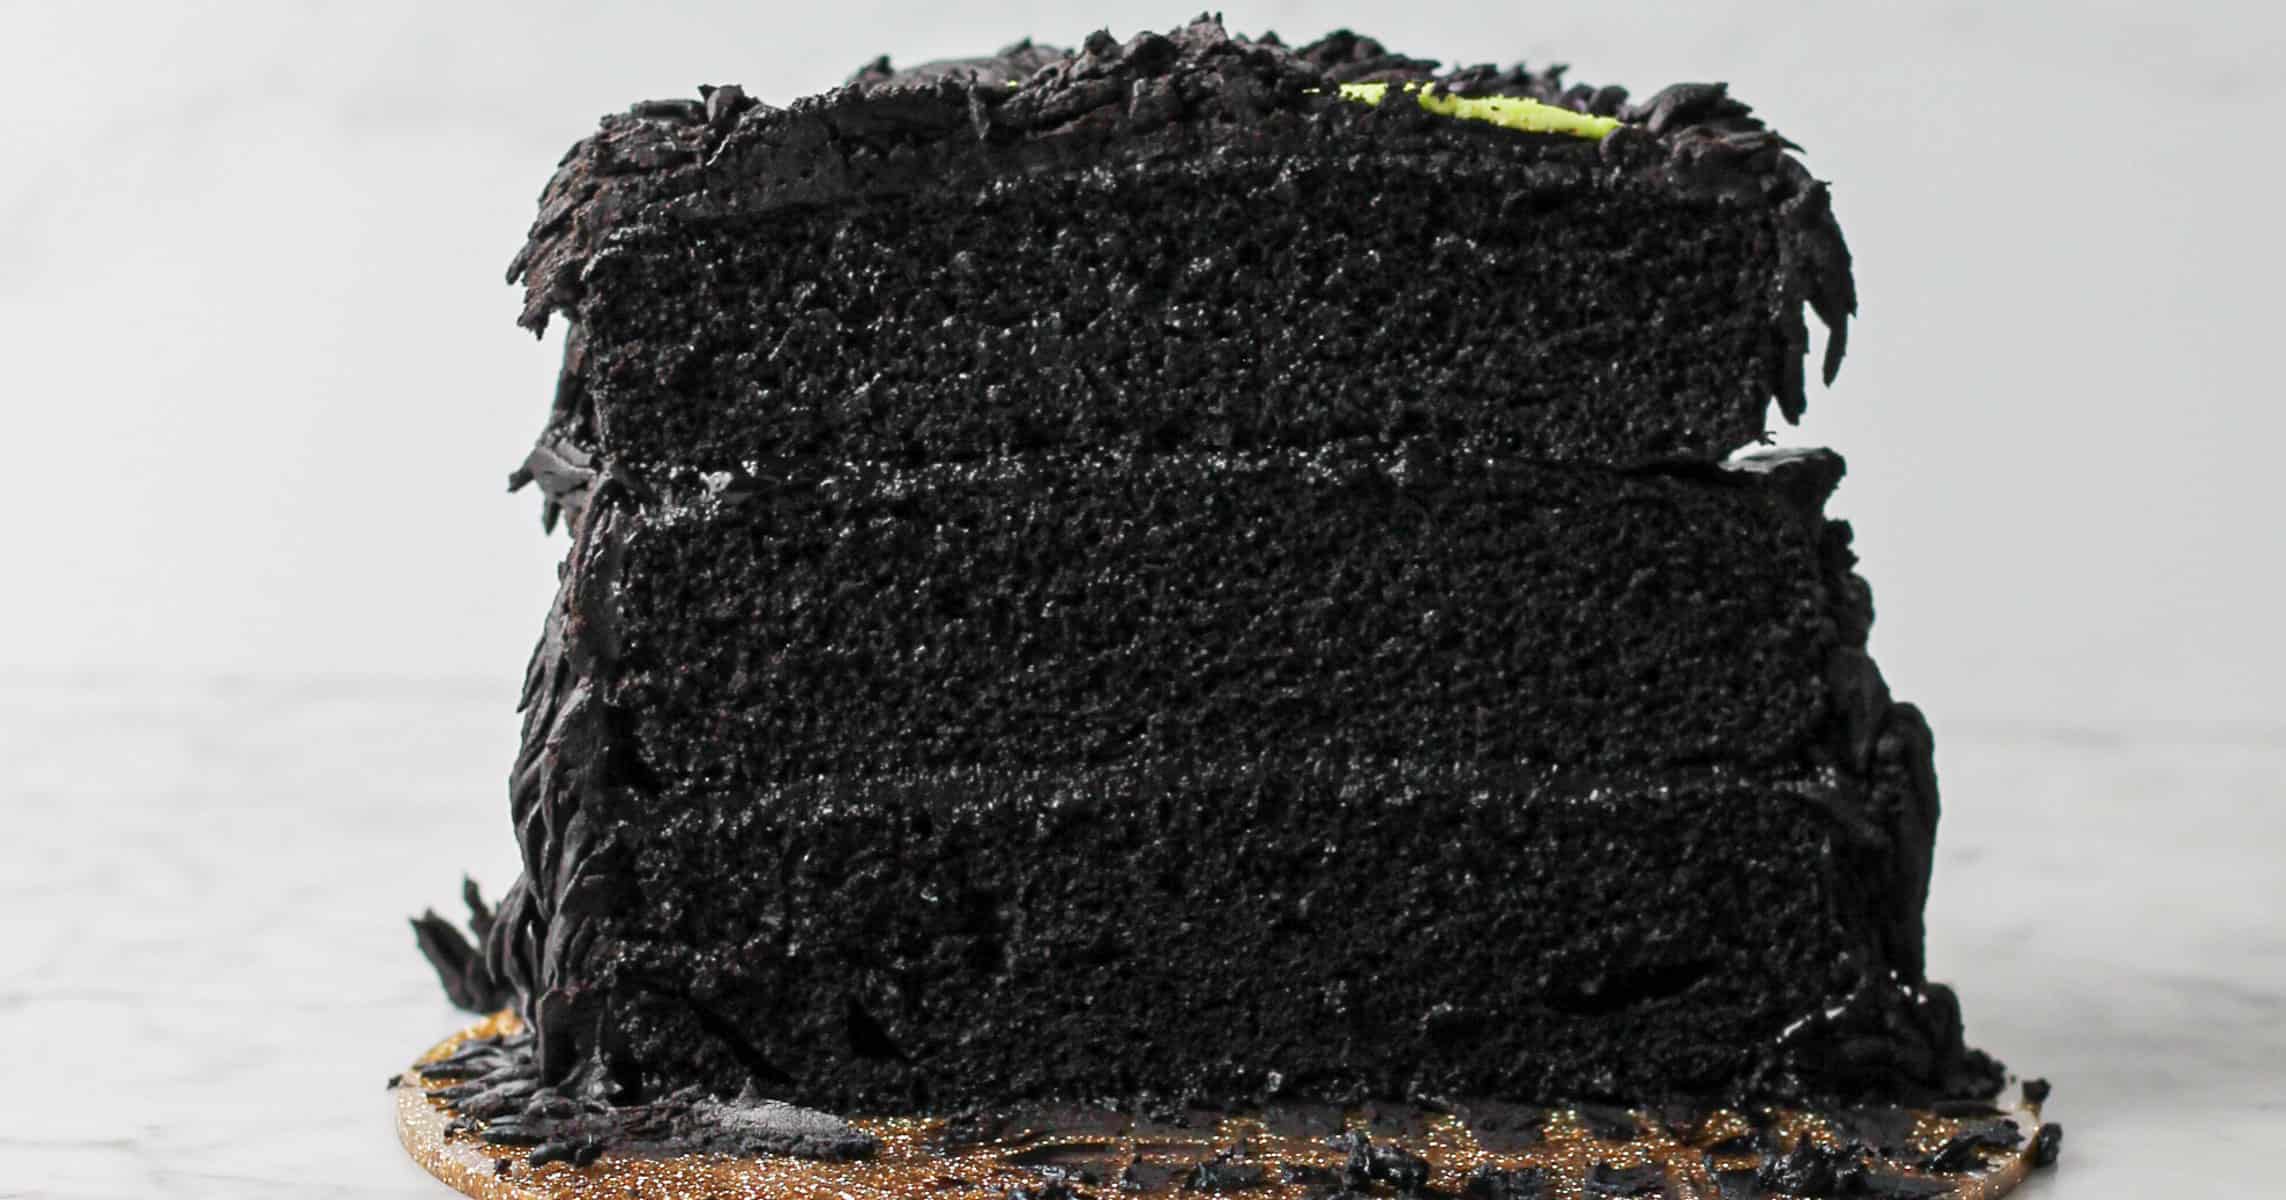
Description
This black cocoa cake is a moist layer cake with deep chocolate flavor. Decorated with black frosting and a spooky cat, it's so fun to make!
Ingredients
Black Cocoa Cake Ingredients
- 1 ⅔ cup (200 grams) all-purpose flour, spooned and leveled
- ½ cup (50 grams) black cocoa powder
- 1 cup (215 grams) granulated sugar
- 2 tsp espresso powder
- 1 tsp baking powder
- 1 tsp baking soda
- 1 tsp kosher salt
- ⅔ cup (145 grams) canola oil
- 3 full eggs at room temperature
- ¼ cup (45 grams) firmly packed light brown sugar
- ⅓ cup (80 grams) buttermilk, room temperature
- 4 T (55 grams) full fat greek yogurt or sour cream
- 1 T vanilla extract
- ⅔ cup (150 grams) water, very hot (nearly boiling)
Black Buttercream Ingredients
- 2 and ½ sticks (283 grams) unsalted butter, room temperature
- 1 cup (110 grams) black cocoa powder
- ⅔ cup (60 grams) natural cocoa powder
- 5 cups (650 grams) powdered sugar
- ⅓ cup (75 grams) heavy cream, room temperature
- 1 T vanilla extract
- 3-4 drops of black food gel
- Pinch of salt (more or less to taste)
- Optional but helpful: A few tablespoons of milk to help thin the frosting
Instructions
Cake Baking Instructions
- Preheat your oven to 350°F. Butter and coat three 6” round cake pans with cocoa powder or coat them with baking release spray. I use damp cake strips on my pans for more evenly baked layers.
- To a large bowl, add and whisk together all-purpose flour, brown and granulated sugar, black cocoa powder, baking powder, baking soda, espresso powder, and kosher salt. Set aside.
- In a large mixing bowl, whisk together your vanilla extract, eggs, greek yogurt or sour cream, buttermilk, and oil.
- Pour your hot water into the bowl of dry ingredients so your cocoa powder can bloom. Mix until fully combined, and then pour bowl of other ingredients to this one and mix again until all ingredients are fully incorporated.
- Pour and evenly spread the batter into your prepared cake pans. Bake for 35 minutes or until layers bounce back at the touch of your finger.
- Let cakes cool in pans for about 10 minutes before transferring to a wire rack to cool completely before frosting.
Frosting and Decorating Instructions
- Make the Buttercream: Beat butter, powdered sugar, vanilla, heavy cream, and salt in a stand mixer until smooth. Set aside ⅓ cup of white frosting.
- Color Frosting: Add cocoa powder and black gel food coloring to the remaining frosting. To darken, melt a small amount of frosting and mix it back in. Let rest overnight.
- Prepare Details: Color a portion of white frosting green for the eyes and mix some with black to make gray for the nose.
- Assemble the Cake: Spread black buttercream between each cake layer and stack them.
- Outline the Face: Use toothpicks or cutters to mark the eyes and nose.
- Pipe the Face: Use round piping tips to add the green eyes and gray nose.
- Make the Ears: Pipe black triangles onto wax paper and freeze them.
- Pipe the Fur: Use a grass tip to pipe fur, working from the base up and around the eyes and nose.
- Final Touches: Attach the frozen ears and pipe a gray line for the mouth, if desired.
Notes
- This cake yields approximately 10-12 slices.
- The tutorial for this cat cake is for a three-layer, 6" cake.
- Please keep in mind that the actual nutritional content may vary based on specific ingredients and preparation methods.
- Prep Time: 20 minutes
- Decorating Time: 1 hour
- Cook Time: 40 minutes
- Category: Dessert
- Cuisine: American
Nutrition
- Serving Size: 1 slice
- Calories: 620 kcal
- Sugar: ~55 g
- Sodium: ~400 mg
- Fat: ~35 g
- Saturated Fat: ~15 g
- Unsaturated Fat: 17 g
- Trans Fat: 0 g
- Carbohydrates: ~75 g
- Fiber: ~3 g
- Protein: ~6 g
- Cholesterol: ~115 mg

Leslie
This cake is ADORABLE! I'm sure it tastes fantastic, but it could easily get by on its good looks alone. Makes you want to run out to the animal shelter to adopt a black cat! I love learning how cakes and other baked good are made. I really appreciated your clear step-by-step instructions and the information about supplies, equipment, and technique. And I love the nutrition info -- a little cautionary at 785 calories per slice -- but I did not see anything about how many slices the cake yields...which would be useful info! Thanks again for sharing your creativity and passion!
Susan Gravatt
Aww, thank you, Leslie! I'm so glad you like the cake and the instructions! This one reminds me of a few of my favorite neighborhood cats near us. 🙂
Also, thanks for flagging that the recipe did not include the approximation of servings! I've updated that now, and the calorie count is slightly lower as a result. I believe I had previously based this off of 8 slices, but 10 is more accurate as far as how I'd cut and divvy this up.
Always love sharing cakes with you! 💜
Susie C
I have a question, I need to make this a 3 9" layers, would doubling the recipe make enough batter?
Susan Gravatt
Hi Susie! Great question. And yes, doubling the recipe will give you enough for three 9-inch layers. Since the batter will be spread a bit thinner than the original 6-inch layers, start checking your cakes in the oven for doneness a little earlier (look for the cake pulling away from the pan's sides and/or use the toothpick test with a few moist crumbs).
One other thing to note is that your cake will be a little shorter and wider than the one pictured here but just as delicious. 🙂
Happy baking, and feel free to reach out about anything else!
Susie C
Oh, thank you sooo much! I need to make it tomorrow & serve it on Halloween. Your a life saver🤗
Susie C
Sorry to be a pest, I'm thinking of putting a seedless raspberry jam between layers. Do you think the original frosting recipe would be enough to do the 3 layer 9" cake??
Susan Gravatt
Not a pest at all - I love troubleshooting this kind of thing!
The original frosting recipe is probably still fine, but to be on the safer side, I would just go ahead and 1.5 x it. If you have leftover buttercream, it will freeze really well in an airtight container for a few months.
Also yum re: the raspberry jam! That'd be so great here!
Susie C
Once again Than You😊
Susan Gravatt
Of course!
And I meant to add in my earlier comment about the frosting that if you want to still do the cat design, I would actually double the buttercream recipe for the cat! But if you're just making a black cake and/or prefer a minimal amount of frosting, 1.5 the recipe should suffice for covering your larger cake.
Hope that helps, but let me know if you think of anything else!
Susie C
Your so sweet !
Susie C
I made the cake with raspberry filling & some white chocolate skull's. I took it to a Halloween party @ The Elk's Club. I was a total hit. Every time I went to slice someone wanted a pic of it. I received so many compliments; you made me so proud!
Thank you so much for all your help. I couldn't have done it without you.
Is there a way to send you a pic?
Susan Gravatt
This comment totally made my day! Thank you so much for leaving such a thoughtful review and reaching out to brainstorm the recipe together, too. It was fun, and I'm thrilled that everyone enjoyed the cake you made! And I'd love to see a photo! You're welcome to email it to me at susanbringsdessert@gmail.com or send it through a message on Instagram. 🙂