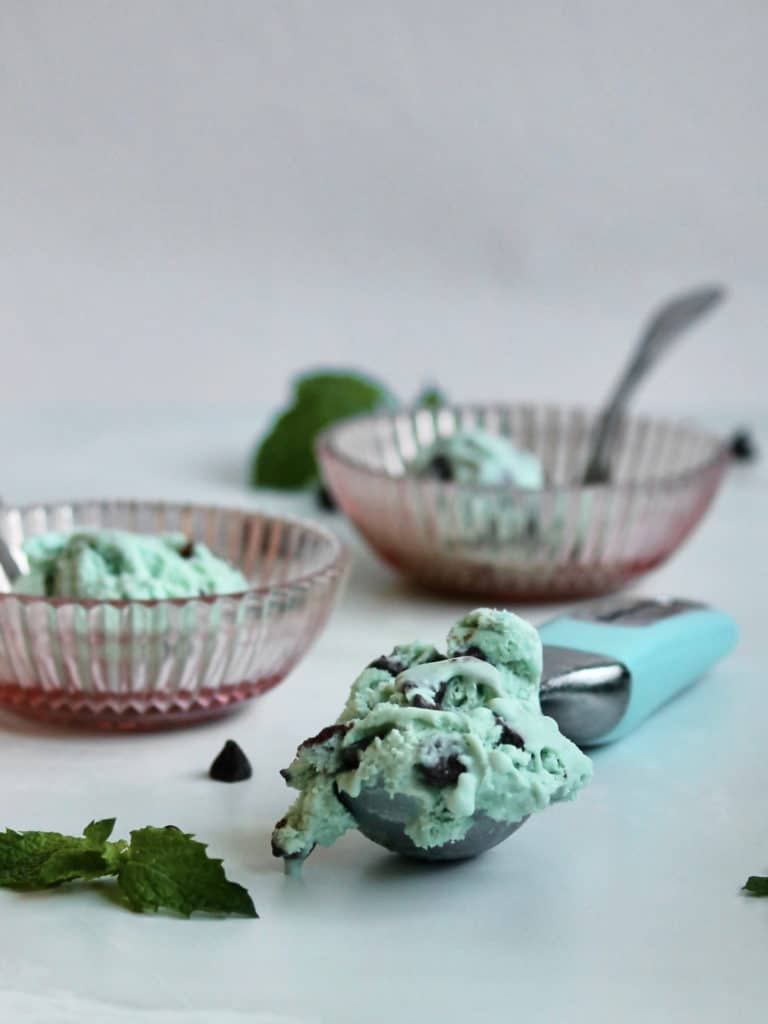
Discovering that I could make ice cream at home without an ice cream maker was mildly life-changing. If you've never made your own ice cream, I highly recommend it. With a few simple ingredients and a stand or hand mixer, you'll be whipping up all kinds of flavors and textures. This creamy no churn mint chocolate ice cream, featuring chocolate chips and ganache, is definitely the kind of ice cream of my dreams!
The Perks of Homemade Ice Cream
My favorite part of this discovery is that the options are infinite. Although I'll walk you through the fudgy, no churn mint chocolate ice cream I whipped up, you could tweak these ingredients to create any flavor your heart desires. You can also add mix-ins, like cookies, chips, pretzels, syrups - you name it - to get textures and tastes unique to your specific liking.
Homemade ice cream is also incredibly easy to make! In the summertime, when I'm most craving ice cream, I don't want to have to spend long hours in the kitchen, especially over a hot stove. There's minimal heat involved with this recipe, and this dessert comes together in minutes. One of your toughest challenges is waiting long enough for the ice cream to thicken in the freezer. Patience is a virtue!

How to Make This Easy No Churn Mint Chocolate Ice Cream

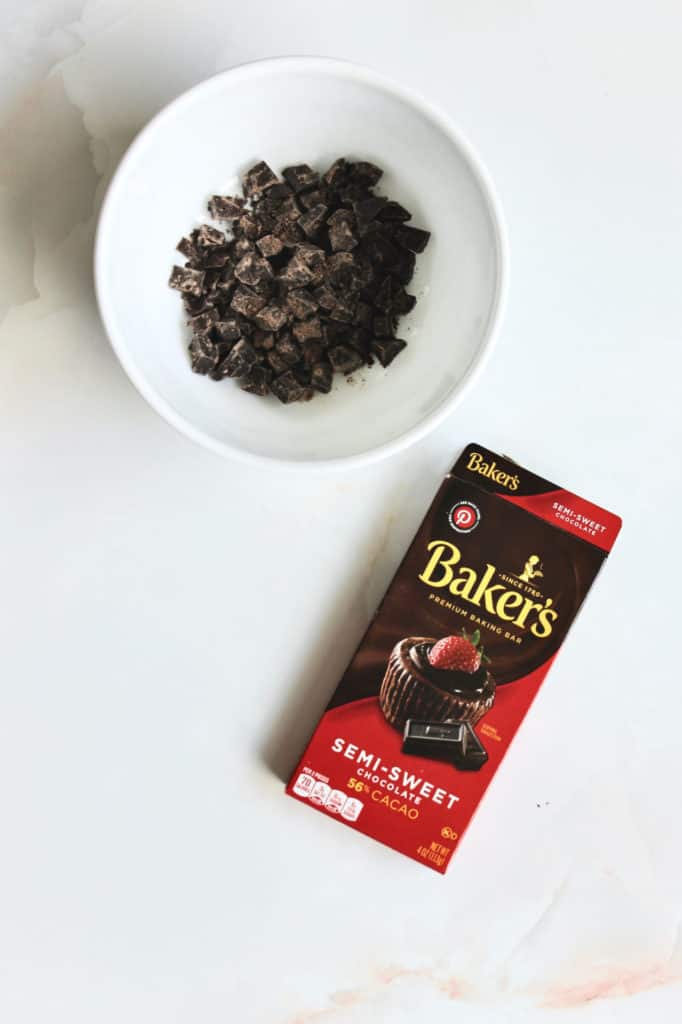
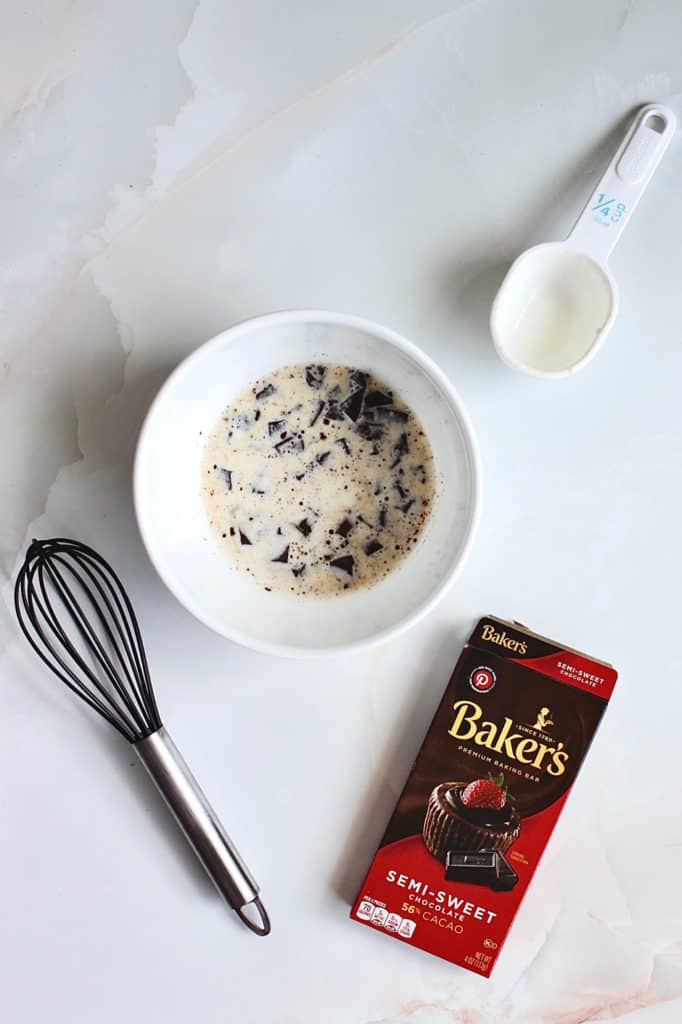
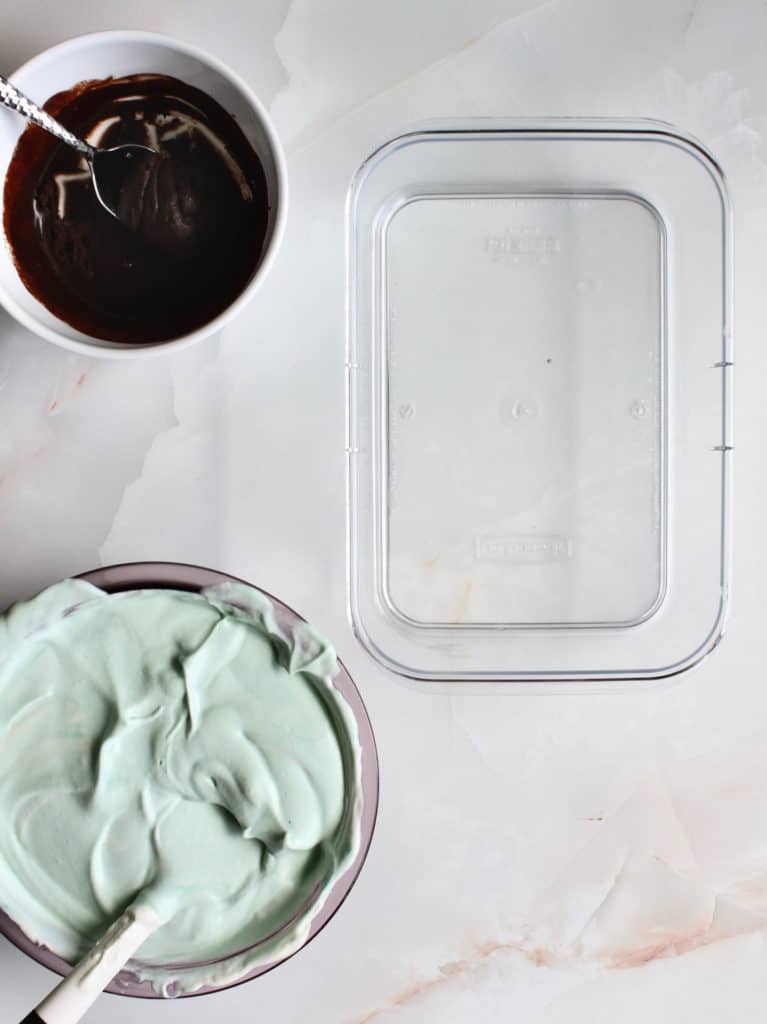
Finely chop your chocolate bar (Baker’s, Ghirardelli, and Guittard are some of my go-to brands) on a cutting board before placing it in a heat-proof bowl. Next, warm ¼ cup of your heavy whipping cream in a small pot over the stove until it’s simmering (but not boiling!). Pour the hot, heavy whipping cream over your chocolate. Let it stand for a few minutes before whisking to create smooth, silky chocolate. Let cool.

Set aside one tablespoon of your semi-sweet chocolate chips to sprinkle atop your ice cream. Then, while your chocolate is cooling, in a new bowl, stir together condensed milk, vanilla and mint extract, a few drops of green food coloring (if using), all but your one tablespoon of semi-sweet chocolate chips, and salt; set aside.

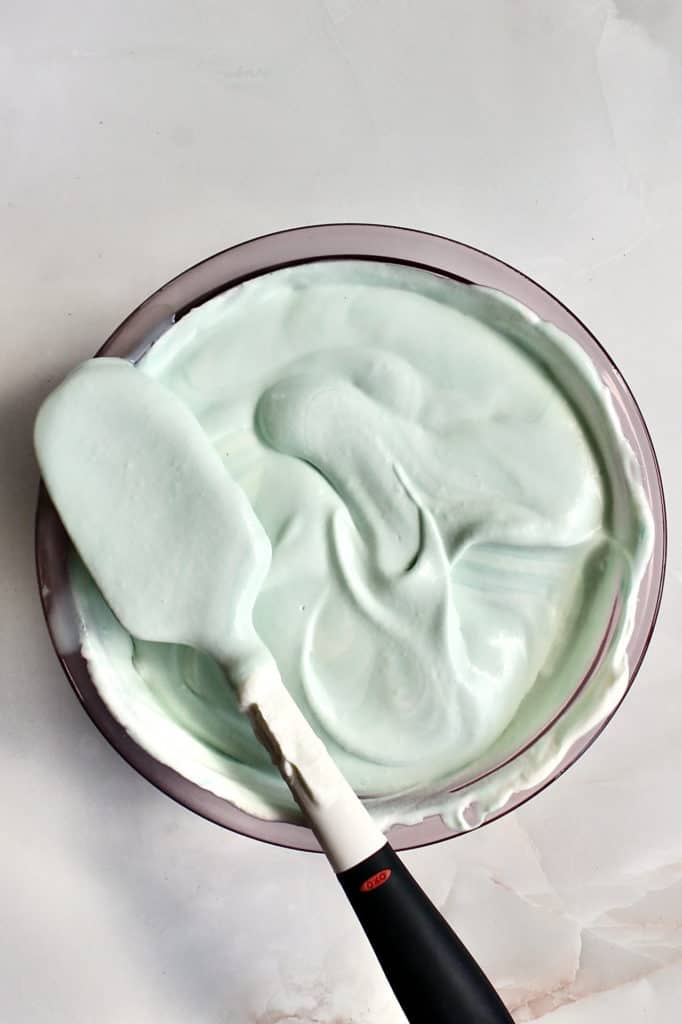
Beat your remaining two cups of heavy whipping cream in a separate large bowl with an electric mixer fitted with a whisk attachment on high speed until stiff peaks form (about 2 minutes). Do not overmix, or you will end up with butter! Fold whipped cream into the bowl with your condensed milk mixture.

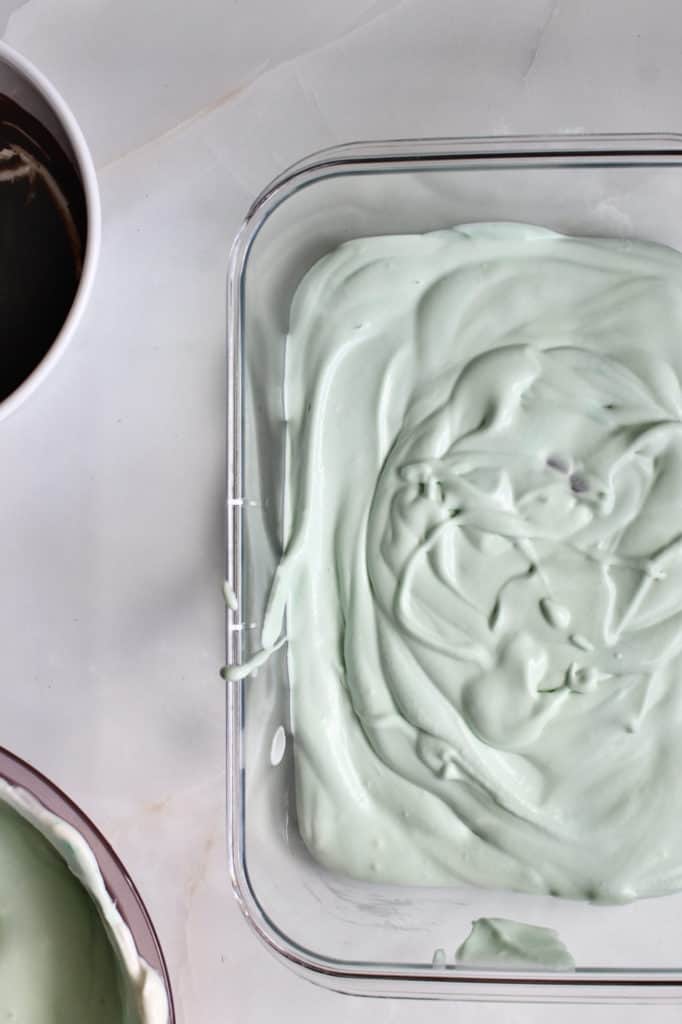
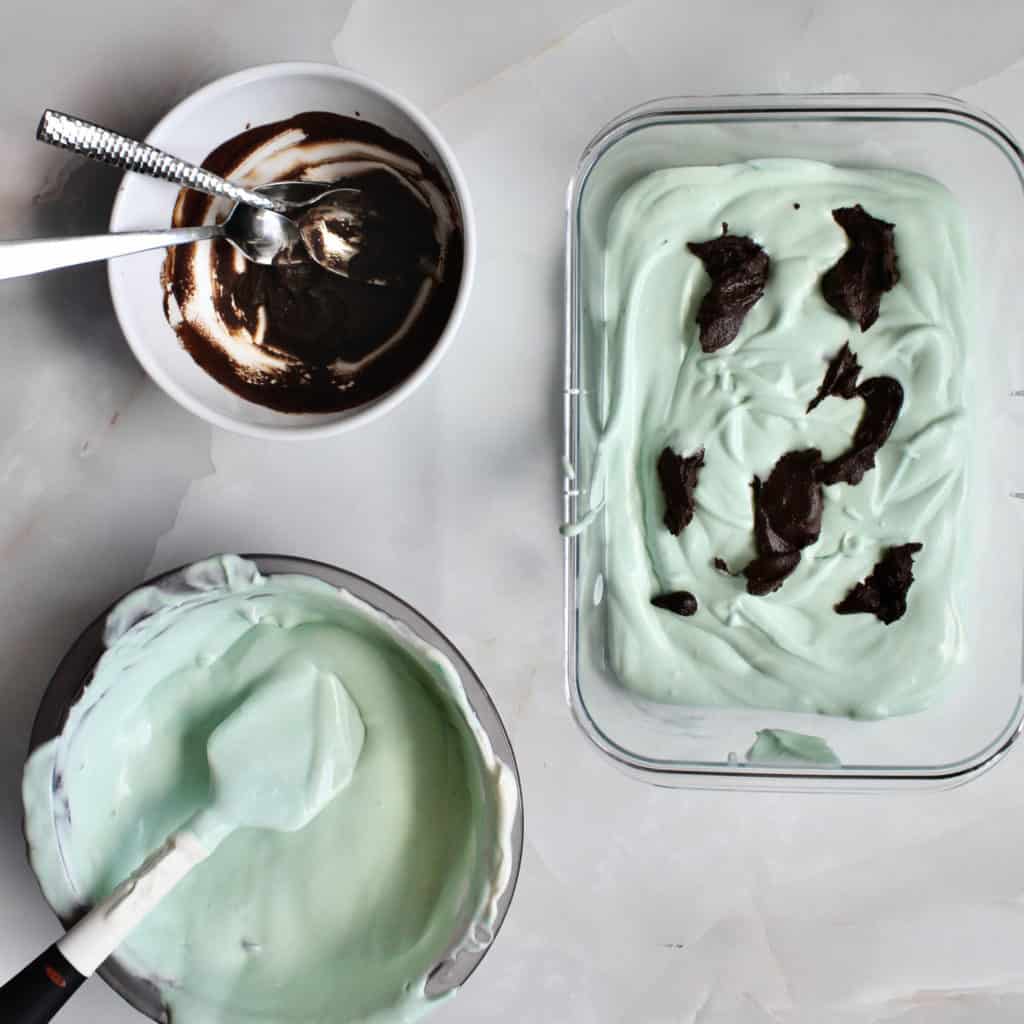
Spoon half of your ice cream mixture into the container you’re placing in the freezer. Scoop half of your chocolate ganache from the bowl and add it to your ice cream container. Repeat with the next layer of ice cream and ganache. Once all ingredients are in the container, drag a knife through your dessert to create swirls. Sprinkle top with reserved 1 tablespoon chocolate chips. Cover; freeze until firm, at least 6 hours.


Tips for Homemade Ice Cream Success
Homemade ice cream is easy, but to ensure your success, I've highlighted a few pointers below that have helped me create smooth, creamy, dreamy ice cream every time.
Make Room for Your No Churn Mint Chocolate Ice Cream in the Back of Your Freezer
Before you start this ice cream recipe, make sure you'll have the freezer space for storage when you're done. You'll want to put it there as soon as soon as you're done so it can firm up and get ready for you to eat it!
And within the freezer, your ice cream will fare best toward the back of your freezer. This ensures that it'll remain as cold as possible. Warm air that enters the freezer when you open and close it won't bother your ice cream as much if it's further from the door.
Don't Over-whip your Heavy Cream or Heavy Whipping Cream!
One of the only ways you can mess up this recipe is to over-whip your heavy cream or heavy whipping cream. Mixing it just a bit too long in your stand or hand mixer can actually turn it to butter! That's great for butter and all, but unless that's a flavor you're trying to recreate in your ice cream, you'll want to be sure that this doesn't happen.
Chill Your Bowl
Heavy cream will come together best if your bowl is cold. Placing it in the freezer for even 15 minutes before you make your ice cream will save you time. It also lessens your chance of over-whipping. I just put my mixing bowl in the freezer when I started this recipe. By the time I was ready to whip the cream, it was chilled.
Alternatively, if you don't have enough space in your freezer, you can leave the bowl in your refrigerator for half an hour or so.
Chill Your Beaters or Whisk Attachment
While you're placing your bowl in the freezer or refrigerator, go ahead and put your beaters or whisk attachment with it. This is one more step you can take to help your whipped cream come together more quickly.
Store Your No Churn Mint Chocolate Ice Cream in a Long, Flat Container
I like freezing my ice cream in long containers with a lid. This kind of container slides into my freezer easily. This also spreads the ice cream out, making it firm up a bit more readily than it would in a tall, cylindrical sort of container. I have also used mini ice cream containers from Tovolo, and they work well. The best option for you may come down to what fits best in the freezer with the space you have available.
Shut Your Lid
Okay, I just wanted your attention and didn't want that to seem rude. BUT you should absolutely use a container with a lid and shut it tight! If that's not available to you, firmly wrap your container in plastic wrap to prevent ice crystals from forming.
Now go and make that no churn mint chocolate ice cream!


Easy Mint Chocolate Ice Cream with Ganache (No Churn)

A delicious homemade mint chocolate ice cream that comes together in minutes and doesn't require an ice cream maker. The hardest part is having the patience to wait for the ice cream to firm up in your freezer!
- Prep Time: 30 minutes
- Time to Chill Mixing Bowl and Whisk: 30 minutes
- Total Time: 7 hours
- Yield: 12 servings (6 cups total) 1x
- Category: Dessert
Ingredients
- 2 oz of a bar of pure chocolate (I use Baker’s or Ghirardell’s chocolate from the baking section of the grocery store)
- 2 ¼ cups heavy whipping cream, divided
- 1 (14-oz.) can sweetened condensed milk
- 1 tsp mint extract
- ½ teaspoon vanilla extract
- ¼ teaspoon kosher salt
- ½ cup semi-sweet chocolate chips, divided
Optional: a few drops of green food coloring
Instructions
- Using a large, sharp knife, finely chop your chocolate bar on a cutting board before placing it in a heat-proof bowl. Next, warm ¼ cup of your heavy whipping cream in a small pot over the stove until it’s simmering (but not boiling!). Pour the hot, heavy whipping cream over your chocolate. Let it stand for 3-4 minutes before whisking the two to create smooth, silky chocolate. Set aside to cool.
- Set aside one tablespoon of your semi-sweet chocolate chips to sprinkle atop your ice cream. Then, while your chocolate is cooling, in a new bowl, stir together condensed milk, vanilla and mint extract, a few drops of green food coloring (if using), all but your one tablespoon of semi-sweet chocolate chips, and salt; set aside.
- Beat your remaining two cups of heavy whipping cream in a separate large bowl with an electric mixer fitted with a whisk attachment on high speed until stiff peaks form (about 2 minutes). Do not overmix, or you will end up with butter! Fold whipped cream into the bowl with your condensed milk mixture.
- Spoon half of your ice cream mixture into the container you’re placing in the freezer. Scoop half of your chocolate ganache from the bowl and add it to your ice cream container. Repeat with the next layer of ice cream and ganache. Once all ingredients are in the container, drag a knife through your dessert to create swirls. Sprinkle top with reserved 1 tablespoon chocolate chips. Cover; freeze until firm, at least 6 hours.
Notes
This recipe is pretty simple, but the greatest challenge for me is to avoid overwhipping the cream in step 3! Do not do it unless you're trying to add butter to your ice cream (which, seriously, you do not want, so don't do it). To avoid that, I recommend chilling in the refrigerator both the whisk attachment and bowl you'll be using to whip the cream. You want them to be cool to the touch, which means about 30 minutes in the refrigerator, depending on its temperature. If you're shorter on time, you can pop them into the freezer instead.

Leave a Reply