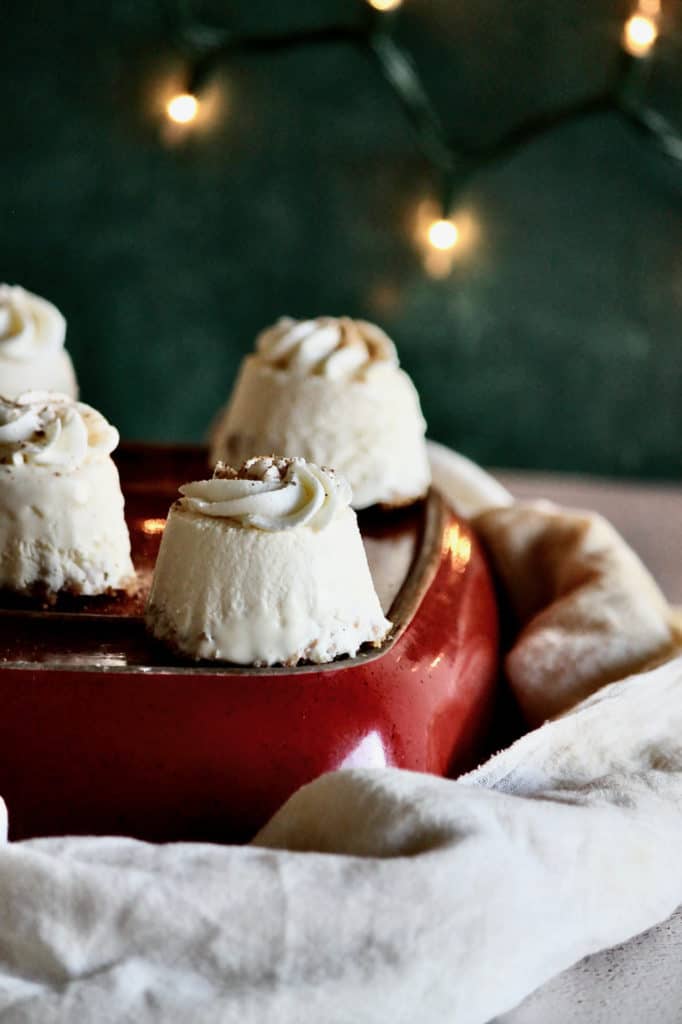
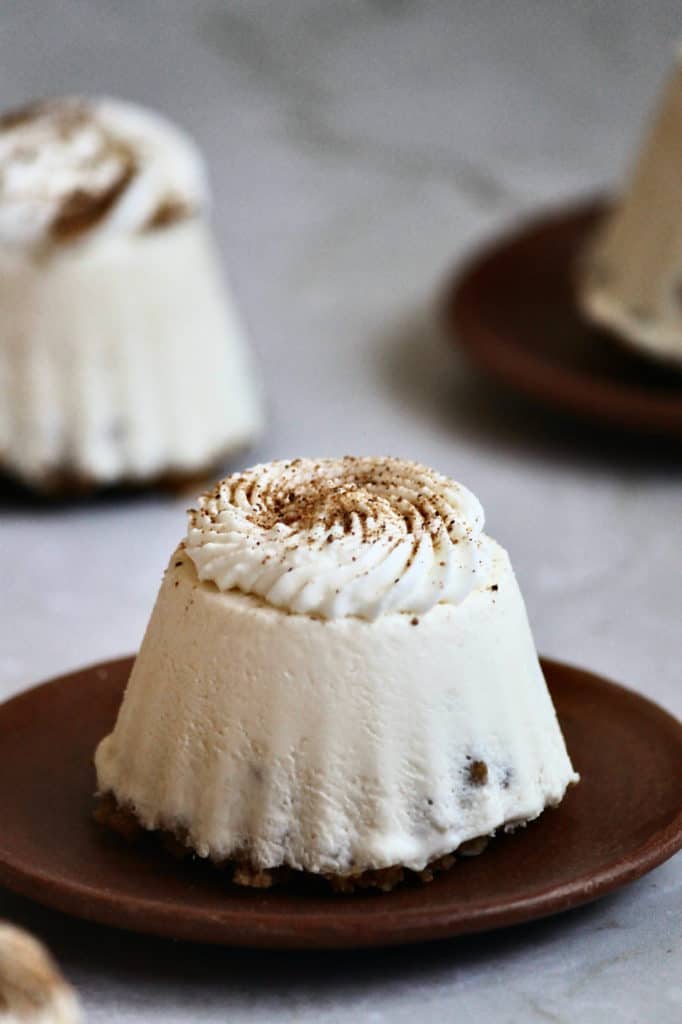
Nothing tastes quite like the holiday season the way that eggnog does for me. When I start seeing cartons of this holiday drink in the grocery stores, I know Christmastime is here! My love and nostalgia for this seasonal beverage inspired me to create an eggnog pie. But sometimes a full pie can be overwhelming, and people shy away from cutting into it. So I went small-scale with these no-bake mini eggnog pies. These sweet treats have the flavor of eggnog but aren't overly sweet, thanks to Greek yogurt, which adds a bit of tang here. Their crust also packs some fantastic flavor, thanks to ground gingersnap cookies and browned butter. Not like anybody can really resist a mini pie, but that little whipped cream on top makes them that much more appealing and fancier for the holidays!
Ingredients for these no-bake mini eggnog pies
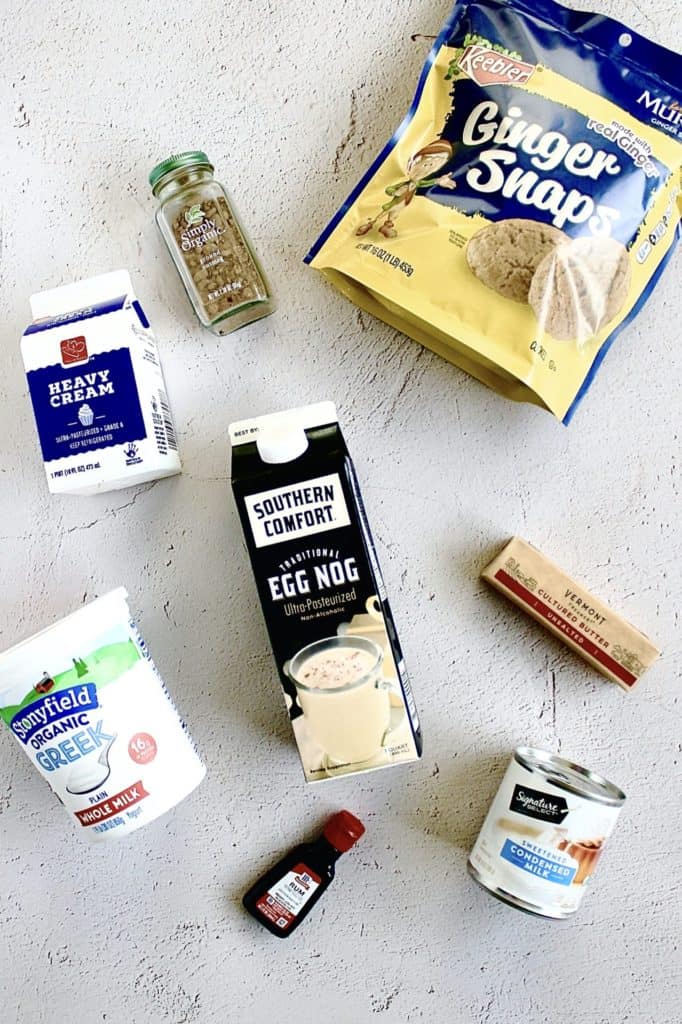
This no-bake dessert recipe has a short ingredient list. For the filling and topping of these mini eggnog pies, you'll need:
- Full-fat Greek yogurt
- A can of sweetened condensed milk
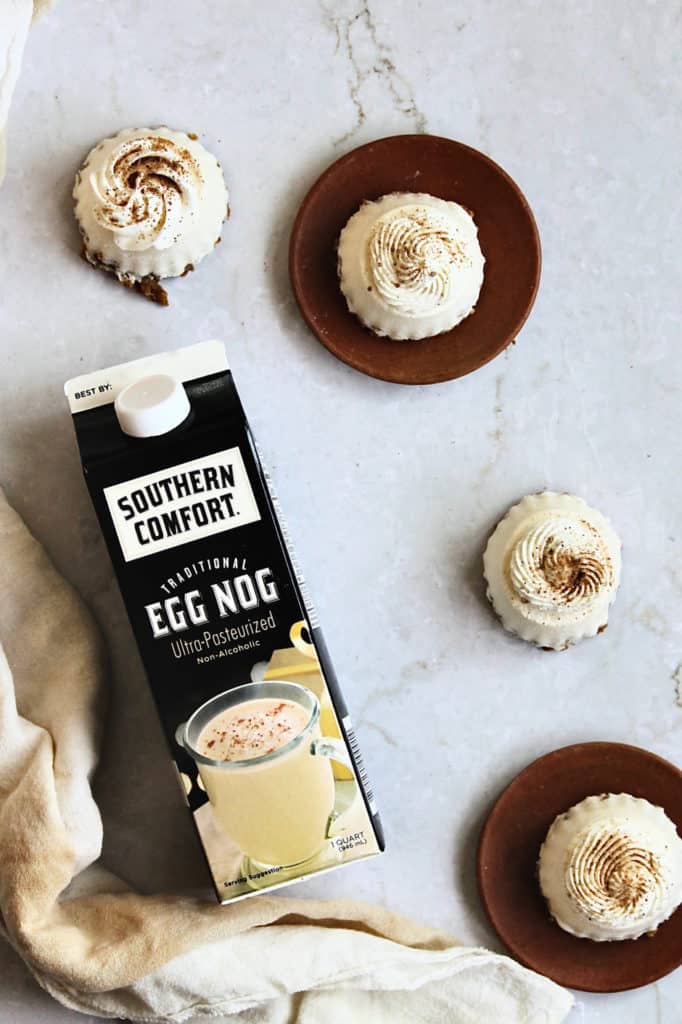
- Eggnog (fresh or store-bought; I went with the latter for convenience)
- Heavy cream
- Rum extract, which is optional but a fun addition
For the crust of these eggnog pies, you'll need:
- Gingersnaps
- A pinch of salt
- Browned butter
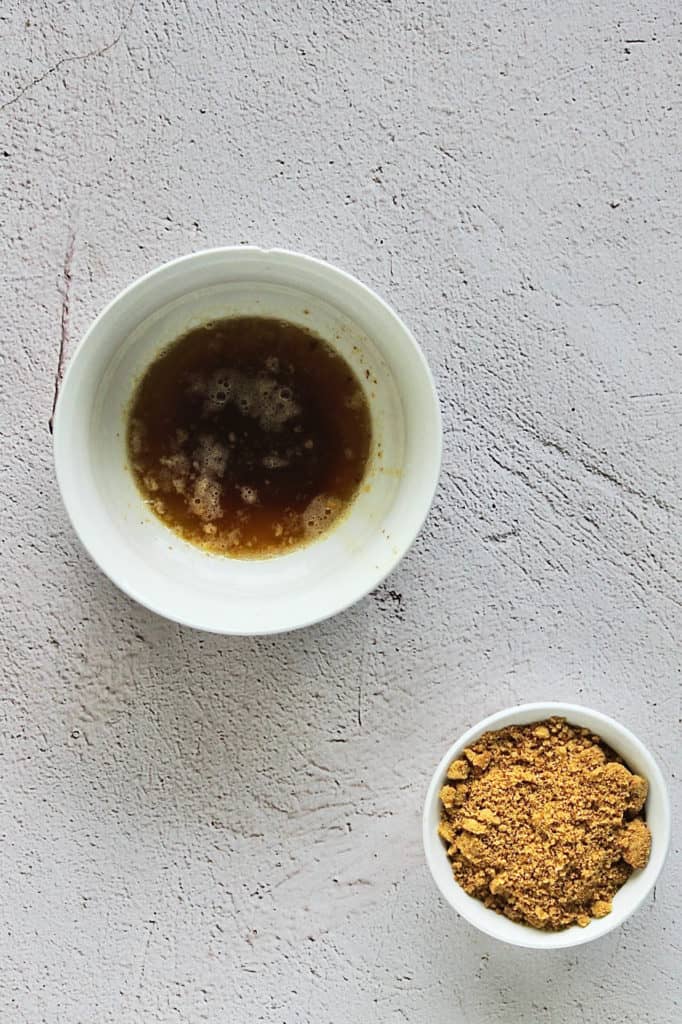
If you haven't enjoyed the taste of browned butter before, you're in for an added treat here. It gives a slightly nutty aroma and flavor, which works well with the sweetness of the eggnog and balances it out.
To successfully brown butter, watch your pot closely. On medium-high heat over a burner, your butter should brown in a few minutes. There is a fine line between nicely browned and sadly burned butter, so take care to avoid the second option! You want to get to the point where you see little brown flecks scattered throughout the butter. It will overall turn a more amber color, too.
Worth noting, it can be helpful to use a pot that is lighter in color or clear so that you can see the difference. If you're using a darker-colored pot, you'll have a harder time noticing the subtle changes in your butter's color. But it's a pretty simple step and one I really recommend following here.
For finishing touches, you'll also top these no-bake mini eggnog pies with homemade whipped cream and some nutmeg.
Highlights on making these mini eggnog pies
This is a quick and straightforward recipe, the kind I like for holiday desserts. Time can be short during this busy period of the year, so sticking with easy desserts is usually the route I try to take! And no-bake desserts are even simpler.


I'm flagging a few tips here, but the recipe card below will serve you well.
- Finely grind the gingersnap cookies for your crust. Clumps of cookie crumbs don't look as nice, and their heavier weight makes them sink more into the filling of your pie.
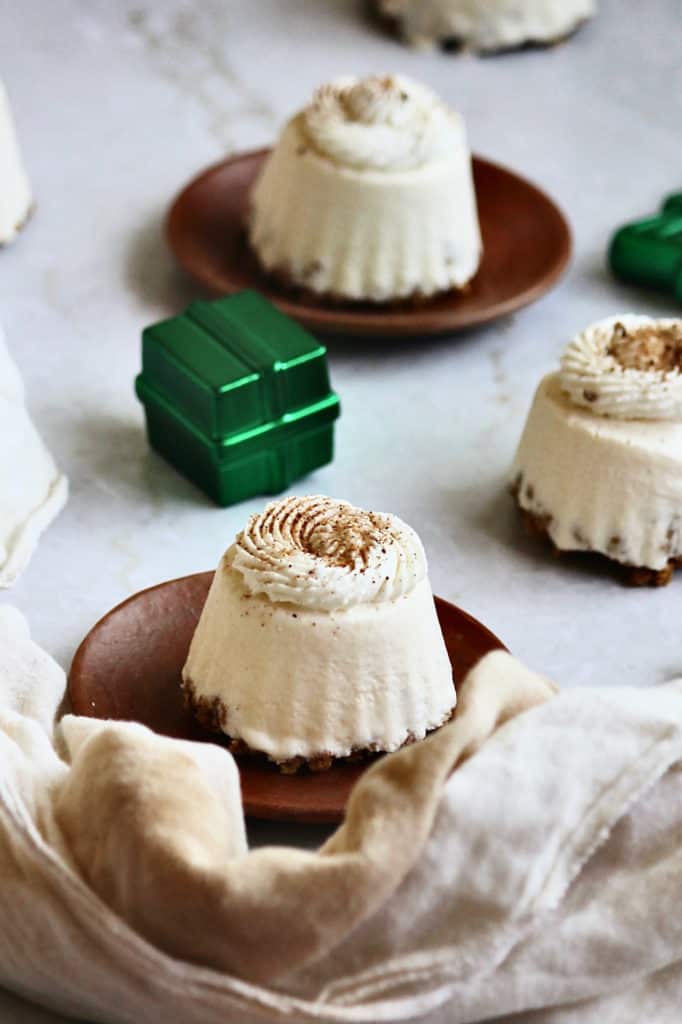
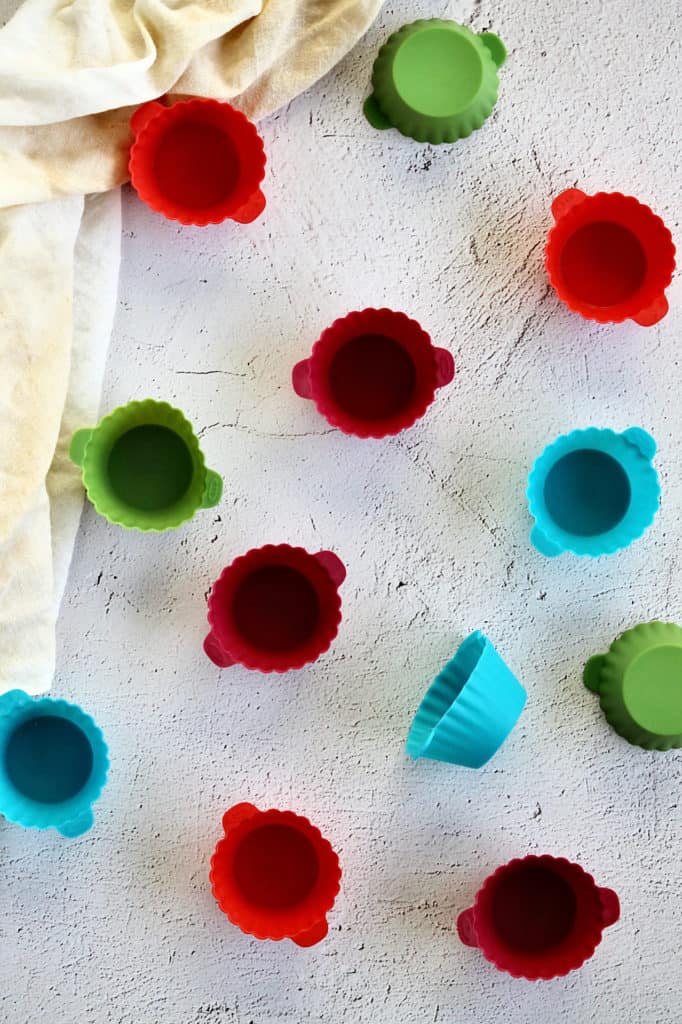
- For smooth-looking mini pies, I highly recommend reusable silicon liners instead of paper or foil. They peel away from the mini pies pretty cleanly once they've frozen. I have and really like this set from OXO. If you don't have silicone liners, foil works, but the sides aren't quite as sturdy as what you'd get with silicone. You may want to fill your foil liners slightly less than what I recommend, too. When I tested this, the foil had a tendency to spread open as the weight of the filling pushed them outward. I would not recommend paper, as it may stick to the sides upon removal, and it is very flimsy.
Serving your no-bake mini eggnog pies
Because you must freeze this no-bake dessert, they will melt if left out for long at warm (or even room) temperatures. Don't remove them from the freezer until you're ready to serve and add the homemade whipped cream to the top of them.
Alternatively, you could fully prepare these mini eggnog pies in advance. Let them completely harden in the freezer in an airtight container. Then peel them away from the silicone liners and place on a surface to decorate them. Pipe the whipped cream on top and place them all back in the freezer as is. This way, they will be ready to serve straight from the freezer. But piping the topping doesn't take much time, so divvy up these steps however works best for your schedule.
More recipes and sweets to enjoy this Christmas
If you're looking for other sweet treats for your holiday dessert table, check out my mini cranberry Bundt cake recipe or my mini apple apple Bundt cake recipe.
If you know me well, you also know I love decorating cakes! I have this Christmas tree farm cake tutorial that you can recreate in under 30 minutes. Definitely check that out if you're looking for a sweet and simple Christmas cake design!

No-bake Mini Eggnog Pies
- Total Time: 6 hours, 30 minutes
- Yield: 12 mini pies 1x
Description
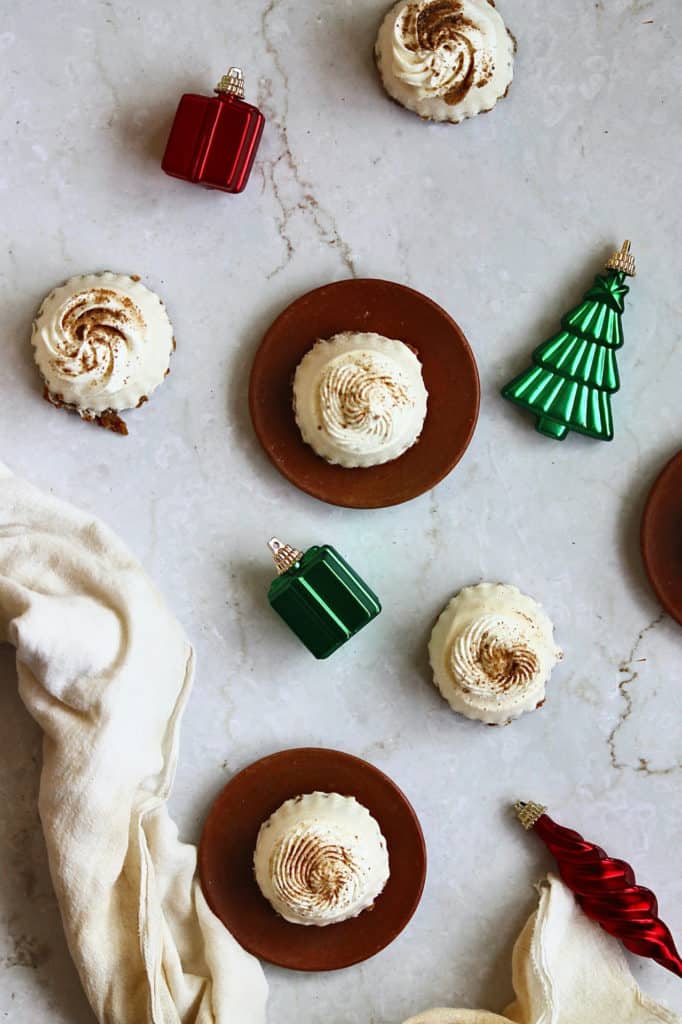
These no-bake mini eggnog pies would make a great treat to bring to your next holiday dinner party! And you can prepare and freeze them days in advance!
Ingredients
Filling & topping
- ¾ cup (170 grams) full-fat Greek yogurt
- 1 can (396 grams) sweetened condensed milk
- ½ cup (130 grams) eggnog
- 1 cup (230 grams) heavy cream
- Optional: 1 ½ teaspoon (6 grams) rum extract
Crust
- 30 gingersnaps (about 180 g)
- 7 tbsp (100 grams) butter, melted and browned
- ¼ tsp (½ gram) kosher salt (reduce to a pinch if using regular table salt)
Garnishes
- Homemade whipped cream
- Made from 1 cup of heavy cream whipped with ½ cup of powdered sugar and optional teaspoon of rum extract
- A few teaspoons of nutmeg for dusting
Instructions
For the crust
- In a small pot on the stove over medium-high heat, brown your butter. It’ll brown in about 5 minutes, so monitor closely to avoid burning. It’ll begin to crackle, turn amber in color, and have a nutty aroma when done.
- In a food processor or blender, grind approximately 30 ginger snaps with your salt until they have a very fine texture, like sand.
- With a spatula or spoon, combine browned butter with ginger snap crumbs in a small mixing bowl until everything is the consistency of wet sand.
- Let crust cool in bowl as you make the filling and topping.
For the topping and filling
- In a very cold (chill for 10-15 minutes prior to using), clean mixing bowl, whip your heavy cream (with rum extract if using) until stiff peaks form. Start on a low setting and gradually increase, taking care to avoid over mixing. Once done, gently scoop whipped cream out of mixing bowl and set aside in another container in the refrigerator.
- Back in your mixing bowl, whip Greek yogurt on medium speed for about 30 seconds, until creamy. Stop mixer and pour in 1 can of sweetened condensed milk and eggnog. Mix until they’re combined, 30-45 more seconds on medium speed.
- Using a spatula, gently fold your whipped topping from the refrigerator into your mixing bowl.
- Set out your silicone cupcake liners, and distribute your eggnog pie amongst the dozen of them. You’ll pour about ⅓ cup of liquid into each liner, leaving some room at the top where your crust will go.
- Similarly, distribute your ginger snap crumbs amongst the pies.
- Place in airtight container(s) in freezer for a few hours until firm, ideally overnight.
- Before removing mini pies from the freezer for serving, whip heavy cream and sugar together to make homemade whipped cream. Put into a piping bag fitted with a cake decorating tip of your choice.
- Bring pies out of the freezer, and carefully peel away the silicone liners from them. Place them on your serving dish, and pipe whipped cream atop pies. Dust with nutmeg if you'd like. Serve and enjoy!
Notes
- Because these pies are frozen, they will melt if left out at warm (or even room) temperatures. Don't remove them from the freezer until you're ready to serve them and cover the top of them with your homemade whipped cream.
- Alternatively, you could fully prepare these in advance. Let the pies fully harden in the freezer and peel them away from the silicone liners. Pipe the whipped cream on top and place them all back in the freezer as is. This way, they will be ready to serve. But piping the topping doesn't take much time, so divvy up these steps however works best for your schedule.
- Prep Time: 30 minutes
- Freezer Time: 6 hours
- Category: Dessert
- Cuisine: American

Leave a Reply