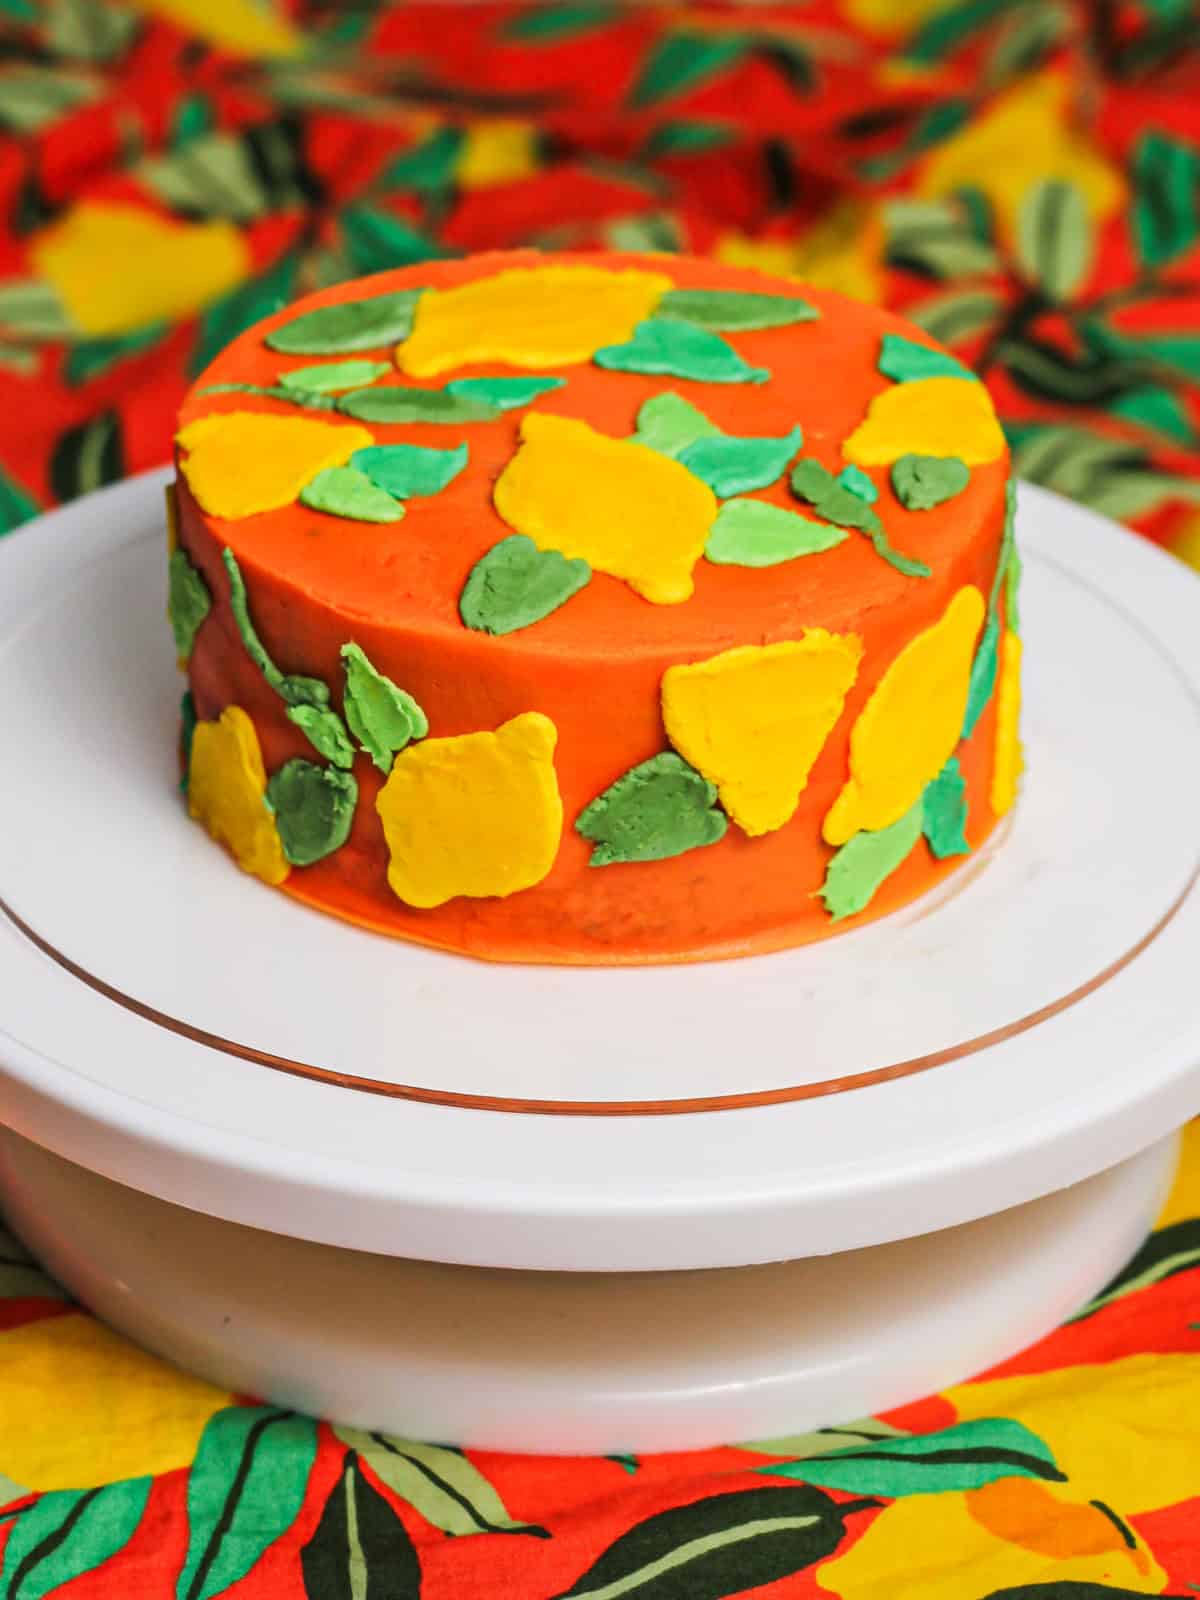
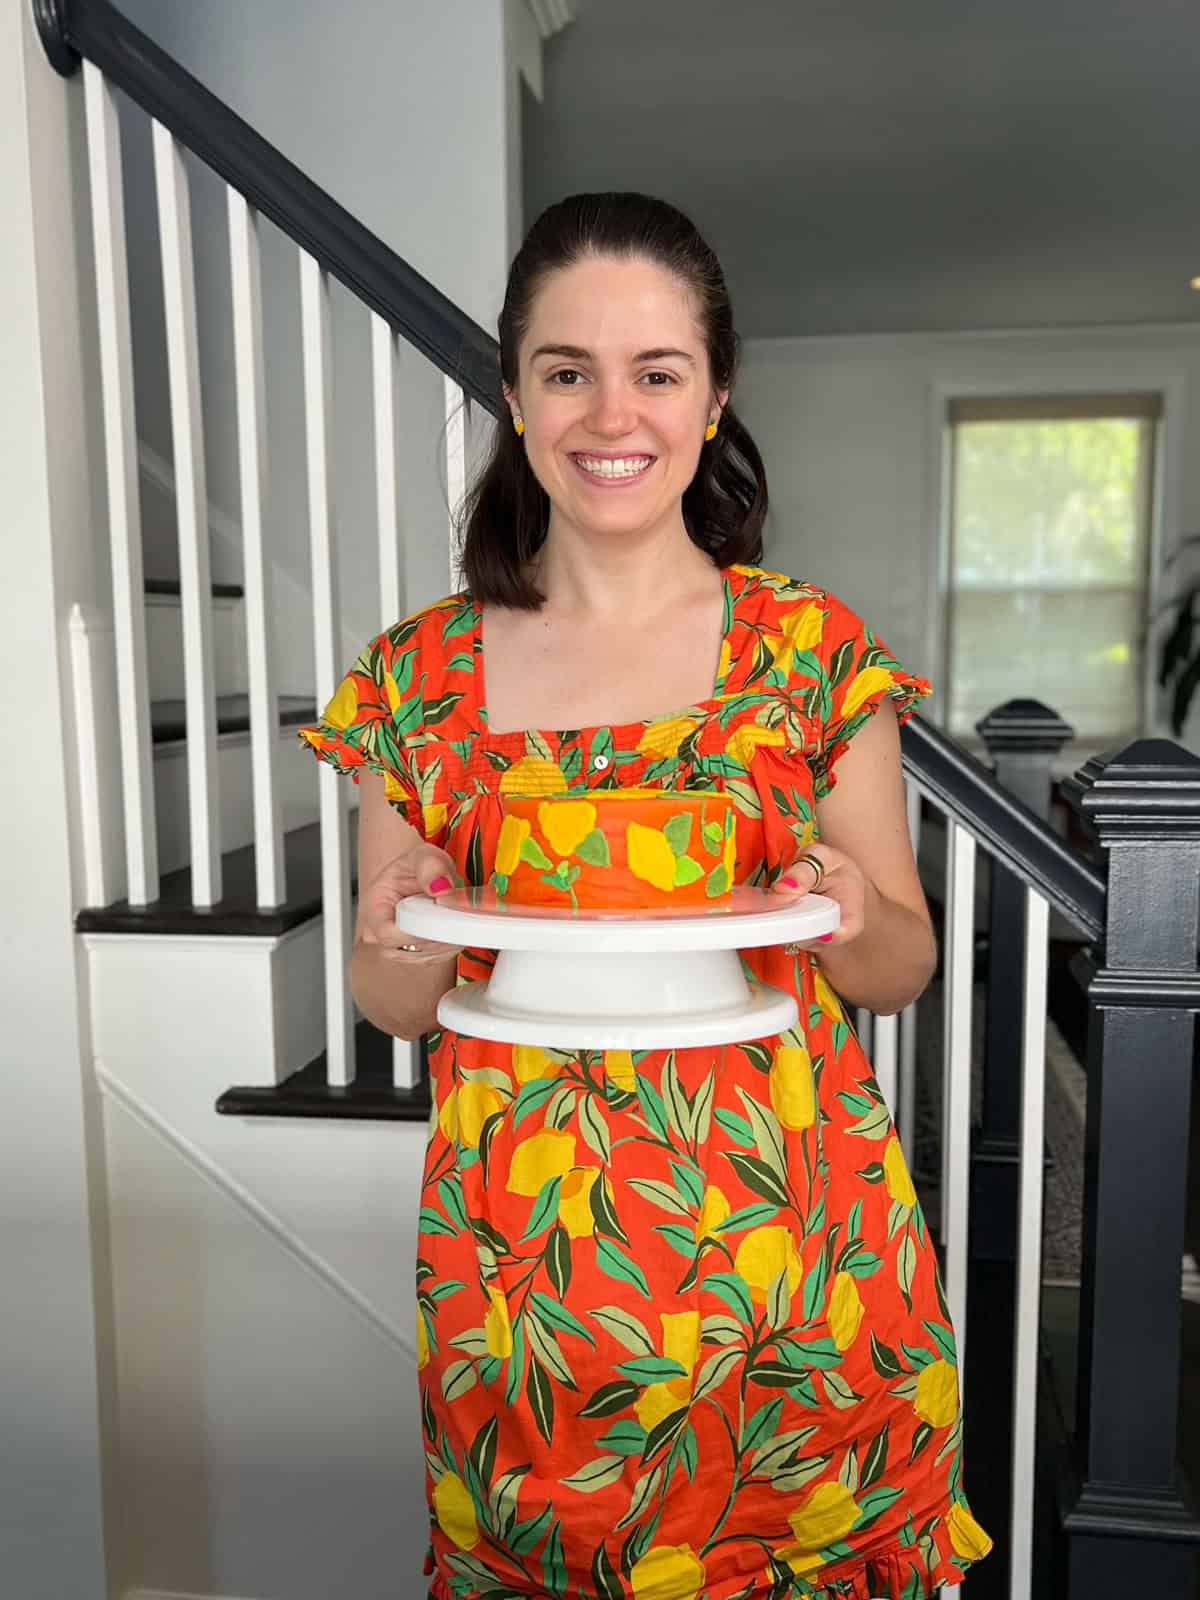
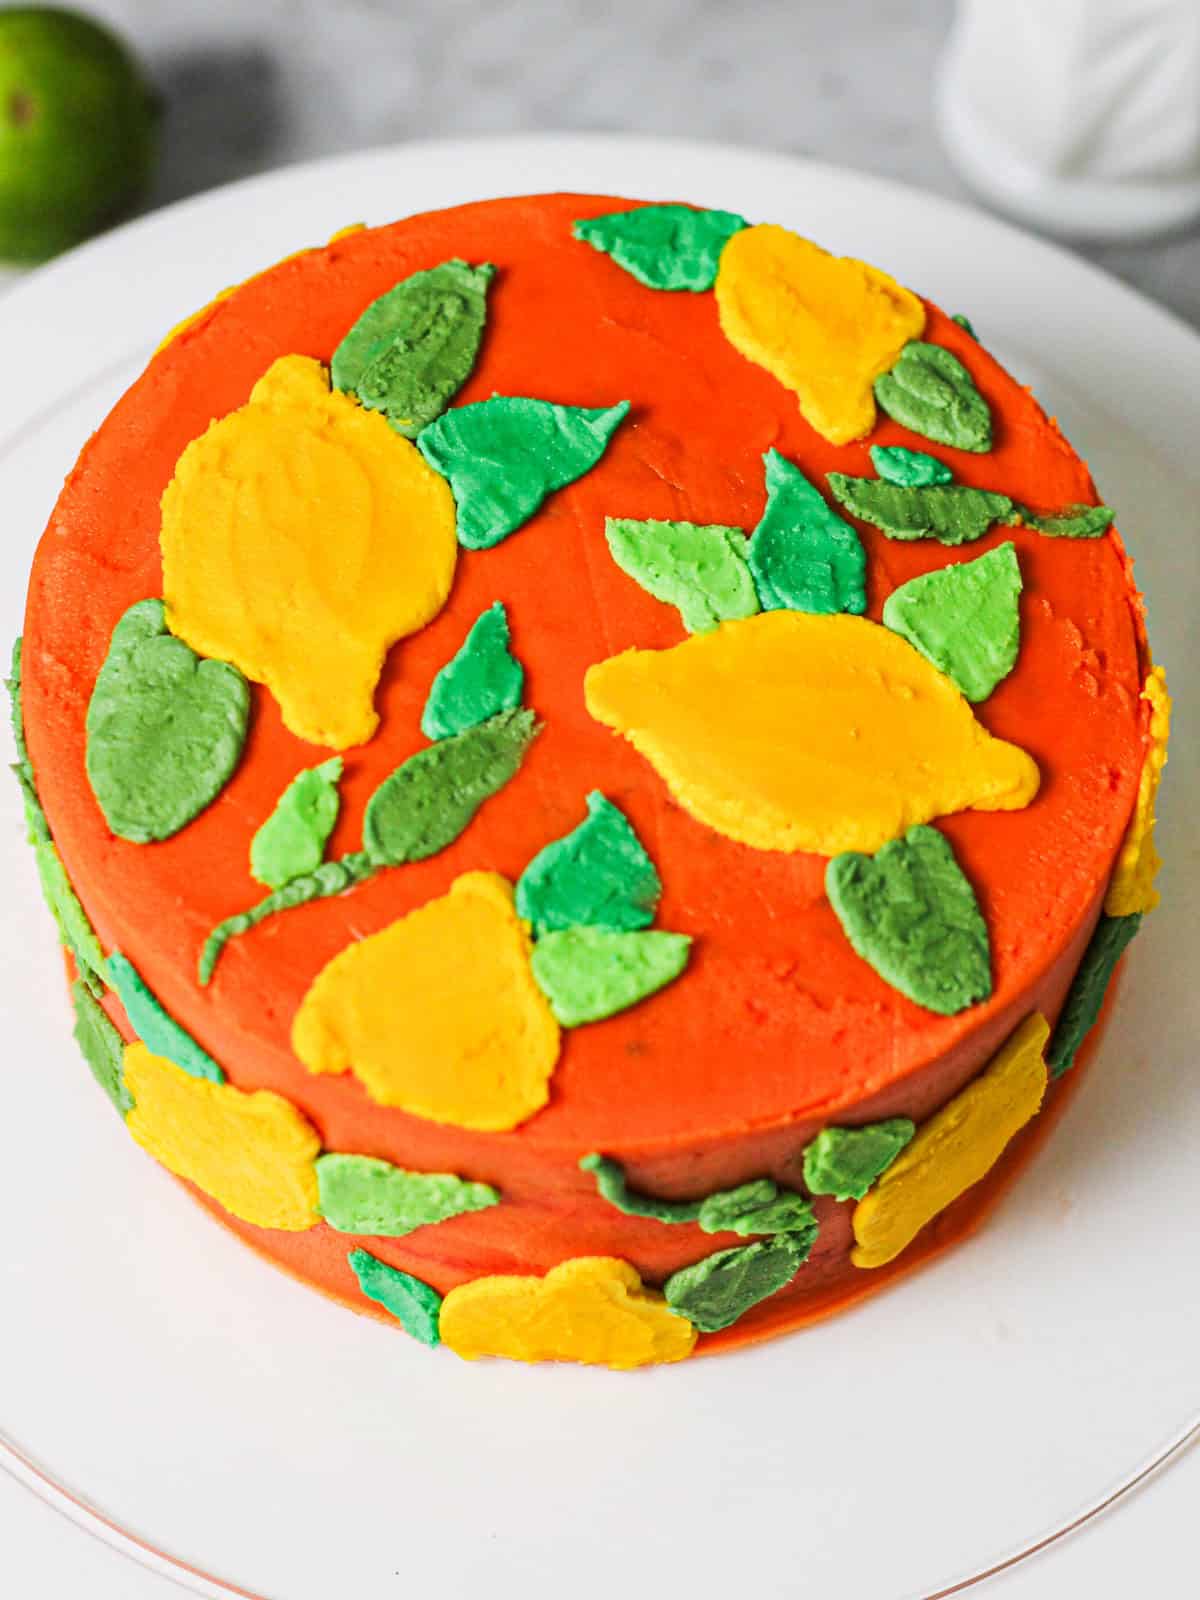
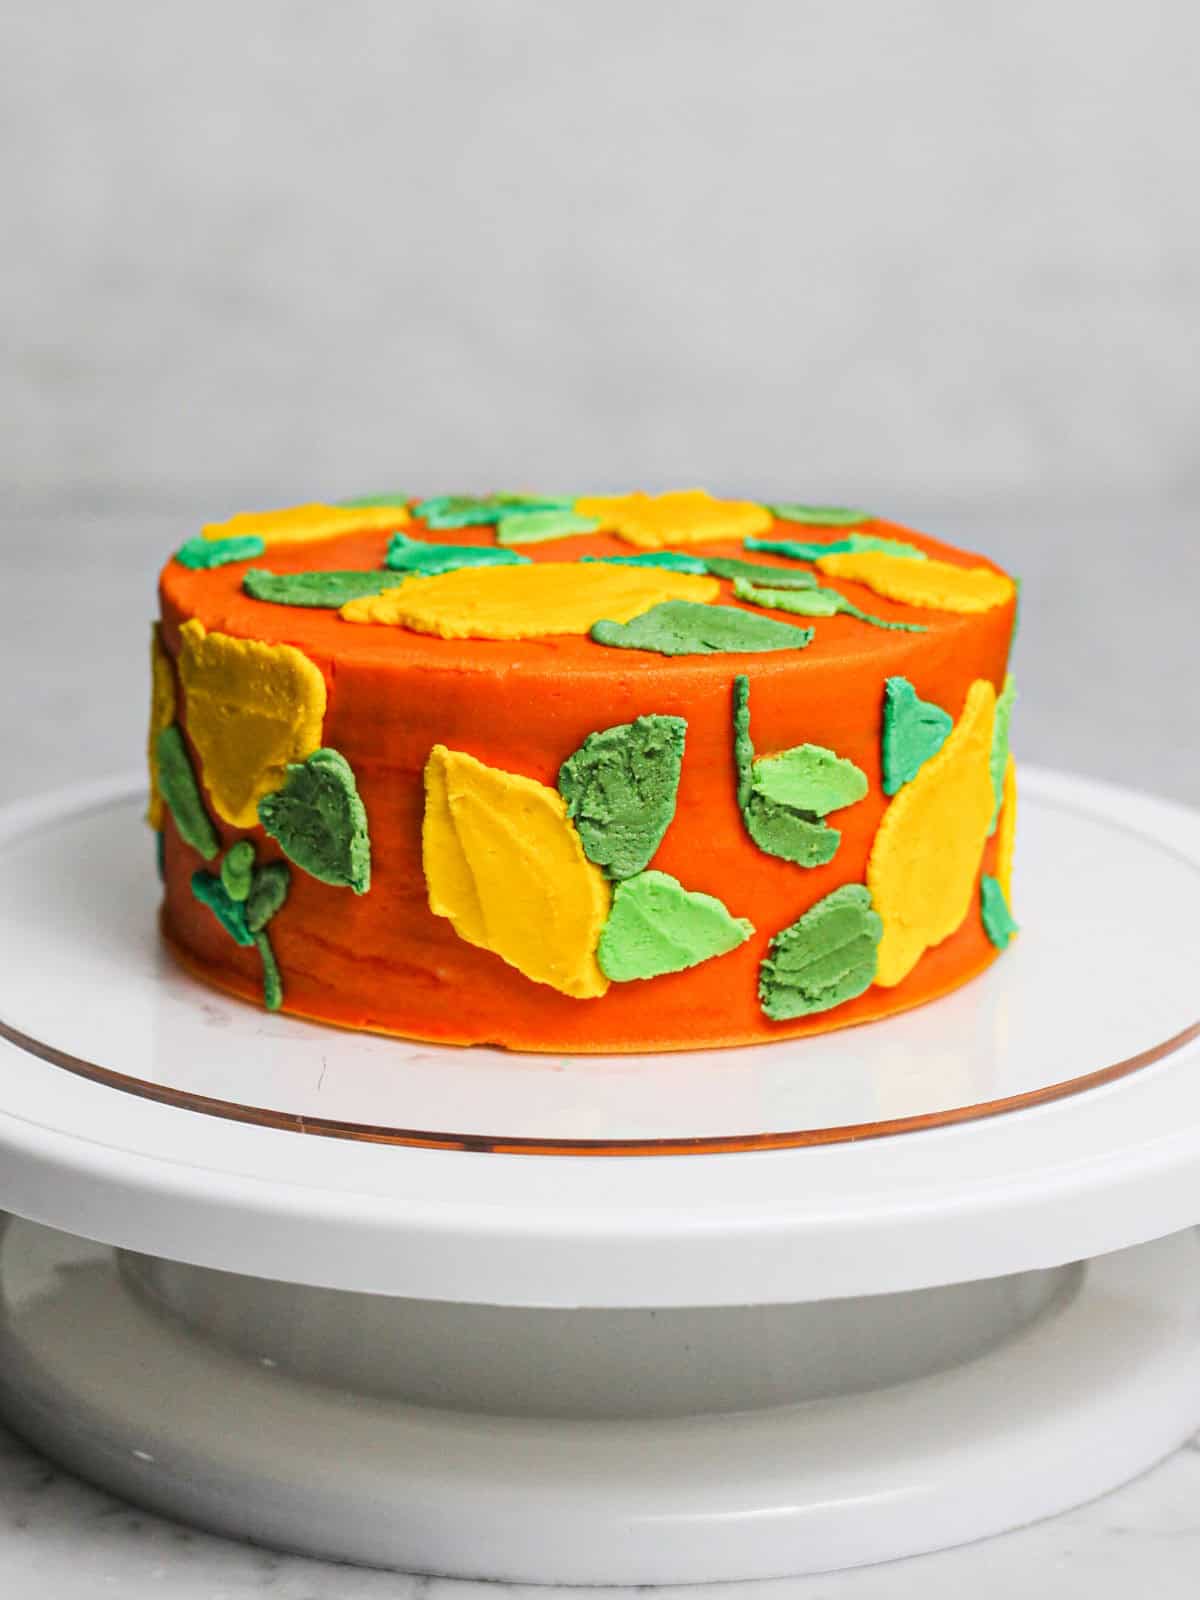
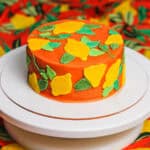
I have this thing with patterns. I see one I love, and my mind immediately wants to put it on a cake. That's how this buttercream lemon cake tutorial came to be. After realizing a print on my Printfresh pajamas would be *the cutest* cake, I had to do it. 😍 And with a few piping tips, colored frosting, and pastry bags, this is totally doable in your own kitchen, too. Let's dive in!
Jump to:
💛 Why You’ll Love This Cake
- Inspired by a cheerful lemon print that feels like summer
- Easy to recreate using basic piping tips
- Works with any cake flavor (vanilla, lemon, almond, etc.)
- Great for birthdays, showers, or garden-party themes
For more guides like this one, check out the other decorating tutorials on my website!
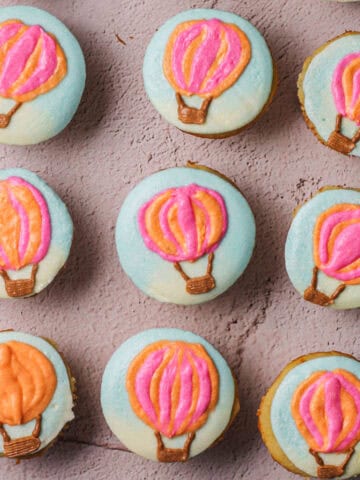
🎈 And if you enjoy decorating with buttercream, my hot air balloon cupcakes tutorial is another fun project.
📋 Equipment You'll Need
On my posts for crumb coating cake and mini cake decorating, I've got a really thorough breakdown of basic cake decorating tools. I'm resharing versions of those here, with some tweaks and small changes specific to this decorating guide. I highly recommend checking out those posts, especially if you're new to cake decorating!
- Cake pans for baking the cake
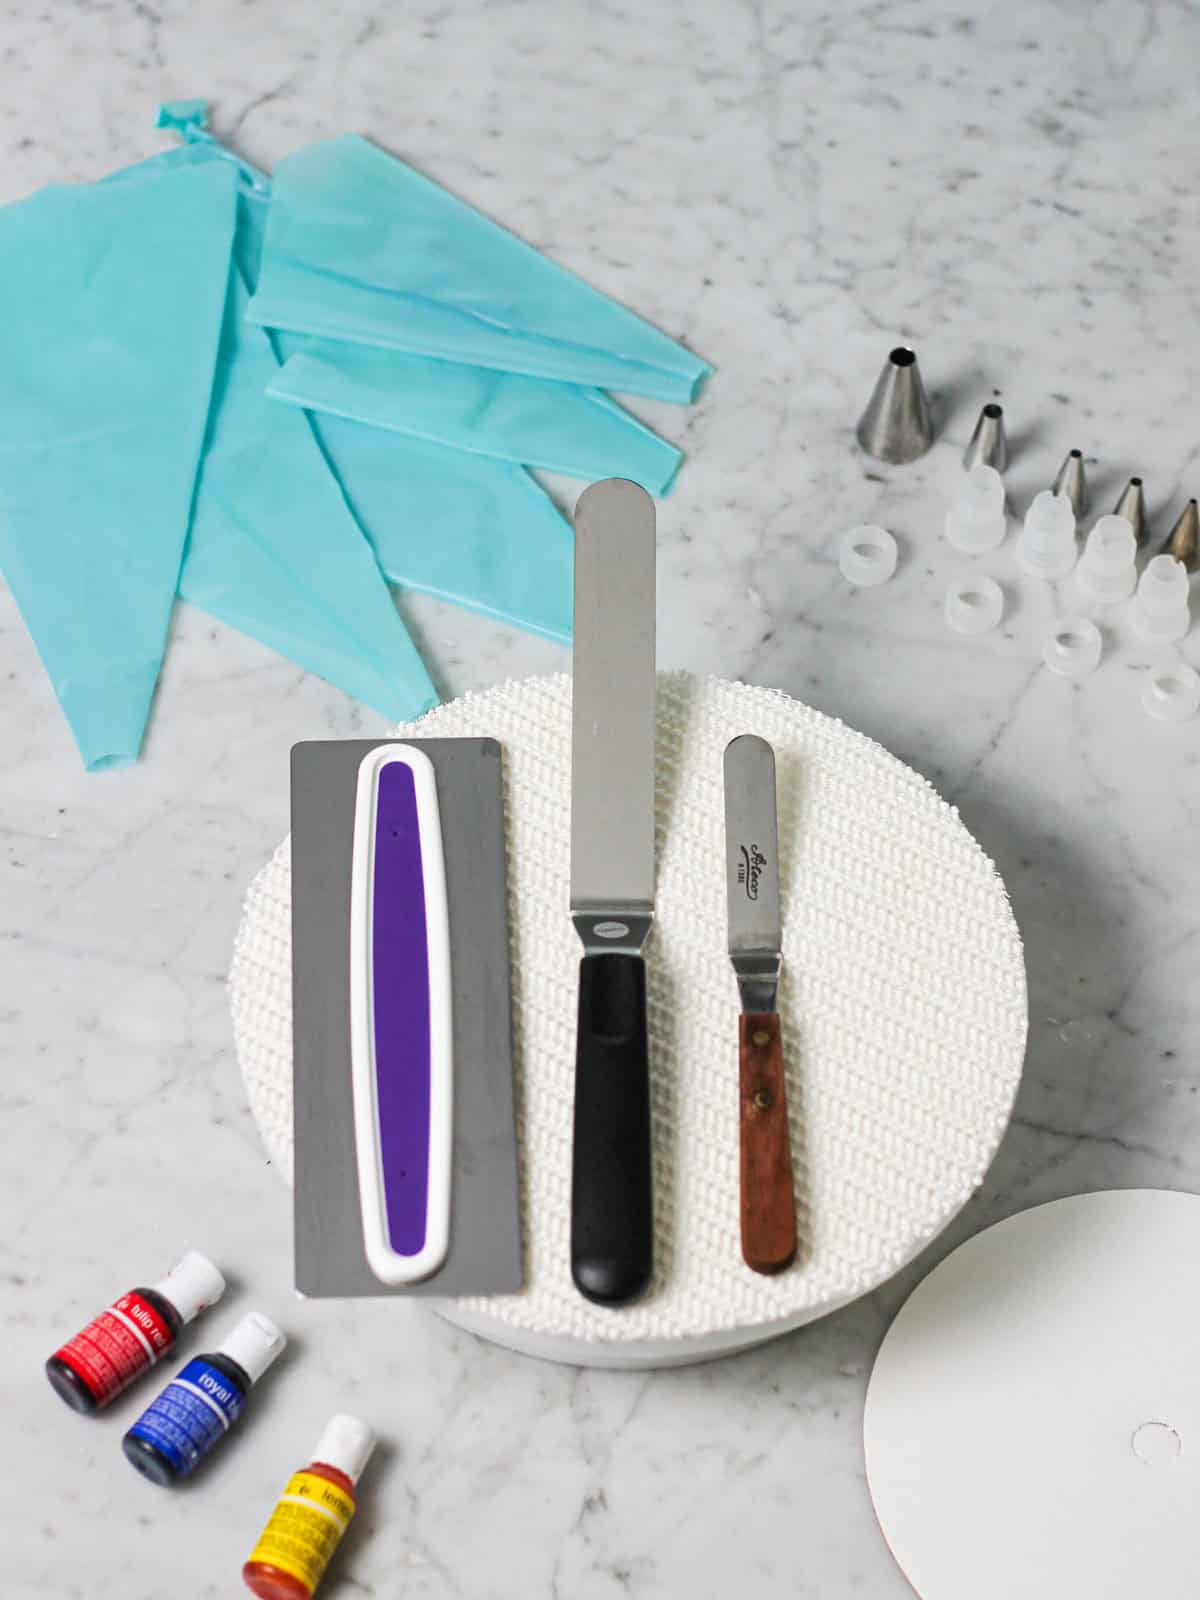
- A cake turntable - This is a spinning round table that holds your cake as you decorate it. It is much easier to use than placing your cake on a stationary plate or flat surface. This tool will help you reach all the angles on your cake!
- Cake board or cake circle - There are cardboard and reusable cake circles (the latter normally made from something like acrylic). You'll stack your cake layers on this, making it easier to move and pick up the cake. I also use shelf liner on top of my turntable. It helps keep the cake circle from sliding around as you coat the surface of a cake.
- Cake scraper or smoother - You'll ideally have a metal scraper or smoother. It does exactly what the name implies, helping you smooth the top and sides of your cake to give it that professional-looking appearance.
- Offset spatula - I like to alternate between my small and large offset spatula, depending on the cake's size. It's another tool that assists with the smoothing process.
- Piping bag and tip(s) of your choice - For this design, you'll want to use small, round open piping tips, not star tips. The open tips are helpful because you want your buttercream to flow freely and smoothly from the bag, with no texture like what you'd get from a star tip.
- Stand mixer or hand mixer - An essential tool for whipping up the buttercream.
📖 Cake Recipe Suggestions
For this tutorial, I wanted to focus on decorating and didn't feel like whipping up a homemade cake. I used a lemon box mix that was super yummy and helped speed up the process so I could start decorating sooner.
However, to make this two-layer, six-inch cake, you could use any smaller cake recipe you'd like. Recipes for a dozen cupcakes also tend to work well for creating this size. The amount of batter used for that many cupcakes often will create the perfect-sized 6" cake recipe.
For an easy adaptation, use the batter from my raspberry almond cupcakes and divide it into 6" cake pans.
🍊Or to be more on-theme, the delicious orange cake recipe by my husband's grandmother would work well, divvied up between two 6-inch pans.
🎨 Selecting Your Frosting
I used my almond buttercream frosting for this recipe. You can adapt it by adding lemon extract if you'd like (or any flavor of your choice, for that matter).
Having extra is always good, especially when you're trying a new design. Follow that recipe for a full batch, which yields more frosting than you need for this cake.
I always like to set aside some white frosting so that you can use it to add to any bowl and colors later. It's much easier to create a colored frosting than a white one, so having white as backup can only help!
🖌️ Frosting Your Buttercream Lemon Cake
Dive into the steps here once your cake layers are baked and cool to the touch.

Dye your frosting. Divide the buttercream into five small bowls. Add drops of yellow dye to all of the bowls. Mix, and then add red to one bowl and varying amounts of blue to three others. You'll end with three bowls of green frosting in different shades, one bowl of orange, and one yellow.
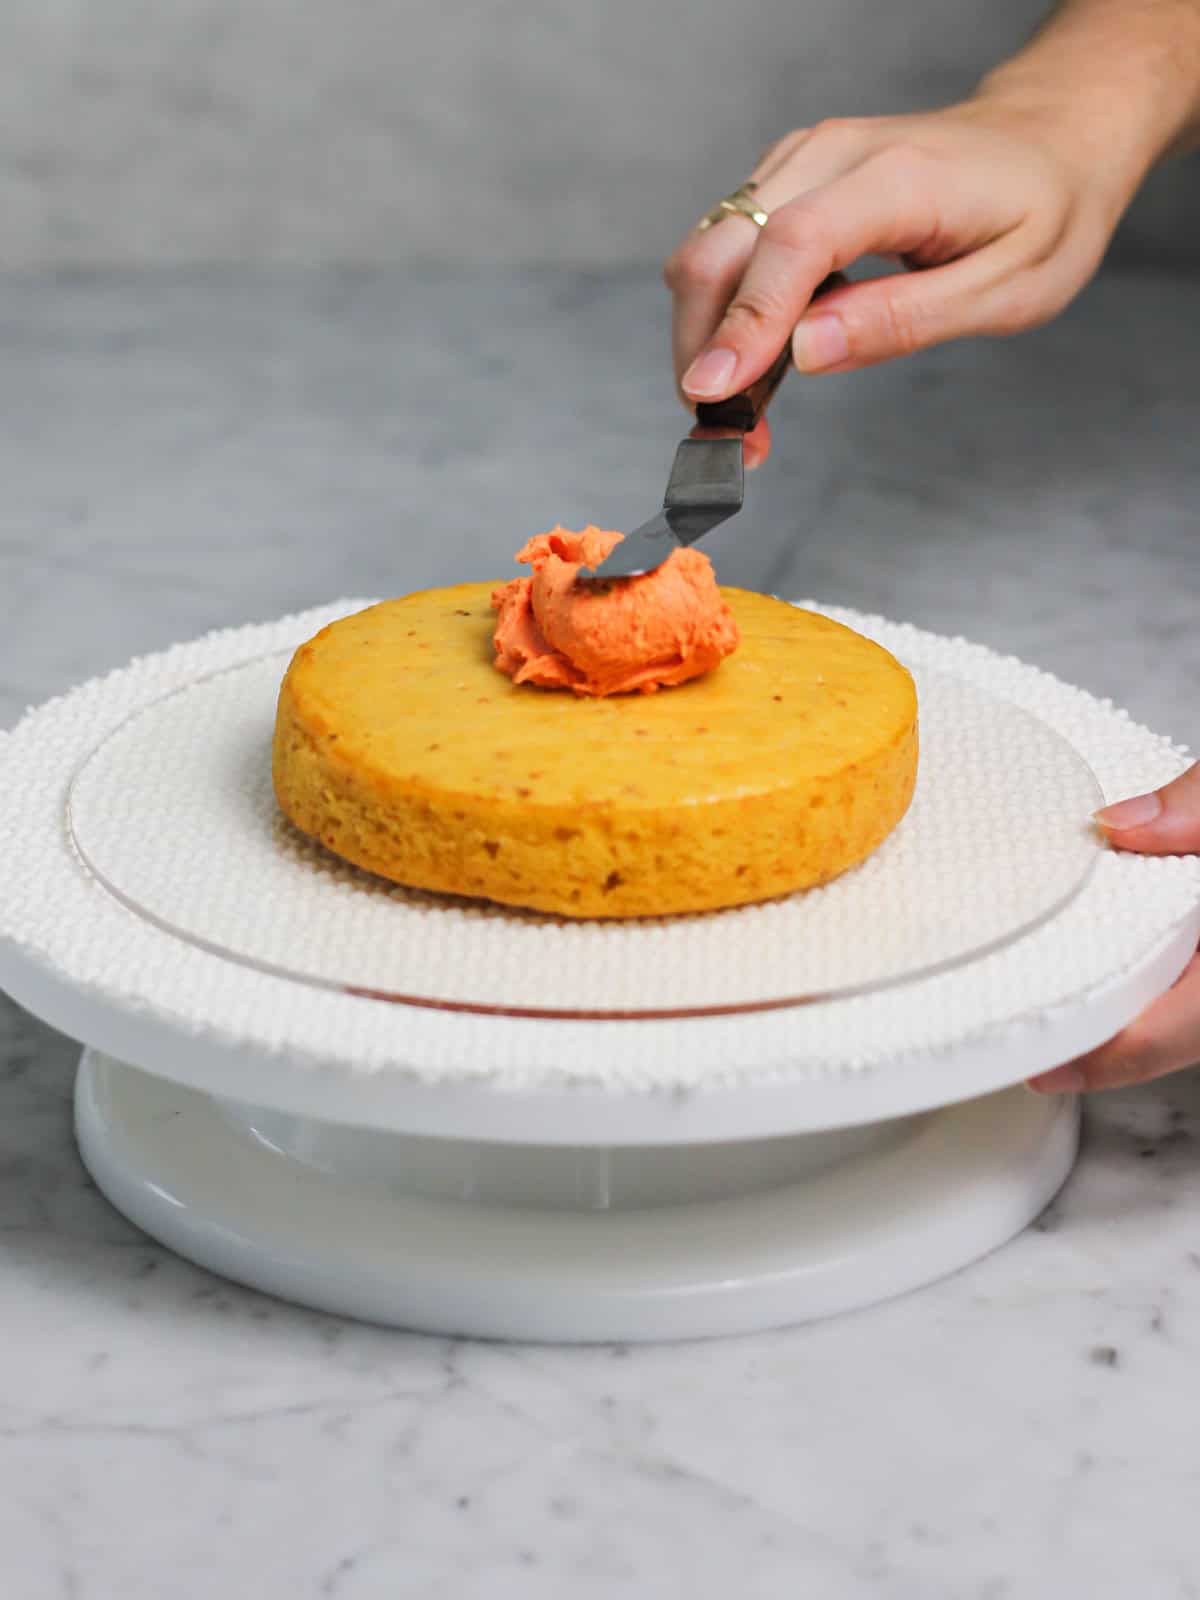
Set out your cake layers. Place a dollop of frosting onto your cake circle. This will act as glue. Follow up by setting down your first layer of cake, spreading a thin layer of orange buttercream over the top.
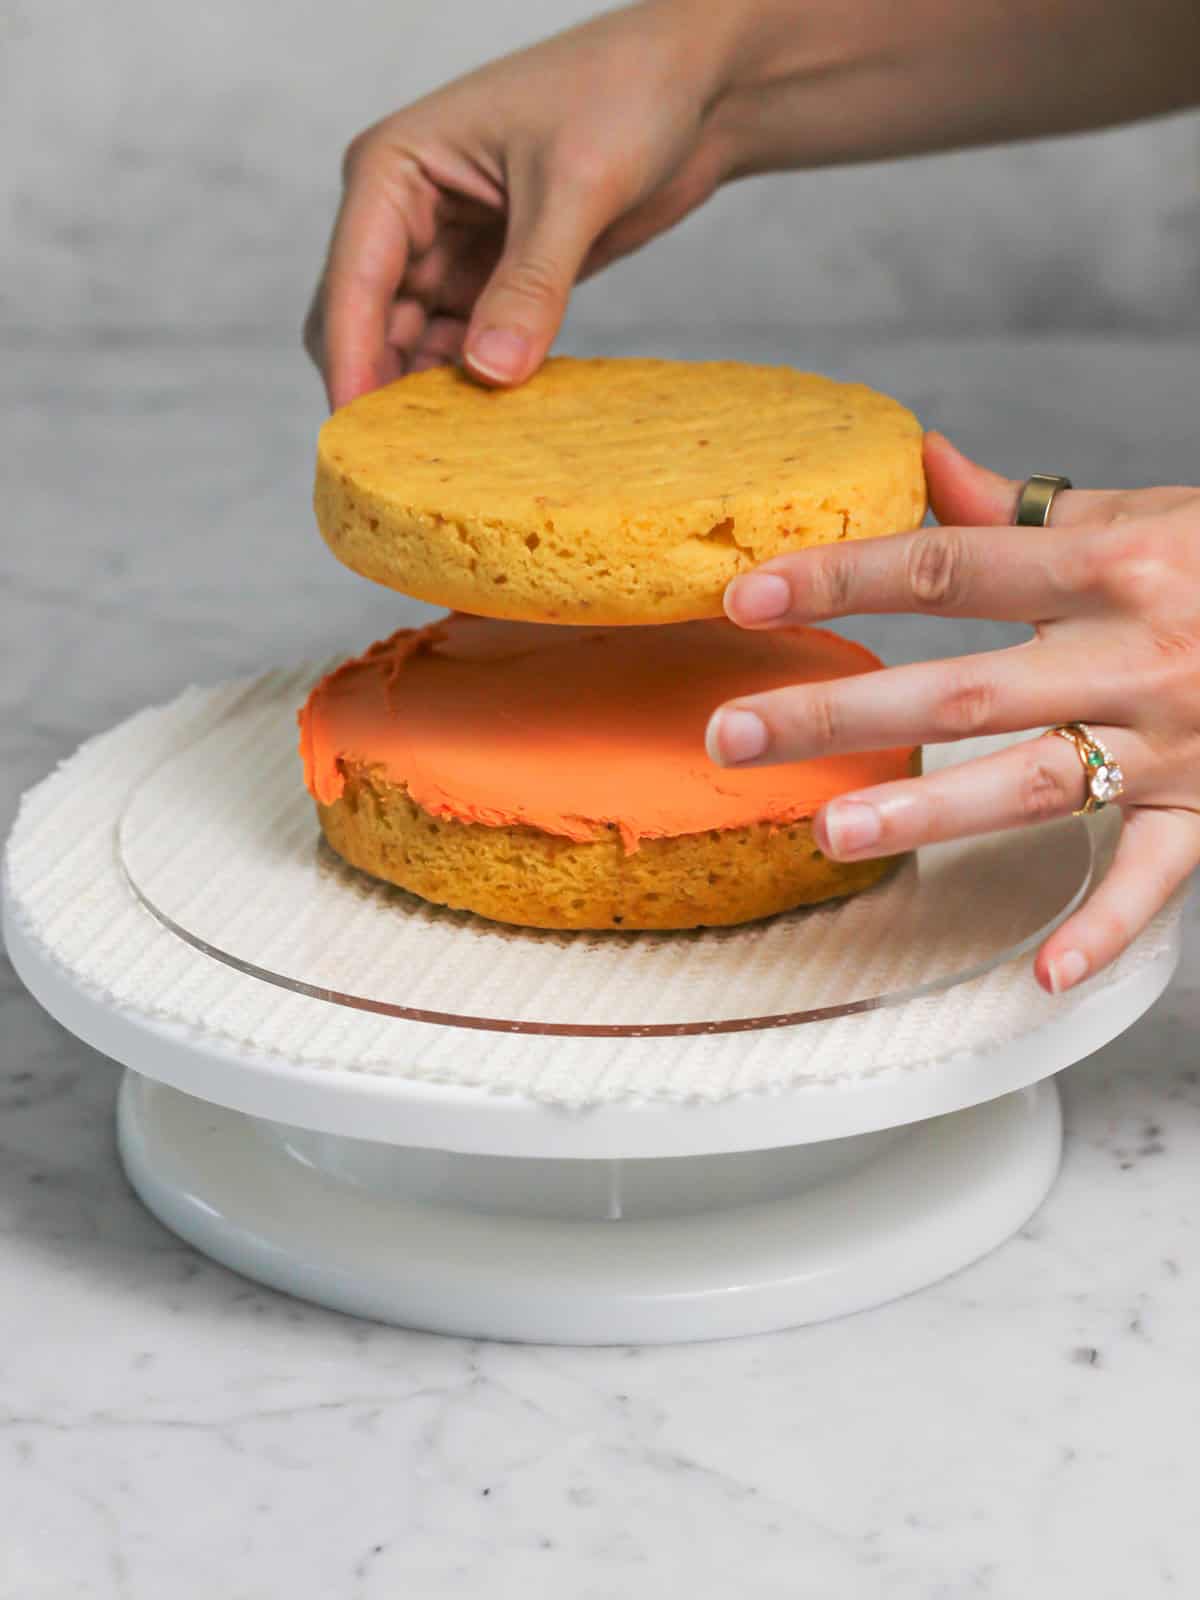
Stack your second layer. Place second cake layer on top of the first, adding more frosting between the layers as needed to fill in any gaps.
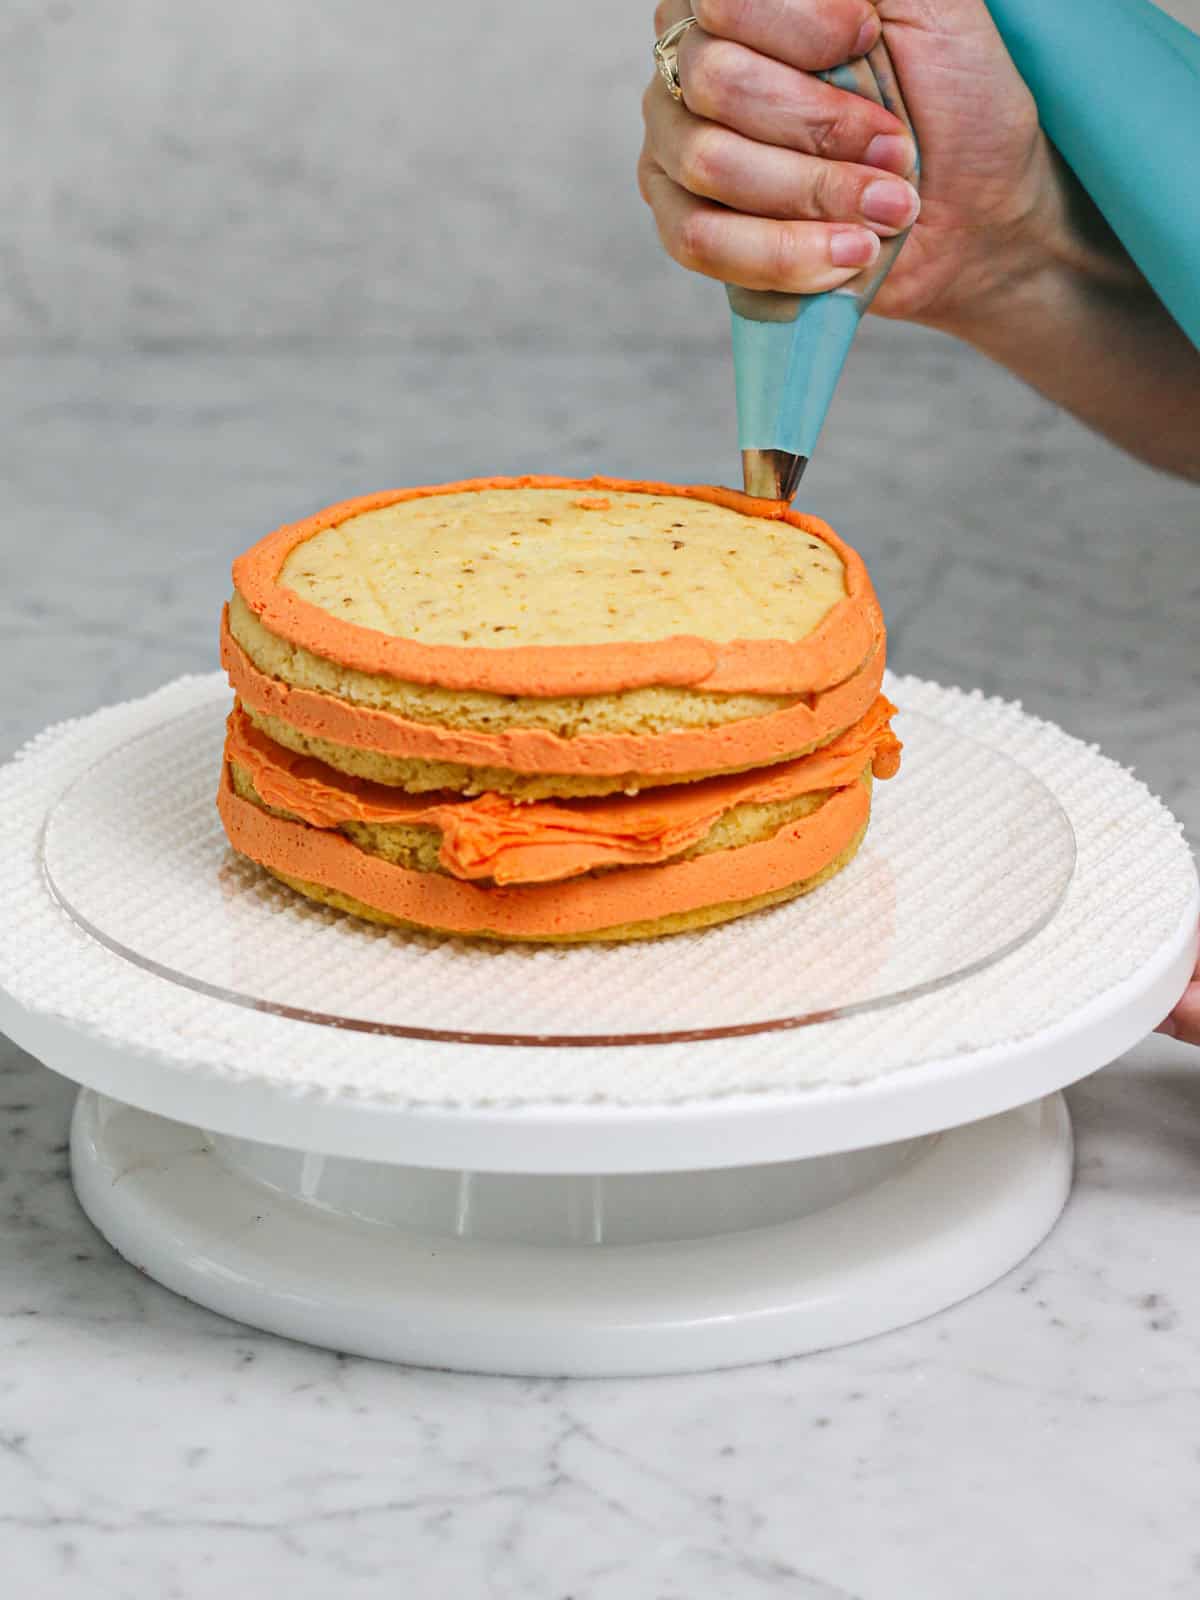
Coat your cake. Starting from the base of the cake and moving to the top, pipe a thick layer of frosting all around your cake’s sides and top.
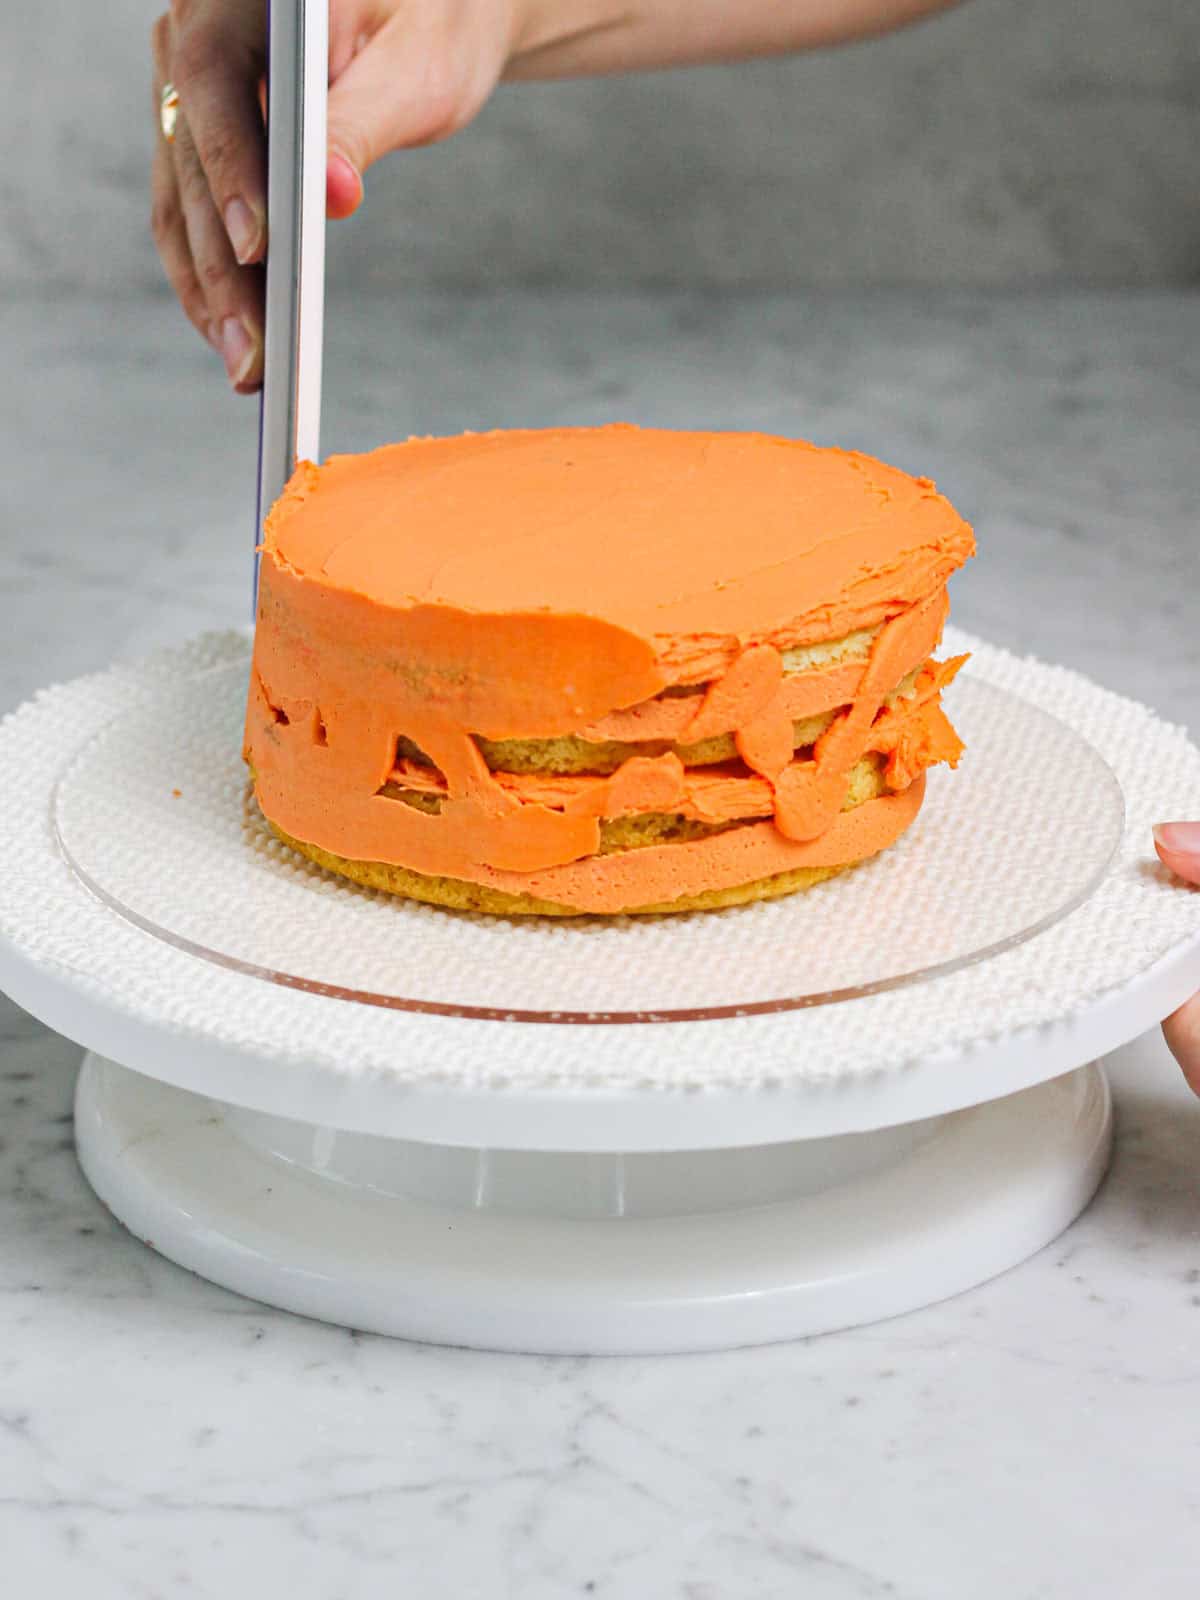
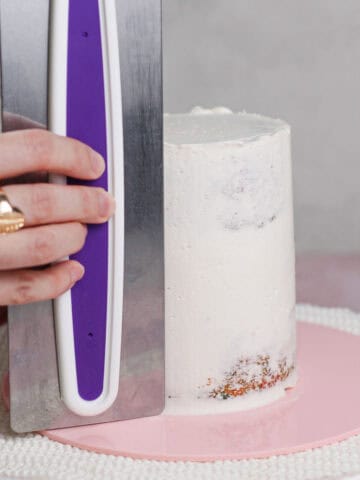
Smooth your frosting. Place a cake scraper (or back of a bench scraper) against the side of the cake and gently pull the cake around to smooth out bubbles in the frosting.
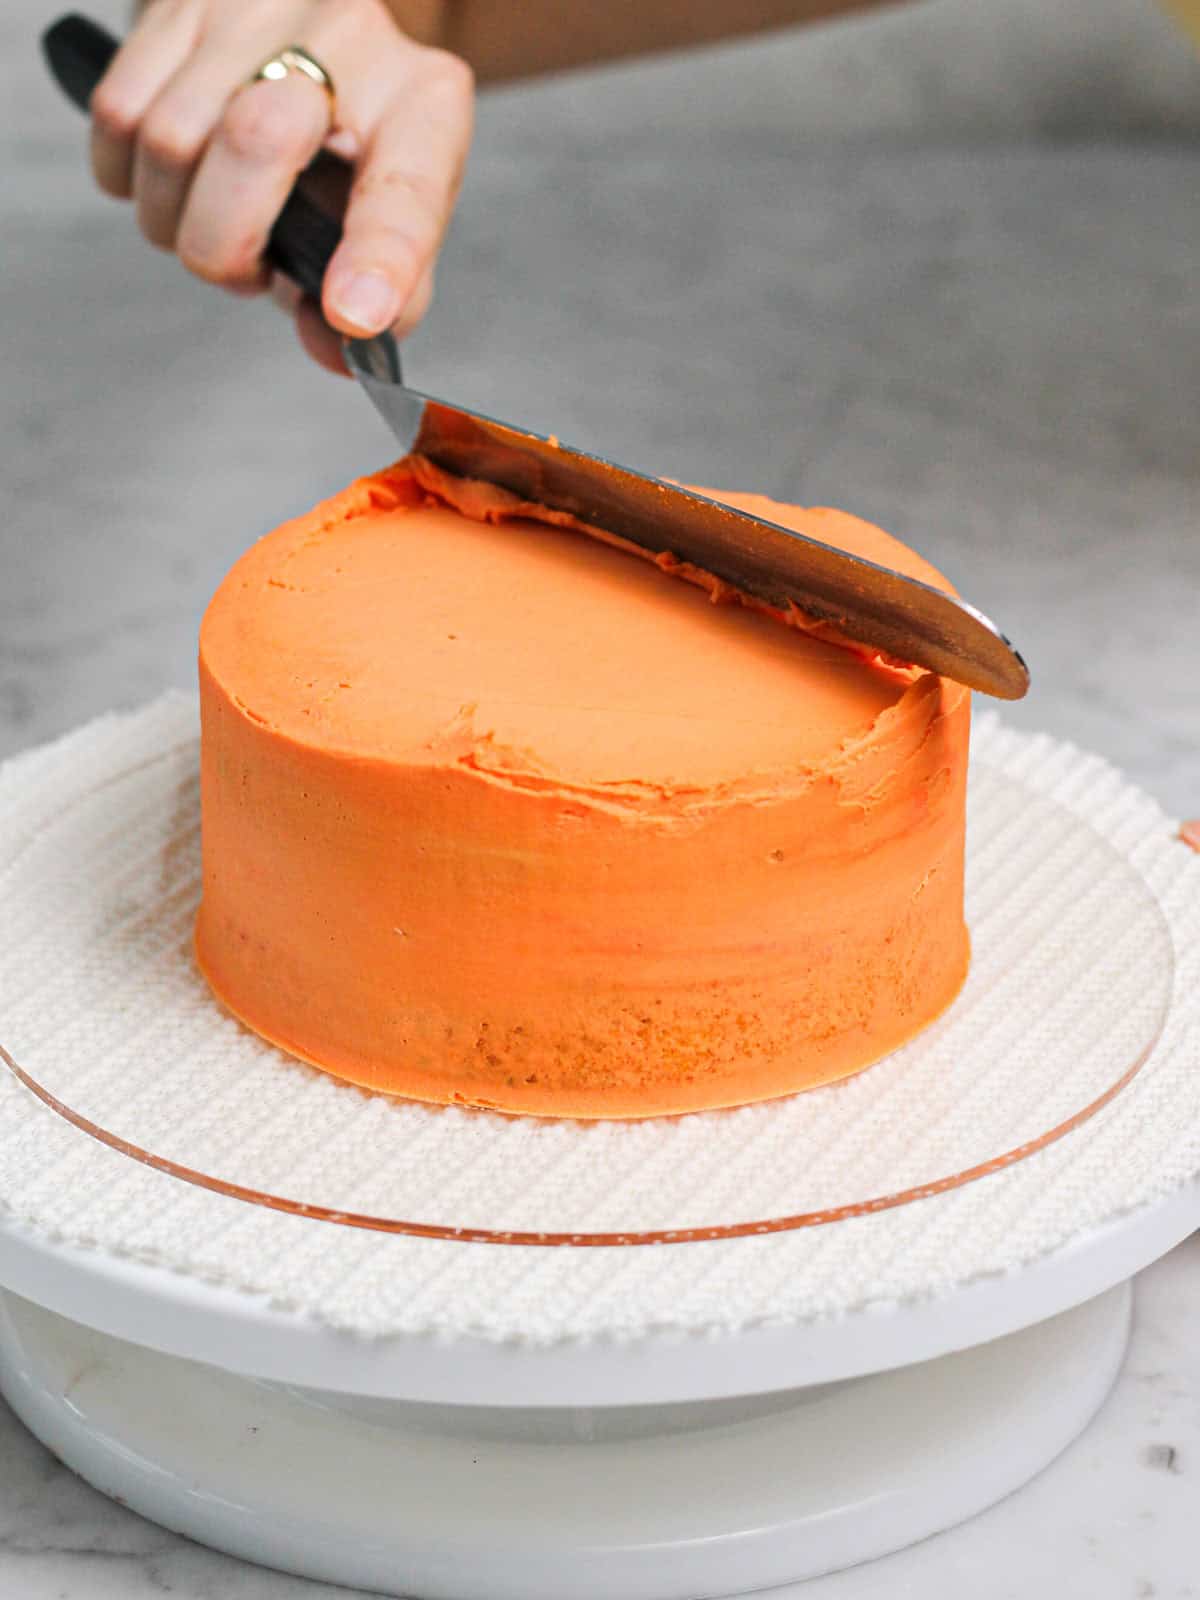
Finish your base layer of buttercream. Continue this process until the whole cake is smooth. Then, use a standard-sized or small offset spatula to push the excess cake frosting around the cake's top (looks a bit like a little crown 👑) toward the center of the cake. Place cake in refrigerator for half an hour to set the frosting.
🍋 Piping the Lemon Design and Details
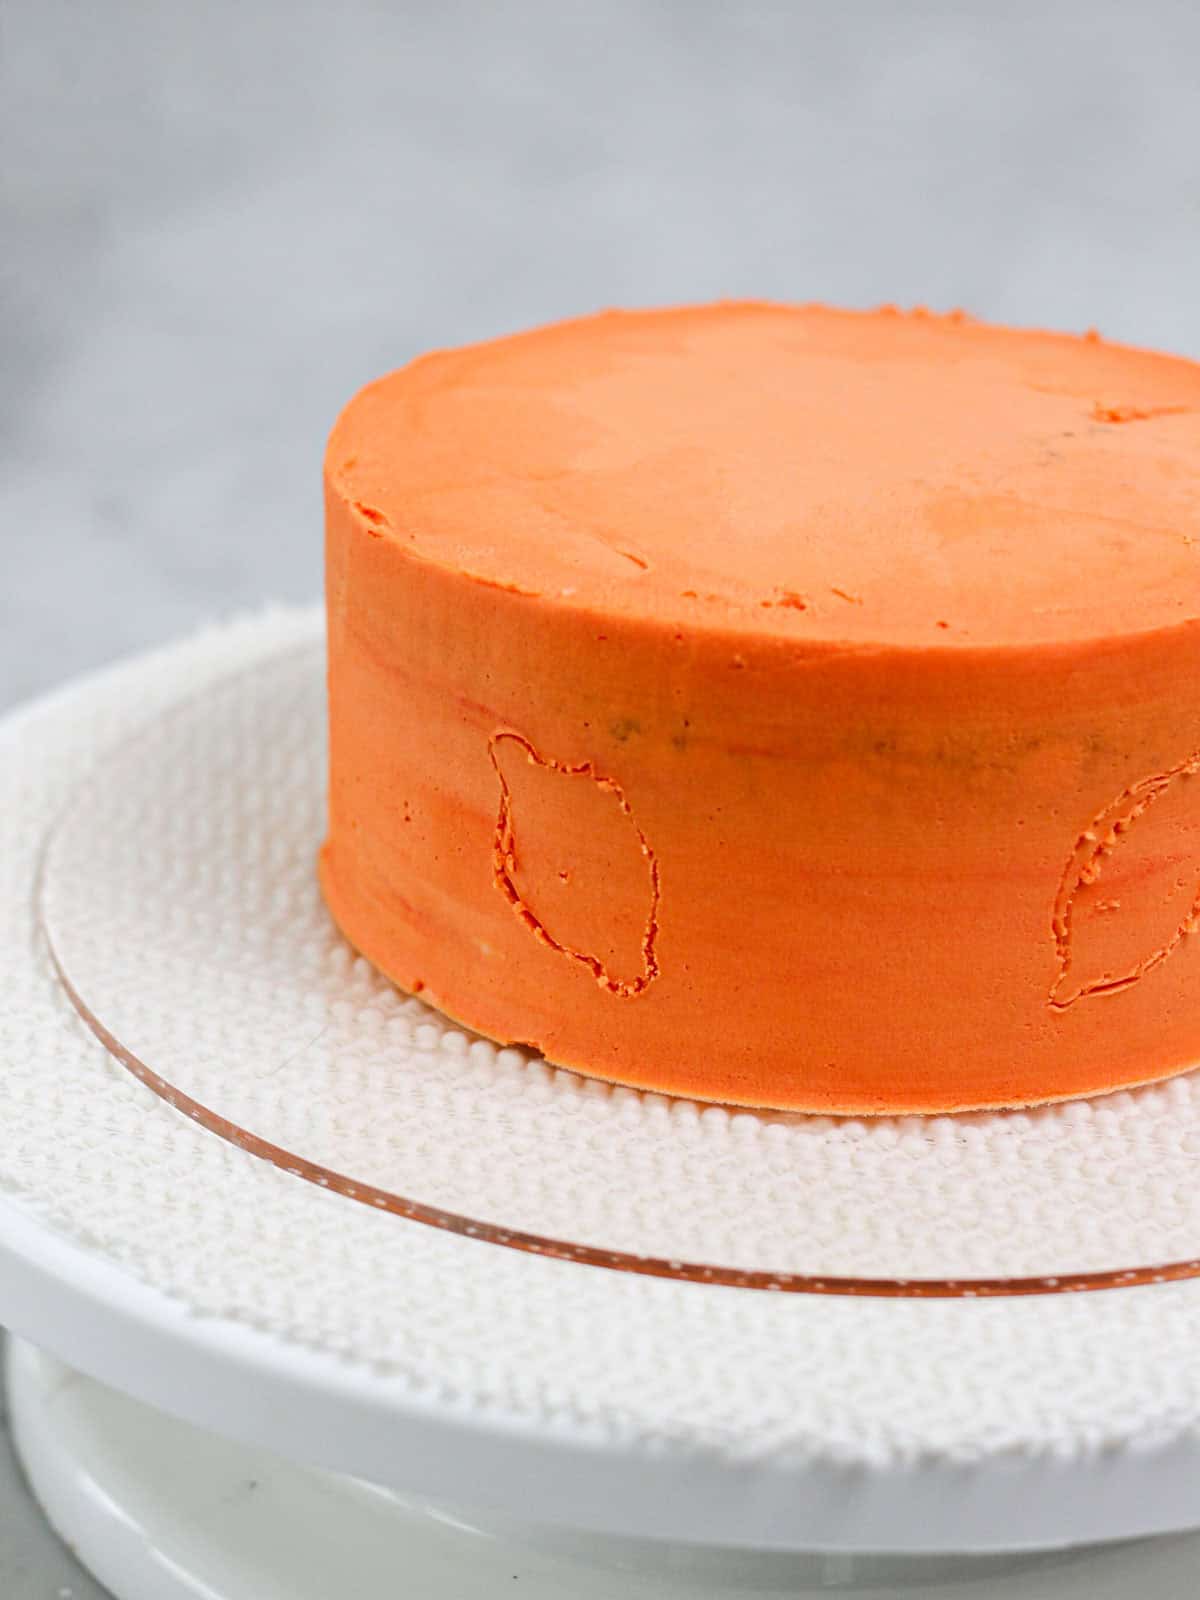
Outline with a toothpick. Once your cake is covered in frosting, use a toothpick to lightly sketch out the shapes you want to create on the cake. This could include outlines for lemon shapes, leaves, and any other design elements.
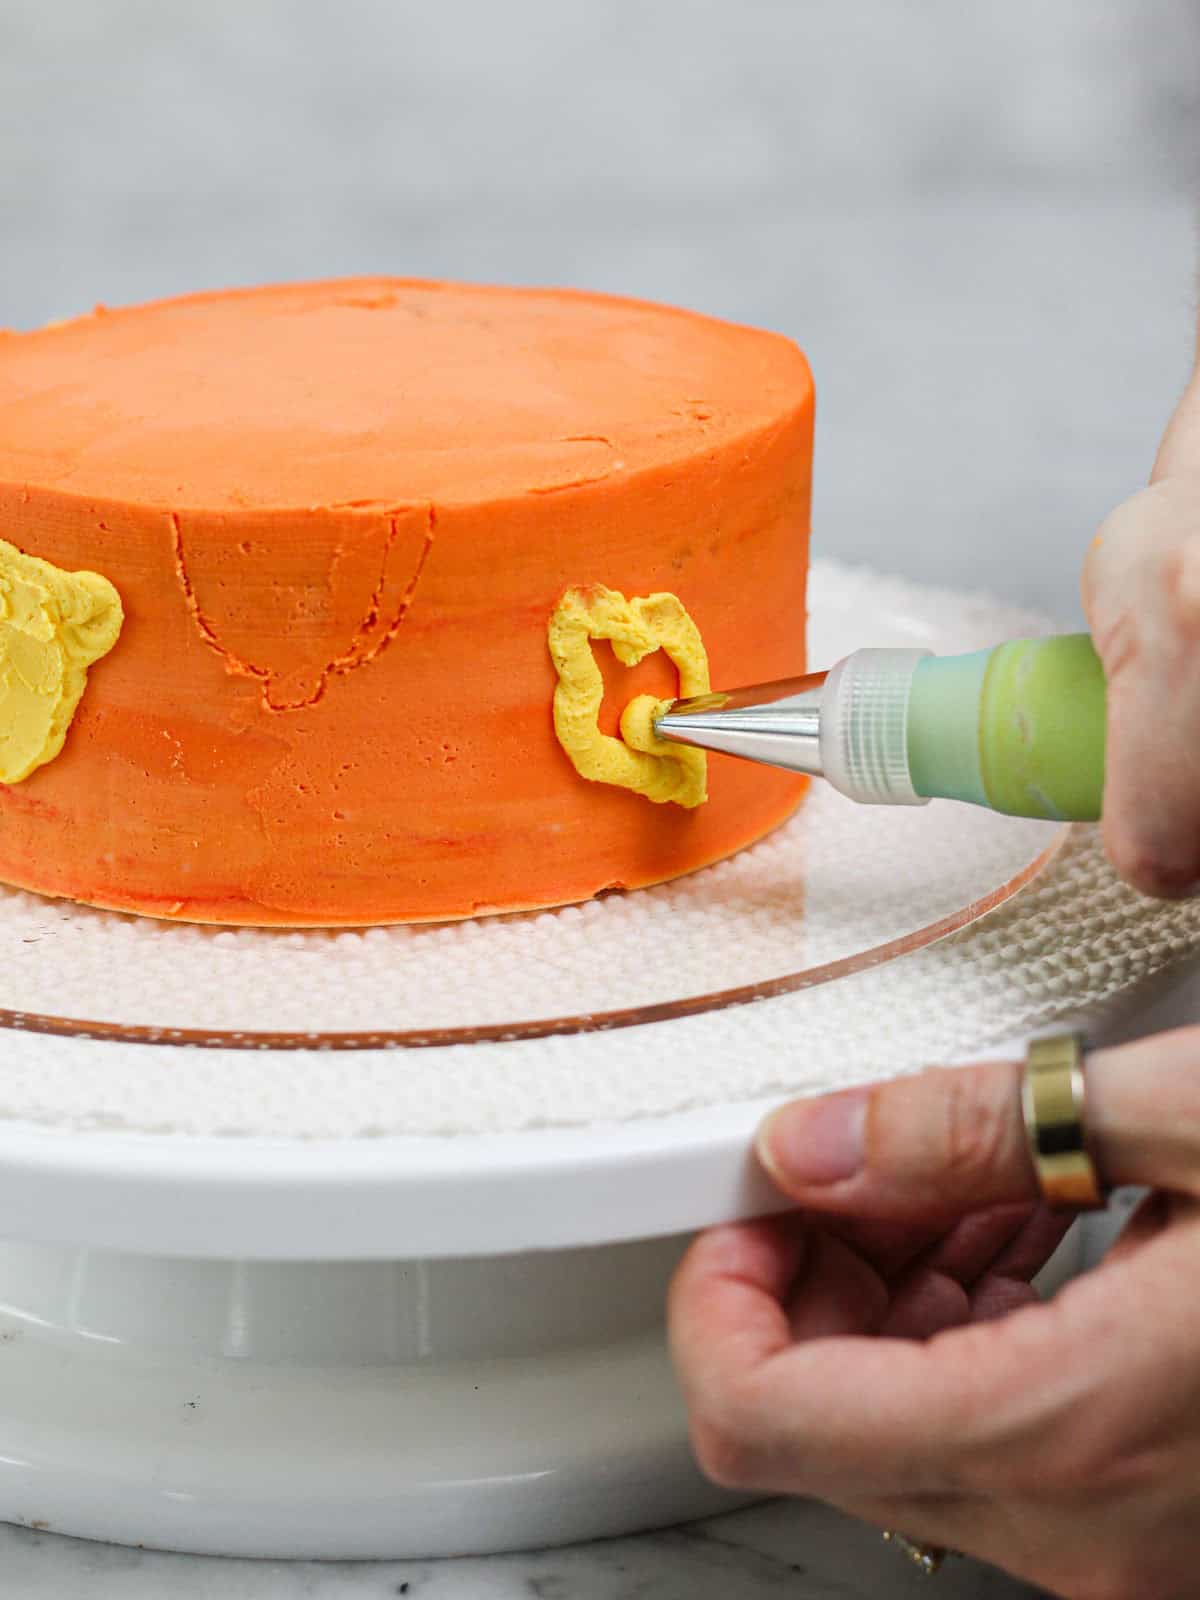
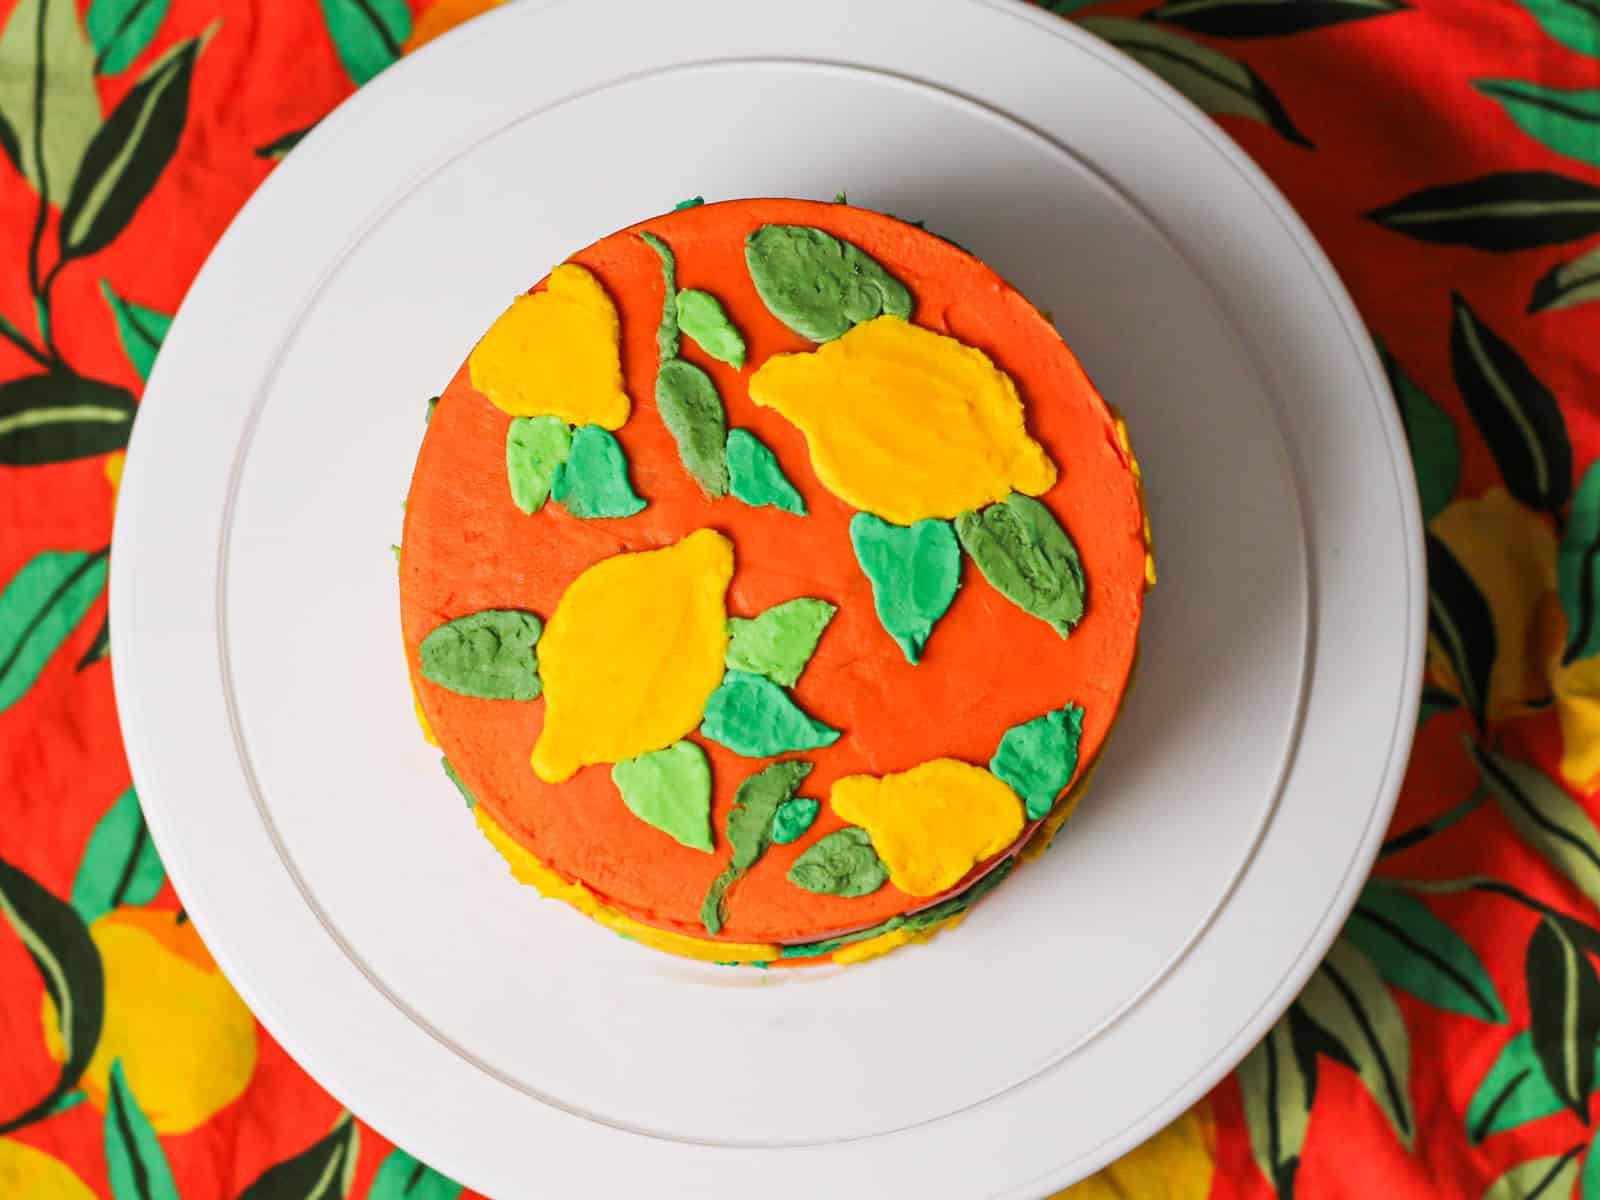
Pipe the lemons. Use a round piping tip to pipe the lemon shapes. Start by outlining the lemon with yellow buttercream before filling it in. You'll smooth out the design later, so if it looks a bit rough at the moment, don't worry!
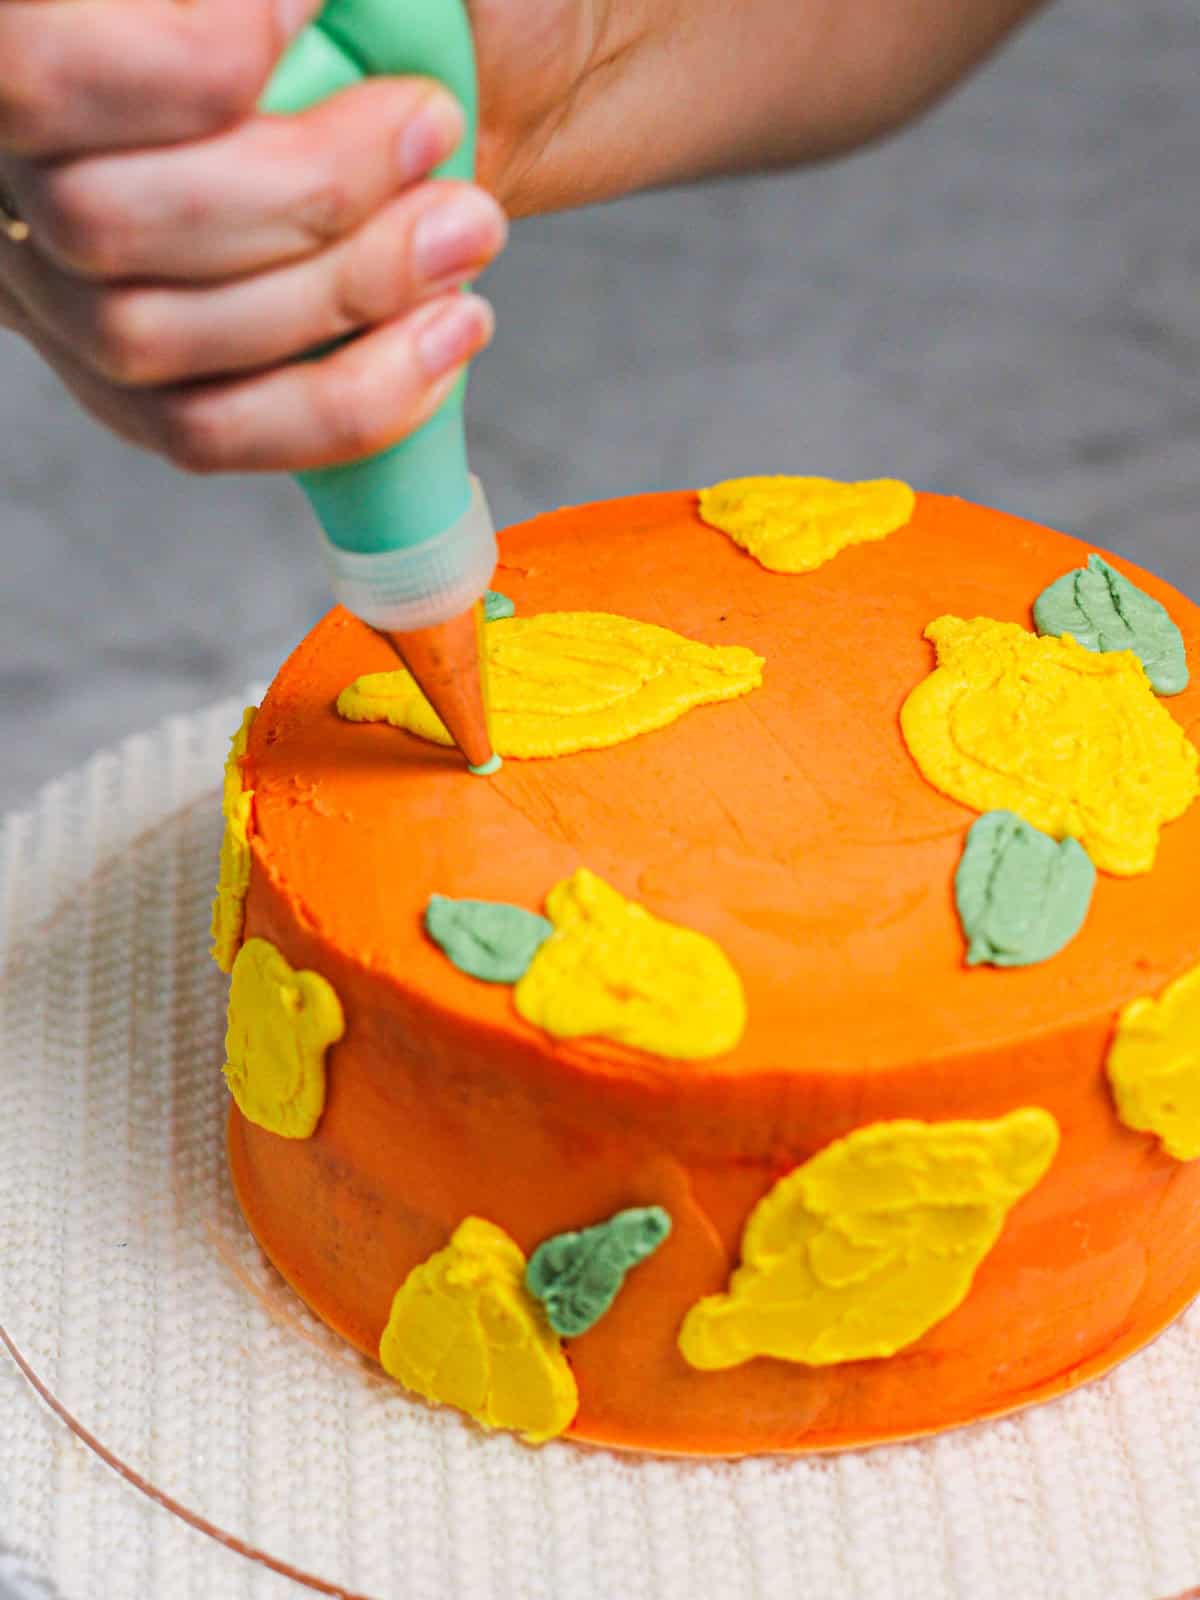
Create the leaves. Use another round piping tip, fitted on a bag with green frosting, to create the leaves.
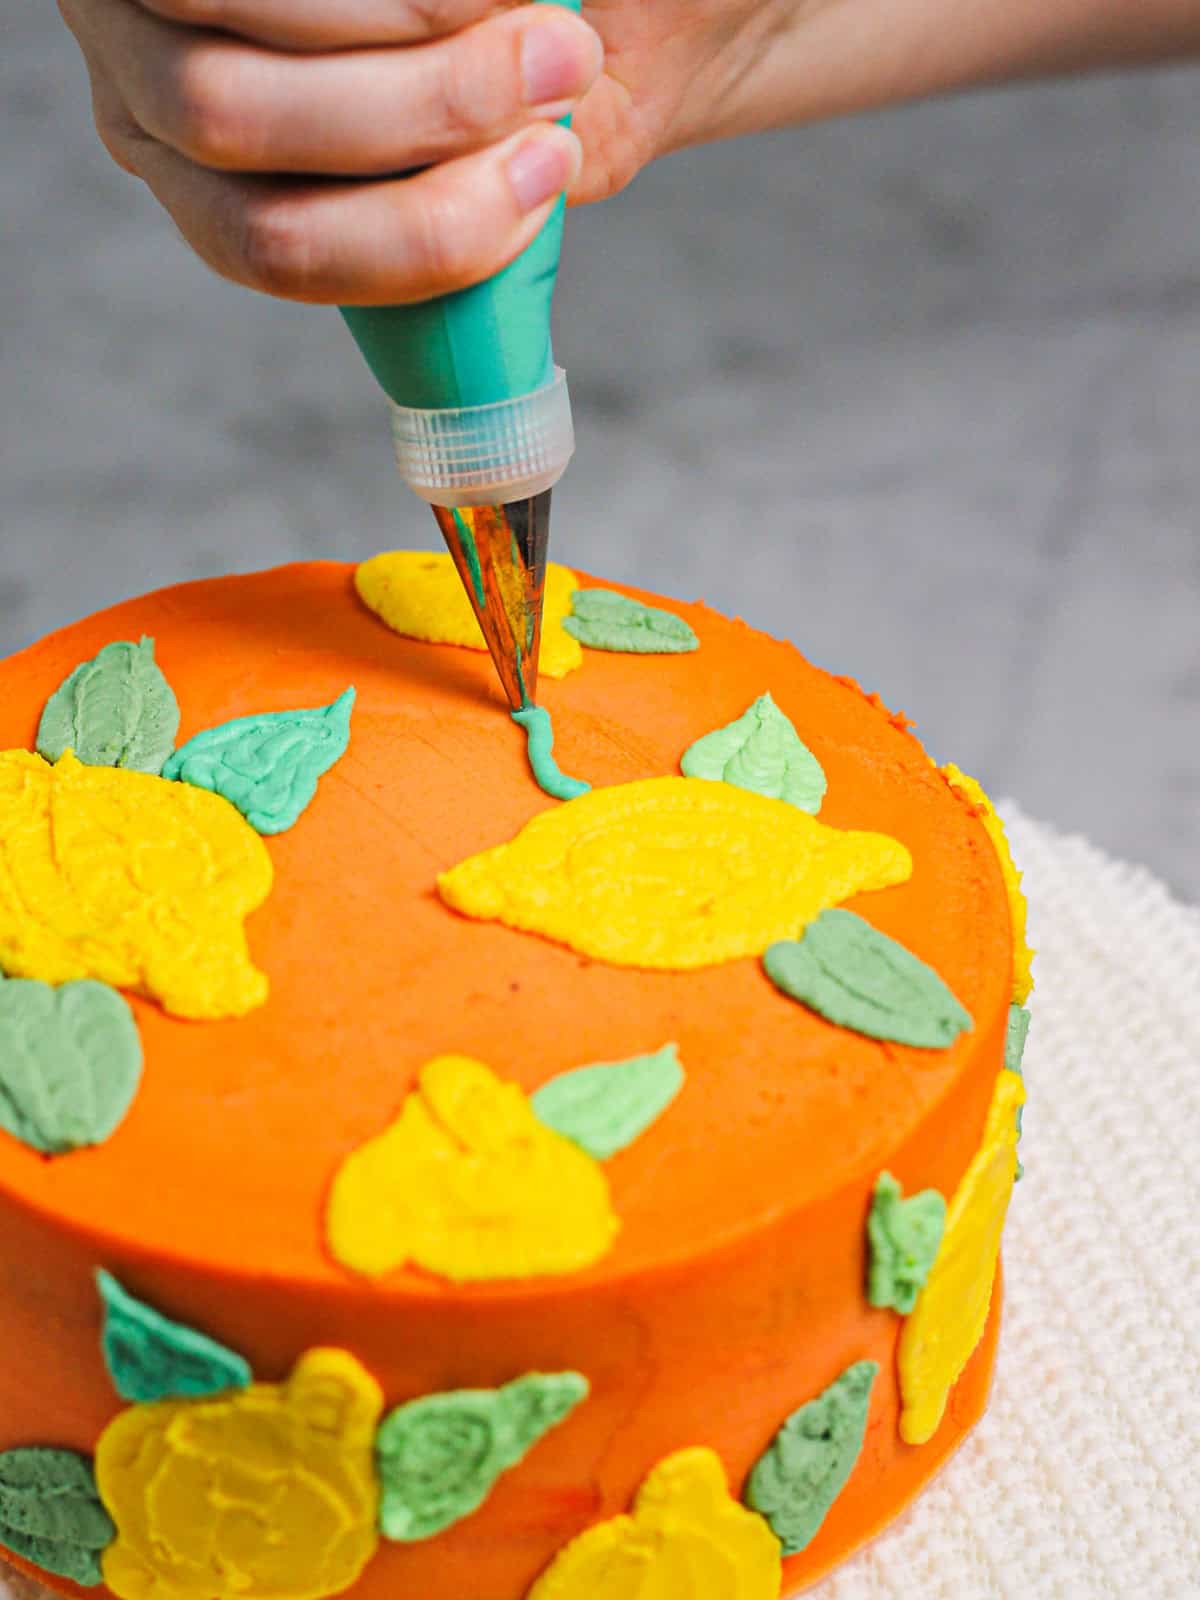
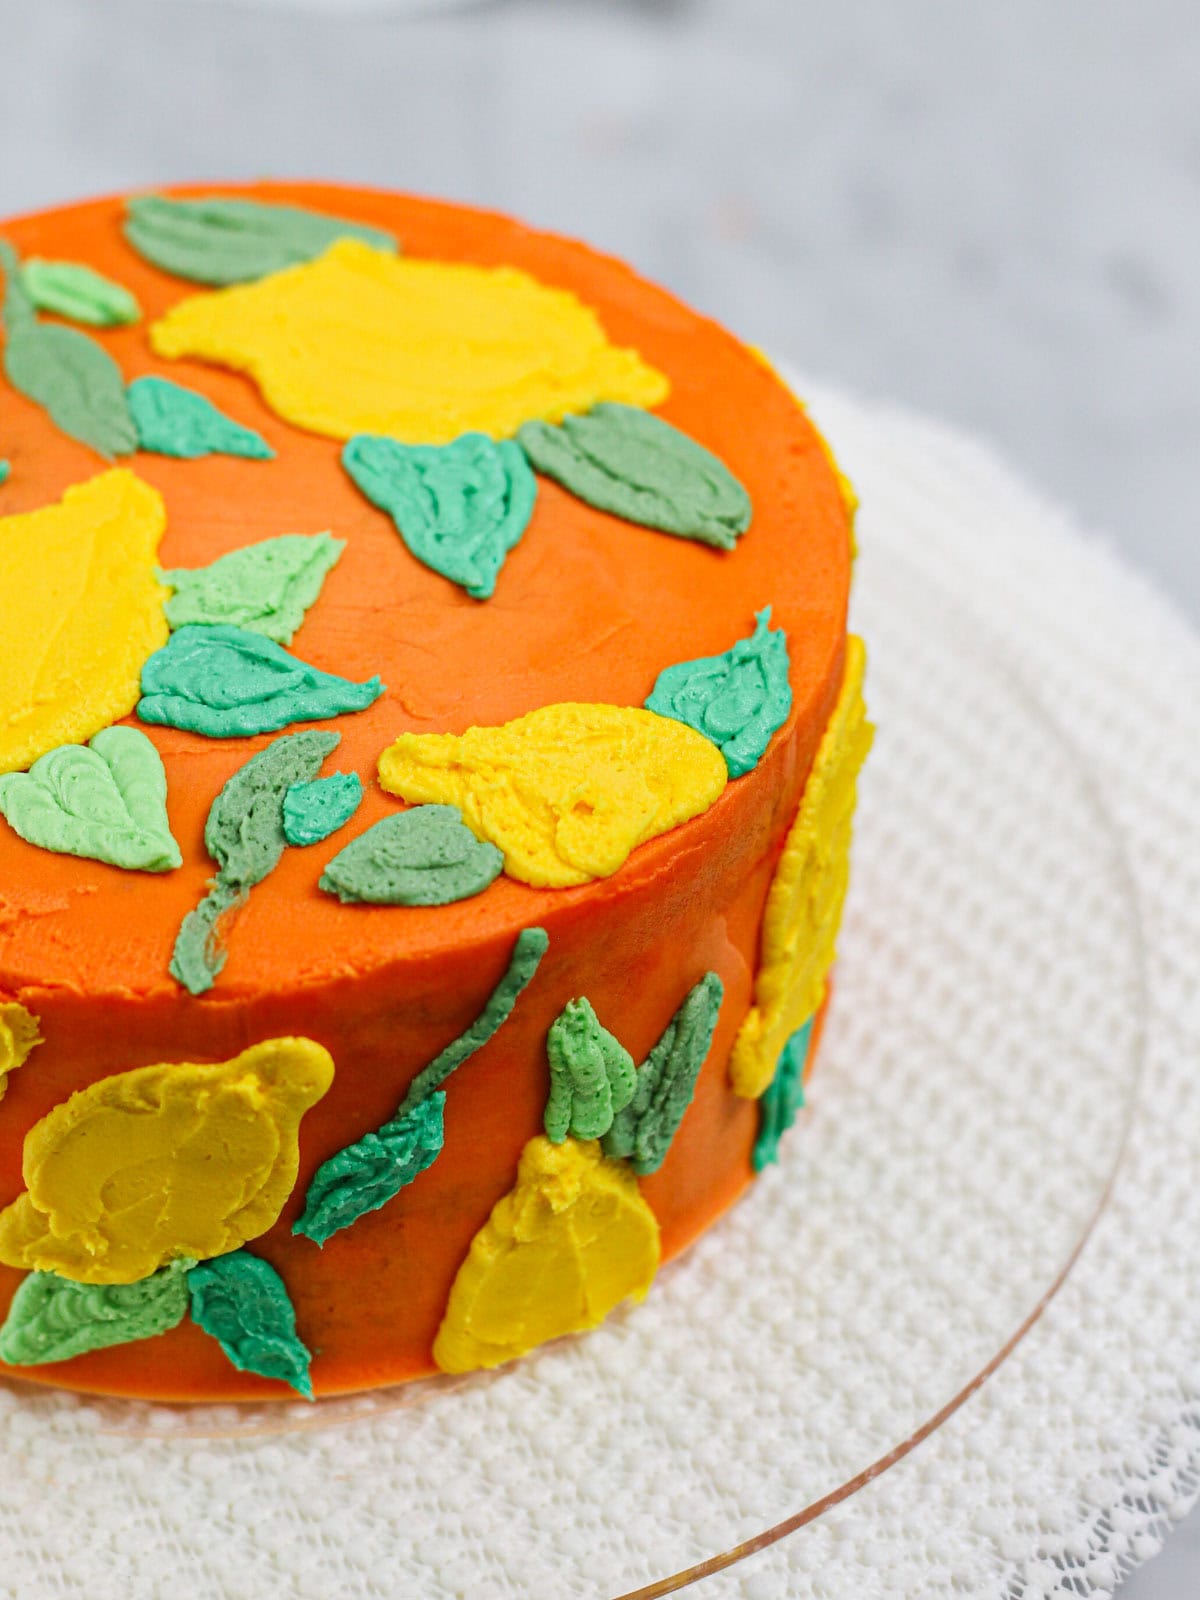
Repeat process. Continue to alternate between your green and yellow bags of frosting to pipe your lemons and leaves, filling in the blank space as much as you'd like.
Chill the cake. Return the cake to the refrigerator for a brief period (15-30 minutes) to firm up the buttercream, making it easier to smooth out any imperfections.
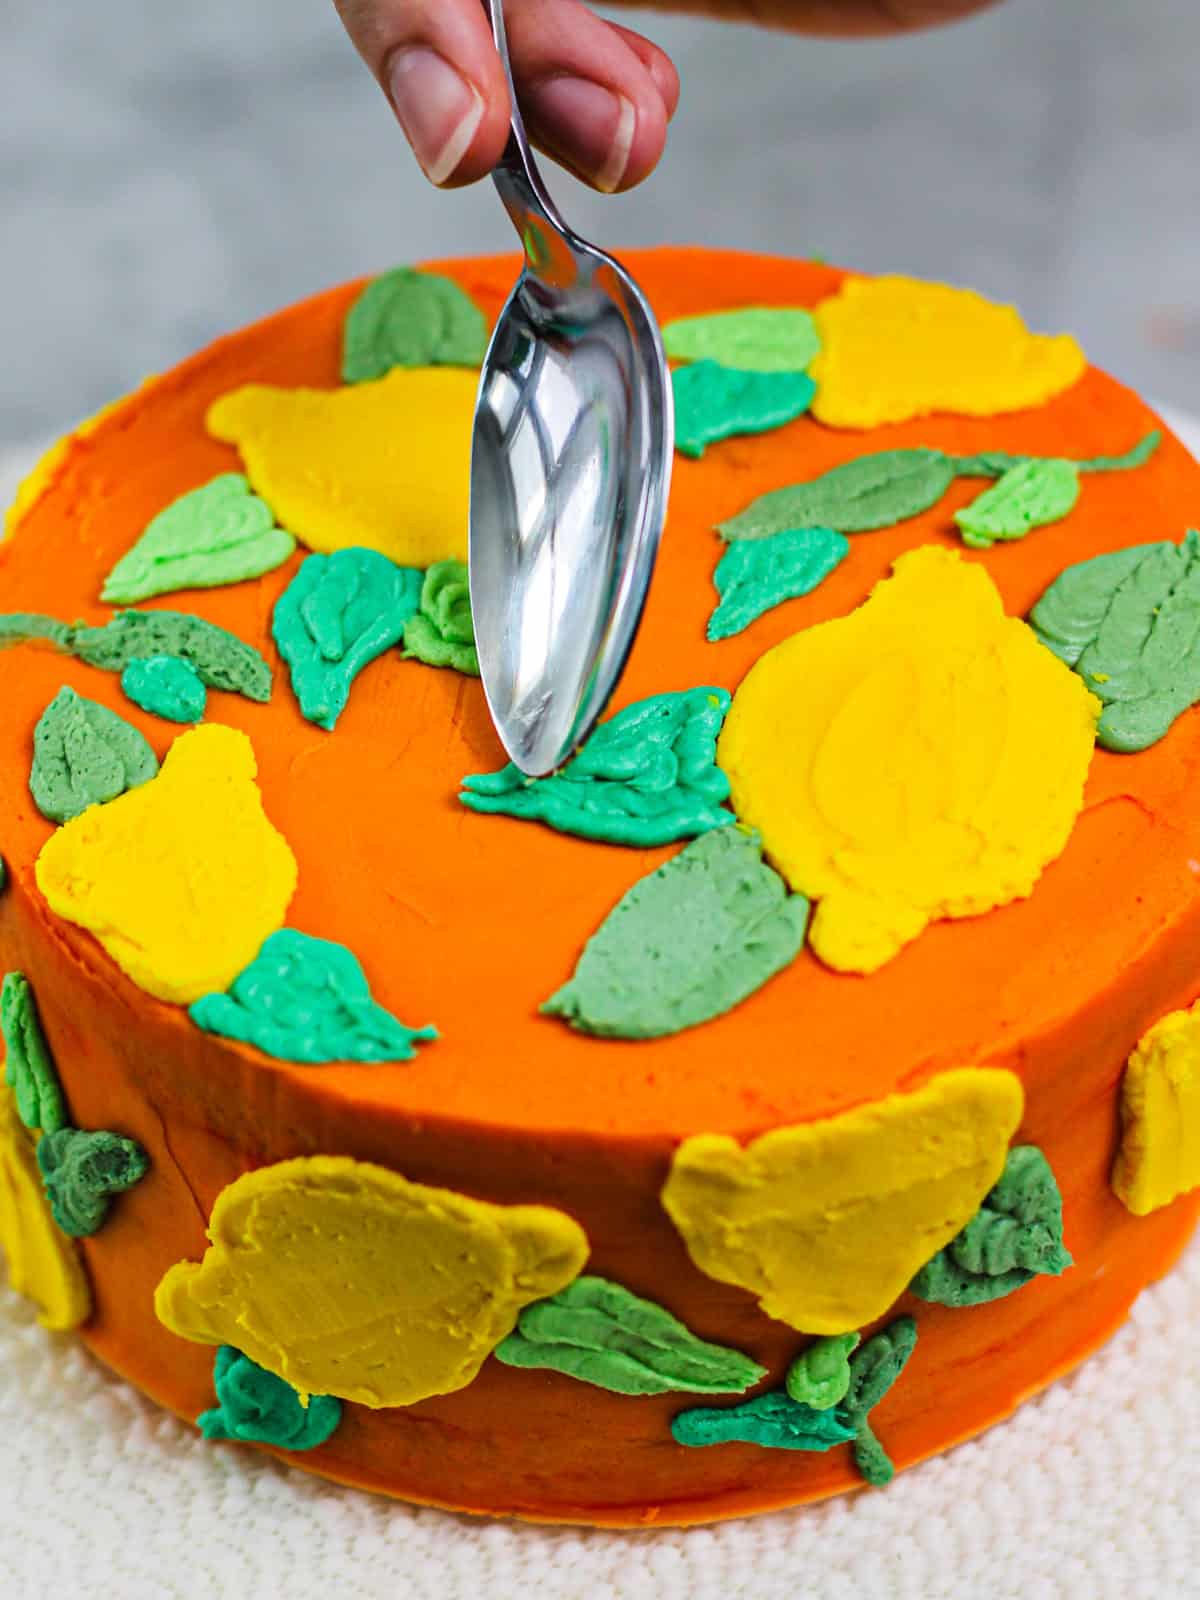
Smooth out blemishes. Have a small bowl of hot water nearby, and dip the back of a spoon in it before wiping dry. Then, run the warm spoon against any blemishes in the frosting. This technique helps achieve a neat and clean design.
Subscribe to receive more recipes like this one in your inbox!
Storage and Serving Instructions for this Cake
If you want to prep the layers or the frosting in advance for this cake, that's totally doable.
- Freezing - You can freeze each layer for up to three months. Place them in an airtight container in your freezer, and bring them out an hour or two before you'd like to serve them. I also like to wrap them in plastic wrap first for another layer of protection against freezer burn.
- Refrigerating - If you've already made the cake, it'll stay fresh for about 3 days in the refrigerator. Make sure to store it also in an airtight container. This helps it retain its moisture longer, minimizing dryness and loss of flavor.
- Serving - Bring it from the refrigerator about an hour before serving for a more tender cake.
For more info, I have a detailed guide for freezing cupcakes if you're curious about freezing and refrigerating cake-based desserts.
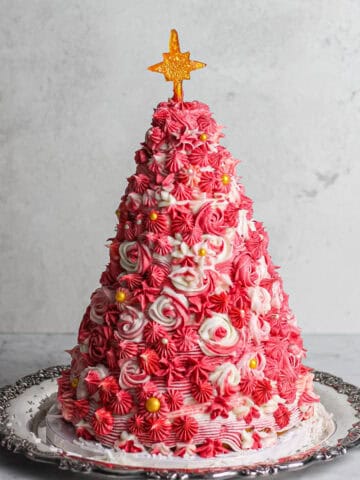
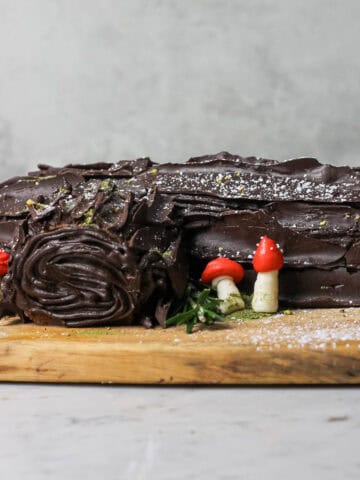
🪄 More Tutorials


Buttercream Lemon Cake Tutorial: Step-by-Step Guide
- Total Time: 90 minutes
- Yield: 1 6-inch, 2-layer cake 1x
Description
Inspired by a print on my favorite pajamas, this buttercream lemon cake tutorial shows you how to recreate this citrusy design at home.
Ingredients
Cake
- You'll need two, 6-inch cake layers for stacking
Frosting Ingredients
- 1 ½ sticks (170 grams) of unsalted butter, room temperature
- 5 cups (575 grams) of powdered sugar
- ⅓ cup (80 grams) heavy cream
- 1 ½ tsp vanilla extract
- 2 tsp almond extract
- Pinch of salt
- Optional: A few drops of lemon or lime juice (or white vinegar) to cut sweetness; add to your preference
Instructions
Almond Buttercream Frosting
- In the bowl of your stand mixer, combine your unsalted butter, powdered sugar, vanilla extract, heavy cream, and salt. Start mixing on a low setting in short spurts to incorporate and avoid powder flying everywhere. Then increase speed and beat for another 5 minutes.
- Taste test and add lemon juice if too sweet for your liking. Thin it out as needed with another tablespoon or two of heavy cream.
- Once happy with flavor, use a spatula to smooth the frosting. Drag the spatula from the middle of your bowl to its edges, watching as the tears and bubbles in your buttercream disappear. Spend 3-4 minutes doing these motions to achieve nice, smooth frosting.
Frosting & Piping Your Buttercream Lemon Cake
Begin decorating once your cake layers are fully baked and cool to the touch.
- Color the buttercream. Divide the buttercream into five small bowls. Add drops of yellow dye to all of the bowls. Mix, and then add red to one bowl and varying amounts of blue to three others. You'll end with three bowls of green frosting in different shades, one bowl of orange, and one yellow.
- Prepare the cake layers. Add a small dollop of buttercream to the center of your cake circle or cake board to act as glue. Place the first cake layer on top, then spread a thin, even layer of buttercream over the surface of the cake.
- Stack the cake. Place the second cake layer on top of the first. Add additional buttercream between the layers as needed, spreading it evenly and filling in any gaps so the layers are level and secure.
- Apply the base coat of frosting. Starting at the bottom of the cake and working upward, pipe a thick layer of buttercream around the sides of the cake. Continue piping buttercream over the top of the cake to fully cover it.
- Smooth the sides. Hold a cake scraper (or the back of a bench scraper) against the side of the cake and gently rotate the cake to smooth out air bubbles and excess frosting.
- Finish the top edge and chill. Continue smoothing until the cake is fully coated and even. Using a standard or small offset spatula, push the excess buttercream from the top edge (it will resemble a small crown 👑) toward the center of the cake. Transfer the cake to the refrigerator and chill for 30 minutes to allow the frosting to set.
- Sketch the design. Once the buttercream has set, use a toothpick to lightly sketch your design directly onto the cake. Outline lemon shapes, leaves, and any additional decorative elements before piping.
- Pipe the lemons. Fit a piping bag with a round piping tip and fill it with yellow buttercream. Pipe the lemon shapes by first outlining each lemon, then filling it in completely. The design may look slightly rough at this stage — it will be smoothed later.
- Pipe the leaves. Fit a second piping bag with a round piping tip and fill it with green buttercream. Pipe leaf shapes around the lemons, varying their size and direction for a natural look.
- Fill in the design. Continue alternating between the yellow and green piping bags, piping additional lemons and leaves until the design feels balanced and the blank space is filled to your liking.
- Chill again. Place the cake back into the refrigerator briefly to firm up the piped buttercream, which will make smoothing easier.
- Smooth and refine. Use the back of a hot spoon (dip it in hot water and wipe dry) to gently smooth out any blemishes or rough areas in the piped buttercream. Work carefully to maintain the shape of the lemons and leaves while achieving a clean, polished finish.
Notes
Nutritional values are approximate and may vary based on specific ingredients, brands, and preparation methods. For the most accurate information, please consult a registered dietitian or nutritionist.
- Prep Time: 45 minutes
- Decorating Time: 45 minutes
- Category: Dessert
- Cuisine: American
Nutrition
- Serving Size: 1 slice
- Calories: 229 kcal
- Sugar: 18g
- Sodium: 147.08mg
- Fat: 10.5g
- Saturated Fat: 6.23g
- Unsaturated Fat: 3.60g
- Trans Fat: 0g
- Carbohydrates: 35.33g
- Fiber: 0.6g
- Protein: 3.33g
- Cholesterol: 35.17mg

Leave a Reply