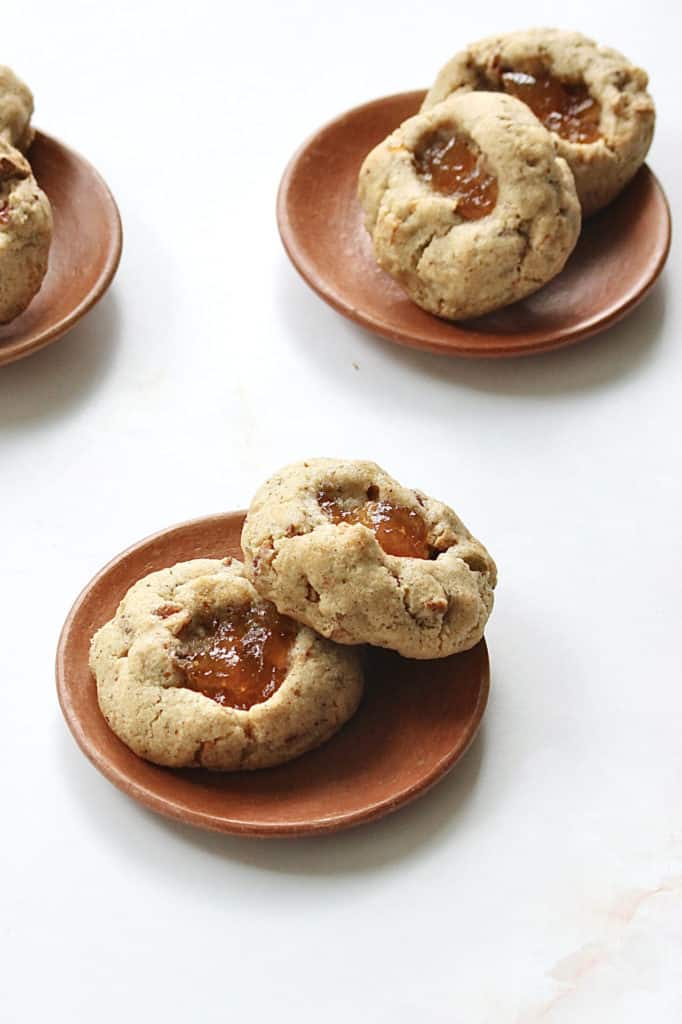
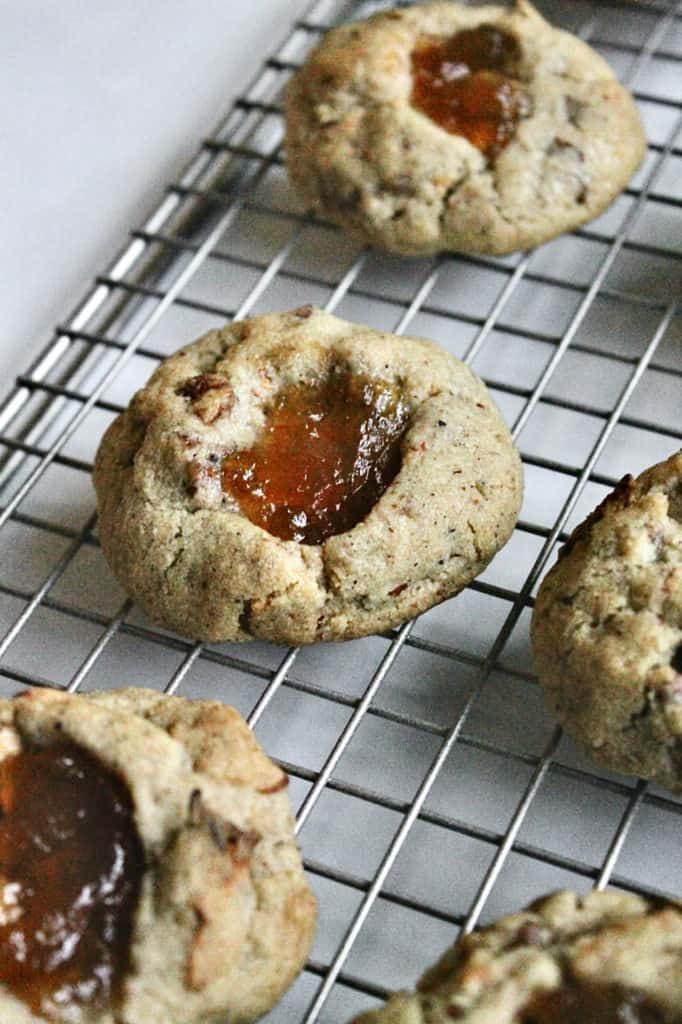
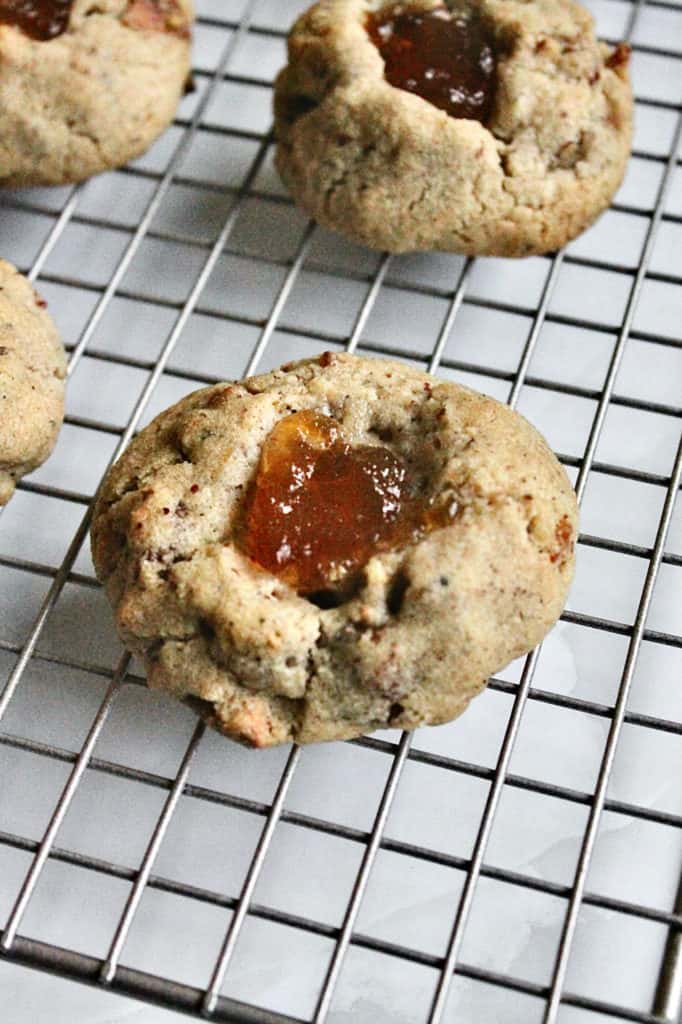
These apple thumbprint cookies are inspired by my grandmother Mimi’s old family apple dapple cake—a warm, cozy dessert packed with apples and pecans. In cookie form, that flavor story turns into a brown-butter dough with candied pecans, freeze-dried apples, and a little apple jam in the center of each thumbprint.
Jump to:
- How I Developed These Apple Thumbprint Cookies
- Best Results: Baking in Grams
- The Apple Dapple Cake Behind This Cookie
- Step-by-Step Instructions for Apple Dapple Thumbprint Cookies
- 💡 Tips for the Best Thumbprint Cookies
- What Makes These Cookies Taste Like “Apple Dapple”
- Why Brown Butter Works So Well Here
- Apple Dapple Thumbprint Cookies
For more family-favorite recipes, try my snowball pecan cookies by my Aunt Susie or the old fashioned carrot cake with pineapple that makes appearances all-year long at family gatherings and birthday celebrations.
How I Developed These Apple Thumbprint Cookies
I developed this recipe during a virtual Monthly class taught by Christina Tosi of Milk Bar. One of my favorite ideas from the course was her emphasis on “flavor stories”—how the best desserts often start with a memory, a season, a place, or a specific food you love. That framework clicked for me immediately, because Mimi’s apple dapple cake is one of those desserts that’s tied to real comfort and real moments.
My love for baking has intensified over the past few years, mainly since my grandmother passed away. I so wish I could share my creations with her. While I can't physically do that, I knew I wanted to make a dessert in Mimi's honor. Hence this little cookie, which conjures up feelings of comfort and joy for me. Isn't it funny how taste can do that? Flavor is so closely tied to some of our memories, which is both wild and very cool. I know Mimi would have loved to see what I'm making, so developing this recipe made me feel more connected to her.
Best Results: Baking in Grams
If you’re not already, use a kitchen scale for accuracy in baking.
While I include cups and grams in my recipe cards, weighing your ingredients and writing or following a recipe using a standard metric like grams ensures consistency.
I highly recommend investing $30 or less in a kitchen scale.
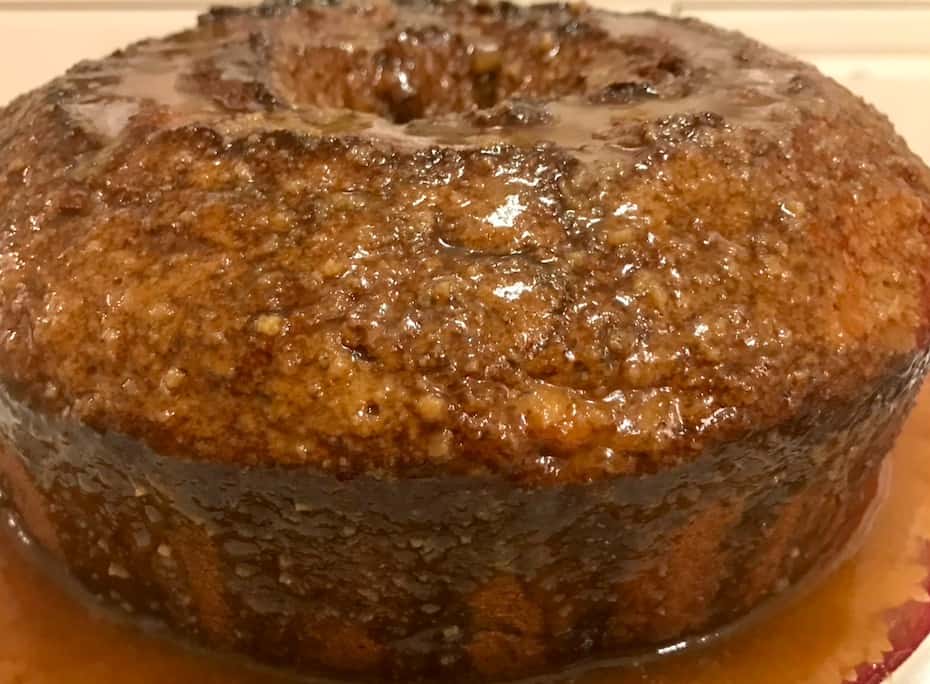
The Apple Dapple Cake Behind This Cookie
Mimi’s apple dapple cake is the kind of dessert that doesn’t look complicated at first glance—but when you cut into it, it’s full of apples and pecans, with that unmistakable brown sugar warmth. Those are the “flavor moments” I wanted to translate into a cookie.
I also developed these as summer was ending and fall was around the corner. When I think of fall baking, I think of apple picking, spiced drinks, and family time around the table—Thanksgiving, Christmas, and the kind of visits that turn into lifelong memories. This recipe is my little edible snapshot of that feeling.
Also worth noting is that I baked these cookies at the end of summer. With autumn around the corner, I wanted to create a cookie recipe in line with the season. When I think of fall, I think of spiced drinks, apple picking, family time, and meals around the table at Thanksgiving or Christmas. All of this called to mind Mimi's apple dapple cake. Family time and visits with her are some of my strongest fall memories, so this cookie has a lot of sentimental meaning for me. That made this cookie and the process for creating it that much sweeter!

Step-by-Step Instructions for Apple Dapple Thumbprint Cookies
These cookies come together in a few simple stages: brown the butter, candy the pecans, mix the dough, then thumbprint + fill with apple jam before baking.
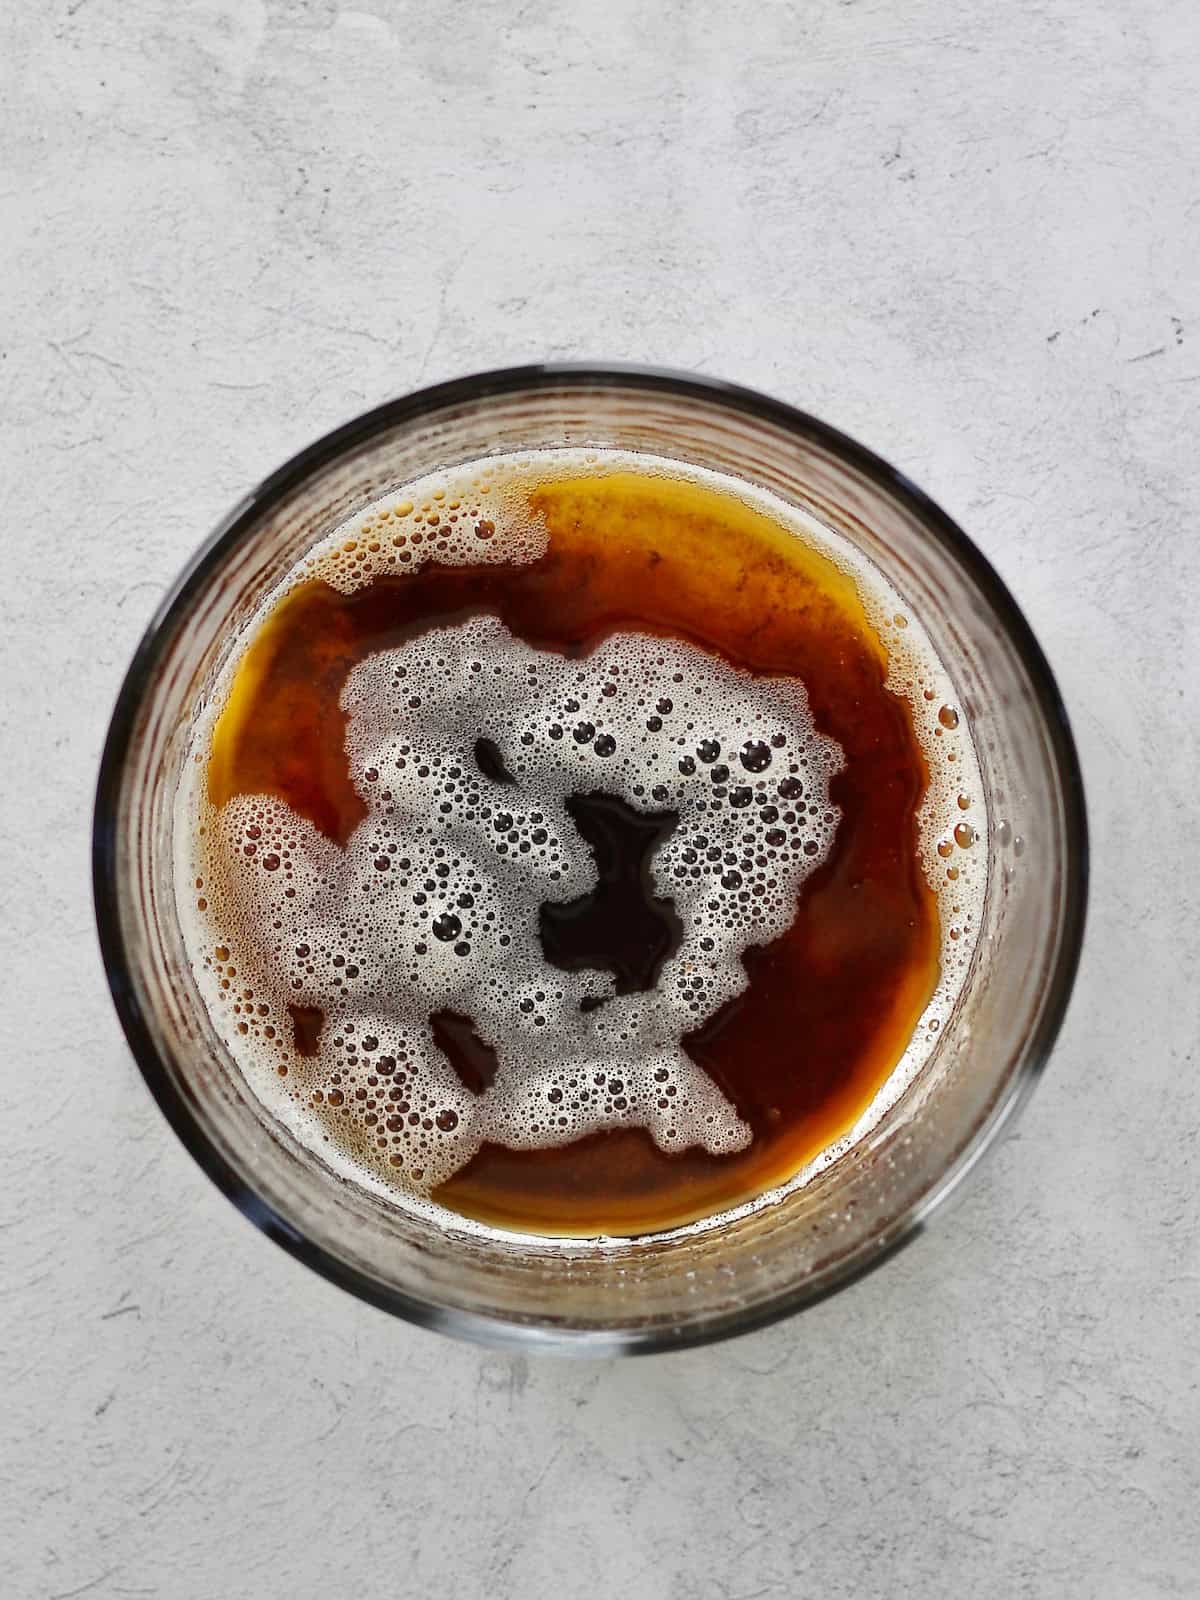
Brown the butter: Brown your stick of butter over medium-high heat (about 8 minutes). Stir often and watch closely so it doesn’t burn. It’s ready when it smells nutty and turns amber with brown flecks.
Cool until solid: Pour browned butter into a heat-safe container and chill until solid (about 30–45 minutes in the freezer, or about twice as long in the fridge).
Candy the pecans: Rinse out the pot. Melt 1 tablespoon butter over medium-high heat. Add chopped pecans and stir to coat.
Add 2 tablespoons water, 4 tablespoons brown sugar, and a pinch of kosher salt. Stir until the mixture thickens and coats the nuts. Add a dash of cinnamon if desired.
Cool the nuts: Spread candied pecans on a parchment-lined tray to cool while you prep the dough.
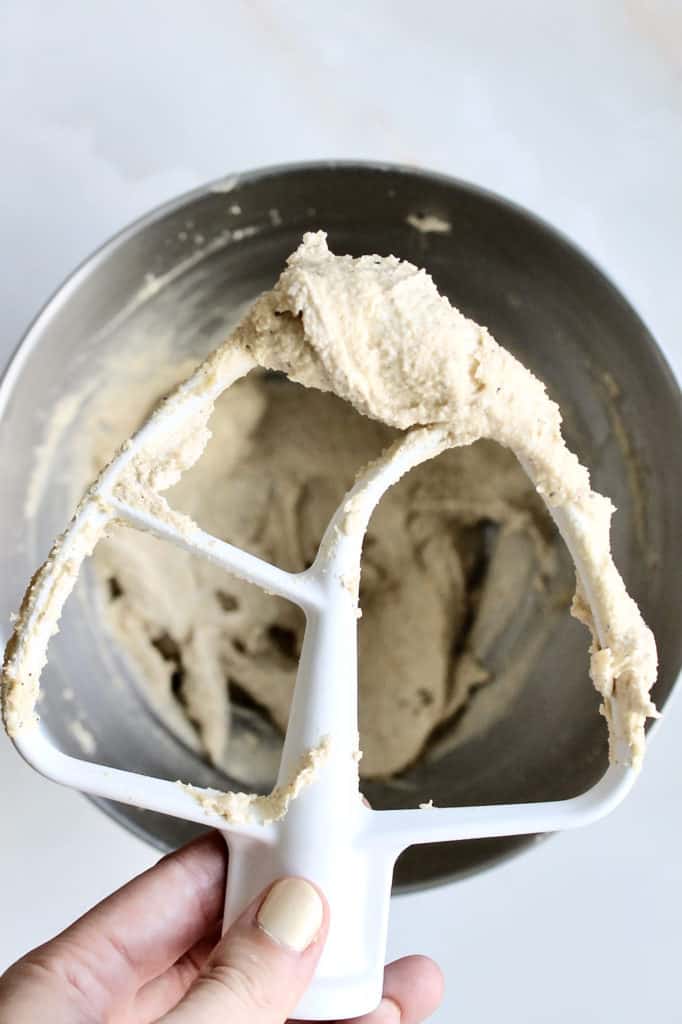
Cream butter + sugars: Once the browned butter is solid, beat it with both sugars on medium-high speed for 2–3 minutes.
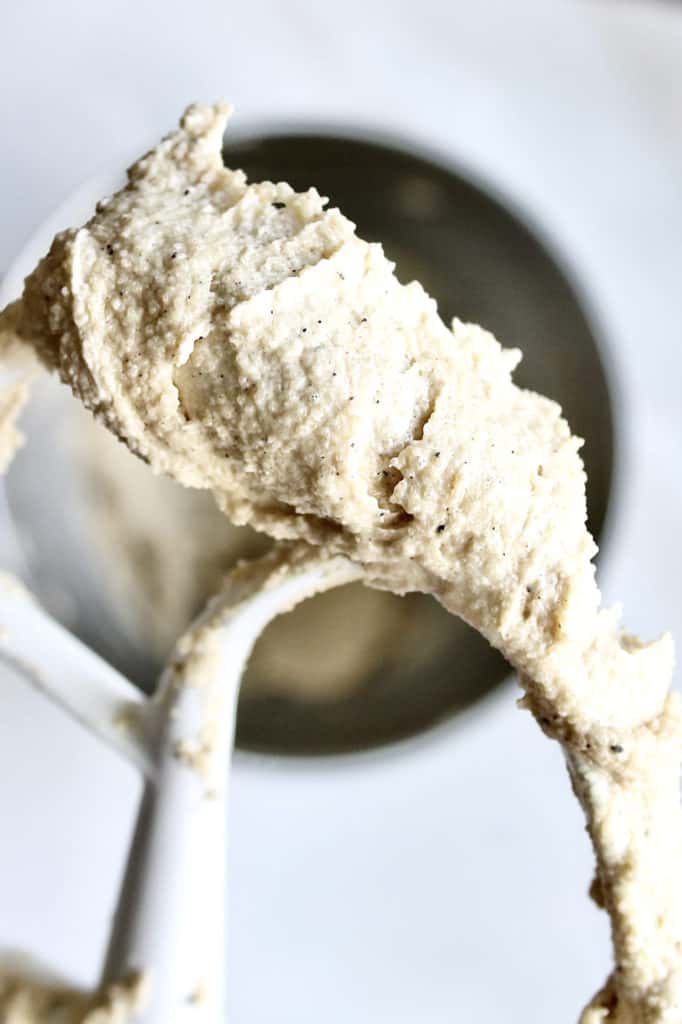
Add egg + vanilla: Scrape down the bowl, then add the egg and vanilla. Beat on high for 7–8 minutes, scraping as needed so everything mixes evenly.
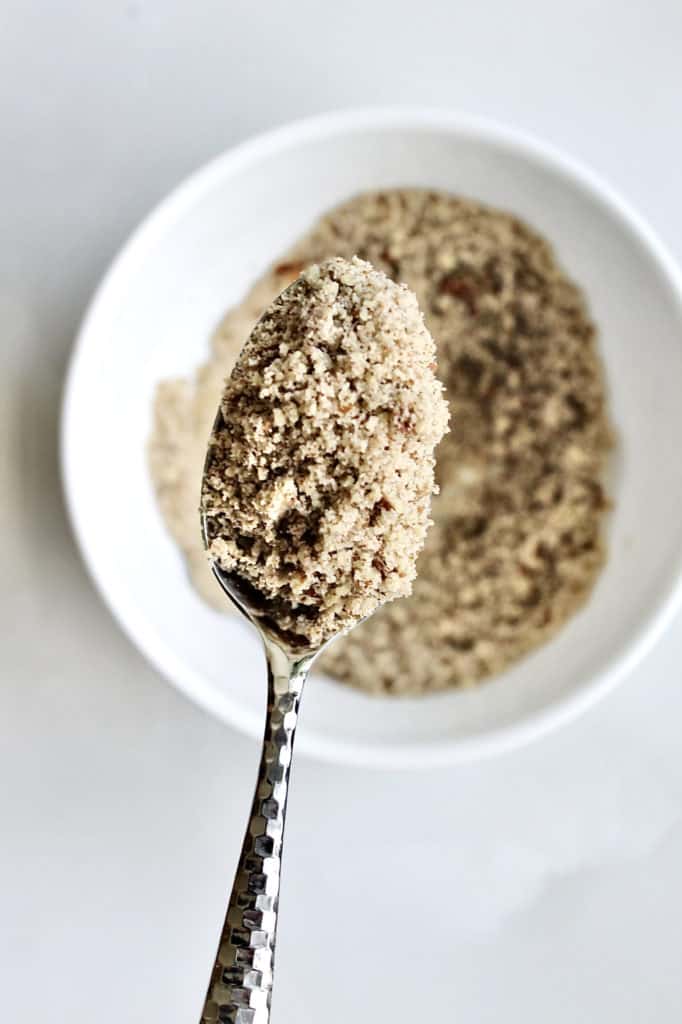
Combine dry ingredients: In a separate bowl, whisk together flour, baking powder, baking soda, ground pecans, and salt.
Mix in dry ingredients: Add dry ingredients to the mixer and mix on low just until combined (about 15 seconds). Scrape down the sides.
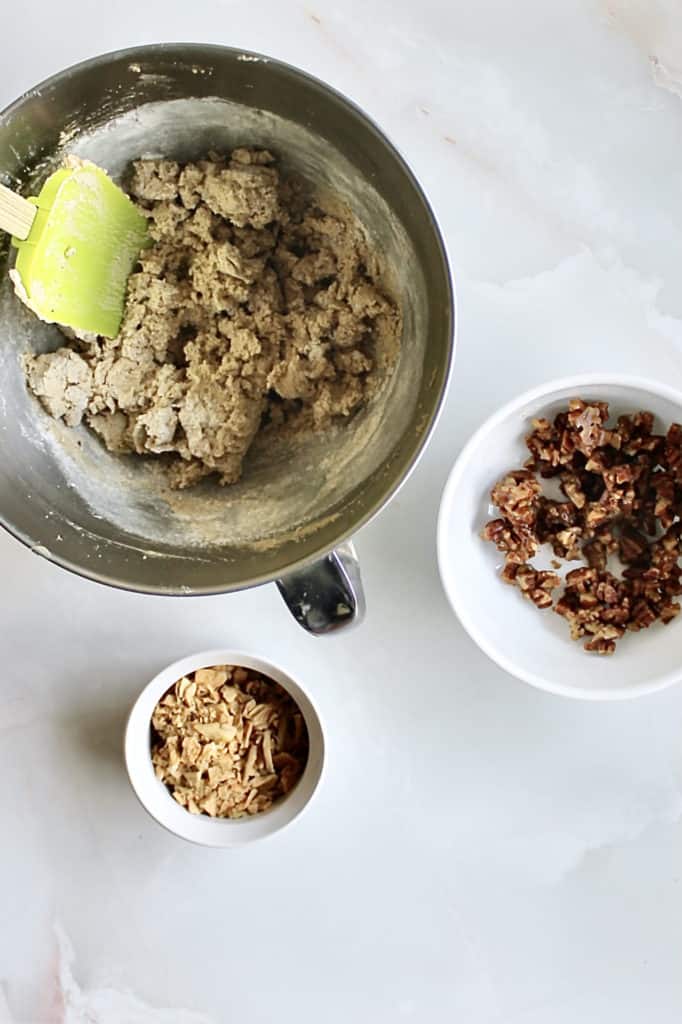
Fold in add-ins: Add candied pecans and freeze-dried apple pieces. Fold in with a spatula (this keeps the cookies chewier).
Scoop + chill: Line baking sheets with parchment or a Silpat. Scoop golf-ball sized portions, make a thumbprint indent, then chill for 1 hour (or freeze for 15 minutes).
Preheat: About 10 minutes before baking, preheat your oven to 375°F.
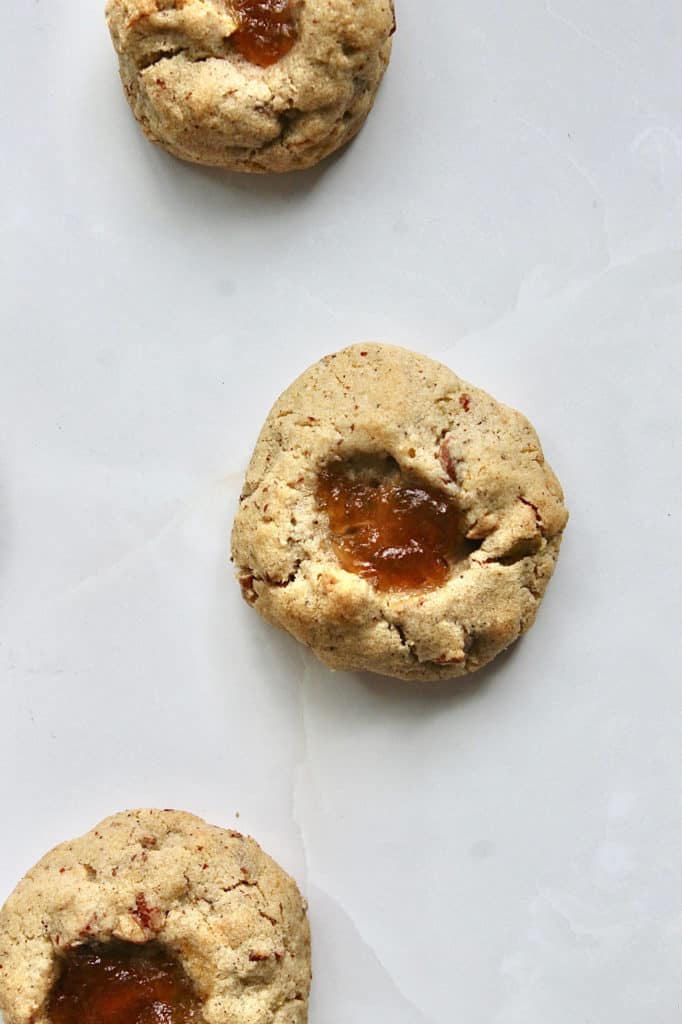
Fill the thumbprints: Spoon about ¼ teaspoon of apple jam into each indent (add a little more if you’d like—jam doesn’t spread much).
Bake: Bake for 13 minutes.
Cool: Let cookies firm up on the baking sheet for 3 minutes, then transfer to a cooling rack.
Enjoy: Once cool enough to handle, dig in.
💡 Tips for the Best Thumbprint Cookies
- Don’t rush the butter cooling: You want the browned butter solid before creaming, or the dough can spread too much.
- Fold the add-ins by hand: Candied pecans + freeze-dried apples stay intact and the cookies bake up chewier.
- Chill the scoops: Chilling helps the thumbprints hold their shape and keeps the centers from puddling.
- Jam tip: Because apple jam doesn’t spread much, a slightly rounded spoonful is totally fine.
What Makes These Cookies Taste Like “Apple Dapple”
Even though these are thumbprint cookies, they still carry the spirit of the original cake thanks to a few key ingredients:
- Candied pecans for sweetness and crunch
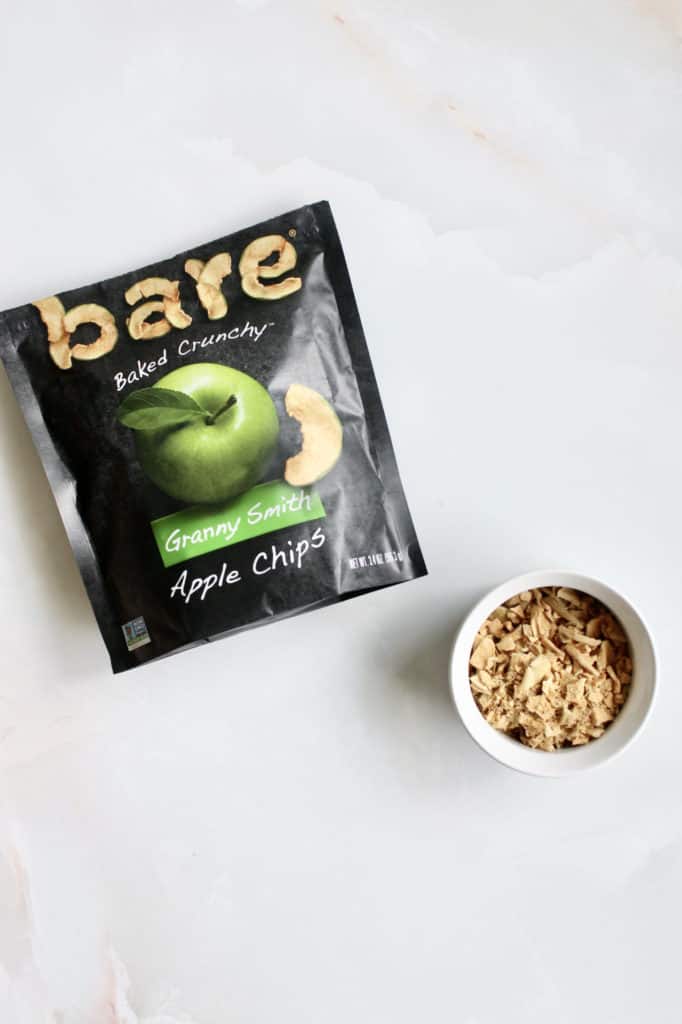
- Freeze-dried apples for concentrated apple flavor (without adding moisture like fresh apples can)
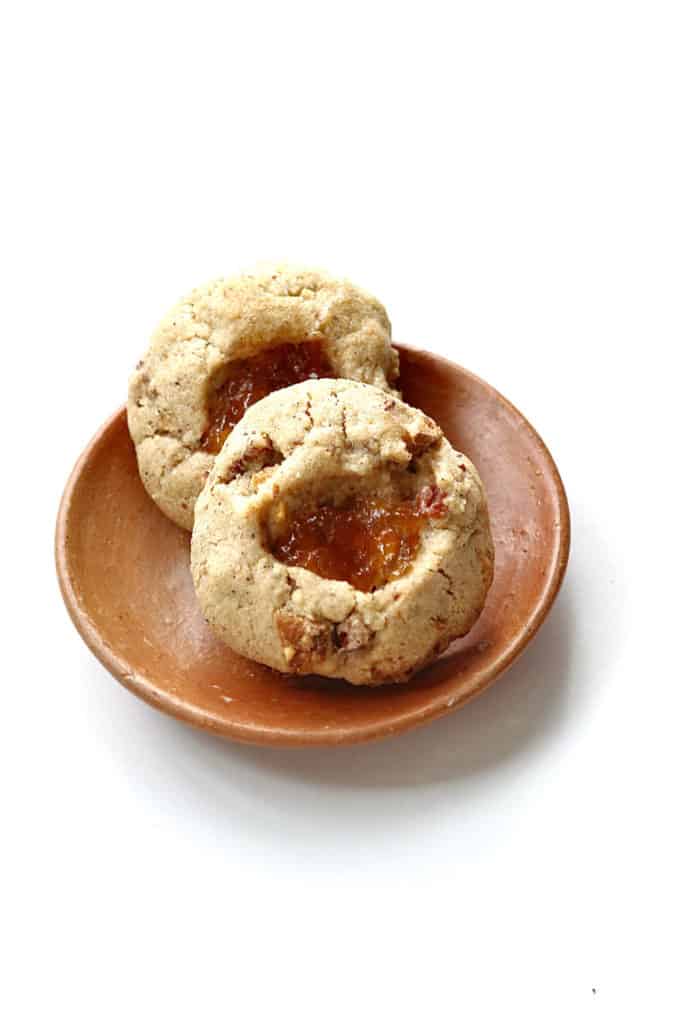
- Apple jam in the center for a classic thumbprint finish
Freeze-dried apples might sound like a small detail, but they do a lot here: they add apple flavor and a chewy, almost candy-like bite once baked. The jam thumbprint is cute, yes—but it also makes the whole cookie feel complete.
Why Brown Butter Works So Well Here
I couldn’t resist using brown butter in this dough. It brings a nutty aroma that plays perfectly with apples and pecans. If you’ve never browned butter before, keep a close eye on it—on medium-high heat, it usually takes around 8 minutes. You’re looking for golden-brown flecks and an amber color (and you’ll smell that toasted, nutty shift). A light-colored pan helps a lot so you can see what’s happening and avoid going too far into “burnt.”
And while I initially considered adding a lot of cinnamon and nutmeg, those spices aren't found in my grandmother's cake recipe. I wanted to be true to that so kept cinnamon to a minimum. That said, you could certainly add more to your dough than I did.
Long story short, I could consume these apple dapple thumbprint cookies by the handful!
Check out the other desserts on my blog for more sweet recipes!
Print
Apple Dapple Thumbprint Cookies
- Total Time: 2 hours
- Yield: 12 cookies 1x
Description
A cake recipe from my grandmother inspired these cookies. Packed with flavor from apples, candied pecans, and brown butter, these apple dapple thumbprint cookies are like a hug in the form of a cozy dessert.
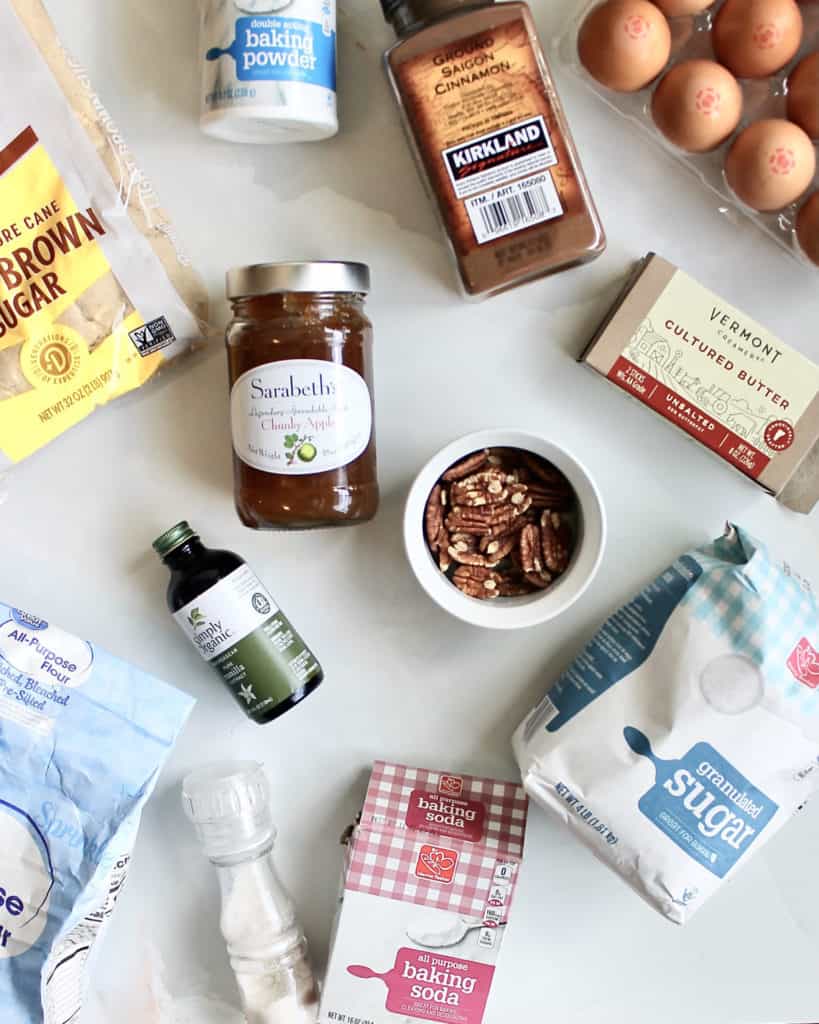
Ingredients
Ingredients for the Candied Pecans
- 14 g (1 tbsp) unsalted butter
- 130 g (about 1 and ¼ cup) pecans
- 30 g (2 tbsp) water
- 48 g (4 tbsp) brown sugar
- Pinch of kosher salt
- Optional: Pinch of cinnamon
Ingredients for the Dough
- 225 g (2 sticks) unsalted butter
- 200 g (1 cup) granulated sugar
- 200 g (1 cup) light brown sugar
- 1 egg
- 2 g (½ tsp) vanilla extract
- 130 g (about 1 cup) all-purpose flour, spooned and level
- 130 g (about 1 and ¼ cup) pecans, ground into a sandy texture using a blender or food processor
- 2 g (½ tsp) baking powder
- 1.5 g (¼ tsp) baking soda
- 5 g (1 and ½ tsp) kosher salt
- 50 g (1 and ⅓ cup) freeze dried apples, chopped into small bits
- About 60 g apple jam (approximately 2-3 tablespoons, depending on the size of your thumbprint!)
Instructions
Browning your butter
- Brown your stick of butter over medium-high heat, which will take around 8 minutes. Monitor closely and stir often to ensure your butter isn’t burning. You’ll know it’s nearly done after it’s bubbly and foamy and has begun turning golden brown. Once it smells nutty and becomes amber in color, remove it from the heat source.
- Pour your browned butter into a heat-resistant, sealed container and place it in the refrigerator or freezer to expedite the cooling process. When you next use it, you’ll want it to be solid. It should take 30-45 minutes in your freezer and about twice as long in your refrigerator.
Candying Your Pecans
- Rinse out the pot you used to brown your butter and melt 1 tablespoon of butter in a pot over medium-high heat. Once melted, after about two minutes, toss your chopped pecans into the melted butter and stir until butter coats all your nut pieces.
- Next, add two tablespoons of water and four tablespoons of brown sugar to your pot, along with a pinch of kosher salt. Stir until the mixture thickens and coats your pecan pieces. Add a dash of cinnamon if desired and remove from pot.
- To cool, set aside nuts on a tray lined with parchment paper while prepping your dough.
Making Your Dough
- Once your brown butter has firmed up, place it and both of your sugars in the bowl of your stand mixer. Cream together on medium-high speed for 2-3 minutes.
- Scrape down the sides of the bowl as well as your paddle and add your egg and vanilla. Beat on high for 7-8 minutes. Monitor your bowl and scrape sides as needed to ensure all ingredients combine.
- Measure your flour, baking powder, baking soda, ground pecans, and salt together and mix them with a fork in a separate container.
- Add to your stand mixer bowl all the ingredients from the previous step, and set mixer speed to low. Mix just until the ingredients are evenly distributed, right around 15 seconds. Scrape down the sides of the bowl with a spatula.
- Toss your candied pecans and freeze dried apple pieces into your bowl. Mix them into your dough using a spatula. Mixing this way results in a chewier cookie and prevents gluten from forming.
- Prepare your baking pans with parchment paper or a silpat mat.
- Using an ice cream scoop, place golf-ball sized scoops of dough onto your lined baking pans. Take your thumbprint and make an indent on top of them. Let them chill in your refrigerator for at least one hour or place in the freezer for 15 minutes.
Baking your cookies
- About 10 minutes before you plan to bake your cookies, preheat your oven to 375 degrees Fahrenheit.
- Once the dough balls have firmed up, bring them out of your refrigerator or freezer. Take approximately ¼ teaspoon of apple jam and place it in the thumbprint atop your cookies. It doesn’t spread much so you can add a little more if desired.
- Once your oven is preheated, bake your cookies for 13 mins. Let them rest and firm up on your baking sheet for about three minutes after exiting the oven before transferring them to a cooling rack.
- Eat and enjoy!
- Prep Time: 15 minutes
- Chilling in the Refrigerator: 90 minutes
- Cook Time: 13 minutes
- Category: Dessert
- Cuisine: American

Leave a Reply