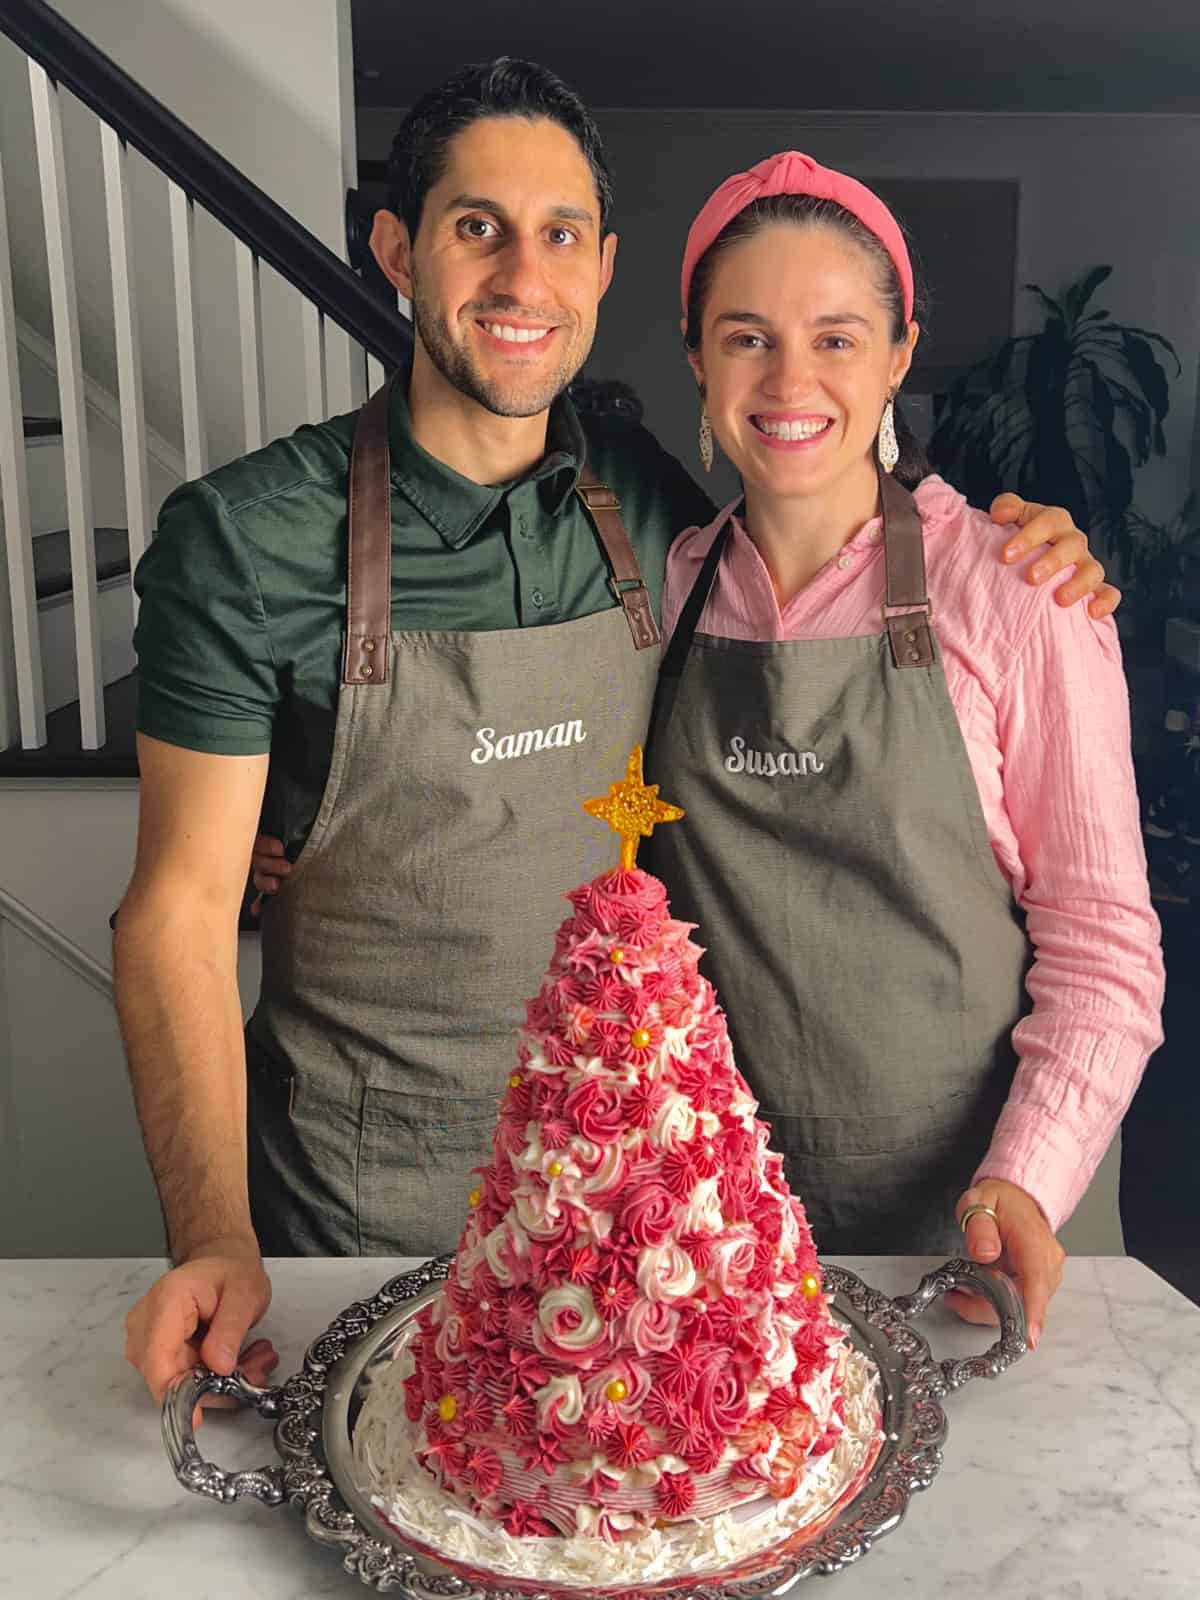
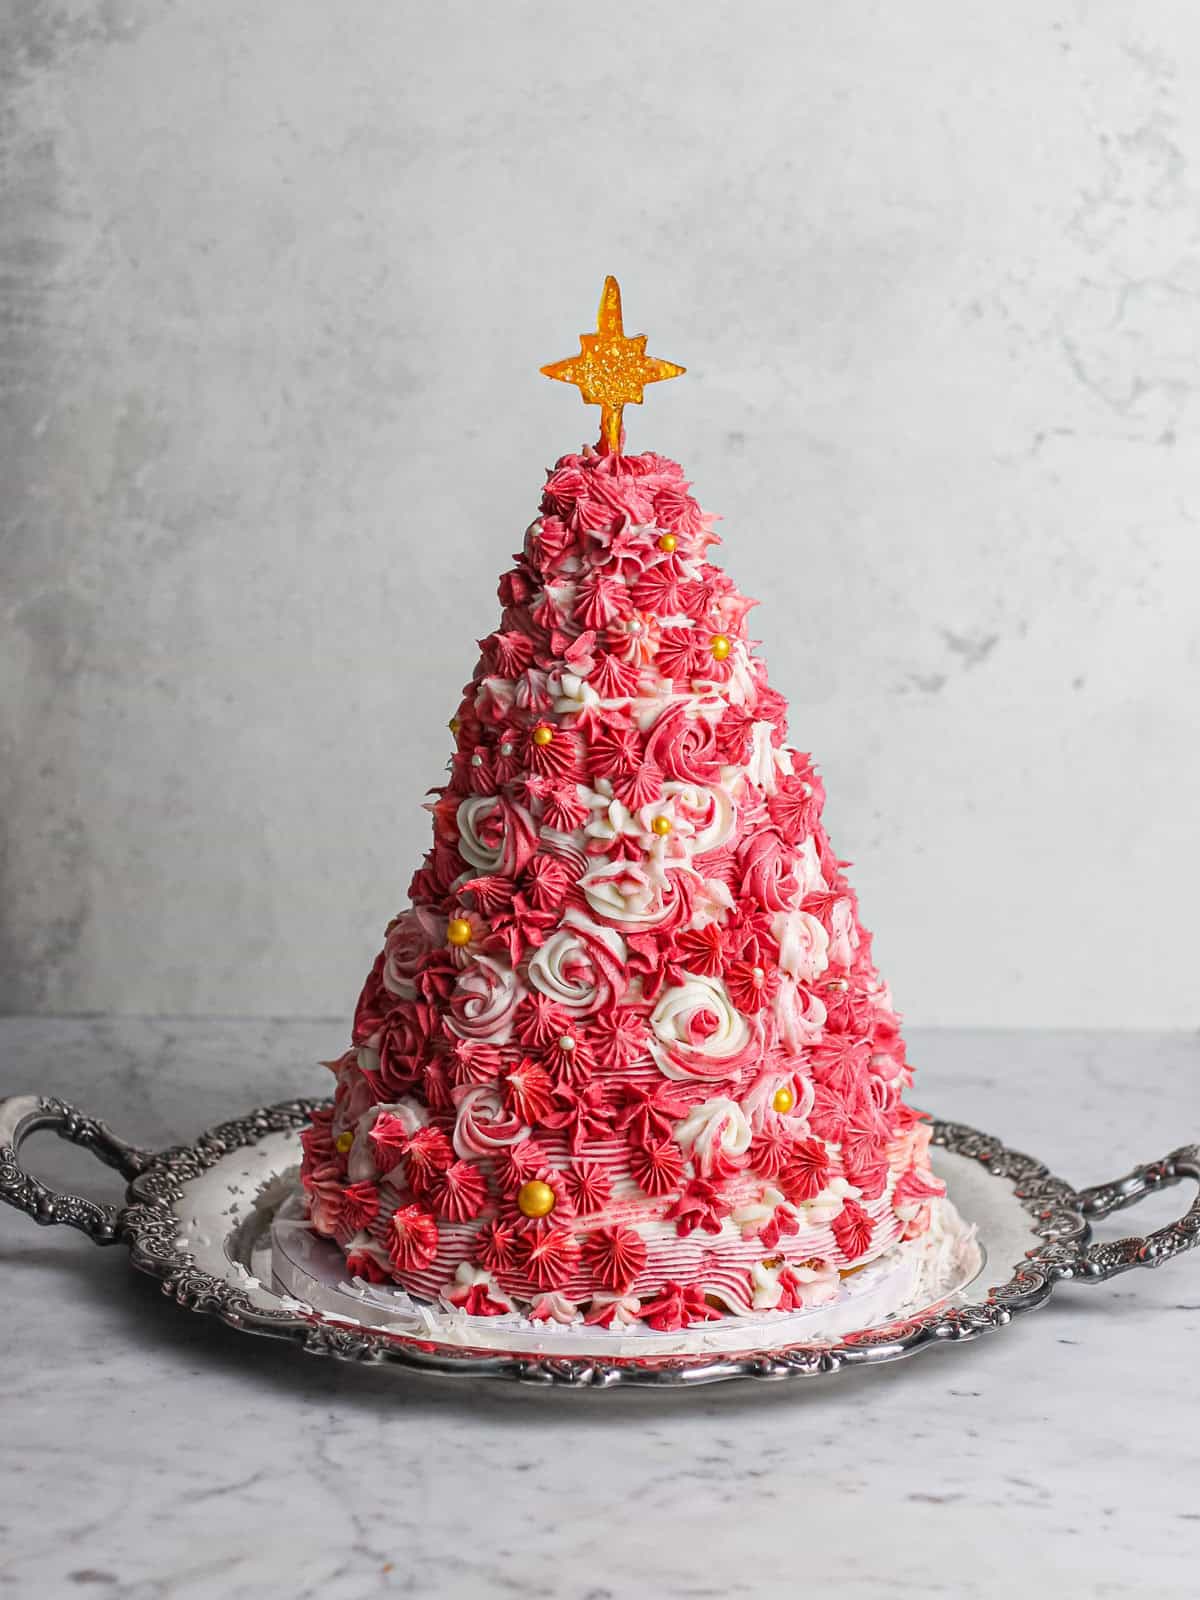
Our "Pretty in Pink” 3D Christmas tree cake appears in Episode 2 of Hallmark’s Baked with Love: Holiday and is a true seasonal showstopper. Tender coconut cake layers, a thin tart raspberry compote, and raspberry-vanilla buttercream are stacked into a tall tree and piped with marbled pink swirls. Top it off with sprinkles as ornaments, edible glitter, and a gold isomalt star for some extra sparkle. ✨ This tutorial is designed so you can make it at home this Christmas season!

🗒️ Worth noting: The base cake is adapted from my mango coconut cake. We used the same sturdy-yet-soft coconut layers (no mango here) because they carve and stack really well. And the flavor is 🔥!
If you love raspberry-forward desserts, you might also enjoy my raspberry cream cheese frosting. It's a variation on the buttercream in this cake!
And my raspberry almond cupcakes are another favorite for you to try. 🧁
Jump to:
- 💖 Why You’ll Love This Pink 3D Christmas Tree Cake
- ✨ Cake Inspiration
- 📋 Key Cake Components at a Glance
- Recipe Shortcuts
- Recipe Planning for this Cake
- Quick Recipe Video
- 📖 Step-by-Step: How to Make the Layers for the 3D Christmas Tree Cake
- Baking All Layers at Once
- Making the Raspberry Compote Filling
- 🧁 Instructions for Raspberry Vanilla Buttercream
- The MVP of Piping Tips
- 🌟 Make the Gold Isomalt Star
- ⭕️ Cutting Tiny Cake Layers
- 🎄 Assemble the Tree & Decorate
- 🔑 Pro Tips
- ❓ FAQs
- ❄️ Storage & Make-Ahead
- Pretty in Pink” 3D Christmas Tree Cake
💖 Why You’ll Love This Pink 3D Christmas Tree Cake
- Holiday showstopper — A tall, tiered “tree” with textured buttercream branches and sparkle.
- Flavor balance — Coconut cake, tart raspberry filling, and vanilla-raspberry buttercream keep this dessert bright and not overly sweet.
- Doable at home — Specific pan weights, bake times, quick-cool strategy, and support dowels for stability are all available below to make this process feasible for any home baker!
- Festive finishing — Sprinkle “ornaments,” edible glitter, and a gold isomalt star give this cake some extra pizazz 🤗
We had the time of our lives appearing on Hallmark’s baking competition series, Baked with Love: Holiday, which premiered October 27, 2025!
This baking journey was even better with my husband Saman at my side as baker, teammate, and supporter.
We're excited for you to see the holiday magic unfold! 🎄

✨ Cake Inspiration
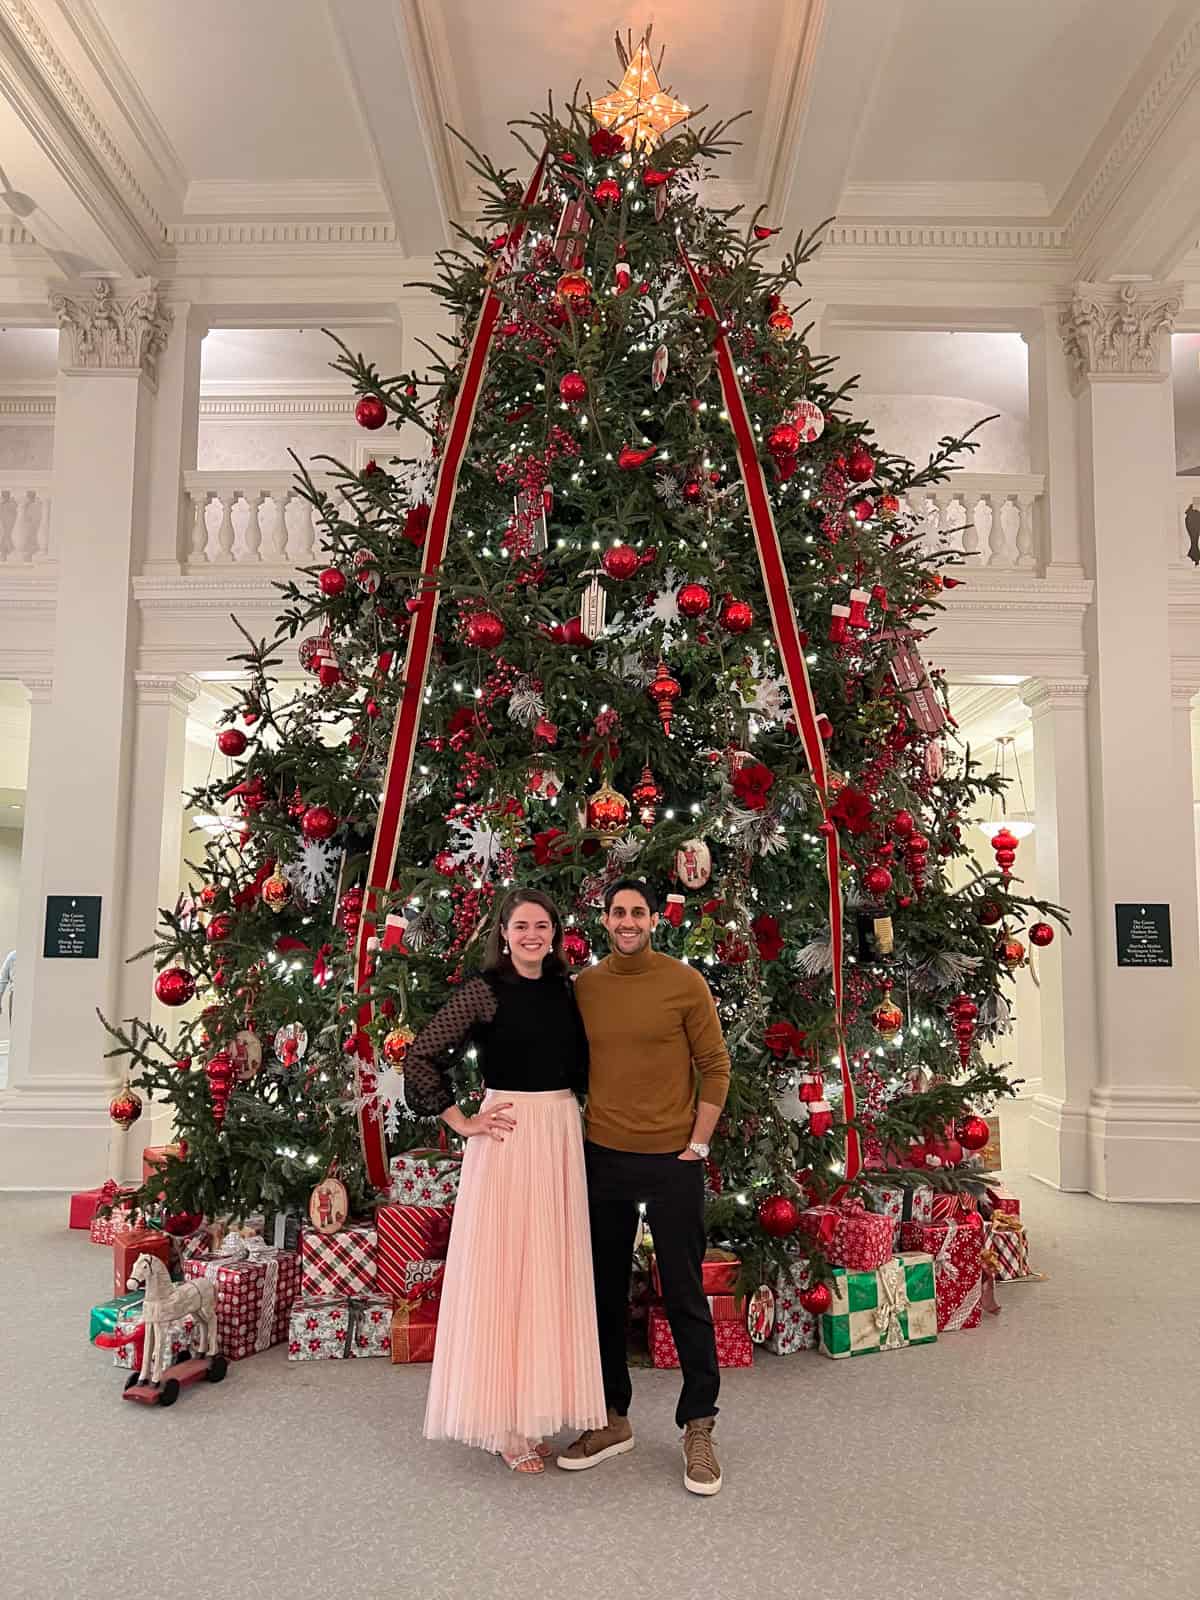
I grew up in Virginia’s Blue Ridge Mountains, not far from The Homestead in Hot Springs.
This National Historic Landmark has welcomed visitors since the 1800s and has a storied history (including guests like Jackie Kennedy, Thomas Jefferson, and a host of other presidents and famous figures).
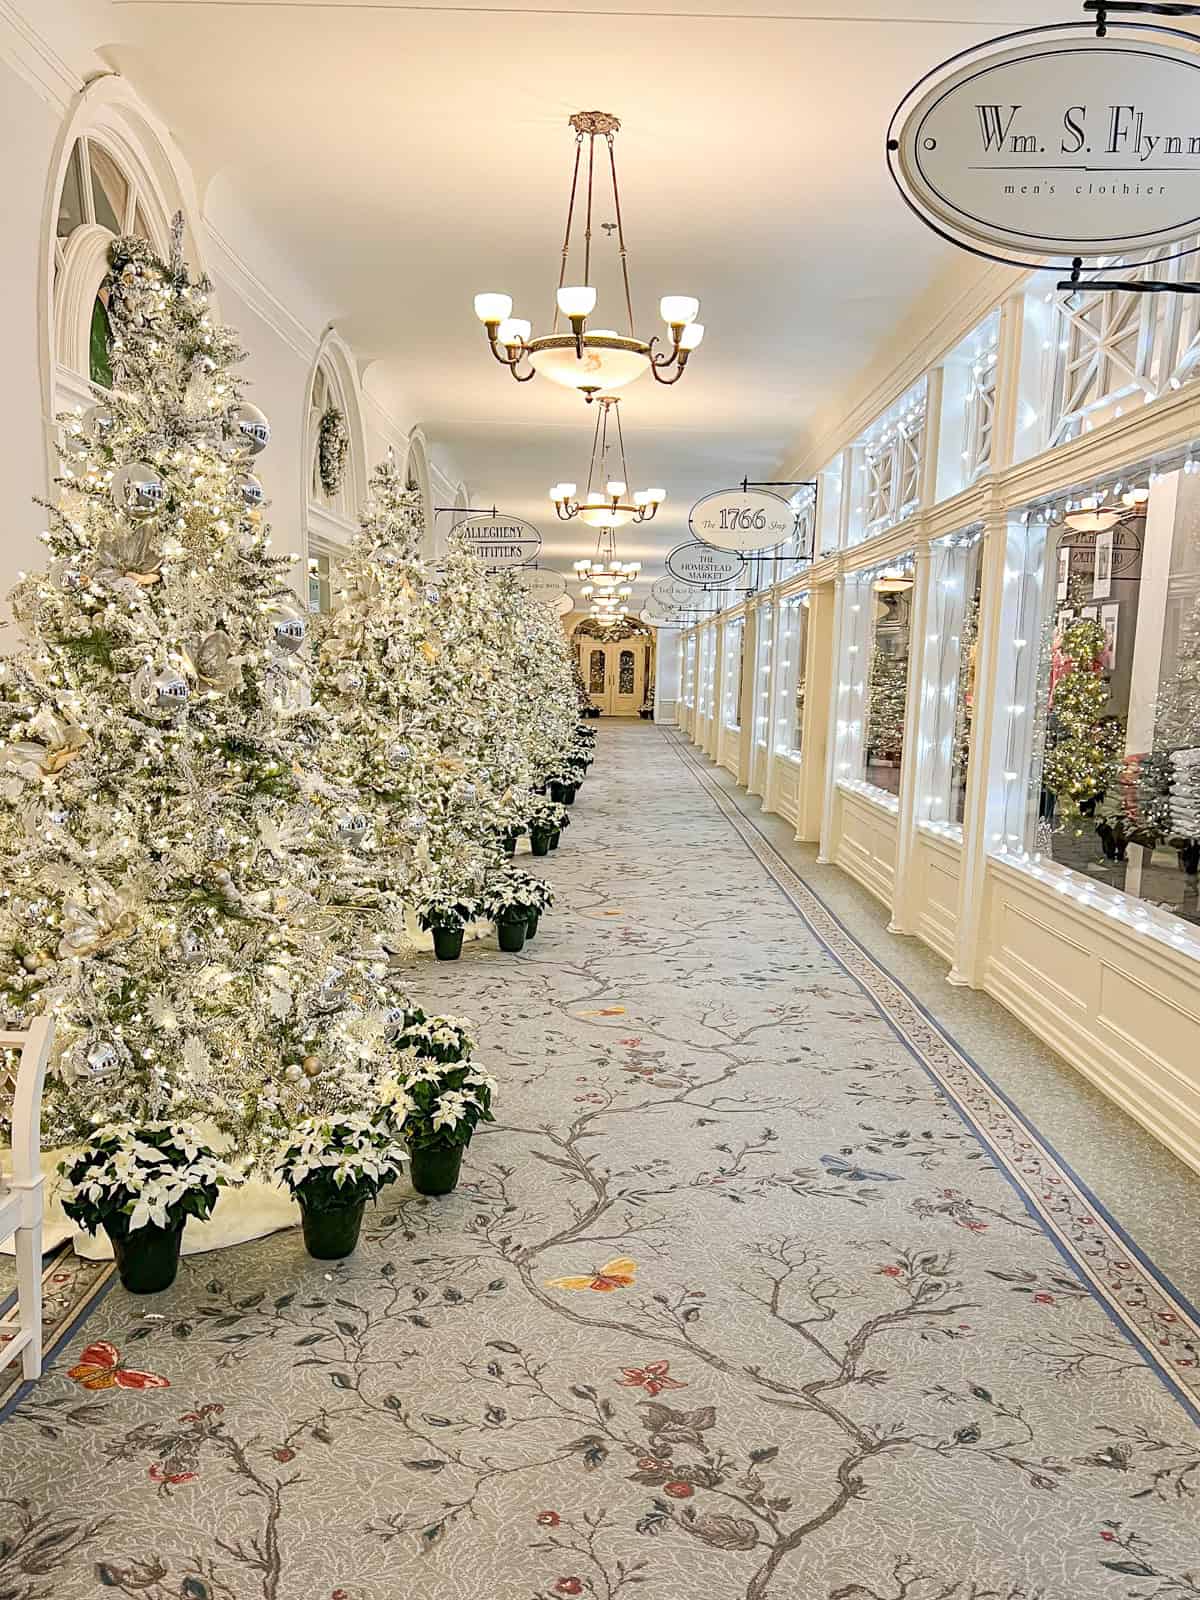
Beyond all of those details, my favorite part about this place is its Christmas décor. Dozens of whimsically decorated trees line the halls each year. Our “Pretty in Pink” tree cake was inspired by those magical holiday displays. 🎄


📋 Key Cake Components at a Glance

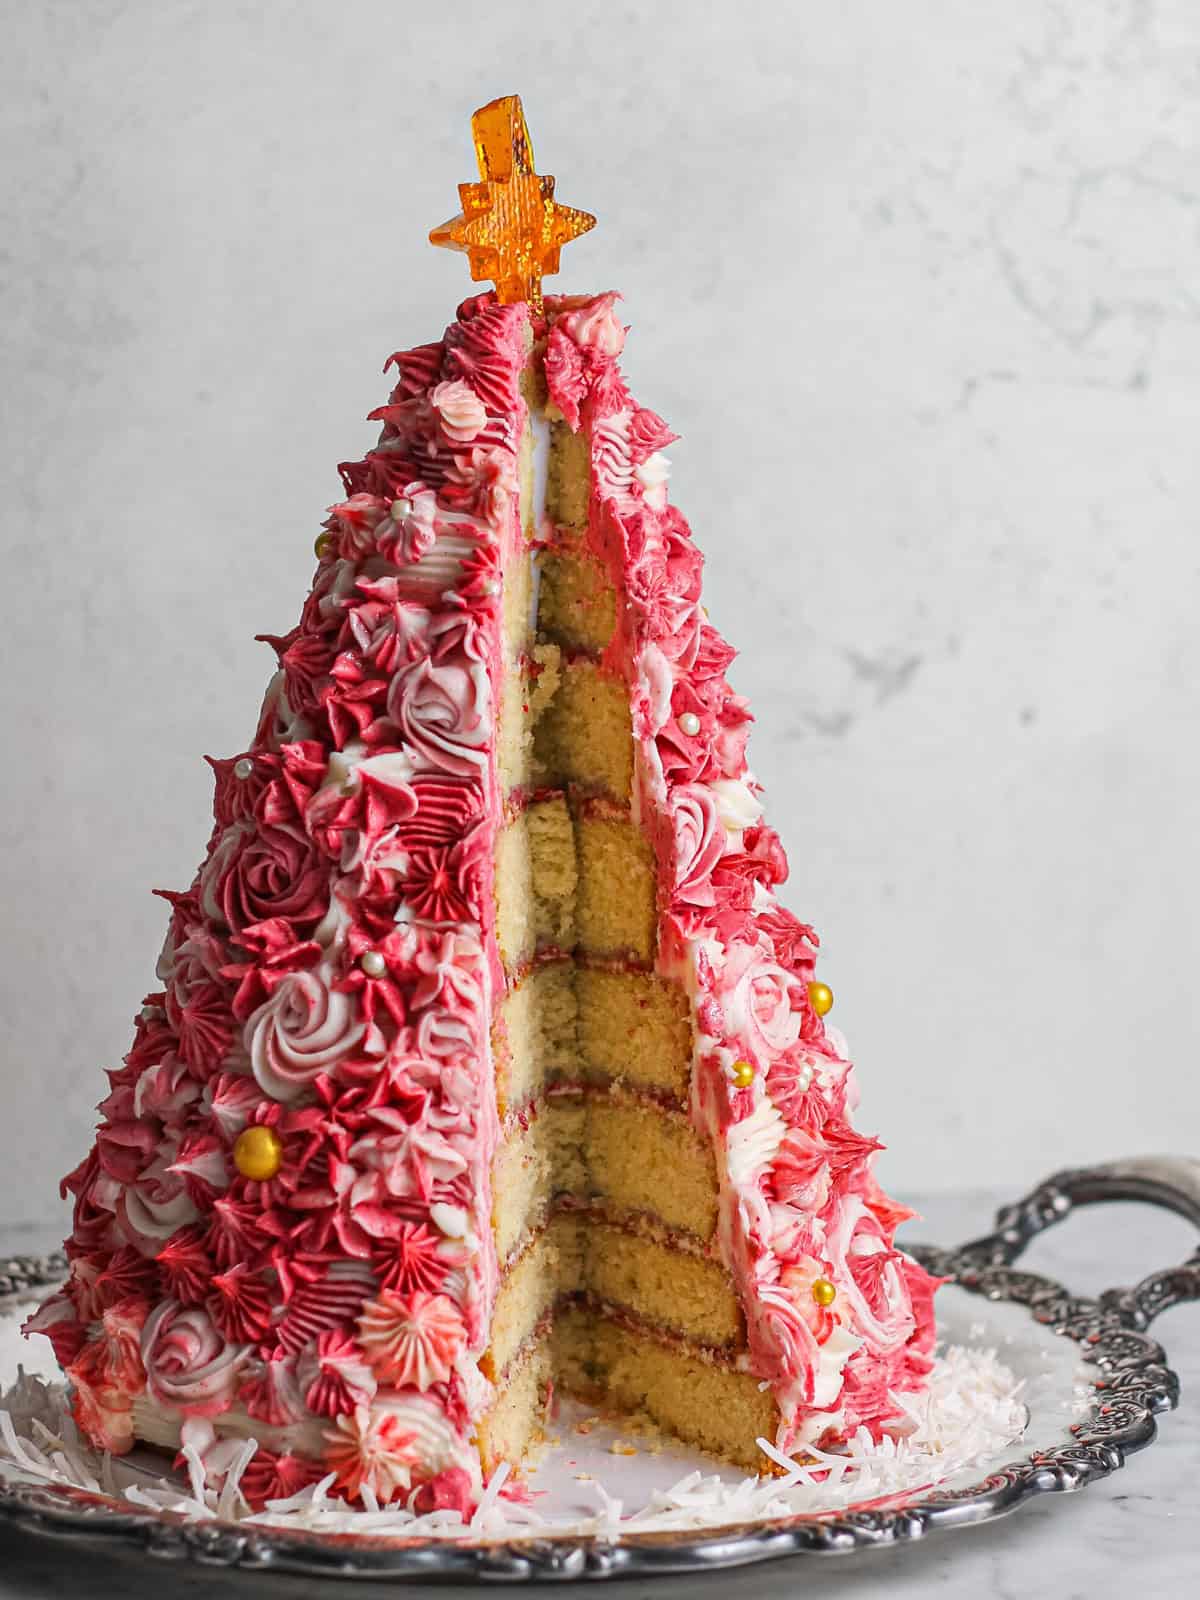
- Coconut Cake Layers — Soft and tender, but stackable. You’ll bake one each of 9", 8", 7", 6", 5" and three 4" pans, then cut two of the 4" layers down to 3" and 2" to finish the tree tip.
- Raspberry Compote Filling — This acts as a thin layer of color and flavor between your cake layers.
- Raspberry Vanilla Buttercream — This naturally tinted frosting gives this cake color and a "wow" factor that is fun for Christmas. Freeze-dried raspberry powder is the key to getting that "pretty in pink" hue.
- Isomalt Star Topper — Using a cookie cutter as a mold, we make a clear gold “lollipop” star with edible gold flakes.
- Decor — A combo of round white and gold sprinkles are the "ornaments" for this tree, and we finish it off with edible shimmer dust. Shredded or desiccated coconut is a fun way to add “snow” to the base of the tree as well. ❄️
Recipe Shortcuts
- For shortcut with the raspberry filling, skip making your own; use store-brought raspberry jam instead.
- For the tree topper, you could opt for a different cookie cutter shape OR buy a lollipop from the store to place on top. 🌟
Recipe Planning for this Cake
Without the crunch and pressure of time, I like to break up recipes like this into a few segments.
- Bake and freeze layers in advance
- Make buttercream the day before and re-whip
- Assemble and decorate the morning you plan to serve. Make the star topper then as well or insert one from the store!
See the storage instructions near the bottom of the post for more details on breaking this process into smaller steps.
Quick Recipe Video
📖 Step-by-Step: How to Make the Layers for the 3D Christmas Tree Cake
Prep oven and pans. Preheat oven to 350°F (177°C). Line/grease the following pans: one each of 9", 8", 7", 6", 5" and three 4" round pans (baking release spray).

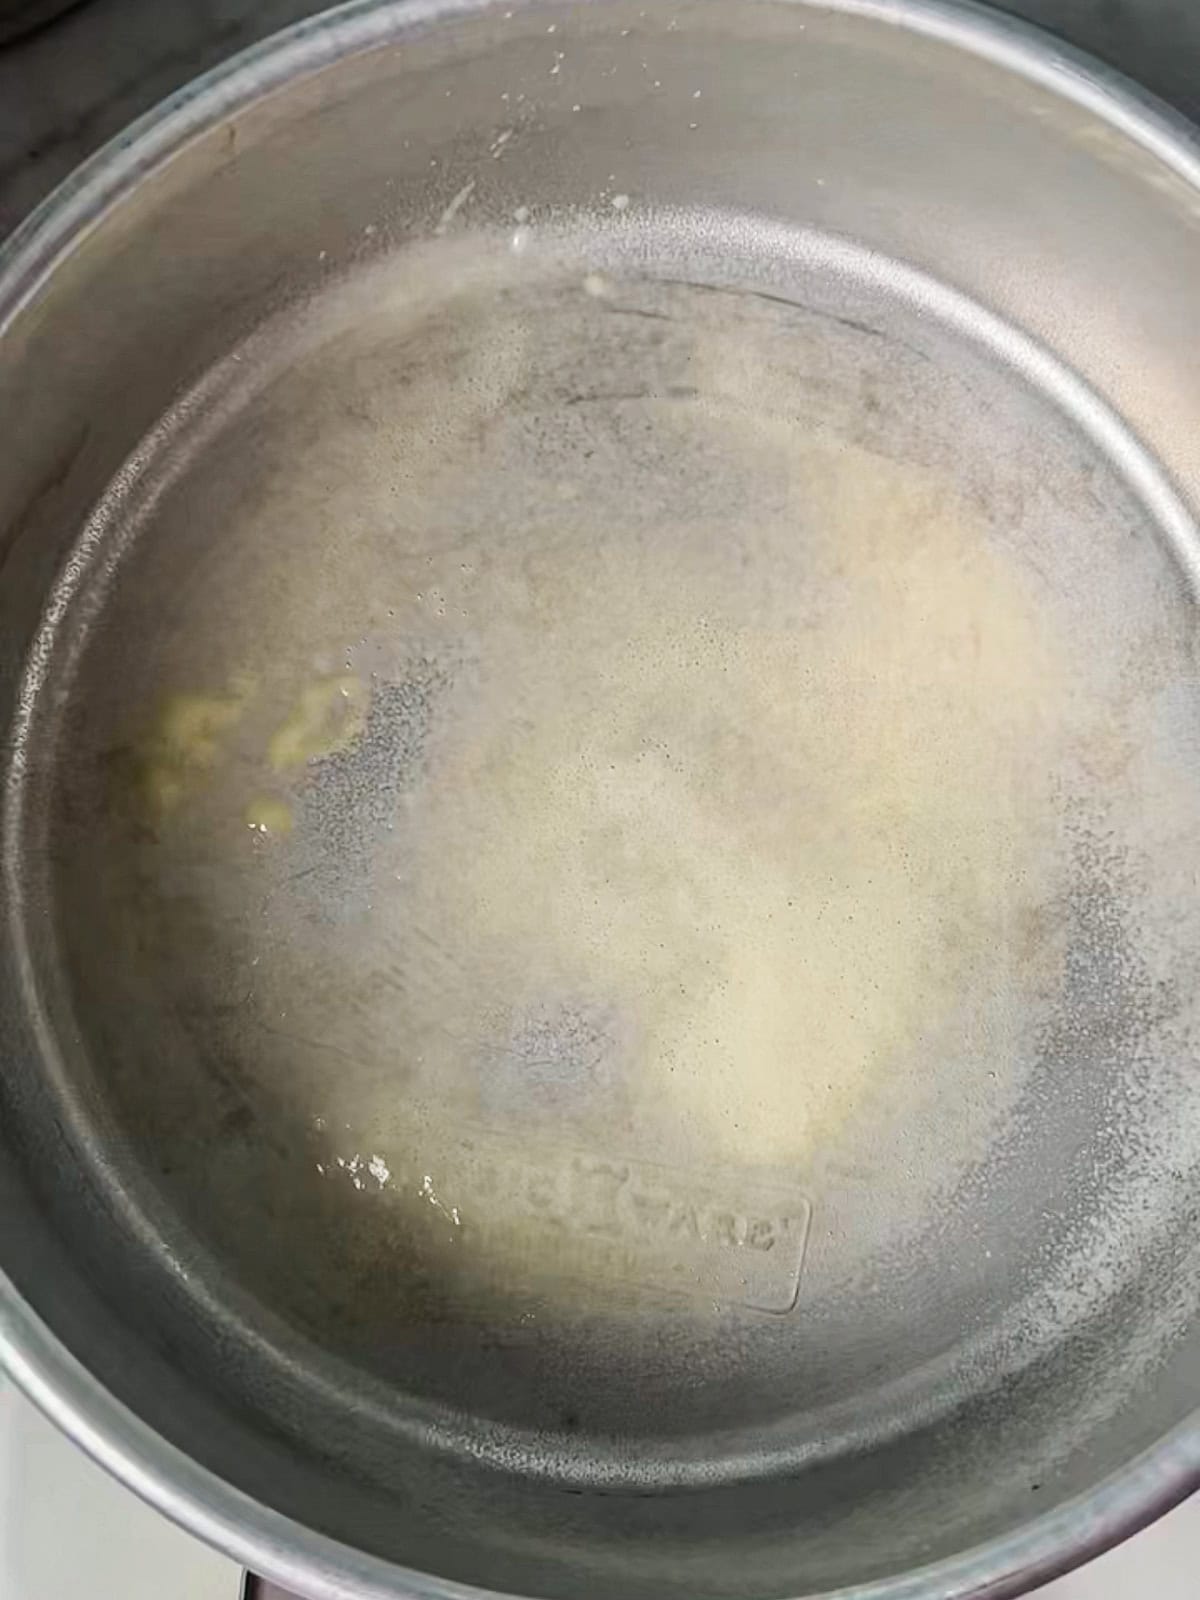
Cream fats and sugar. In a stand mixer bowl, combine: granulated sugar, room-temp unsalted butter, virgin coconut oil, vanilla extract, coconut extract.
Paddle on medium 5 minutes until fluffy; scrape halfway.
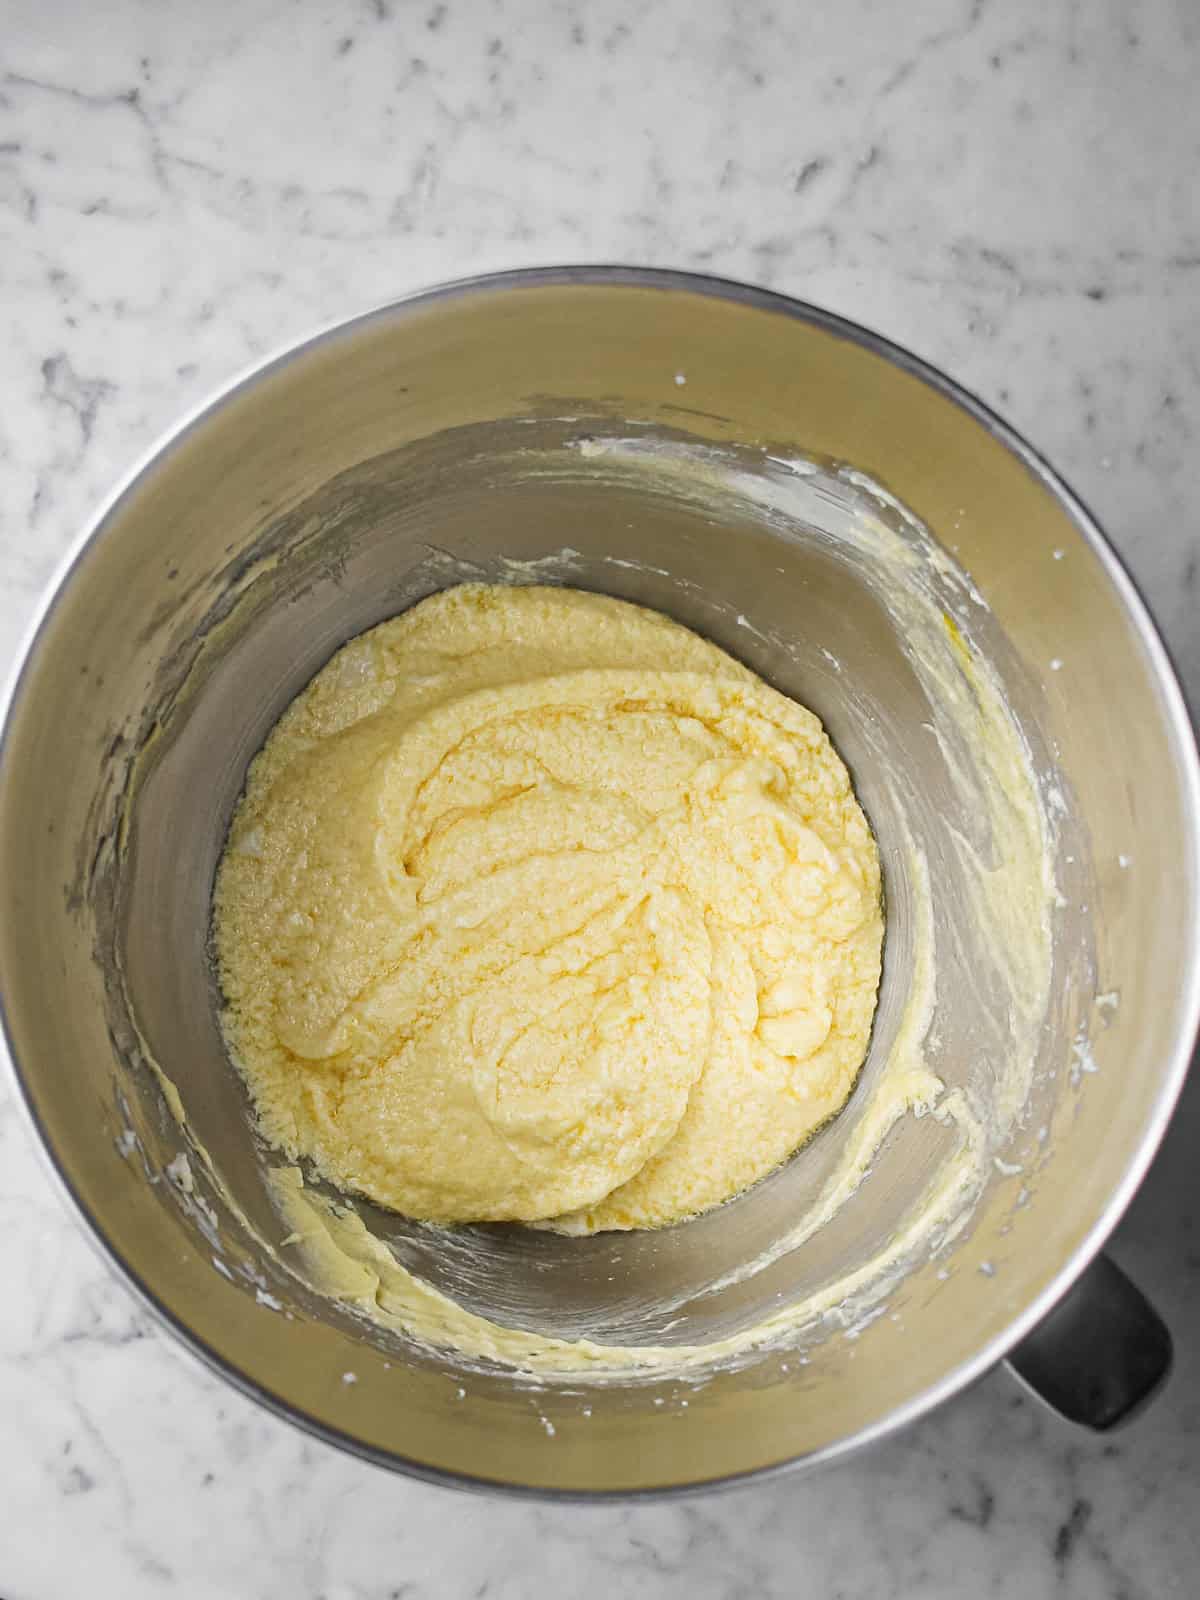
Add eggs. Add eggs (7 large) one at a time, mixing well between each; mix about 3 minutes total until emulsified, smooth, glossy. Scrape as needed.
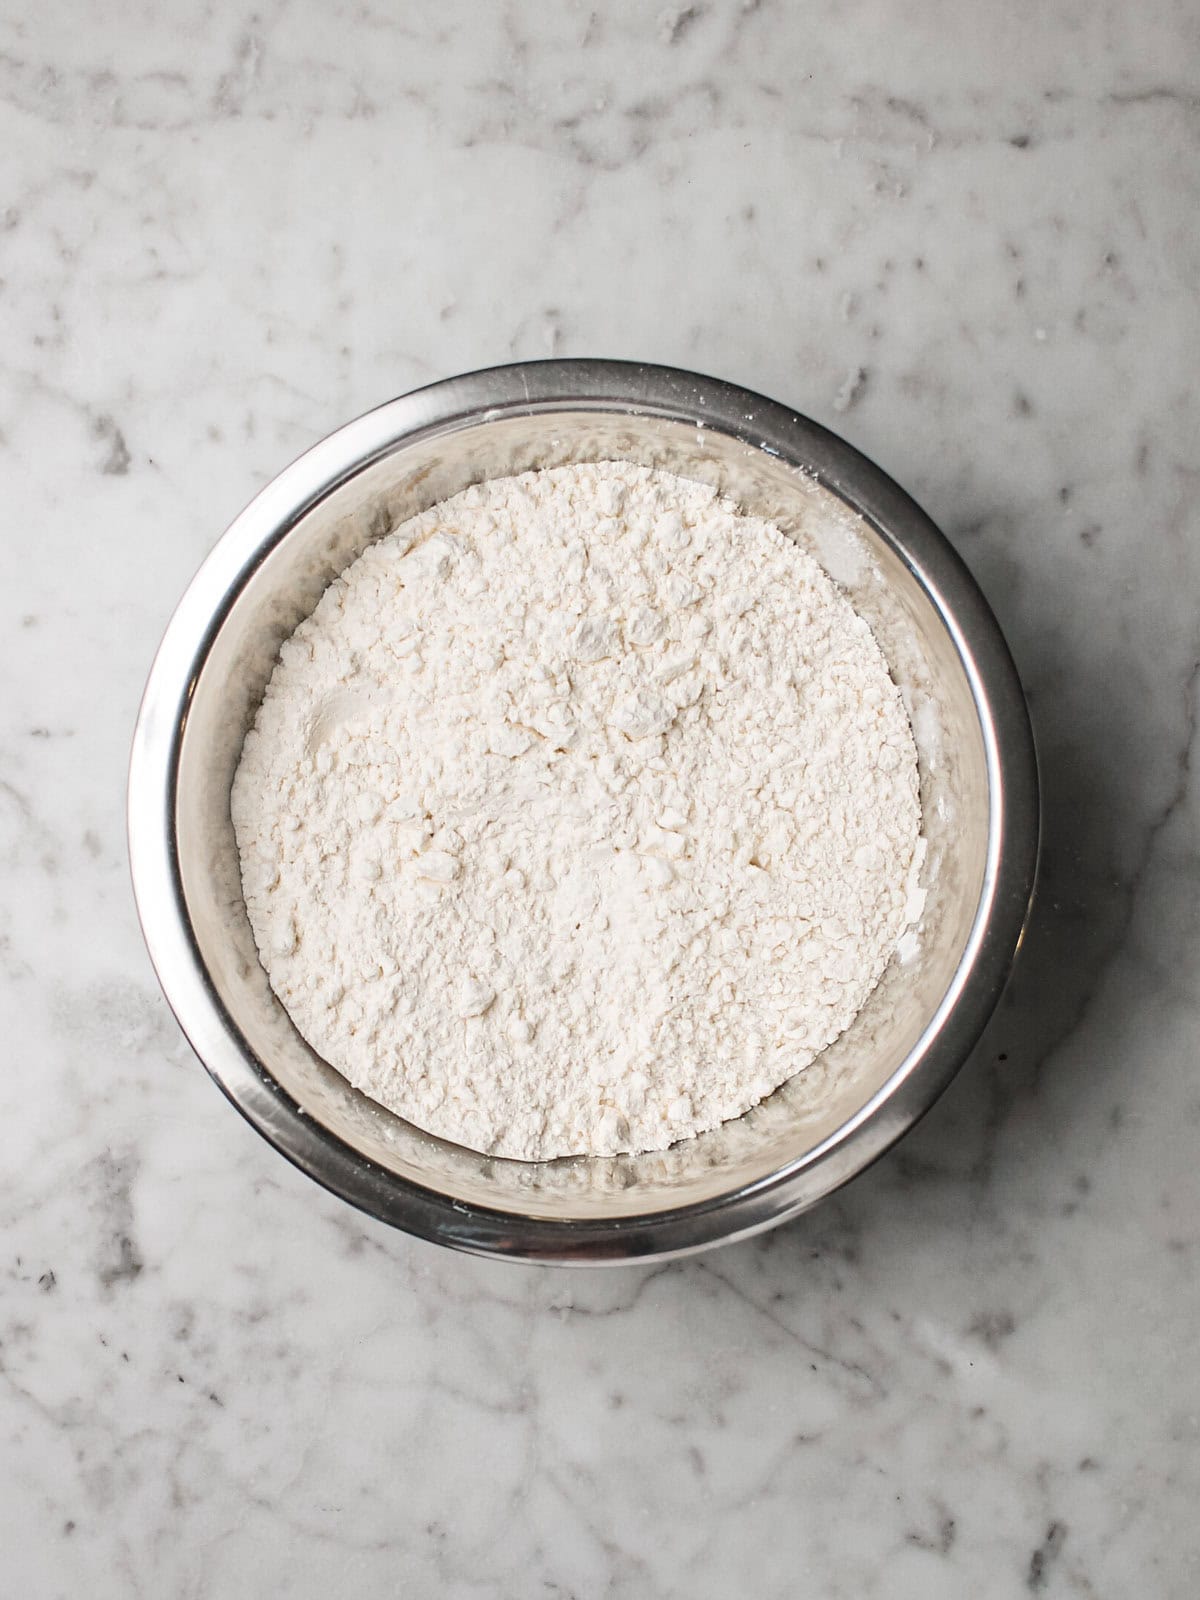
Combine dry ingredients. In another bowl, whisk flour, baking powder, baking soda, salt.

Alternate wet and dry ingredients. To your mixing bowl, add half of your dry ingredients and all coconut milk. Mix for 30 seconds before scraping the bowl. Add remaining dry ingredients + Greek yogurt or sour cream.
Mix just until combined — do not overmix.

Divide batter by weight. Bake cake layers using the tips and guide below. ⬇️
| Pan | Approx Batter | Estimated Bake Time | Notes |
|---|---|---|---|
| 9" | 510 g | 35–38 min | Largest; check 36–37 |
| 8" | 465 g | 34–36 min | Nearly done by 35 |
| 7" | 415 g | 32–35 min | Place on middle rack. |
| 6" | 360 g | 32–35 min | Place on middle rack. |
| 5" | 290 g | 30–32 min | Upper oven rack |
| 4" ×3 | 180 g each | 27–30 min | Place on upper oven racks, and remove first. |
Baking All Layers at Once
If your oven has fairly consistent heating across its racks and levels, I recommend baking all the cake layers at once!
Place the largest pans lower (they tolerate stronger heat) and the smallest pans higher.
It’s not usually recommended to open the oven during baking. However, your cakes will finish baking in a staggered order, making it possible to open the oven door.
By the time you start pulling out the first pans, the remaining layers are already close to done, which minimizes collapse risk.
You'll begin by removing the 4" layers first (quickest to bake due to their small size), then the 5–7", and finally the 8–9" pans.


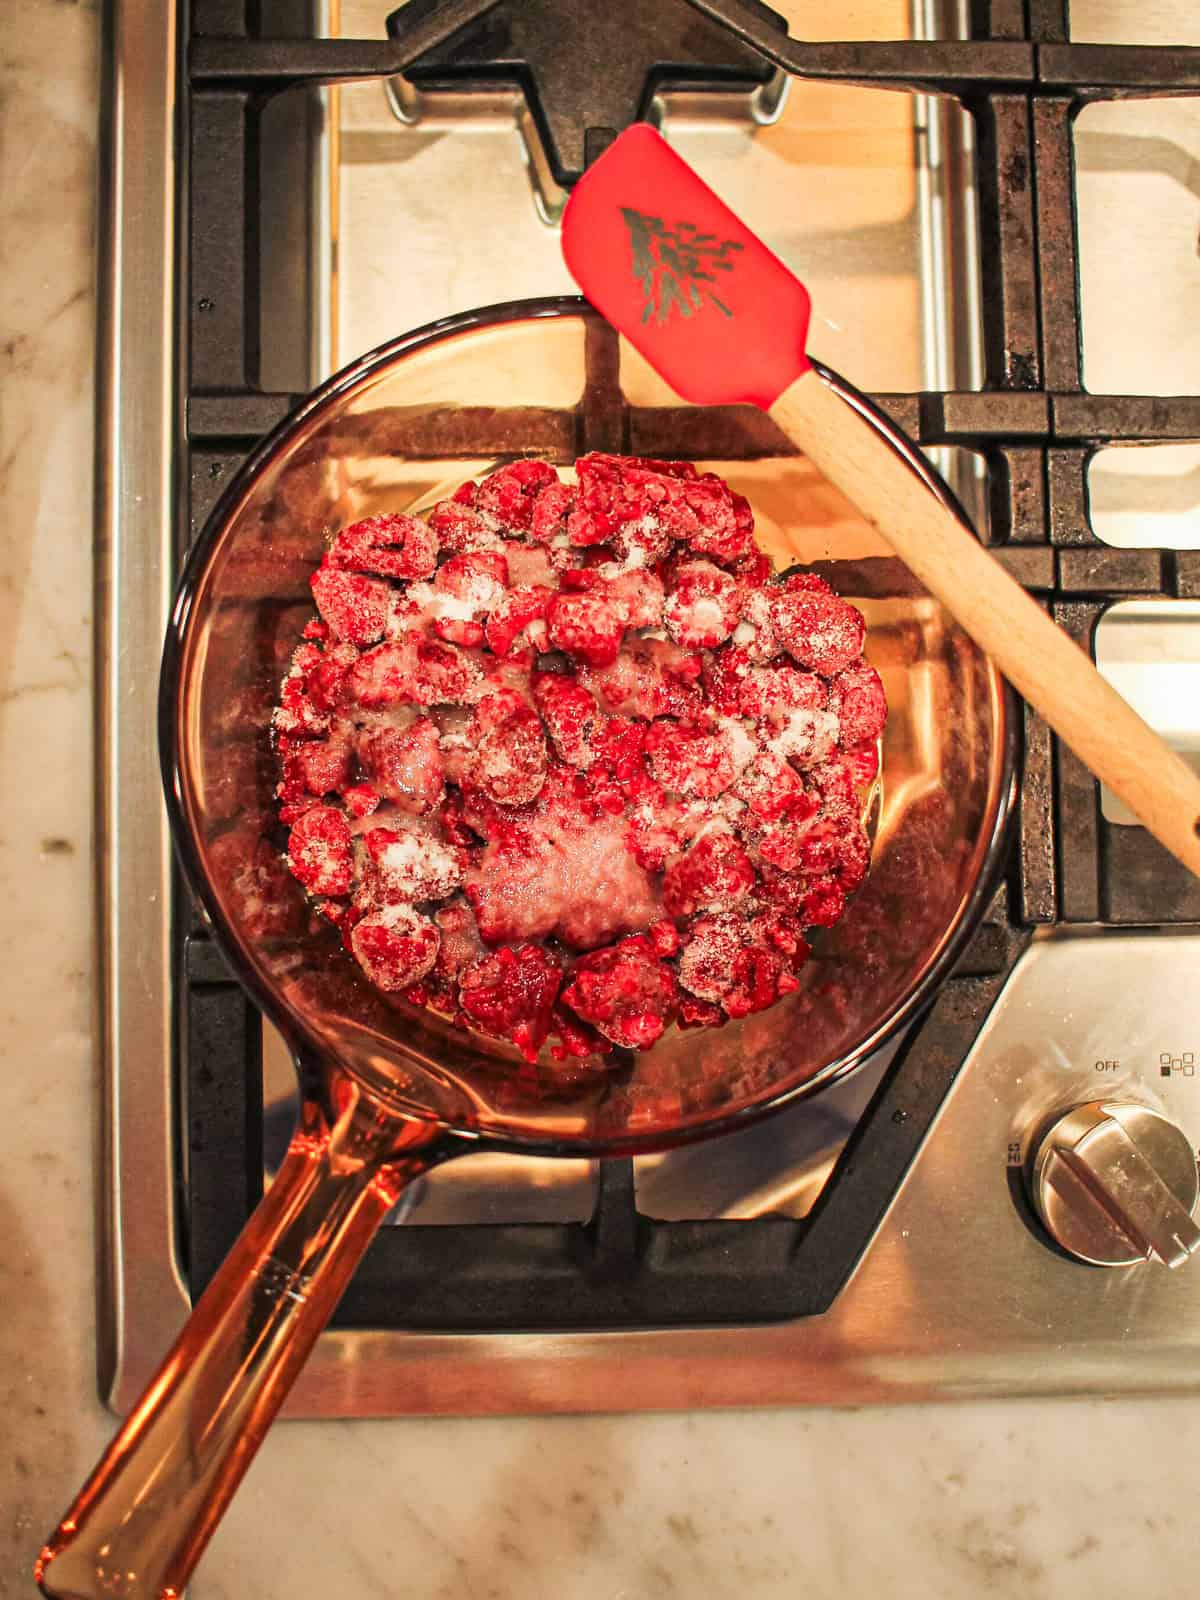
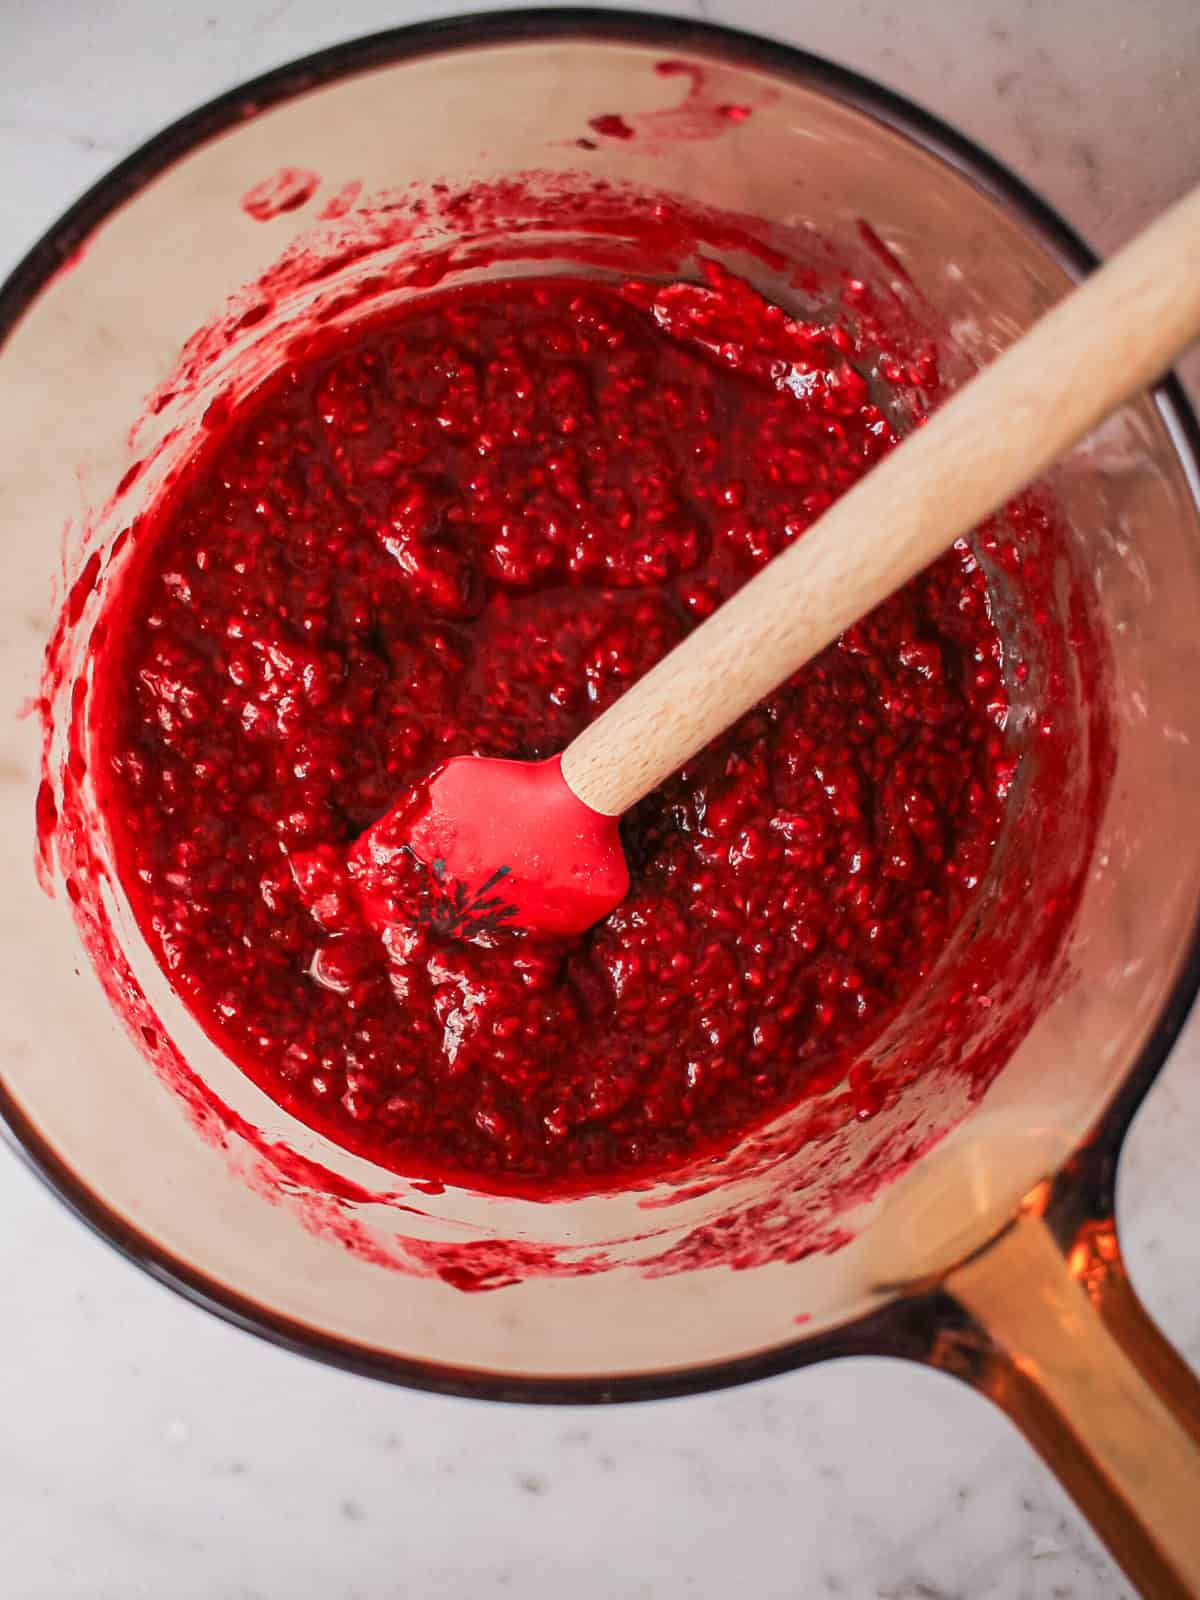
Making the Raspberry Compote Filling
- In a small saucepan, combine raspberries (frozen or fresh), lemon juice, sugar over medium heat; cook, stirring often, until berries break down (~10 min).
- For a thicker filling, stir in the cornstarch slurry and simmer 1–2 minutes more. Strain if you want it seedless. Cool completely.
🧁 Instructions for Raspberry Vanilla Buttercream
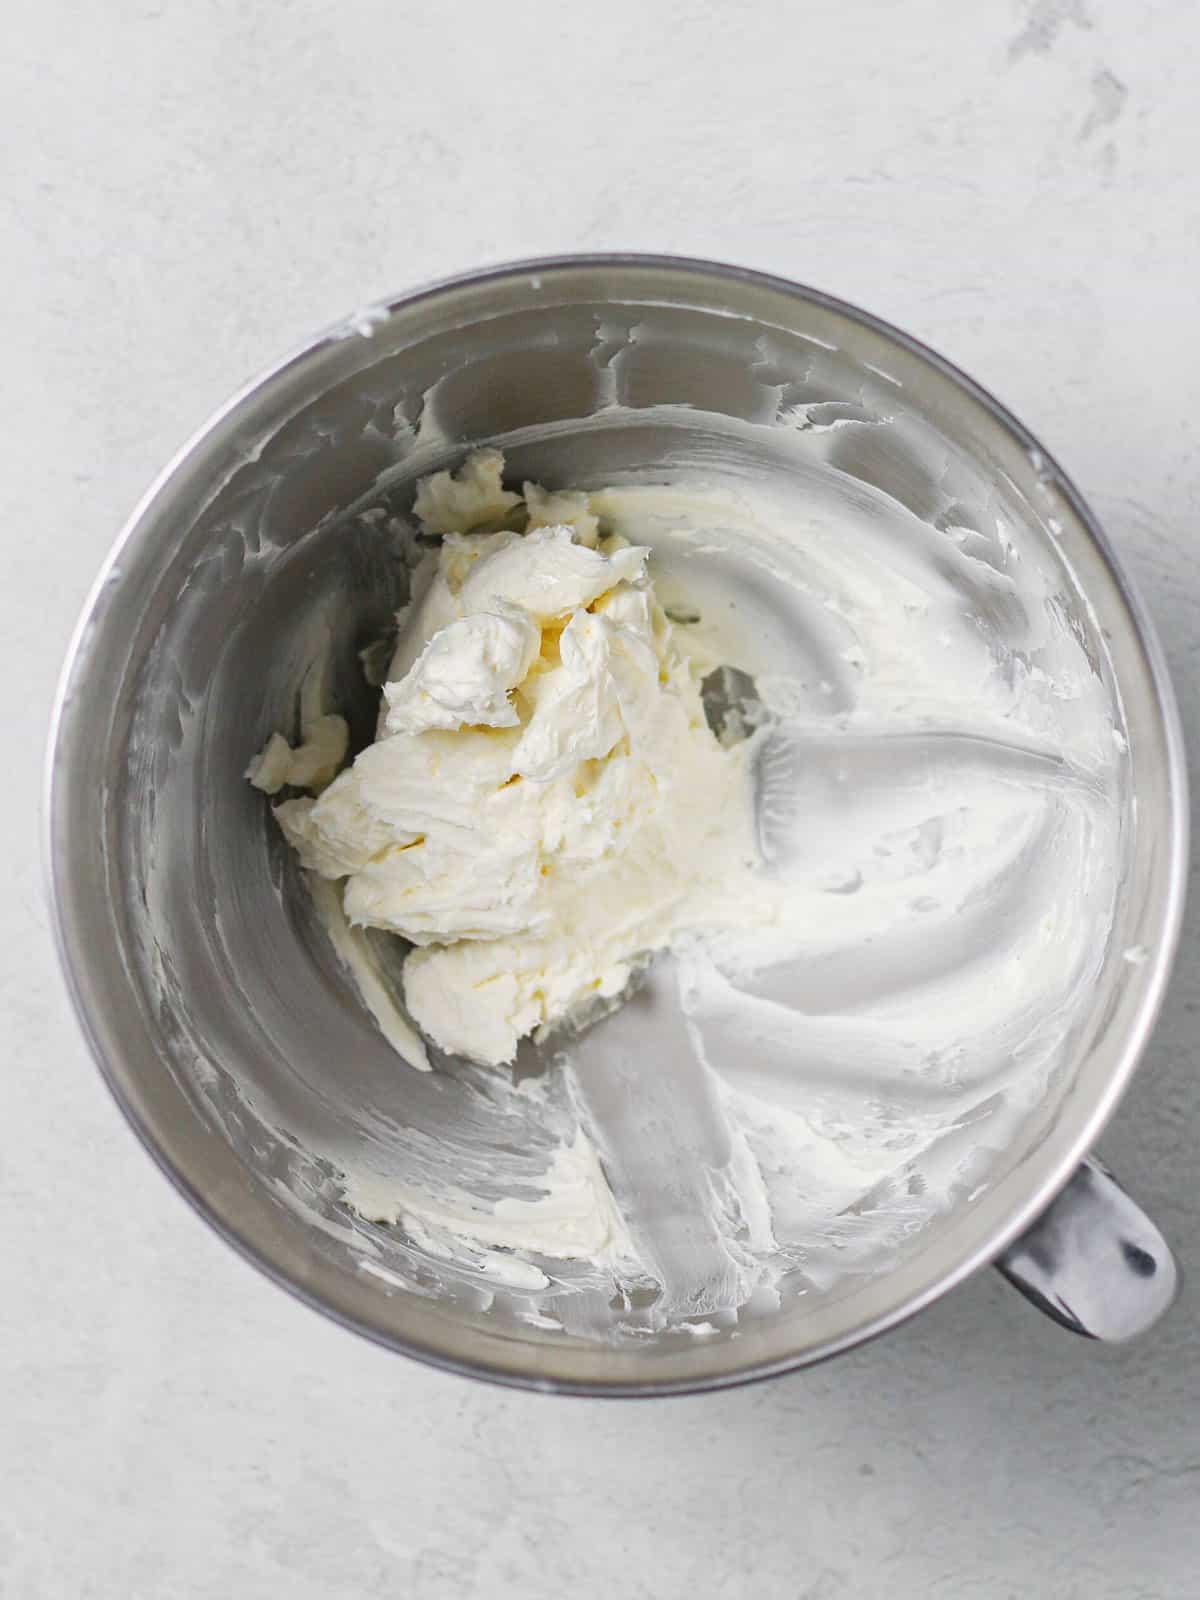
Cream frosting ingredients. With the paddle attachment, beat unsalted butter and vegetable shortening (if using) until smooth.

Add sugar and flavoring. In batches, add powdered sugar, salt, heavy cream, and vanilla. Mix on medium-high 5 minutes. Taste and add lemon or lime juice (or white vinegar) to cut sweetness.
💡 We used some shortening in this recipe to make our frosting more heat-resistant. Given the time constraints of the show, we knew we'd need to apply frosting to our cake when it was still warm! We made this choice because shortening melts more slowly than butter.
However, you can nix this ingredient at home and opt for an all-butter frosting instead.

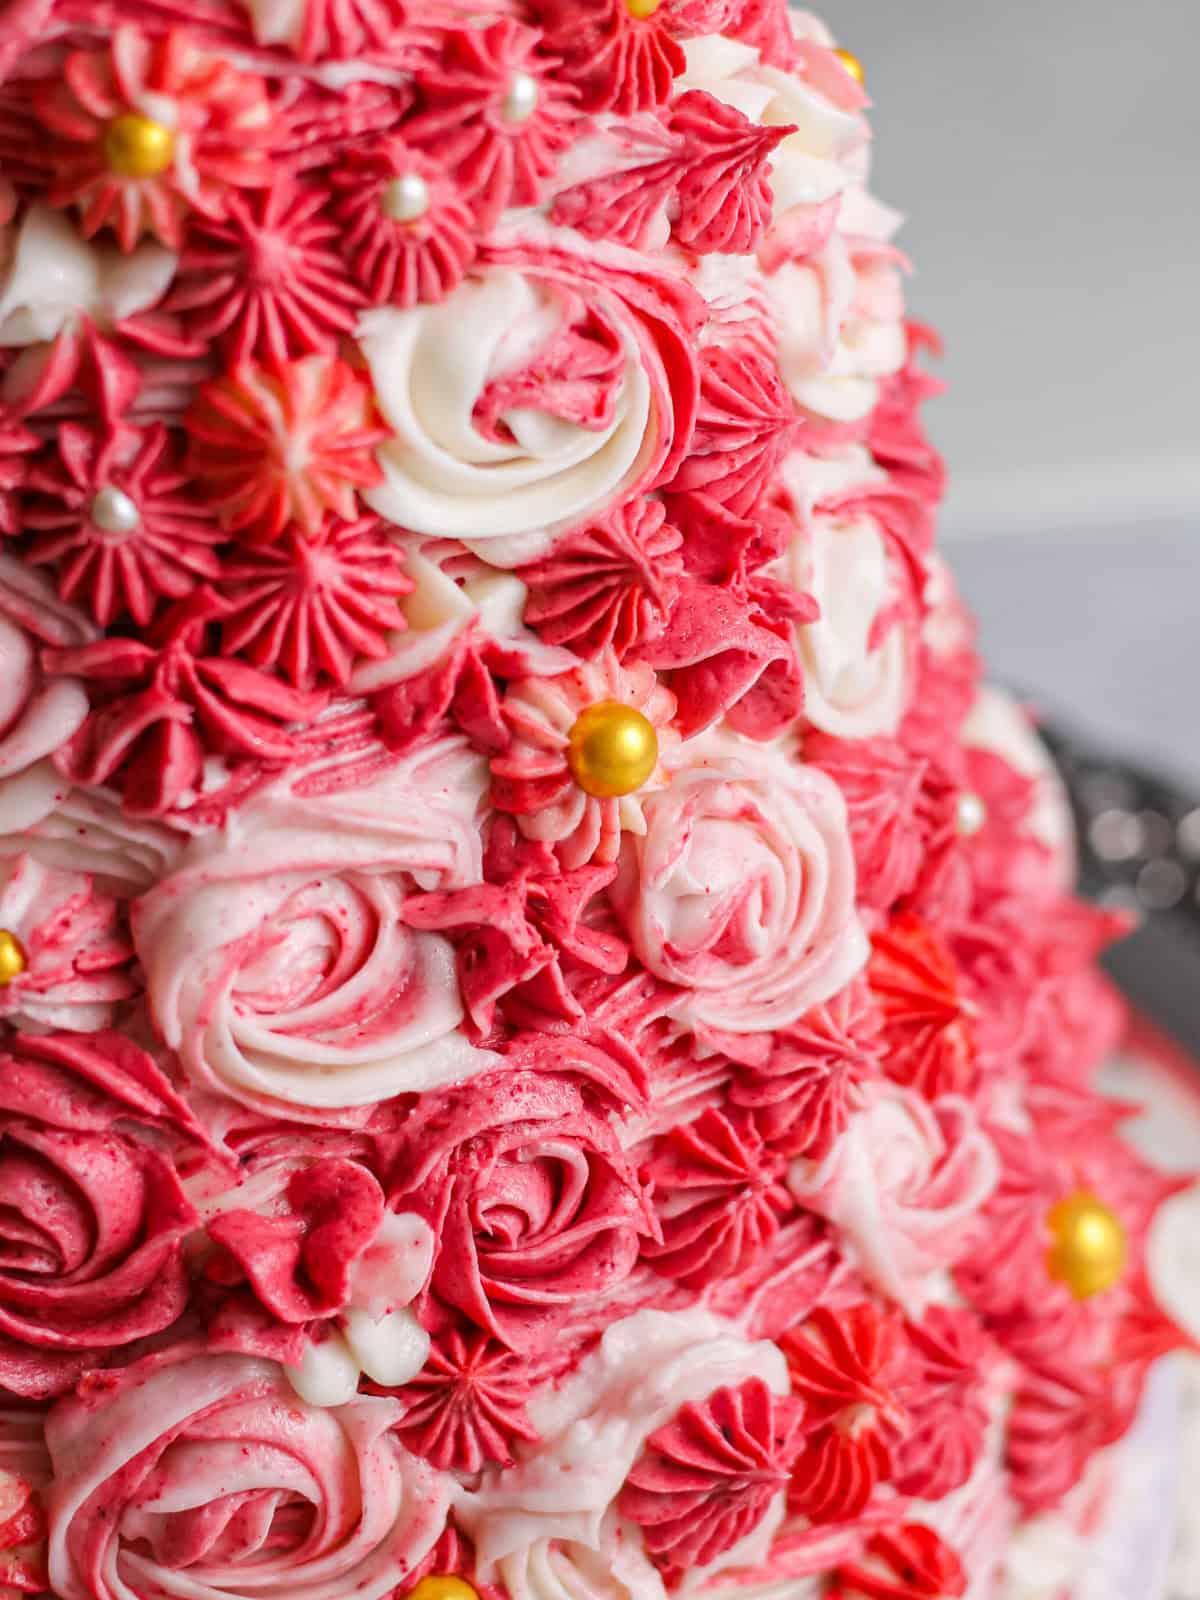
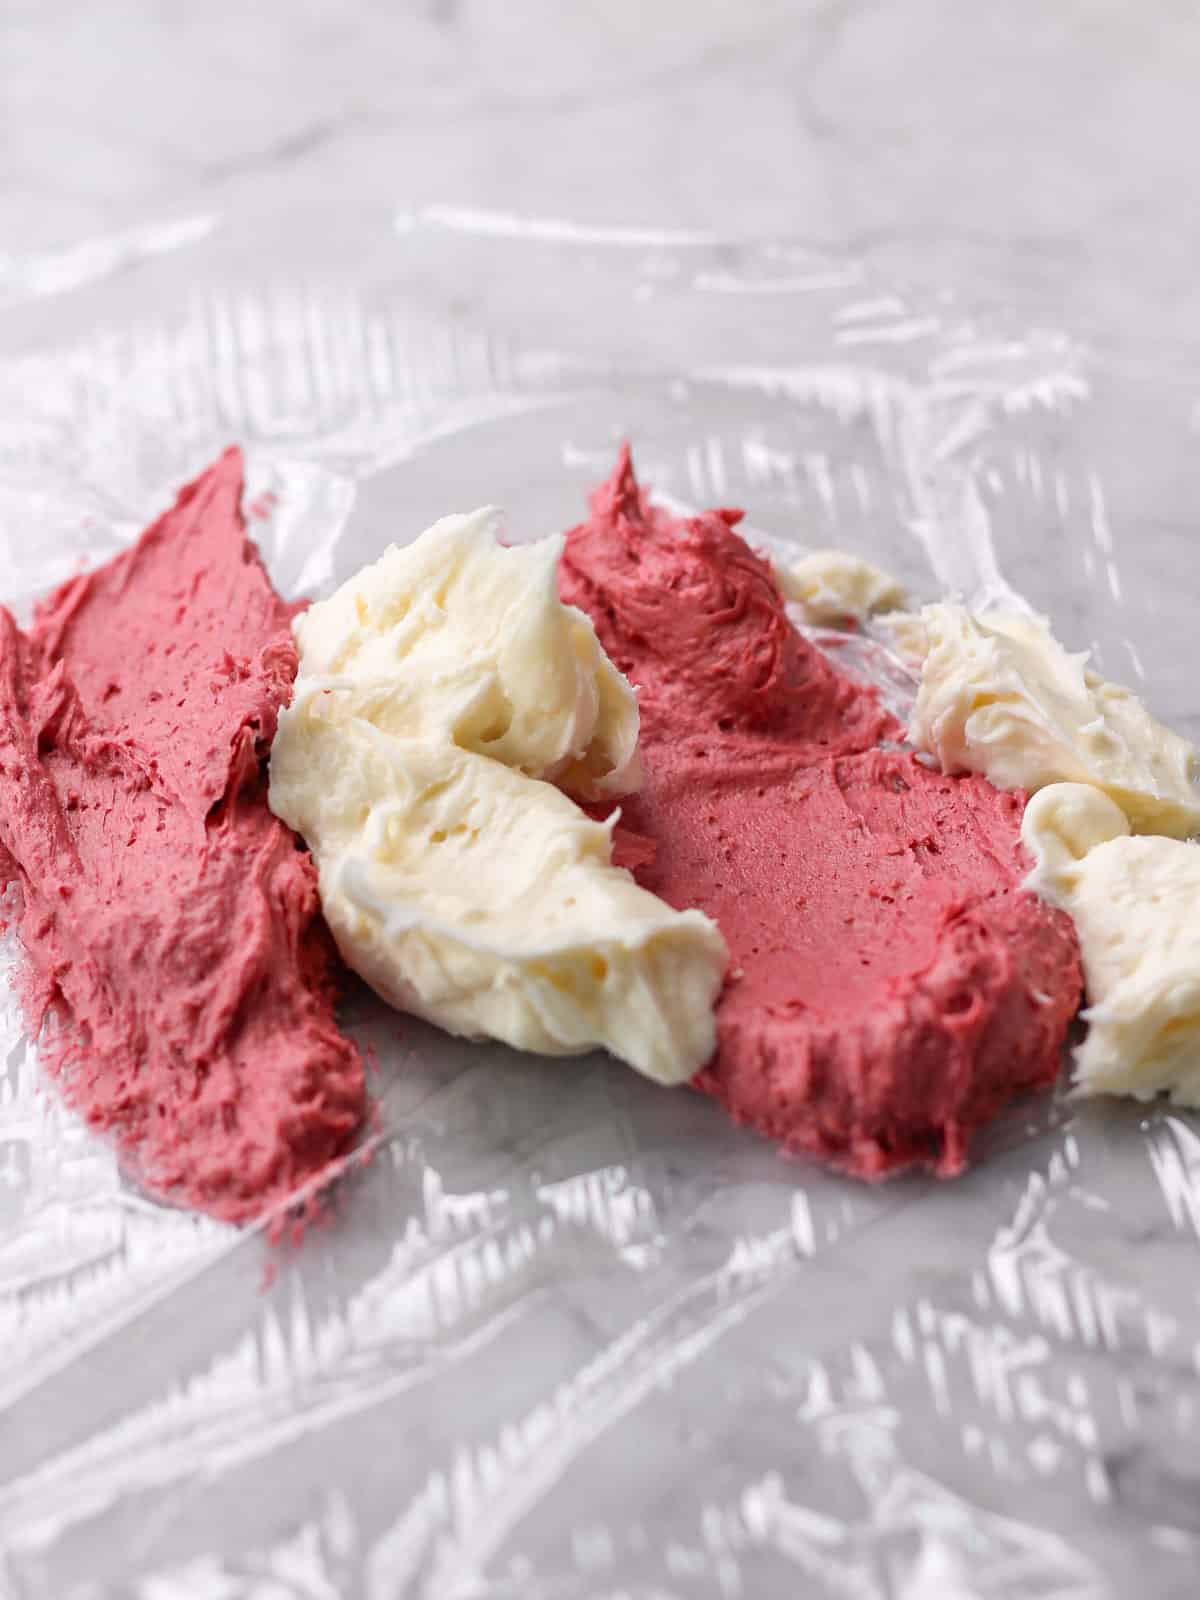
Marble frosting. Remove ~60% plain (white). Tint the rest pink with freeze-dried raspberry powder. Pop air bubbles with a spatula.
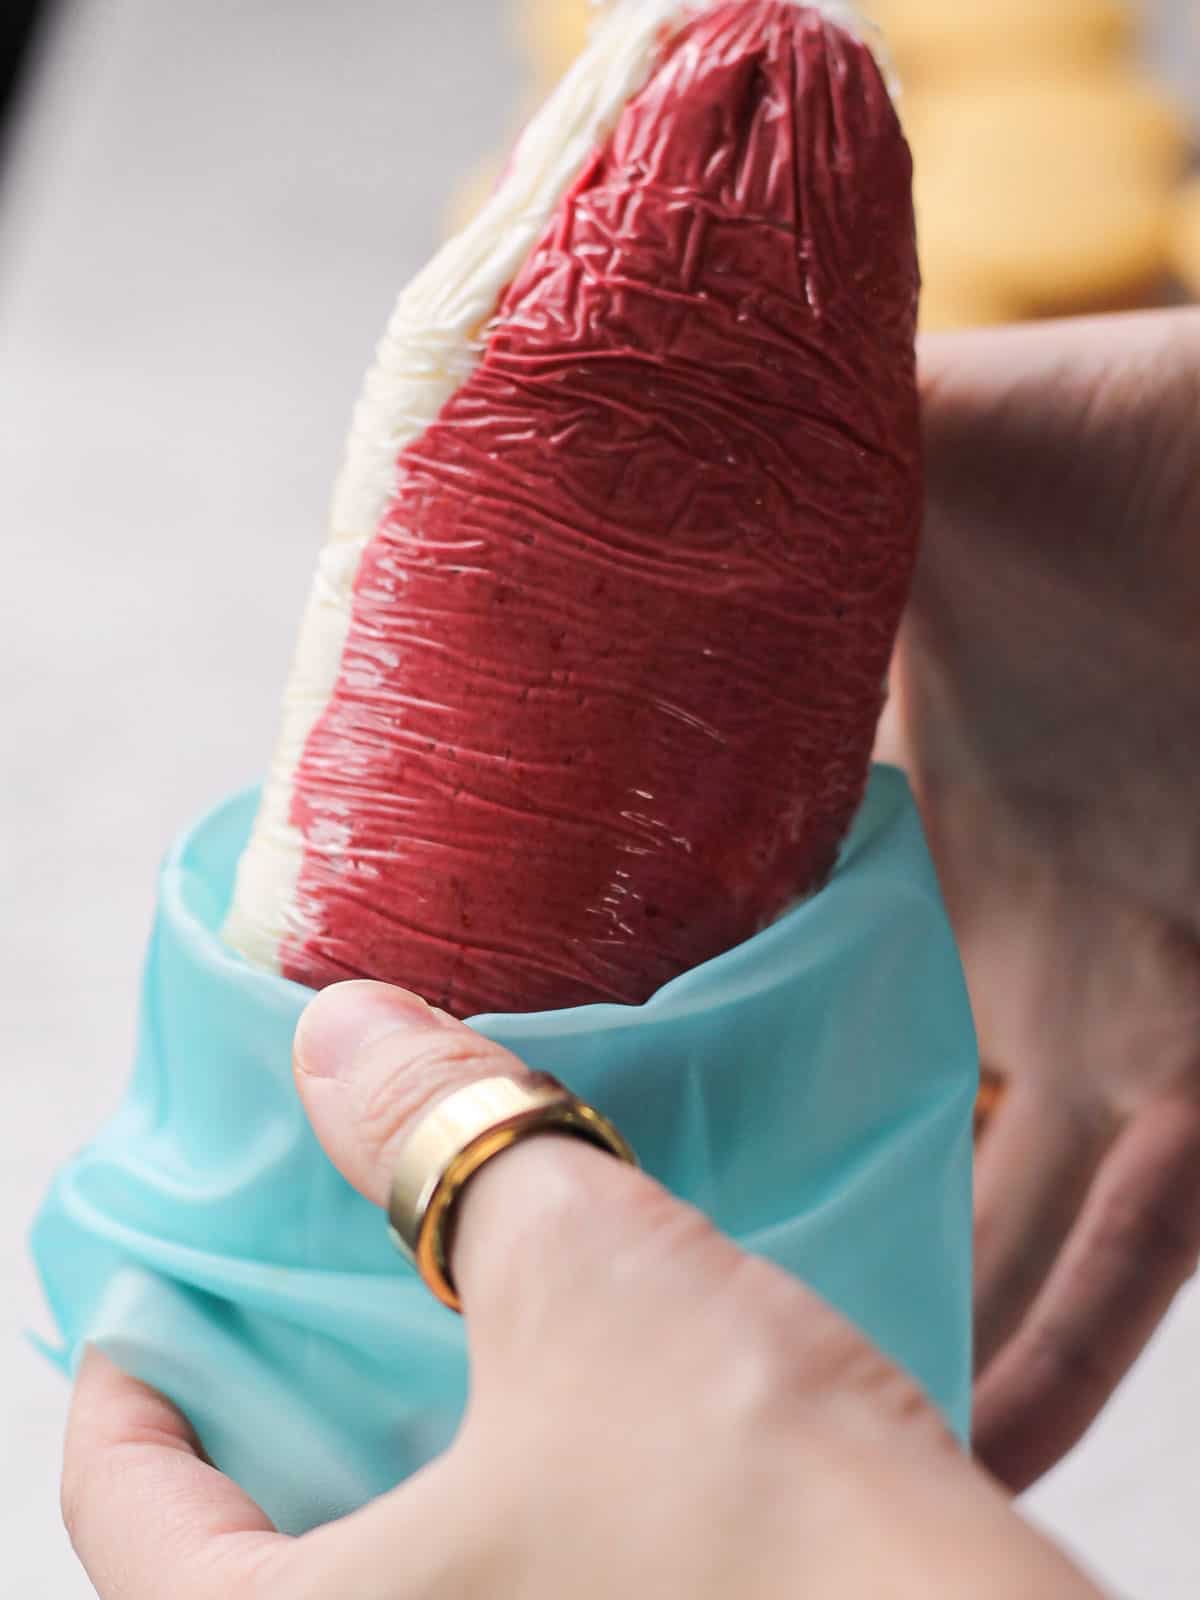
Prep piping bags. Load 4–5 piping bags fitted with tips (2D, 1M, Ateco 829/869/809, etc.). Do not overfill — bags should be less than halfway full to reduce hand strain.
The MVP of Piping Tips
To quickly frost a cake, I'm a huge fan of this large, flat piping tip! Wilton #789 was a lifesaver in wrapping this large cake in buttercream.

🌟 Make the Gold Isomalt Star
- Lightly spray star cookie cutters; set on a silicone mat. Have gold flakes and sticks ready.
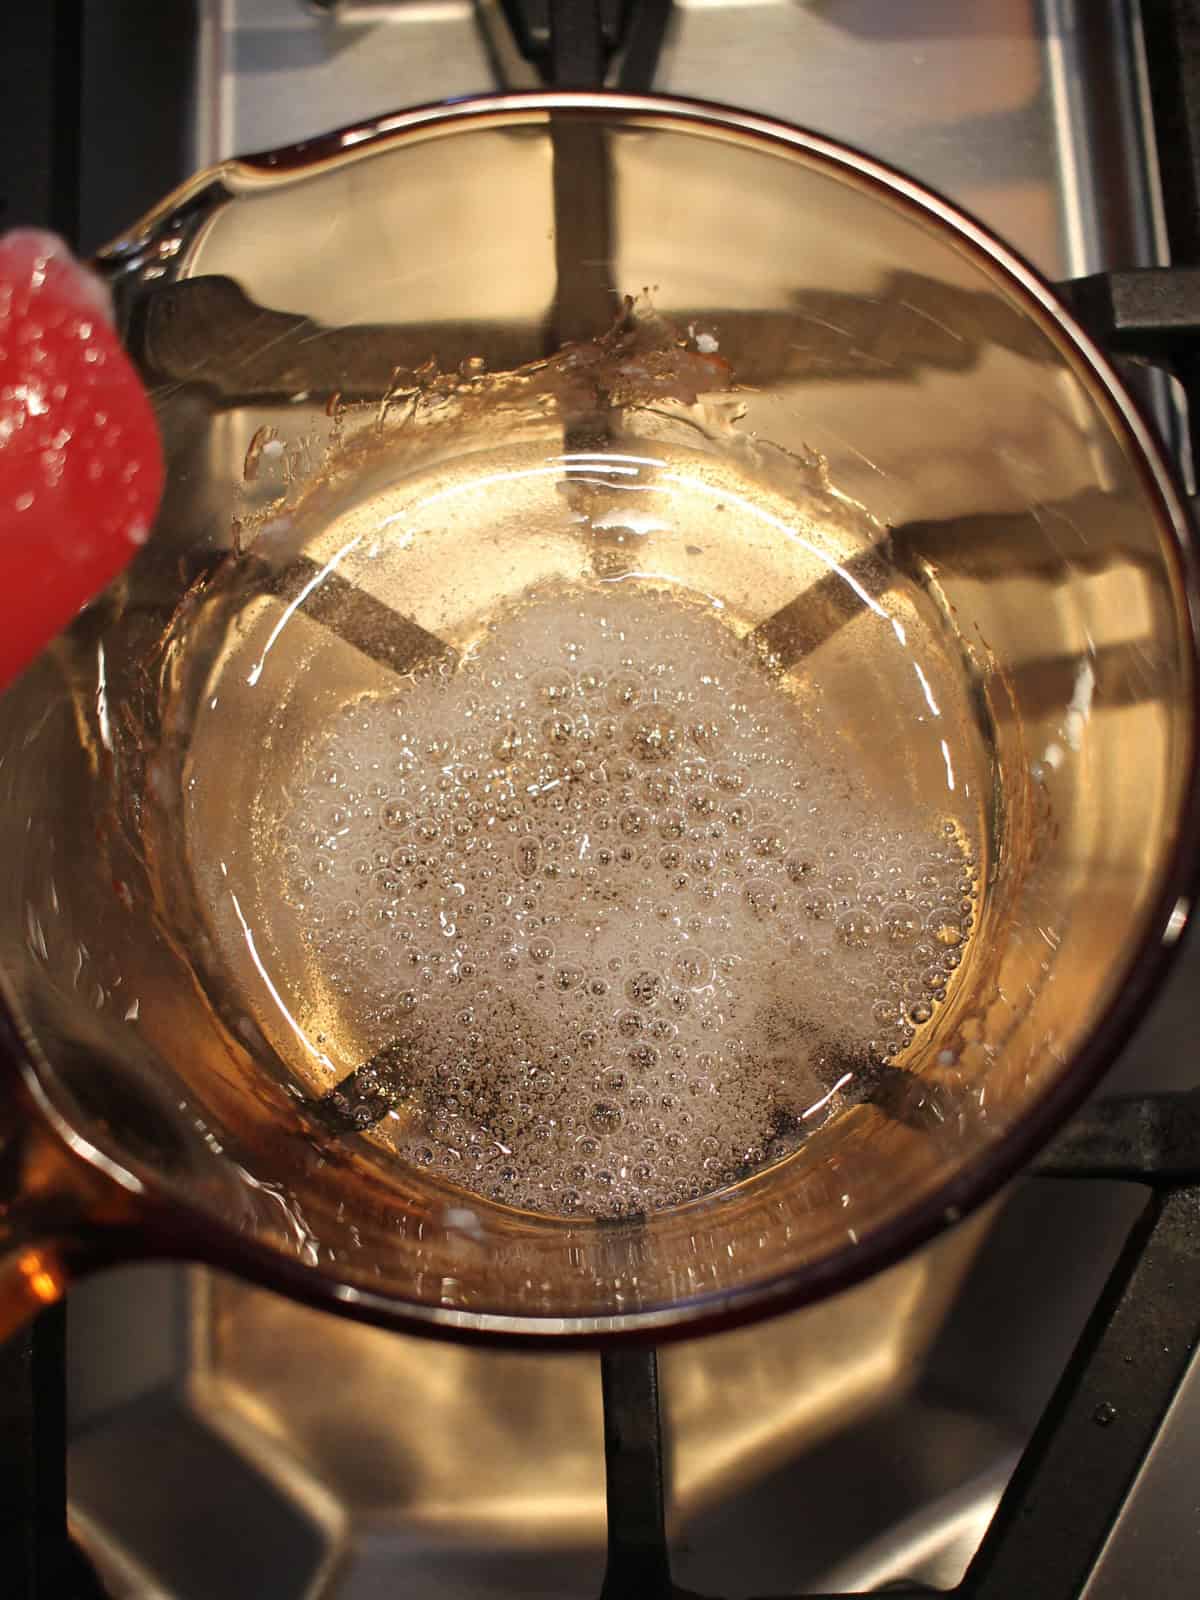
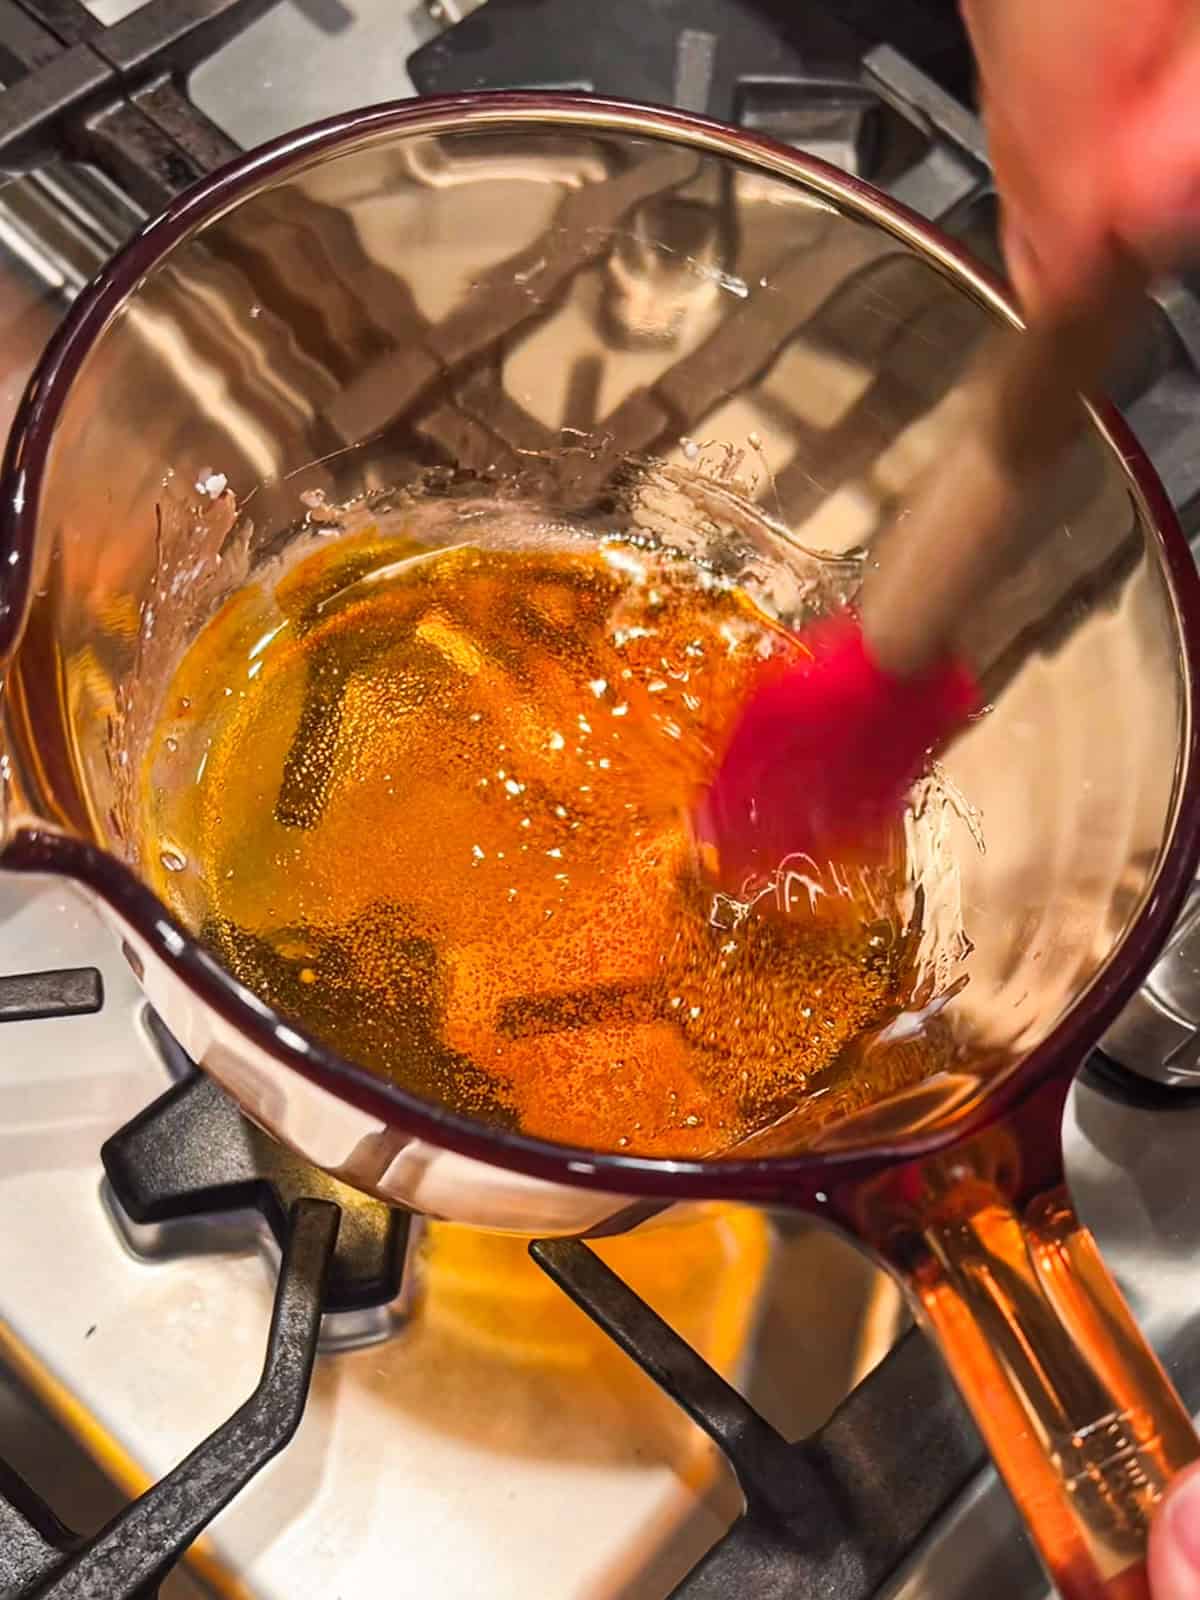
- Melt semi-pre-cooked isomalt in a heavy pot over low–medium heat (280–290°F / 138–143°C); do not add water. Stir gently to dissolve dry spots. Do not exceed 300°F / 149°C.
- Cool slightly to ~275–280°F (135–138°C), tint with a toothpick dot of yellow gel, and pour into cutters. Add gold leaf flakes immediately. Optionally, pass a quick torch to pop surface bubbles.
- Cool 10–15 minutes at room temp; do not refrigerate. Flip, lightly torch the back center (tacky, not melted), insert stick, hold 5–10 seconds to set.

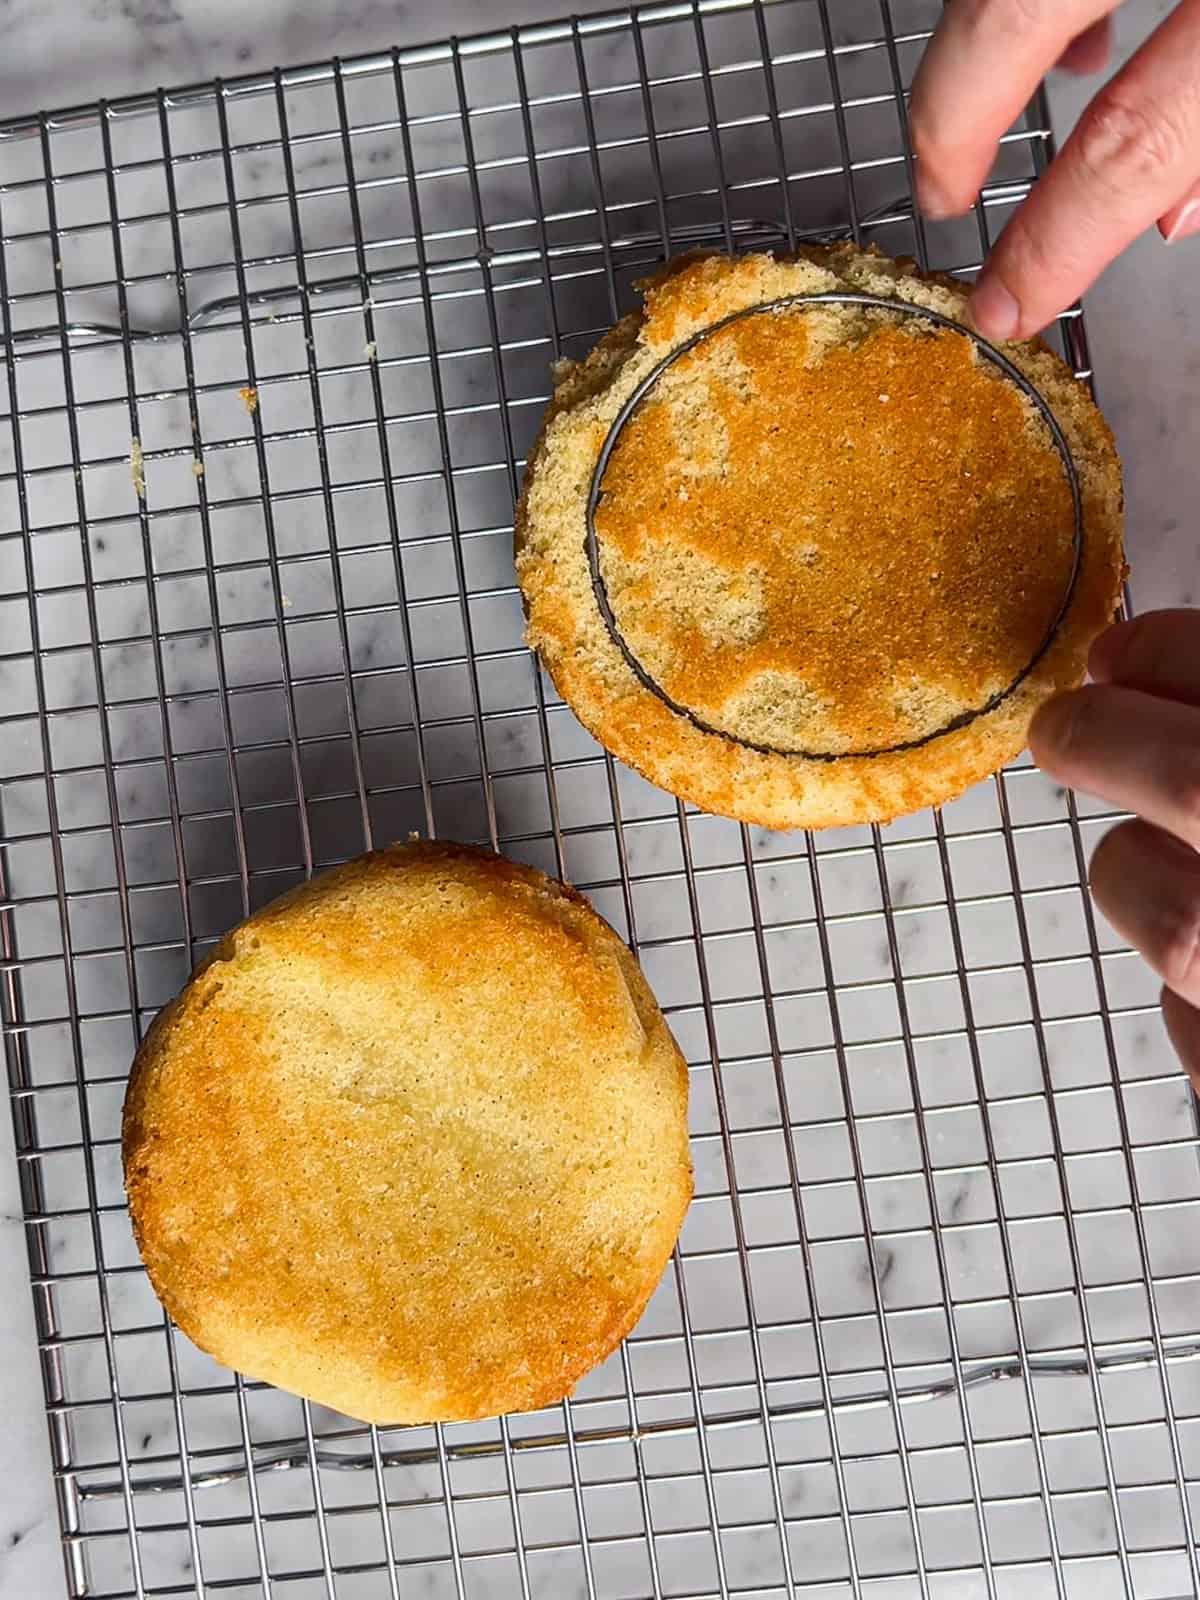
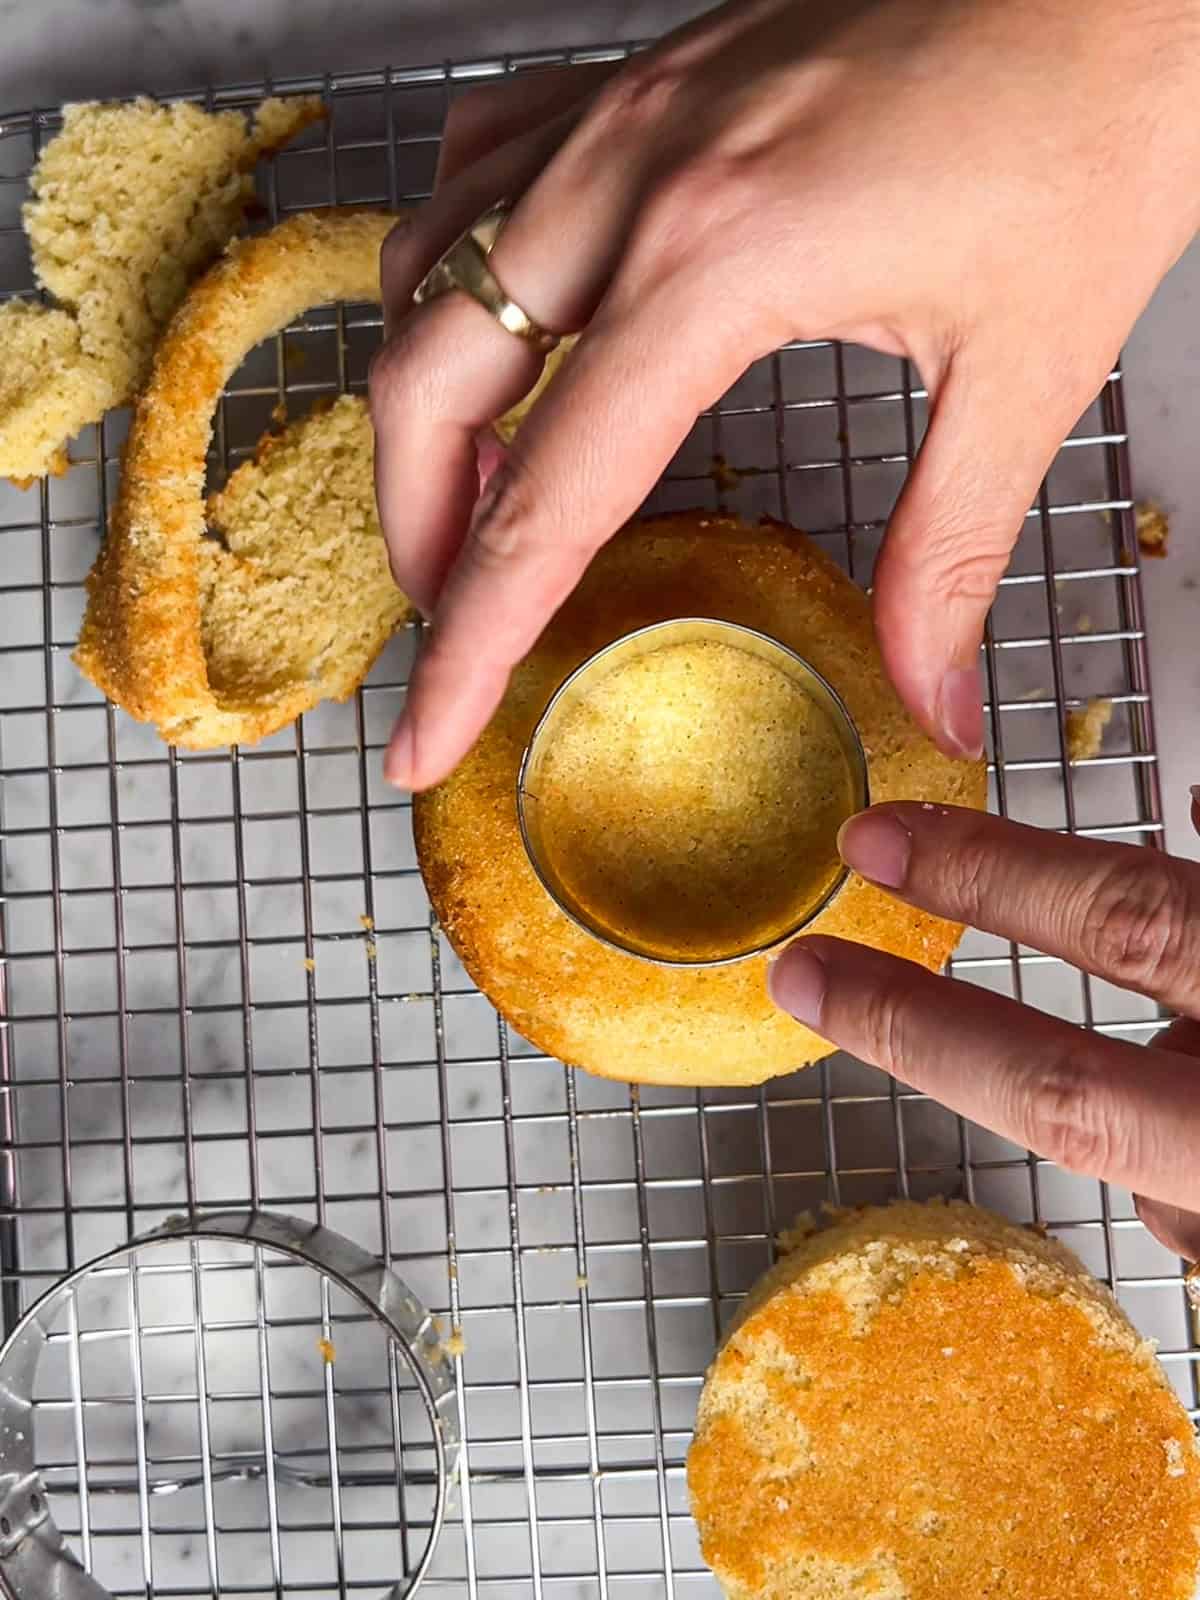
⭕️ Cutting Tiny Cake Layers
Use cookie cutters to trim one 4" cake to a 3" round and another to a 2" round.
You'll use these as the final pieces in stacking your cake.
🎄 Assemble the Tree & Decorate
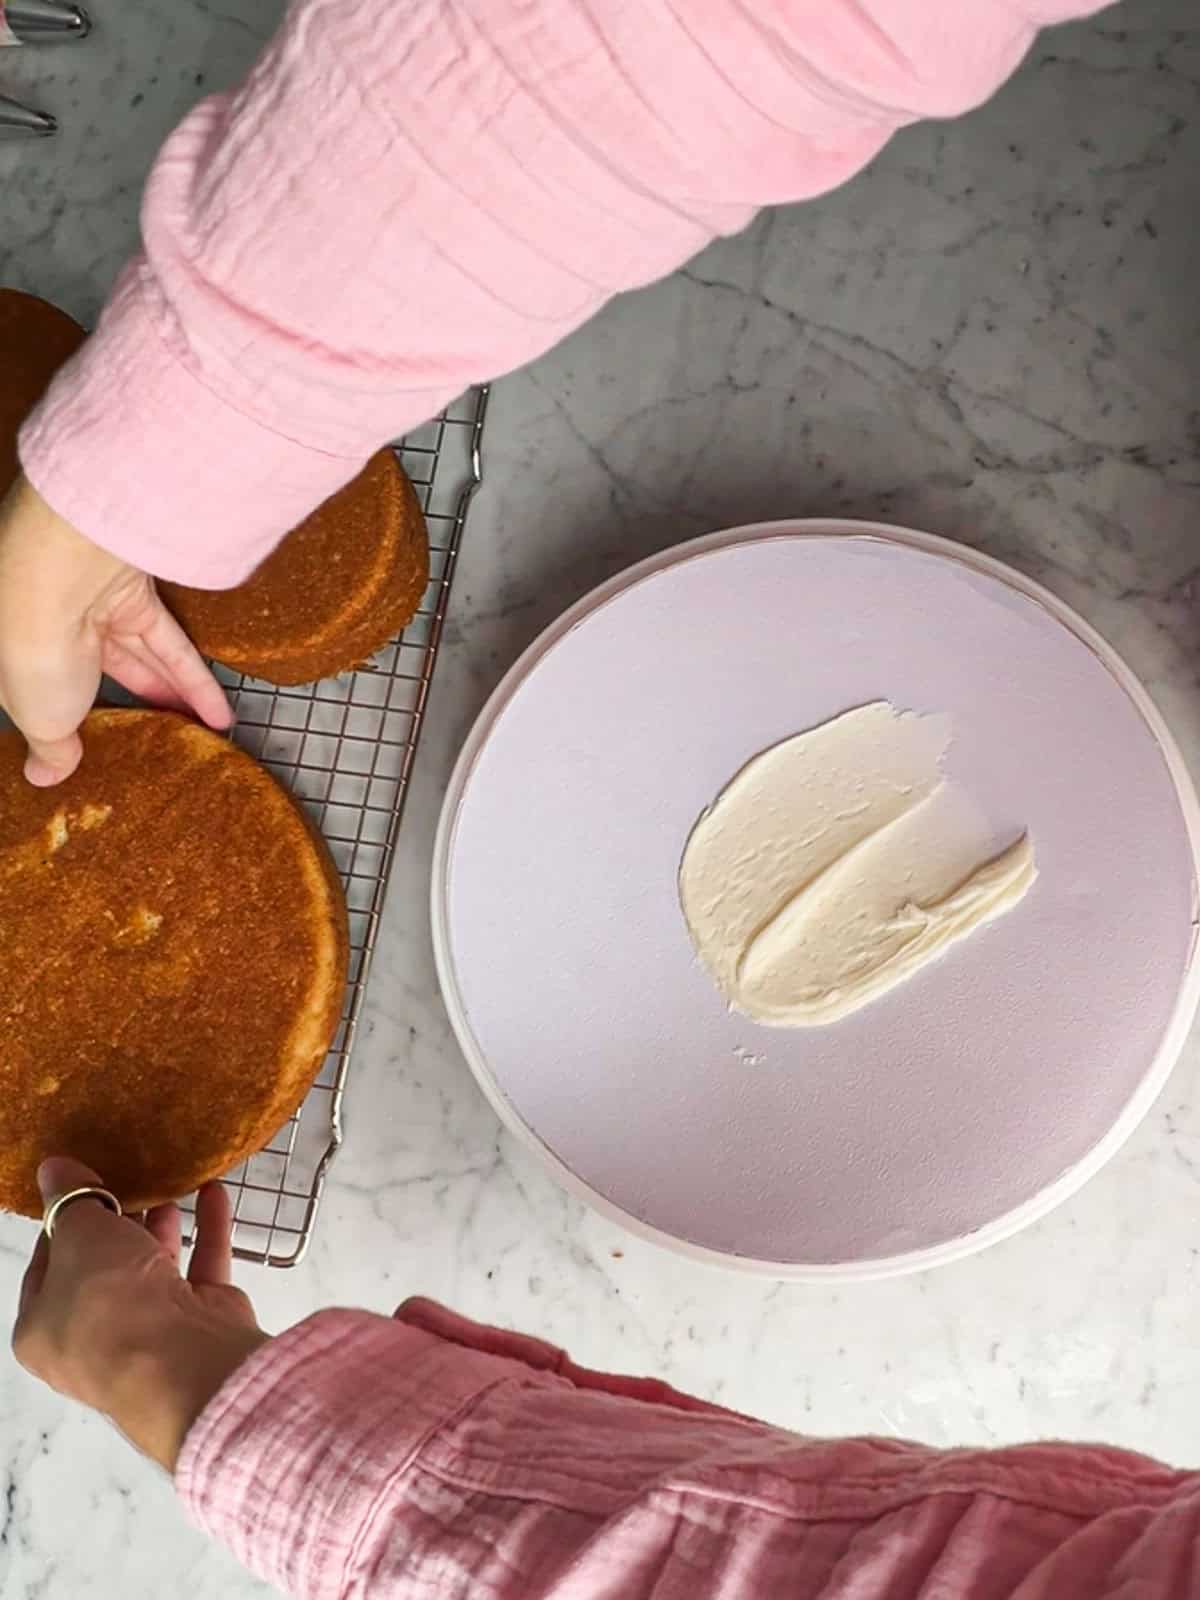
Form Your Base: Add a dab of buttercream to the cake drum or board to act as glue.
Stack Layers: Use this order to stack your cakes, centering each layer on top of the previous one: 9" → 8" → 7" → 6" → 5" → 4" → 4" (cut to 3") → 4" (cut to 2").
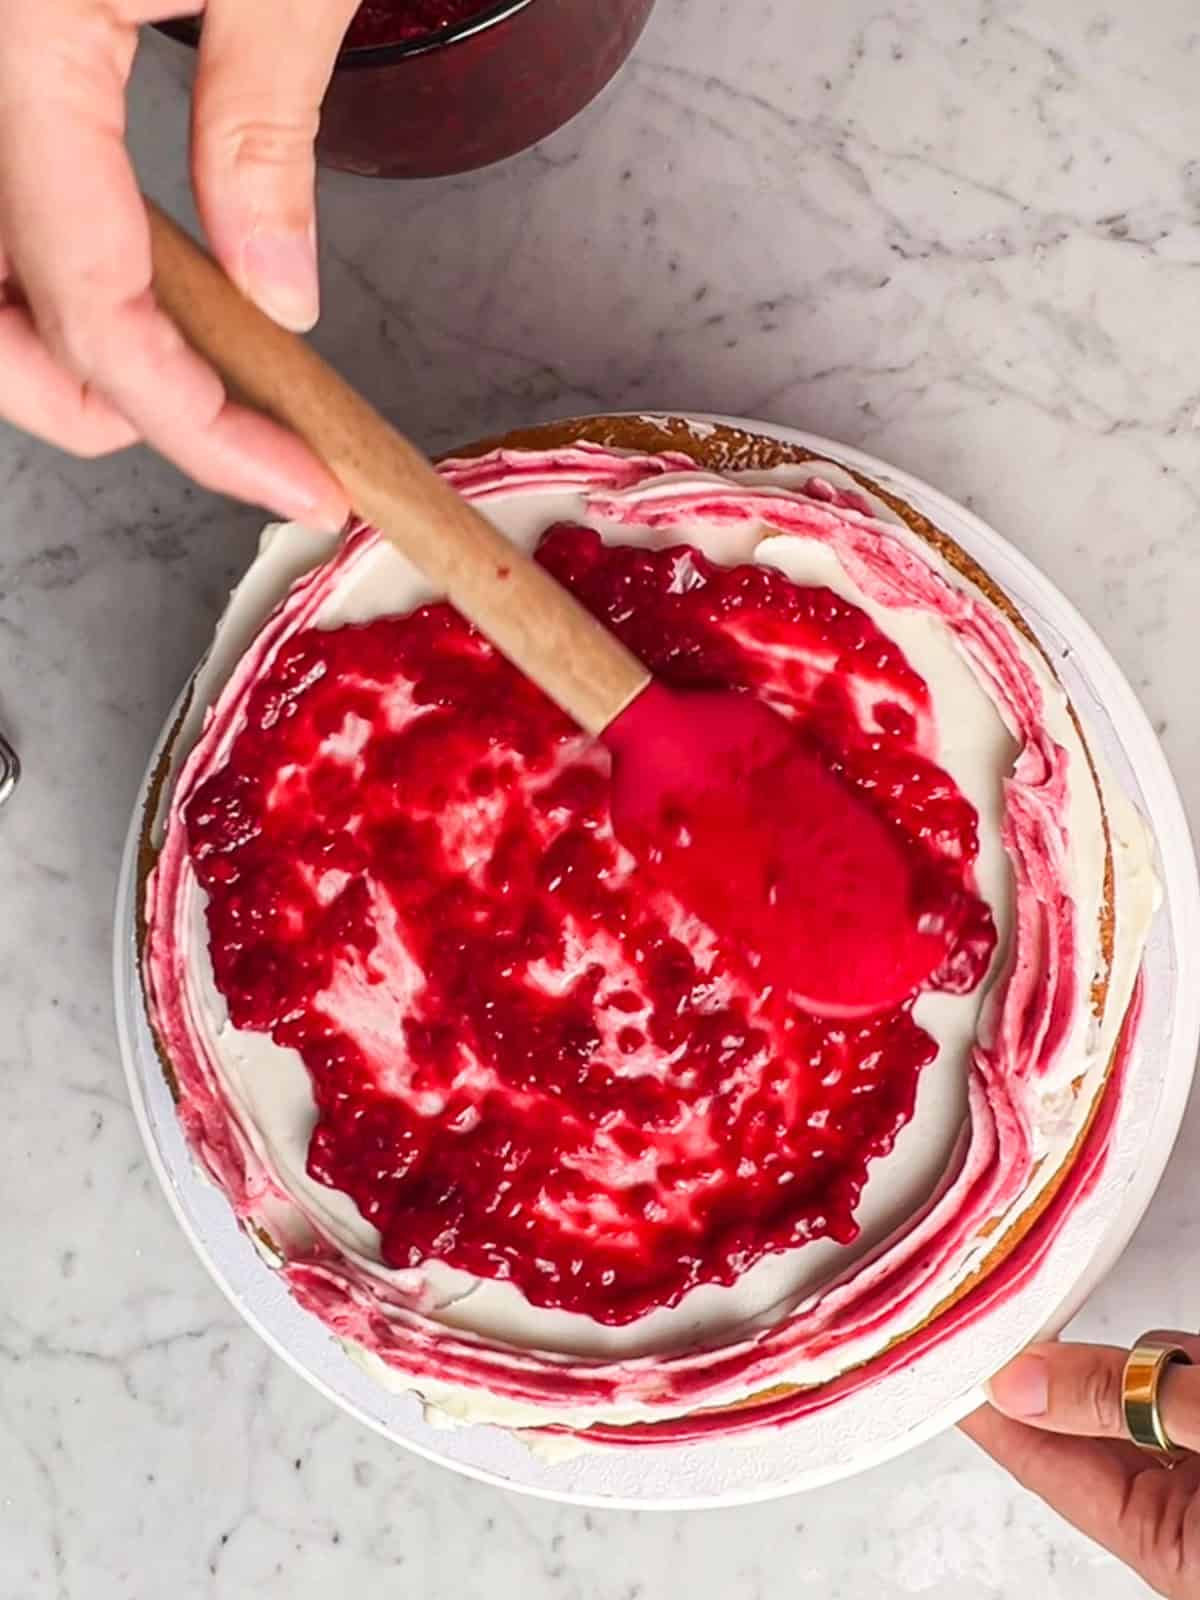
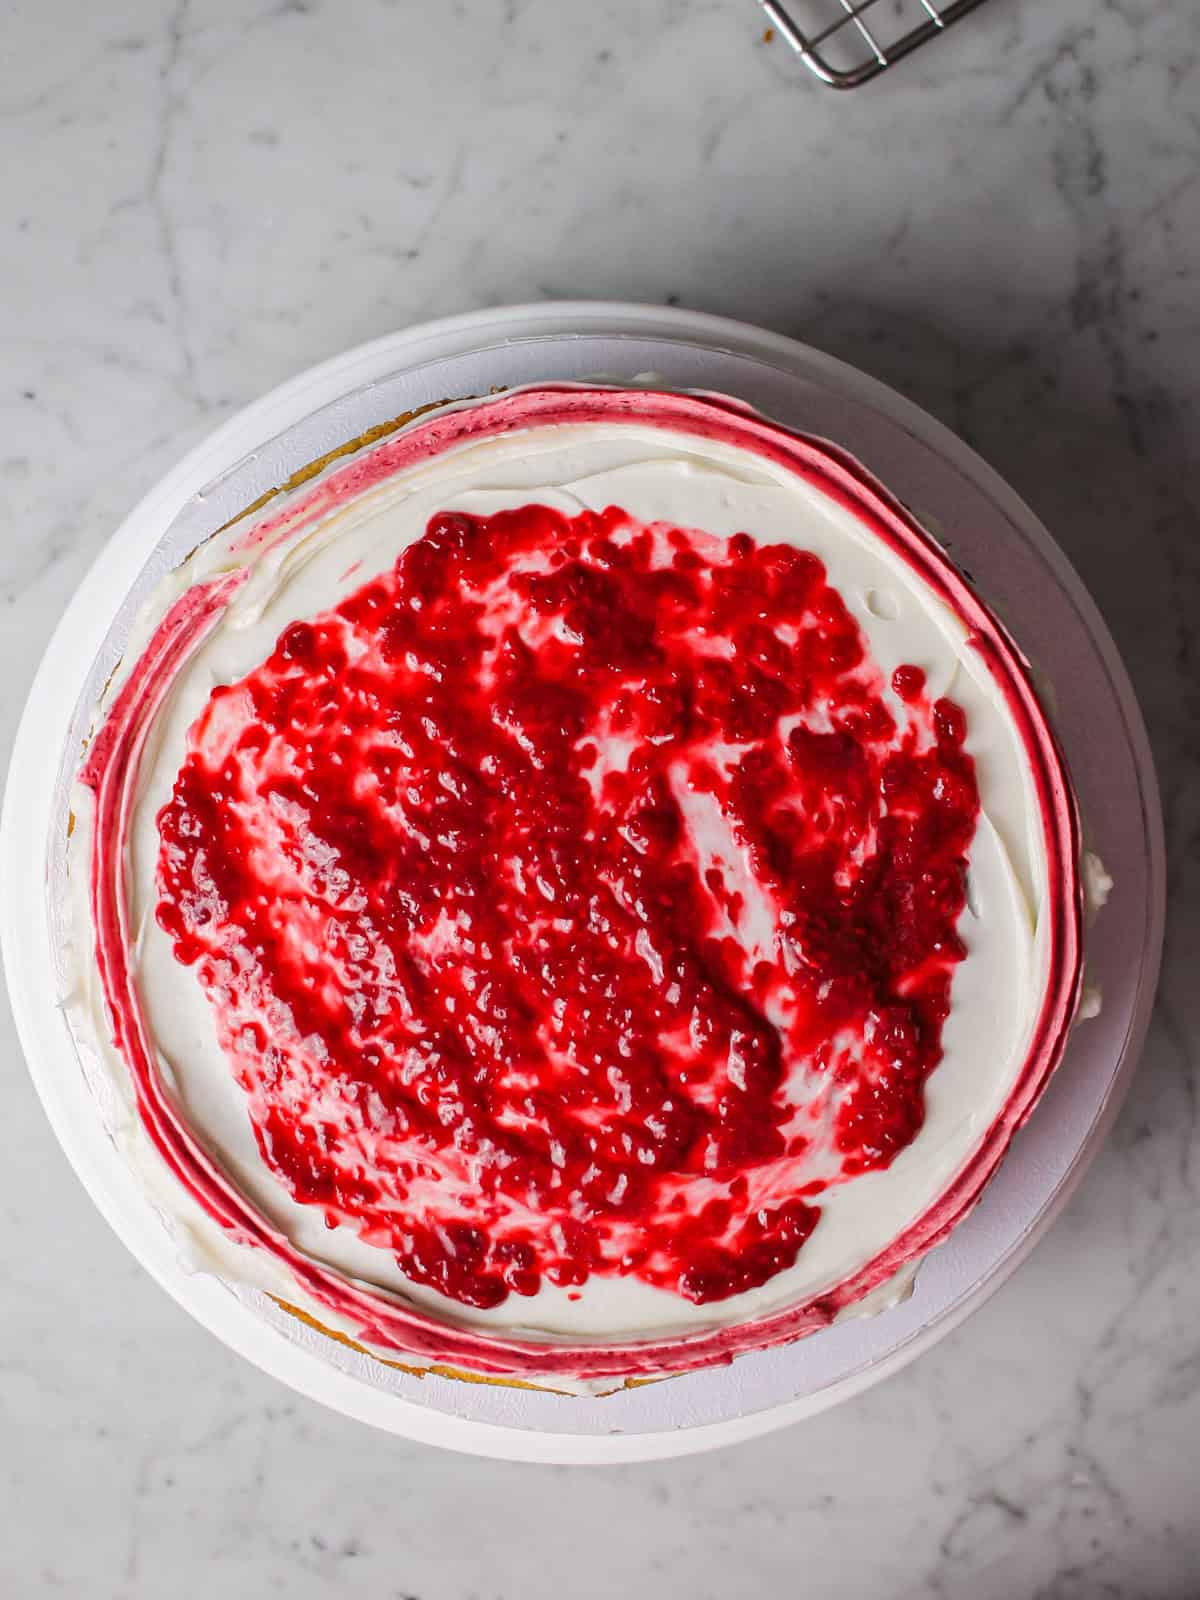
Add frosting and filling: Add your raspberry buttercream and filling between layers. The layer of filling should be very thin, just enough to lightly coat the cake.

Support: After adding all your layers, insert a central 12" dowel through the center of the cake, from top to bottom. This is a good stopping point if you'd like to finish the assembly in waves.
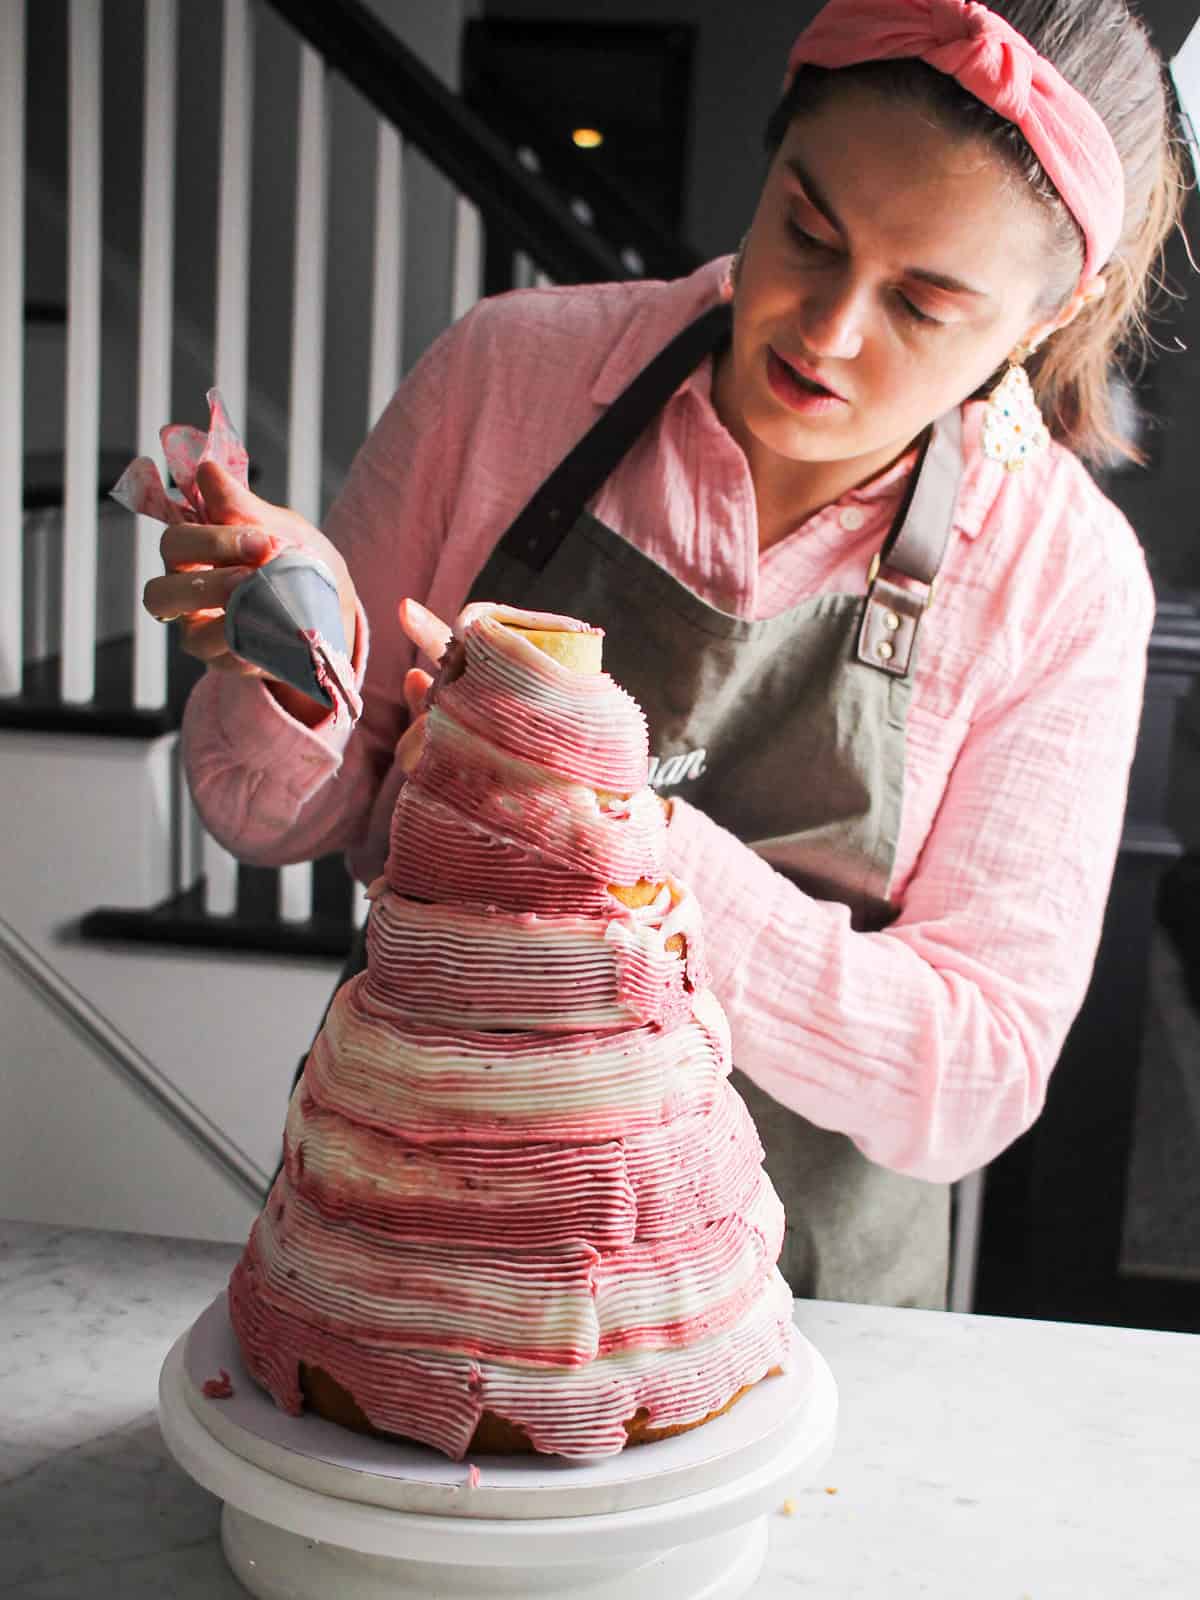
Frost: With the wide, flat piping tip, cover your cake with a textured base coat from bottom to top.

Buttercream swirls: Use your star piping tips to decorate the tree with rosettes, swirls, and other shapes of your liking in pink and white shades.
Finishing touches: Add round white/gold sprinkle “ornaments,” edible glitter, and finish with the isomalt star. Add powdered sugar or shredded or desiccated coconut to the base for a snowy effect.
🔑 Pro Tips
- Half-full piping bags — Filling your piping bags halfway reduces hand strain as you pipe. And with a cake this big, baking feels like a sport; gotta conserve your energy!
- Dowel the center — Add two extra supports if your kitchen is warm or cake is very tall.
- Cut sweetness — A splash of lemon/lime (or white vinegar) in buttercream keeps the frosting from becoming cloyingly sweet.
❓ FAQs
Coconut is a holiday comfort flavor in my family. When I was a kid, my aunt and uncle would stop by a pie shop on their way to visit us during Christmastime. They'd always grab a coconut cream pie, and this flavor choice for the cake is an ode to that memory.
And raspberry adds bright color and tart contrast so the cake never feels overly sweet.
Plus, my coconut cake recipe bakes firm yet tender layers. This is ideal for carving and stacking, as you don't want a crumbly cake to fall apart on your here!
Not really! I’ve made tiered and one-dimensional tree cakes, but this larger, fully 3D version was a fun step up. Stability and timing are key.
Cooling and stacking under a time constraint. Our plan emphasized quick cooling and using a central dowel (plus extra supports if needed).
❄️ Storage & Make-Ahead
Make ahead: Layers keep two days refrigerated (wrapped) - or up to three months in advance if you are a planner! 😉
Buttercream can similarly be made in advance; bring to room temp and rewhip before piping.
The isomalt star is best made the day of (store airtight away from humidity).
Serving & Storage: This assembled 3D Christmas tree cake is best the day it’s decorated but will keep 2–3 days covered in the fridge. Once you've added the buttercream and it has crusted, you can gently wrap plastic wrap around the cake and store in the refrigerator between servings.
Bring slices or the full cake to room temperature for the softest crumb before serving.
Subscribe to receive more recipes like this one in your inbox!

Pretty in Pink” 3D Christmas Tree Cake
- Total Time: 3 hours
- Yield: 1 3D Christmas Tree Cake 1x
Description
From our time on Hallmark Channel's "Baked with Love: Holiday," bake and recreate our pink 3D Christmas tree cake! Follow this step-by-step tutorial for the coconut layers, raspberry buttercream, and more!
Ingredients
Coconut Cake Layers
Dry Ingredients
- 6 cups (675 g) all-purpose flour
- 3¾ teaspoons baking powder
- 1¼ teaspoons baking soda
- 1 tablespoon kosher salt
Wet Ingredients:
- 3 cups (675 g) granulated sugar
- 150 g virgin coconut oil
- 1 ¼ cups (282 g) unsalted butter, room temperature
- 2 ½ tablespoons vanilla extract
- 5 teaspoons coconut extract
- 7 large eggs, room temperature
- 2 cups (450 g) canned coconut milk, well stirred
- About ⅓ cup + 2 tablespoon (100 g) full-fat Greek yogurt or sour cream, at room temperature
Raspberry Compote Filling
- 2 cups (240 g) raspberries (fresh or frozen)
- 1½ teaspoon lemon juice
- 1 tbsp sugar
Optional: 1 teaspoon cornstarch mixed with 1 tablespoon cold water (for thickening).
Raspberry Vanilla Buttercream
- 2 cups (452 g) unsalted butter, room temperature
- 113 g vegetable shortening
- 2200 g powdered sugar (about 20 cups)
- 5 tbsp meringue powder
- 1½ cups (390 g) heavy cream, adjusted to consistency
- 105 g freeze-dried raspberry powder
- 4 tbsp vanilla extract
- Salt to taste (1-2 tablespoons)
- 3–4 tablespoon lemon or lime juice (or white vinegar) to cut sweetness; add to preference.
Isomalt Star Topper
- 240 g semi-pre-cooked isomalt crystals
- Yellow gel food coloring (tiny toothpick dot)
- Edible gold leaf flakes
- Wooden lollipop stick or kebab skewer
Decorations
- Round pearlescent white sprinkles (ornaments)
- Round pearlescent gold sprinkles (ornaments)
- Edible shimmer dust
- Shredded/desiccated coconut
Instructions
Coconut Cake
- Preheat oven to 350°F (177°C).
- Cream butter, coconut oil, sugar, vanilla, and coconut extract with paddle on medium 5 minutes; scrape halfway.
- Add 7 eggs, one at a time, mixing well between additions; mix ~3 minutes total until smooth and glossy; scrape as needed.
- In a separate bowl, whisk flour, baking powder, baking soda, salt.
- Add half the dry + all coconut milk (mix 30 seconds; scrape). Add remaining dry + Greek yogurt or sour cream. Mix just to combine — do not overmix.
- Line/grease pans: 9", 8", 7", 6", 5", and three 4" rounds.
- Divide batter by weights and bake to the time guide. Quick cool: 10 minutes in pan → pre-chilled greased racks (fan) → freezer 15–20 minutes.
Raspberry Compote Filling
- Combine raspberries, lemon juice, sugar in a small saucepan; cook over medium, stirring often, until berries break down (~10 minutes). For thicker filling, stir in cornstarch slurry, simmer 1–2 minutes. Strain for seedless, if desired. Cool completely.
Raspberry Vanilla Buttercream
- Beat butter + shortening smooth.
- Add powdered sugar, salt, heavy cream, vanilla in batches; mix medium-high 5 minutes.
- Taste; add lemon/lime (or white vinegar) to cut sweetness; adjust cream and sugar as needed.
- Remove ~60% plain frosting; tint remaining in bowl with raspberry powder. Pop air bubbles.
- Fill 4–5 piping bags (2D, 1M, Ateco 829/869/809, etc.); do not overfill.
Isomalt Star
- Lightly spray star cutters; set on silicone mat.
- Melt semi-pre-cooked isomalt over low–medium (280–290°F / 138–143°C); no water. Cool slightly to ~275–280°F; tint with a tiny dot of yellow gel
- Pour liquid into cutters and add gold flakes. Briefly torch to pop bubbles (optional).
- Cool 10–15 minutes; flip and lightly torch back center until tacky.
- Insert stick and hold to set.
Assembly & Decoration
- Prep cake circle with a dab of buttercream (glue).
- Stack cooled cake layers in order: 9" → 8" → 7" → 6" → 5" → 4" → 4" (cut to 3") → 4" (cut to 2"), using ~¼" buttercream (and raspberry filling) between layers.
- Carve and taper top edges of 3" and 2" tiers.
- Insert a central 12" dowel (add two side dowels if needed).
- Pipe a textured base coat; then decorate with pink/white swirls, add sprinkle ornaments and edible glitter; finish with the star.
Notes
- Disclaimer: Nutritional information is an estimate based on standard ingredient values and preparation. Exact values may vary depending on specific brands, ingredients, or substitutions used. This data should not be considered a substitute for professional dietary advice.
- This cake is a hefty one - you could easily get 30 servings out of this!
- Prep Time: 50 minutes
- Decorating & Assembly: 90 minutes
- Cook Time: 40 minutes
- Category: Dessert
Nutrition
- Serving Size: 1 slice
- Calories: 561.43 kcal
- Sugar: 54.86 g
- Sodium: 175.71 mg
- Fat: 31.71 g
- Saturated Fat: 17.14 g
- Unsaturated Fat: 12.0 g
- Trans Fat: 0.34 g
- Carbohydrates: 66.86 g
- Fiber: 1.2 g
- Protein: 3.26 g
- Cholesterol: 46.29 mg

Leave a Reply